How to test drive view in iOS
Issue #303
Instead of setting up custom framework and Playground, we can just display that specific view as root view controller
1 | window.rootViewController = makeTestPlayground() |
Issue #303
Instead of setting up custom framework and Playground, we can just display that specific view as root view controller
1 | window.rootViewController = makeTestPlayground() |
Issue #302
1 | final class CarouselLayout: UICollectionViewFlowLayout { |
How to use
1 | let layout = CarouselLayout() |
We can inset cell content and use let scale: CGFloat = 1.0 to avoid scaling down center cell
1 | import UIKit |
Issue #301
Make it more composable using UIViewController subclass and ThroughView to pass hit events to underlying views.
1 | class PanViewController: UIViewController { |
Issue #300
Good to know
Code
Issue #297
1 | let button = NSButton() |
To make it have native rounded rect
1 | button.imageScaling = .scaleProportionallyDown |
1 | import AppKit |
Issue #293
Answer https://stackoverflow.com/a/55119208/1418457
This is useful to throttle TextField change event. You can make Debouncer class using Timer
1 | import 'package:flutter/foundation.dart'; |
Declare and trigger
1 | final _debouncer = Debouncer(milliseconds: 500); |
Issue #288
Use this property to specify a custom selection image. Your image is rendered on top of the tab bar but behind the contents of the tab bar item itself. The default value of this property is nil, which causes the tab bar to apply a default highlight to the selected item
tabBar tabBar.isHidden = true1 | import UIKit |
func tabBar(_ tabBar: UITabBar, didSelect item: UITabBarItem)tabBar.subviews contains 1 private UITabBarBackground and many private UITabBarButton1 | import UIKit |
In iOS 13, we need to use viewDidAppear
1 | override func viewDidAppear(_ animated: Bool) { |
Issue #287
When digging into the world of TCP, I get many terminologies I don’t know any misconceptions. But with the help of those geeks on SO, the problems were demystified. Now it’s time to sum up and share with others :D
There are 5 elements that identify a connection. They call them 5-tuple
Protocol. This is often omitted as it is understood that we are talking about TCP, which leaves 4.
Source IP address.
Source port.
Target P address.
Target port.
No. This is a common misconception. TCP listens on 1 port and talk on that same port. If clients make multiple TCP connection to server. It’s the client OS that must generate different random source ports, so that server can see them as unique connections
A single listening port can accept more than one connection simultaneously.There is a ‘64K’ limit that is often cited, but that is per client per server port, and needs clarifying.
If a client has many connections to the same port on the same destination, then three of those fields will be the same — only source_port varies to differentiate the different connections. Ports are 16-bit numbers, therefore the maximum number of connections any given client can have to any given host port is 64K.
However, multiple clients can each have up to 64K connections to some server’s port, and if the server has multiple ports or either is multi-homed then you can multiply that further
So the real limit is file descriptors. Each individual socket connection is given a file descriptor, so the limit is really the number of file descriptors that the system has been configured to allow and resources to handle. The maximum limit is typically up over 300K, but is configurable e.g. with sysctl
When clients want to make TCP connection with server, this request will be queued in server ‘s backlog queue. This backlog queue size is small (about 5–10), and this size limits the number of concurrent connection requests. However, server quickly pick connection request from that queue and accept it. Connection request which is accepted are called open connection. The number of concurrent open connections is limited by server ‘s resources allocated for file descriptor.
It’s normal. When server receive connection request from client (by receiving SYN), it will then response with SYN, ACK, hence cause successful TCP handshake. But this request are stills in backlog queue.
But, if the application process exceeds the limit of max file descriptors it can use, then when server calls accept, then it realizes that there are no file descriptors available to be the allocated for the socket and fails the accept call and the TCP connection sending a FIN to other side
Sockets come in two primary flavors. An active socket is connected to a remote active socket via an open data connection… A passive socket is not connected, but rather awaits an incoming connection, which will spawn a new active socket once a connection is established
Each port can have a single passive socket binded to it, awaiting incoming connections, and multiple active sockets, each corresponding to an open connection on the port. It’s as if the factory worker is waiting for new messages to arrive (he represents the passive socket), and when one message arrives from a new sender, he initiates a correspondence (a connection) with them by delegating someone else (an active socket) to actually read the packet and respond back to the sender if necessary. This permits the factory worker to be free to receive new packets
Here are some more links to help you explore further
Issue #285
settings.gradle.kts
1 | include(":app") |
build.gradle.kts
1 | import org.gradle.kotlin.dsl.apply |
tools/quality.gradle.kts
1 | plugins { |
Issue #284
Before working with Windows Phone and iOS, my life involved researching VoIP. That was to build a C library for voice over IP functionality for a very popular app, and that was how I got started in open source.
The library I was working with were Linphone and pjsip. I learn a lot of UDP and SIP protocol, how to build C library for consumption in iOS, Android and Windows Phone, how challenging it is to support C++ component and thread pool in Windows Phone 8, how to tweak entropy functionality in OpenSSL to make it compile in Windows Phone 8, how hard it was to debug C code with Android NDK. It was time when I needed to open Visual Studio, Xcode and Eclipse IDE at the same time, joined mailing list and followed gmane. Lots of good memories.
Today I find that those bookmarks I made are still available on Safari, so I think I should share here. I need to remove many articles because they are outdated or not available anymore. These are the resources that I actually read and used, not some random links. Hopefully you can find something useful.
This post focuses more about resources for pjsip on client and how to talk directly and with/without a proxy server.
Here are some of the articles and open sources made by me regarding VoIP, hope you find it useful
rtpproxy: I forked from http://www.rtpproxy.org/ and changed code to make it support for IP handover. It means the proxy can handle when IP changes from 3G, 4G to Wifi and to reduce chances of attacks
Voice over Internet Protocol (also voice over IP, VoIP or IP telephony) is a methodology and group of technologies for the delivery of voice communications and multimedia sessions over Internet Protocol (IP) networks, such as the Internet
Voice over IP Overview: introduction to VoIP concepts, H.323 and SIP protocol
Voice over Internet Protocol the wikipedia article contains very foundation knowledge
Open Source VOIP Software: this is a must read. Lots of foundation articles about client and server functionalities, SIP, TURN, RTP, and many open sources framworks
VOIP call bandwidth: a very key factor in VoIP application is bandwidth consumption, it’s good to not going far beyond the accepted limit
Routers SIP ALG: this is the most annoying, because there is NAT and many types of NAT, also router with SIP ALG
SIP SIMPLE Client SDK: introduction to SIP core library, but it gives an overview of how
The Session Initiation Protocol (SIP) is a communications protocol for signaling and controlling multimedia communication sessions in applications of Internet telephony for voice and video calls, in private IP telephone systems, as well as in instant messaging over Internet Protocol (IP) networks.

RFC 3261: to understand SIP, we need to read its standard. I don’t know how many times I read this RFC.
OpenSIPS: OpenSIPS is a multi-functional, multi-purpose signaling SIP server
SIP protocol structure through an example: this is a must read, it shows very basic but necessary knowledge
Relation among Call, Dialog, Transaction & Message: basic concepts about call, dialog, transaction and message
microSIP: Open source portable SIP softphone for Windows based on PJSIP stack. I used to use this to test my pjsip tweaked library before building it for mobile
What is SIP: introduction to SIP written by the author of CSipSimple
SIP by Wireshack: introduction to SIP written by Wireshack. I used Wireshack a lot to intercept and debug SIP sessions
Solving the Firewall/NAT Traversal Issue of SIP: this shows how NAT can be a problem to SIP applications and how NAT traversal works
SipML5 SIP client written in Javascript
SIP Retransmissions: what and how to handle retransmission
draft-ietf-sipping-dialogusage-06: this is a draft about Multiple Dialog Usages in the Session Initiation Protocol
Creating and sending INVITE and CANCEL SIP text messages: SIP also supports sending text message, not just audio and video packages. This isa good for chat application

Configuring NAT traversal using Kamailio 3.1 and the Rtpproxy server: I don’t know how many times I had read this post
How to set up and use SIP Server on Windows: I used this to test a working SIP server on Windows
OpenSIPS/Kamailio serving far end nat traversal: discussion about how Kamailio deals with NAT traversal
NAT Traversal Module: how NAT traversal works in Kamailio as a module
RTP, SIP clients and server need to conform to some predefined protocols to meet standard and to be able to talk with each other. You need to read RFC a lot, besides you need to read some drafts.
NAT solves the problem with lack of IP, but it causes lots of problem for SIP applications, and for me as well 😂

Network address translation: Network address translation (NAT) is a method of remapping one IP address space into another by modifying network address information in the IP header of packets while they are in transit across a traffic routing device
Configuring Port Address Translation (PAT): how to configure port forwarding
Types Of NAT Explained (Port Restricted NAT, etc): This is a must read. I didn’t expect there’s many kinds of NAT in real life, and how each type affects SIP application in its own way
One Way Audio SIP Fix: sometimes we get the problem that only 1 person can speak, this talks about why
NAT traversal for the SIP protocol: explains RTP, SIP and NAT
SIP NAT Traversal: This is a must read. How to make SIP work under NAT
NAT and Firewall Traversal with STUN / TURN / ICE: pjsip and Kamailio actually supports STUN, TURN and ICE protocol. Learn about these concepts and how to make it work
Introduction to Network Address Translation (NAT) and NAT Traversal
Learn how TCP helps SIP in initiating session and to turn in TCP mode for package sending
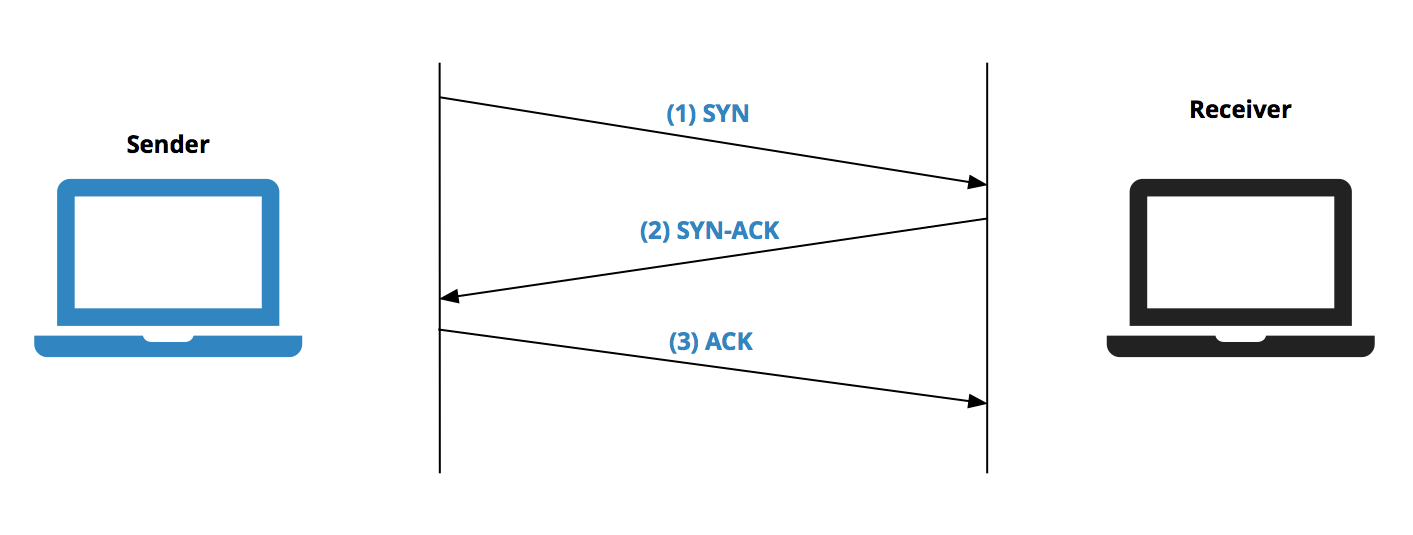
Transmission Control Protocol: The Transmission Control Protocol (TCP) is one of the main protocols of the Internet protocol suite. It originated in the initial network implementation in which it complemented the Internet Protocol (IP)
Datagram socket: A datagram socket is a type of network socket which provides a connectionless point for sending or receiving data packets.[2] Each packet sent or received on a datagram socket is individually addressed and routed
TCP RST packet details: learn the important of RST bit
RST packet sent from application when TCP connection not getting closed properly
Why will a TCP Server send a FIN immediately after accepting a connection?
Where do resets come from? (No, the stork does not bring them.): learn about 3 ways handshake in TCP connection
Sockets and Ports: Do not confuse between socket and port
TCP Wake-Up: Reducing Keep-Alive Traffic in Mobile IPv4 and IPsec NAT Traversal
Learn about Transport Layer Security and SSL, especially openSSL for how to secure SIP connection. The interesting thing is to read code in pjsip about how it uses openSSL to encrypt messages
Configuring TLS support in Kamailio 3.1 — Howto: learn how to enable TLS mode in Kamailio
SIP TLS: how to configure TLS in Asterisk
Learn about Interactive Connectivity Establishment, another way to workaround NAT
Learn about Session Traversal Utilities for NAT and Traversal Using Relays around NAT, another way to workaround NAT
STUN: STUN (Simple Traversal of UDP through NATs (Network Address Translation)) is a protocol for assisting devices behind a NAT firewall or router with their packet routing. RFC 5389 redefines the term STUN as ‘Session Traversal Utilities for NAT’.
Learn about [Application Layer Gateway](http://Application Layer Gateway) and how it affects your SIP application. This component knows how to deal and modify your SIP message, so it might introduce unexpected behaviours.
What is SIP ALG and why does Gradwell recommend that I turn it off?
Understanding SIP with Network Address Translation (NAT): This is a must read, a very thorough document
Learn about voice quality, bandwidth and fixing delay in audio

RTP, Jitter and audio quality in VoIP: learn about the important of jitter and RTP
An Adaptive Codec Switching Scheme for SIP-based VoIP: explain codec switching during call in SIP based VoIP
This is a very common problem in VoIP, sometimes we hear voice from the other and also from us. Learn how echo is made, and how to effectively do echo cancellation

Echo Cancellation: How to use Speex to cancel echo
Echo and Sidetone: A telephone is a duplex device, meaning it is both transmitting and receiving on the same pair of wires. The phone network must ensure that not too much of the caller’s voice is fed back into his or her receiver
How software echo canceller works?: I asked about how we use software to do echo cancellation
Learn how to generate dual tone to make signal in telecommunication
PJSIP is a free and open source multimedia communication library written in C language implementing standard based protocols such as SIP, SDP, RTP, STUN, TURN, and ICE. It combines signaling protocol (SIP) with rich multimedia framework and NAT traversal functionality into high level API that is portable and suitable for almost any type of systems ranging from desktops, embedded systems, to mobile handsets.

PJSUA API — High Level Softphone API: high level usage of pjsip
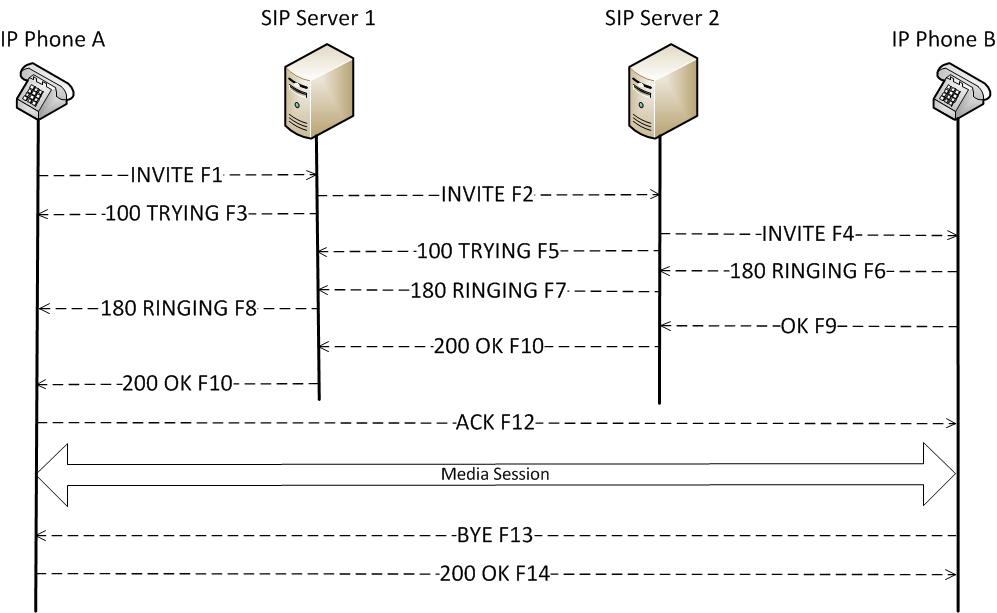
Stateful Operations: common functions to send request statefully
Message Creation and Stateless Operations: functions related to send and receive messages
Understanding Media Flow: this is a must read. The media layer is so important, it controls sound, codec and conference bridge.

Getting Started: Building and Using PJSIP and PJMEDIA: This article describes how to download, customize, build, and use the open source PJSIP and PJMEDIA SIP and media stack
Codec Framework: pjsip supports multiple codec
Adaptive jitter buffer: this takes sometime to understand, but it plays an important part in making pjsip work properly regarding buffer handling
PJSUA-API Accounts Management: how to register account in pjsua
Building Dynamic Link Libraries (DLL/DSO): how to build pjsip as a dynamic library
Compile time configuration: lots of configuration we can apply to pjsip
Fast Memory Pool: pjsip has its own memory pool. It’s very interesting to look at the source code and learn something new
Using SIP TCP Transport: How to enable TCP mode in SIP and to initiate SIP session
Monochannel and multichannel audio frame converter: interesting read about mono and multi channel
IOQueue: I/O Event Dispatching with Proactor Pattern: the code for this is very interesting and plays a fundamental in how pjsip handles events
DNS Asynchronous/Caching Resolution Engine: how pjsip handles DNS resolution by itself

Secure socket I/O: the code for this is important if you want to learn how to use SSL under the hood
Multi-frequency tone generator: I learn a lot how pjsip uses sin wave to generate tone
SIP SRV Server Resolution (RFC 3263 — Locating SIP Servers): learn the mechanism for how pjsip finds a particular SIP server
Exception Handling: how to do Try Catch in C
Mutex Locks Order in PJSUA-LIB: how multiple locks at each layer helps ensure correction and avoid deadlocks. I had lots of nightmare debugging deadlocks with pjsip 😱
pjsip uses Local Thread Storage which introduces very cool behaviors

Threads question: how pjlib handles thread
Using Thread Local Storage: how to use TlsAlloc and TlsFree in Windows
Example: Thread local storage in a Pthread program: how Pthread works
Thread Local Storage: learn about pj_thread
How to work with sample rate of the media stream
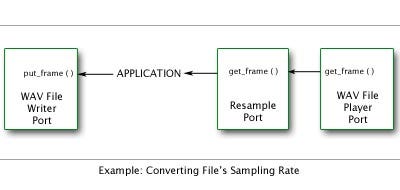
Resample Port: how to perform resampling in pjmedia
Resampling Algorithm: code to perform resampling
Samples: Using Resample Port: very straightforward example to change sample rate of the media stream
How to Record Audio with pjsua: how to use pjsua to record audio.
Memory/Buffer-based Capture Port: believe me, you will jump into pjmedia_mem_capture_create a lot
File Writer (Recorder): record audio to .wav file
AMR Audio Encoding: understands AMR encoding
Audio Device API: how pjsip detects and use Audio device
Sound Device Port: Media Port Connection Abstraction to the Sound Device
Audio Manipulation Algorithms: lots of cool algorithm written in C for audio manipulation. The hardest and most imporant one is probably Adaptive jitter buffer
bad quality on iphone 2G with os 3.0: No one would use iPhone 2G now, but it’s good to be aware of older phones
getting Underflow, buf_cnt=0, will generate 1 frame continuessly: how to handle underflow in pjmedia
Measuring Sound Latency: This article describes how to measure both sound device latency and overall (end-to-end) latency of pjsua
Master/sound: How master sound works and deal with no sound on the mic input port
I learn a lot regarding video capture, ffmpeg and color space, especially YUV
siphon — VIdeoSupport.wiki: How siphon deals with video before pjsip 2.0
Video Device API; PJMEDIA Video Device API is a cross-platform video API appropriate for use with VoIP applications and many other types of video streaming applications.
PJSUA-API Video: Uses video APIs in pjsua with pjsip 2.1.0
PJSIP Video User’s Guide: all you need to know about video support in pjsip
Video streams: I can’t never forget pjmedia_vid_stream_create
Video source duplicator: duplicate video data in the stream.
AVI File Player: Video and audio playback from AVI file
PJSIP Version 2.0 Release Notes: starting with 2.0, pjsip supports video. Good to read
FFmpeg-iOS-build-script: details how to build ffmpeg for iOS
There are many SIP client for mobile and desktop, microSIP, Jitsi, Linphone, Doubango, … They all follow strictly SIP standard and may have their own SIP core, for example microSIP uses pjsip, Linphone uses liblinphone, …
Among that, I learn a lot from the Android client, CSipSimple, which offers very nice interface and have good functionalities. Unfortunately Google Code was closed, so I don’t know if the author has plan to do development on GitHub.
I also participated a lot on the Google forum for user and dev. Thanks for Regis, I learn a lot about open source and that made me interested in open source.
You can read What is a branded version
I don’t make any money from csipsimple at all. It’s a pure opensource and free as in speech project.
I develop it on my free time and just so that it benefit users.
That’s the reason why the project is released under GPL license terms. I advise you to read carefully the license (you’ll learn a lot of things on the spirit of the license and the project) : http://www.gnu.org/licenses/gpl.html
To sump up, the spirit of the GPL is that users should be always allowed to see the source code of the software they use, to use it the way they want and to redistribute it.
Because of NAT or in case users want to talk via a proxy, then a RTP proxy is needed. RTPProxy follows standard and works well with Kamailio
multiple audio devices, multiple calls, conferencing, recording and mix all of the above
Conference bridge should transmit silence frame when level is zero
Add user defined NAT hole-punching and keep-alive mechanism to media stream
IP change during call can cause problem, such as when user goes from Wifi to 4G mode
Learn about [Realtime transport control protocol](http://Real-time Transport Protocol) and how that works with RTP
To reduce payload size, we need to encode and decode the audio and video package. We usually use Speex and Opus. Also, it’s good to understand the .wav format
Windows Phone 8 introduces C++ component , changes in threading, VoIP and audio background mode. To do this I need to find another threadpool component and tweak openSSL a bit to make it compile on Windows Phone 8. I lost the source code so can’t upload the code to GitHub 😢. Also many links broke because Nokia was not here any more
Porting to New CPU Architecture: pjlib is the foundation of pjsip. Learn how to port it to another platform
How to implement audio streaming for VoIP calls for Windows Phone 8
Firstly, learn how to compile, use OpenSSL. How to call it from pjsip, and how to make it compile in Visual Studio for Windows Phone 8. I also learn the important of Winsock, how to port a library. I struggled a lot with porting openSSL to Windows RT, then to Windows Phone 8
A lot of links were broken 😢 so I can’t paste them all here.
Since pjsip, rtpproxy and kamailio are all C and C++ code. I needed to have a good understanding about them, especially pointer and memory handling. We also needed to learn about compile flags for debug and release builds, how to use Make, how to make static and dynamic libraries.
comp.lang.c Frequently Asked Questions: there’s lot of things about C we haven’t known about
Bit Twiddling Hacks: how to apply clever hacks with bit operators. Really really good reading here
Better types in C++11 — nullptr, enum classes (strongly typed enumerations) and cstdint
Issue #283
Original post https://medium.com/fantageek/dealing-with-css-responsiveness-in-wordpress-5ad24b088b8b
During the alpha test of LearnTalks, some of my friends reported that the screen is completely blank in search page, and this happened in mobile only. This article is how I identify the problem and found a workaround for the issue, it may not be the solution, but at least the screen does not appear blank anymore.
As someone who likes to keep up with tech via watching conference videos, I thought it might be a good idea to collect all of these to better search and explore later. So I built a web app with React and Firebase, it is a work in progress for now. Due to time constraints, I decided to go first with Wordpress to quickly play with the idea. So there is LearnTalks.
The theme Marinate that I used didn’t want to render the search page correctly. So I head over to Chrome Dev Tool for Responsive Viewport Mode and Safari for Web Inspector


The tests showed that the problem only happened on certain screen resolutions. This must be due to CSS @media query which display different layouts for different screen sizes. And somehow it didn’t work for some sizes.
[@media](http://twitter.com/media) screen and (max-width: 800px) {
 #site-header {
 display: none;
 }
}The @media rule is used in media queries to apply different styles for different media types/devices.
Media queries can be used to check many things, such as:
width and height of the viewport
width and height of the device
orientation (is the tablet/phone in landscape or portrait mode?)
resolution
Using media queries are a popular technique for delivering a tailored style sheet (responsive web design) to desktops, laptops, tablets, and mobile phones.
So I go to Wordpress Dashboard -> Appearance -> Editor to examine CSS files. Unsurprisingly, there are a bunch of media queries
[@media](http://twitter.com/media) (min-width: 600px) and (max-width: 767px) {
 .main-navigation {
 padding: 0;
 }
 .site-header .pushmenu {
 margin-top:0px;
 }
 .social-networks li a {
 line-height:2.1em !Important;
 }
 .search {
 display: none !important;
 }
 .customer blockquote {
 padding: 10px;
 text-align: justify;
 }
}
The .search selector is suspicious display: none !important;
The important directive is, well, quite important
It means, essentially, what it says; that ‘this is important, ignore subsequent rules, and any usual specificity issues, apply this rule!’
In normal use a rule defined in an external stylesheet is overruled by a style defined in the head of the document, which, in turn, is overruled by an in-line style within the element itself (assuming equal specificity of the selectors). Defining a rule with the !important ‘attribute’ (?) discards the normal concerns as regards the ‘later’ rule overriding the ‘earlier’ ones.
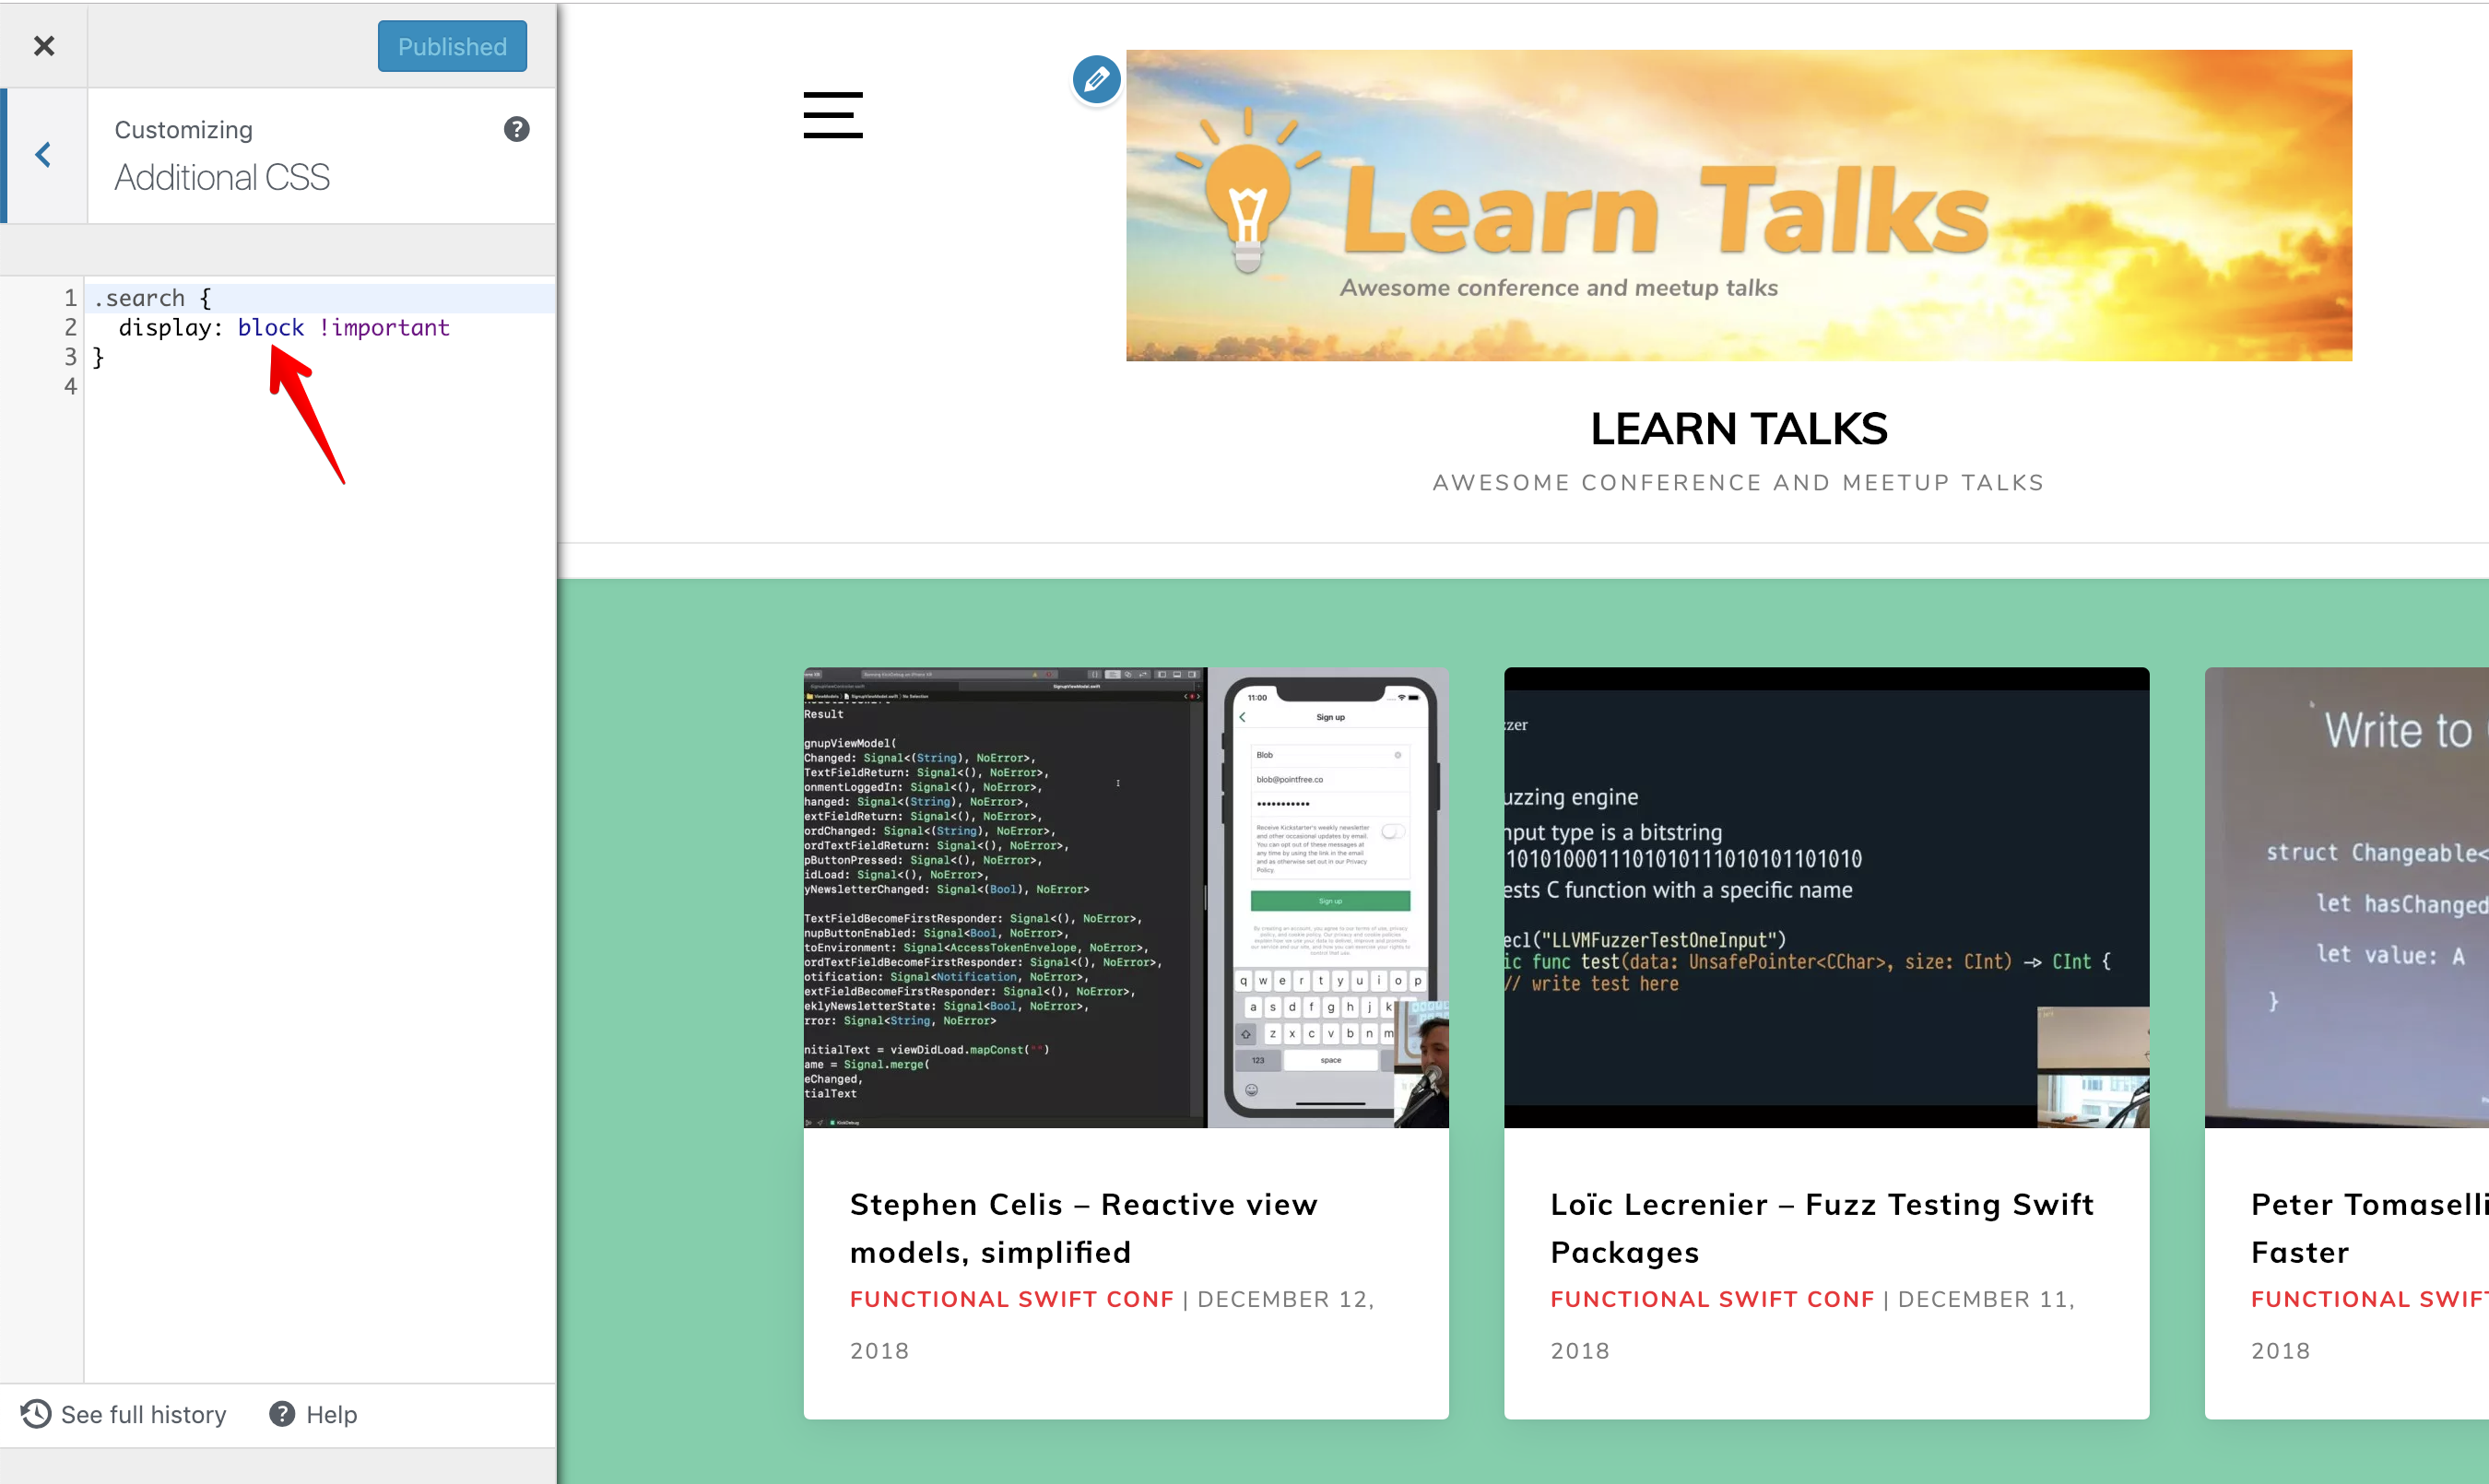
Luckily, this theme allows the ability to Edit CSS , so I can override that to a block attribute to always show search page
Issue #281
A good theme and font can increase your development happiness a lot. Ever since using Atom, I liked its One Dark theme. The background and text colors are just elegant and pleasant to the eyes.
Original designed for Atom, one-dark-ui that claims to adapt to most syntax themes, used together with Fira Mono font from mozilla.
There is also Dracula which is popular, but the contrast seem too high for my eyes.
I like FiraCode font the most, it is just beautiful and supports ligatures.

Alternatively, you can browse ProgrammingFonts or other ligature fonts like Hasklig to see which font suits you.
Theme and font are completely personal taste, but if you like me, please give One Dark and Fira a try, here is how to do that in Xcode, Android Studio and Visual Studio Code, which are editors that I use daily.
Firstly, you need to install the latest compiled font of FiraCode
I used to have my own replication of One Dark, called DarkSide, this was how I learned how to make Xcode theme. For now, I find xcode-one-dark good enough. Xcode theme is just xml file with .xccolortheme extension and is placed into ~/Library/Developer/Xcode/UserData/FontAndColorThemes
After installing the theme, you should be able to select it from Preferences -> Fonts & Colors
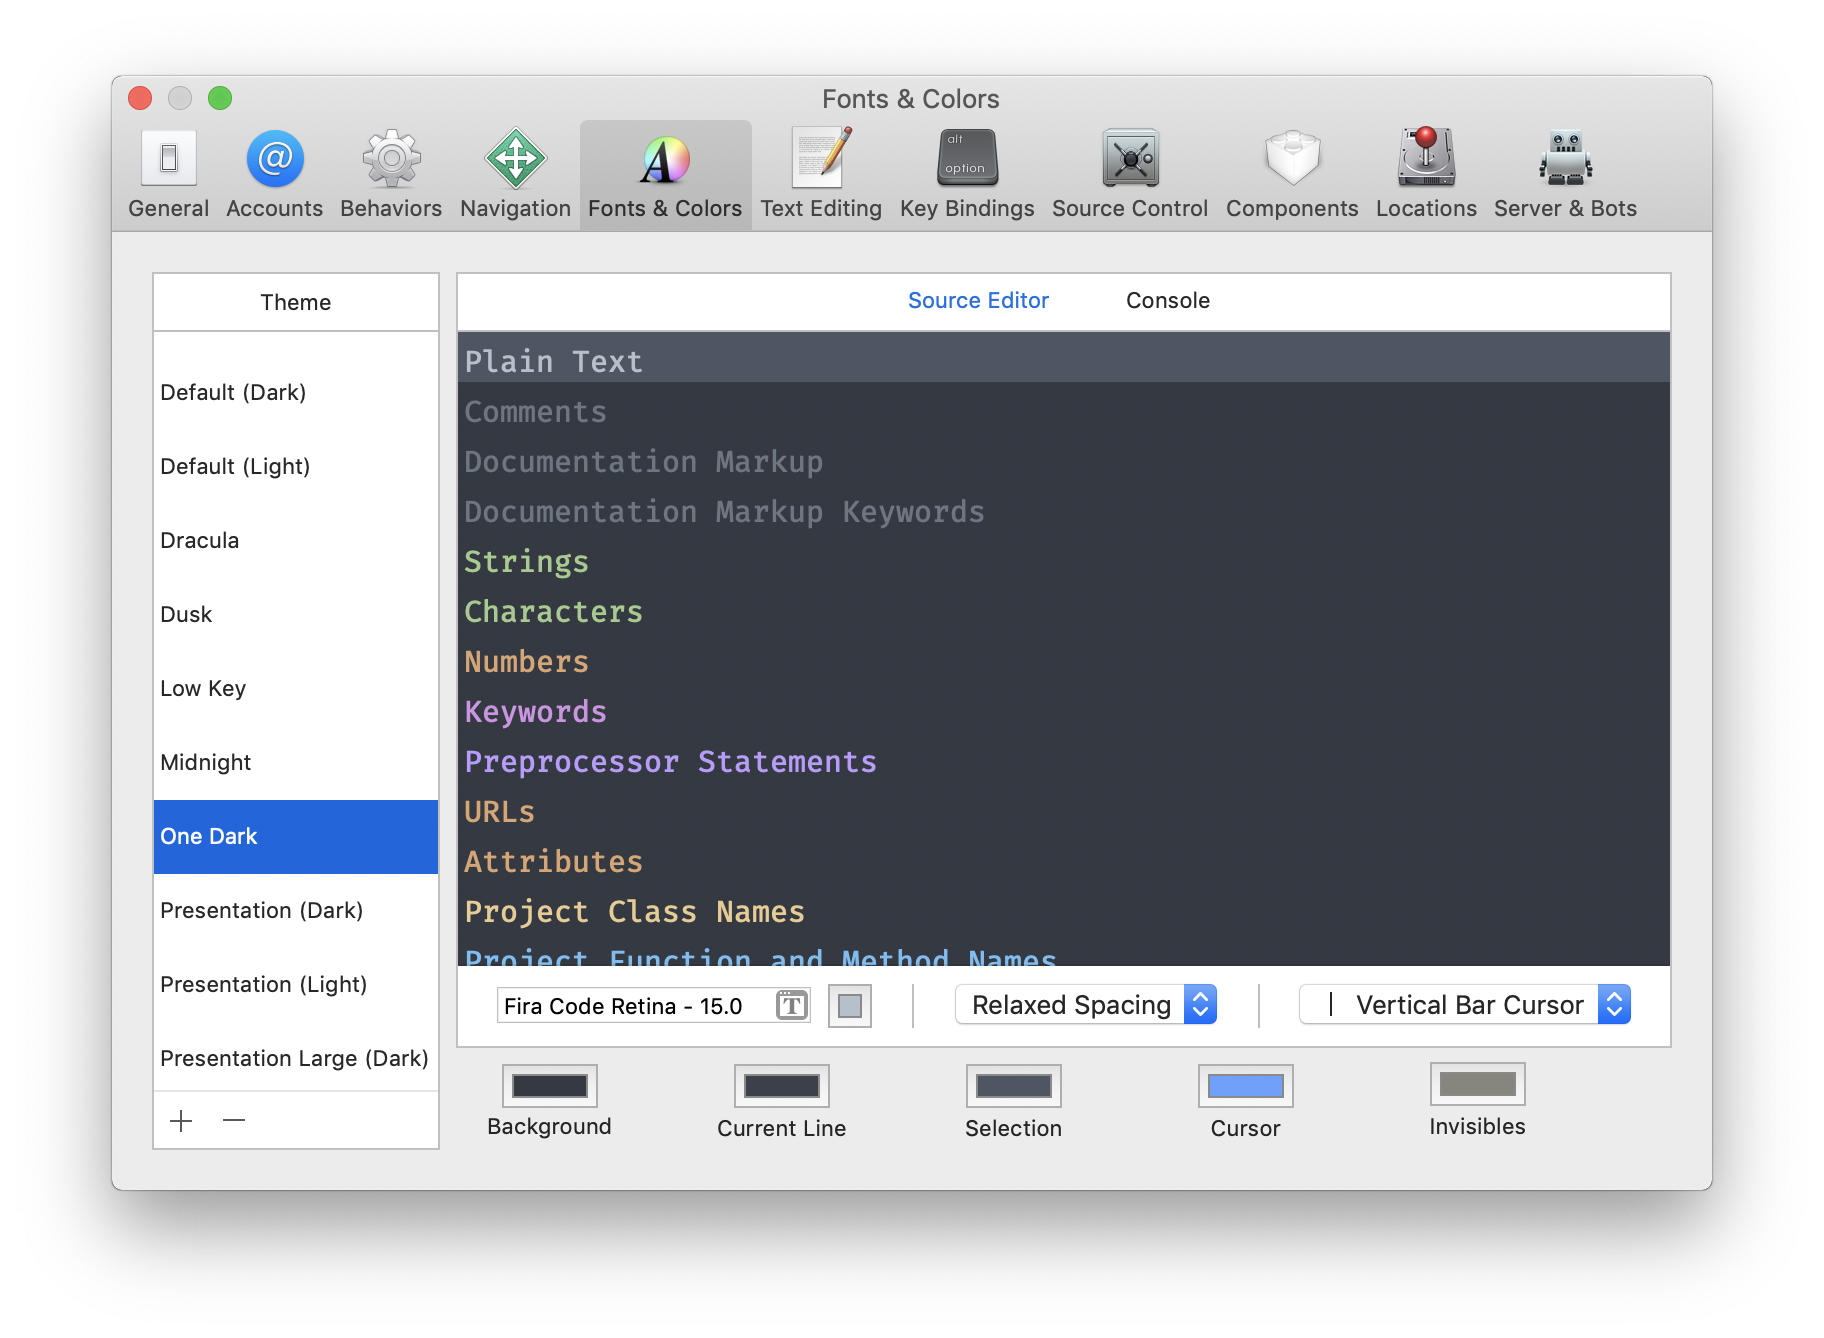
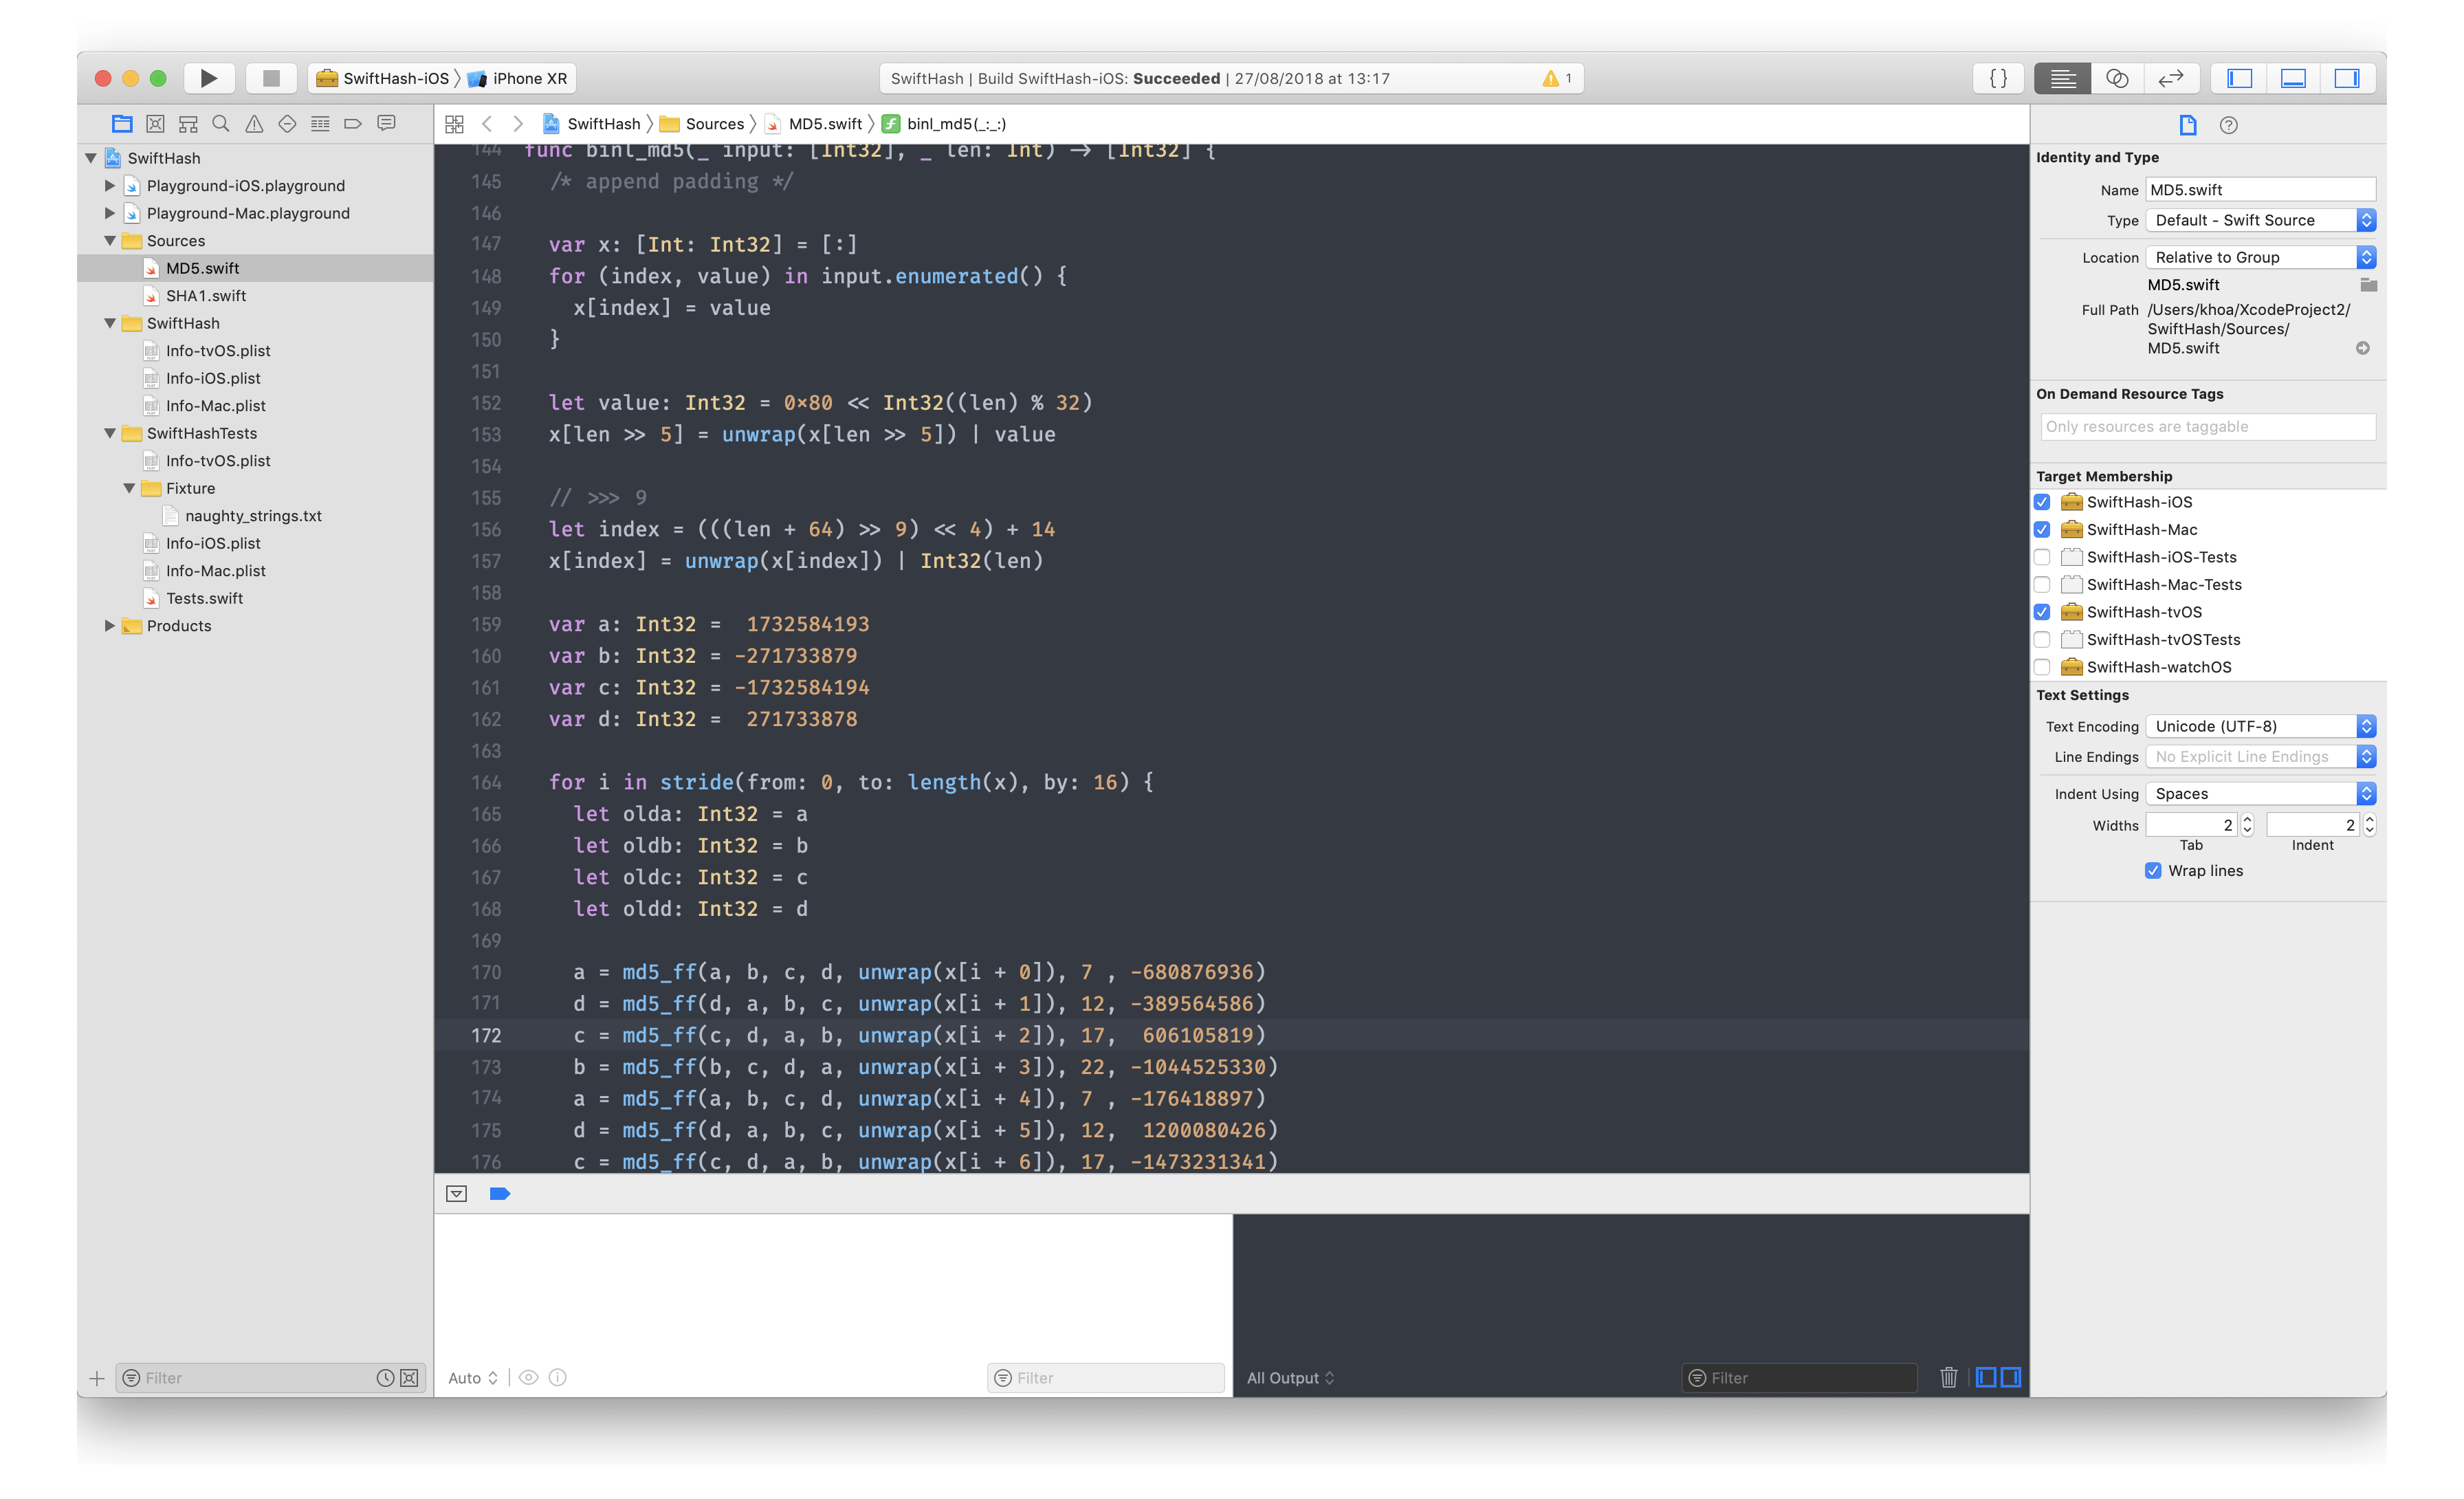
And it looks like below.
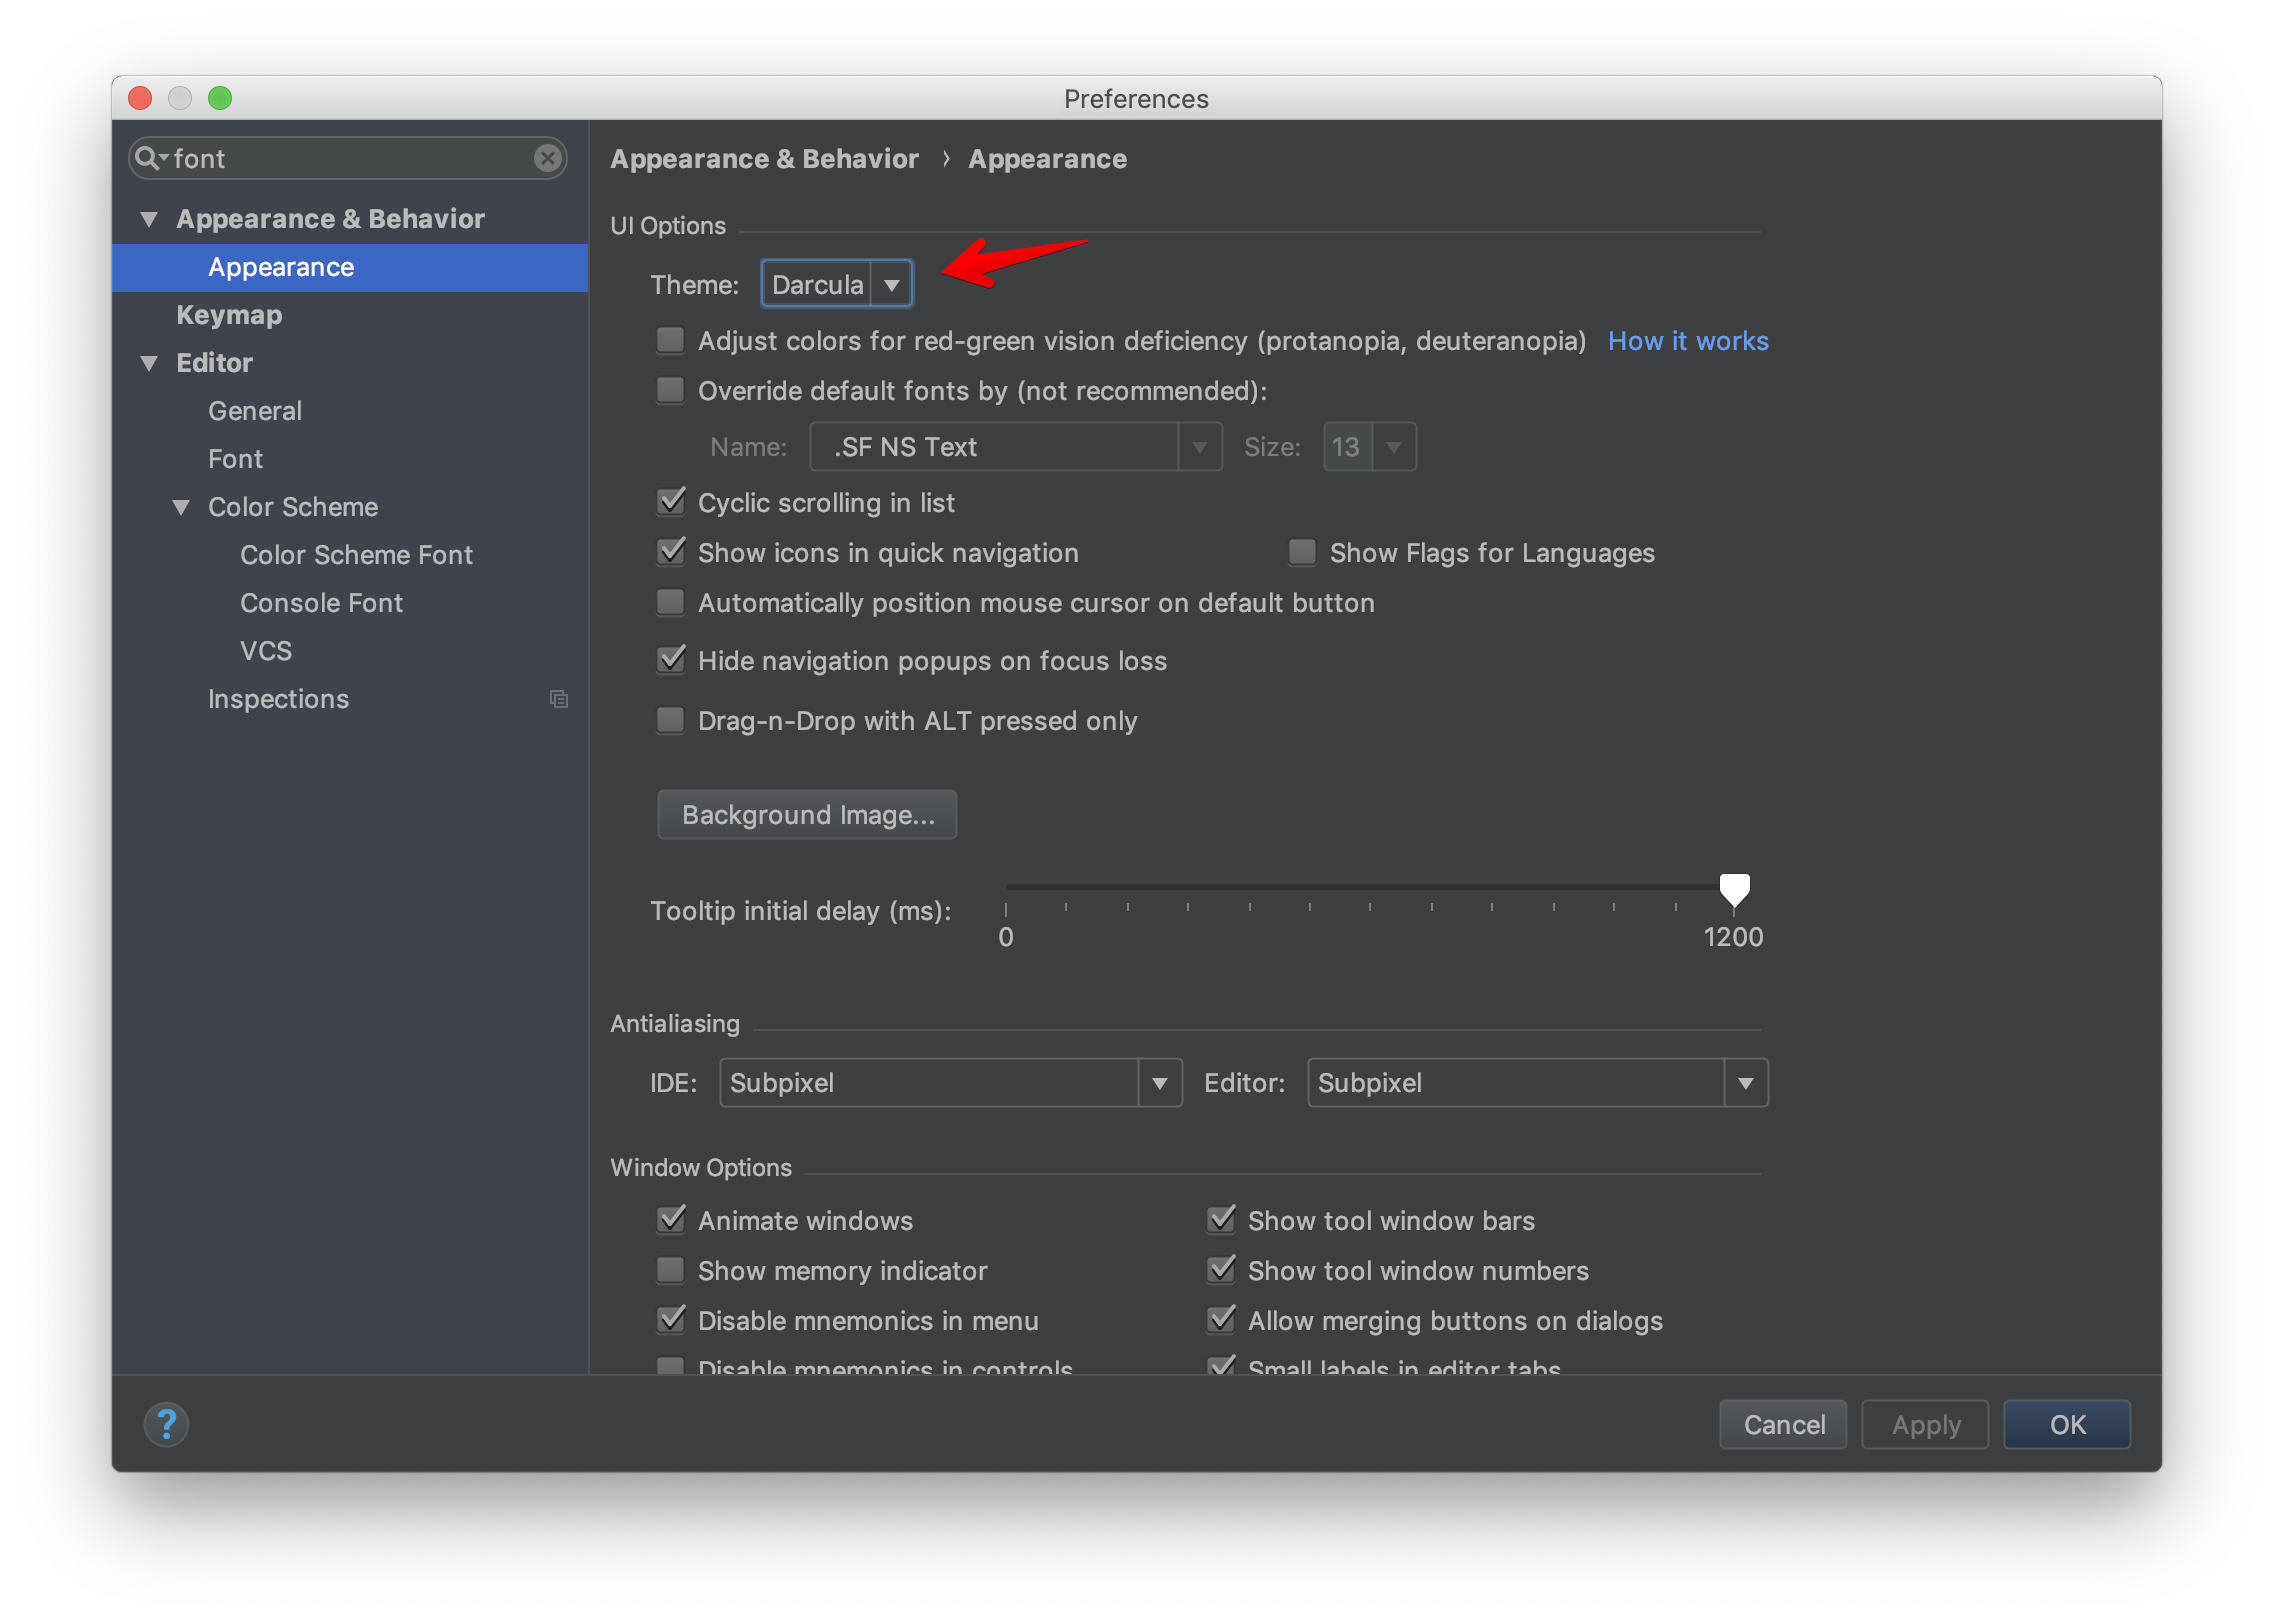
Android Studio defaults to have only Default and Dracula theme. Let’s choose Darcula for now. I hope there will be One Dark support.
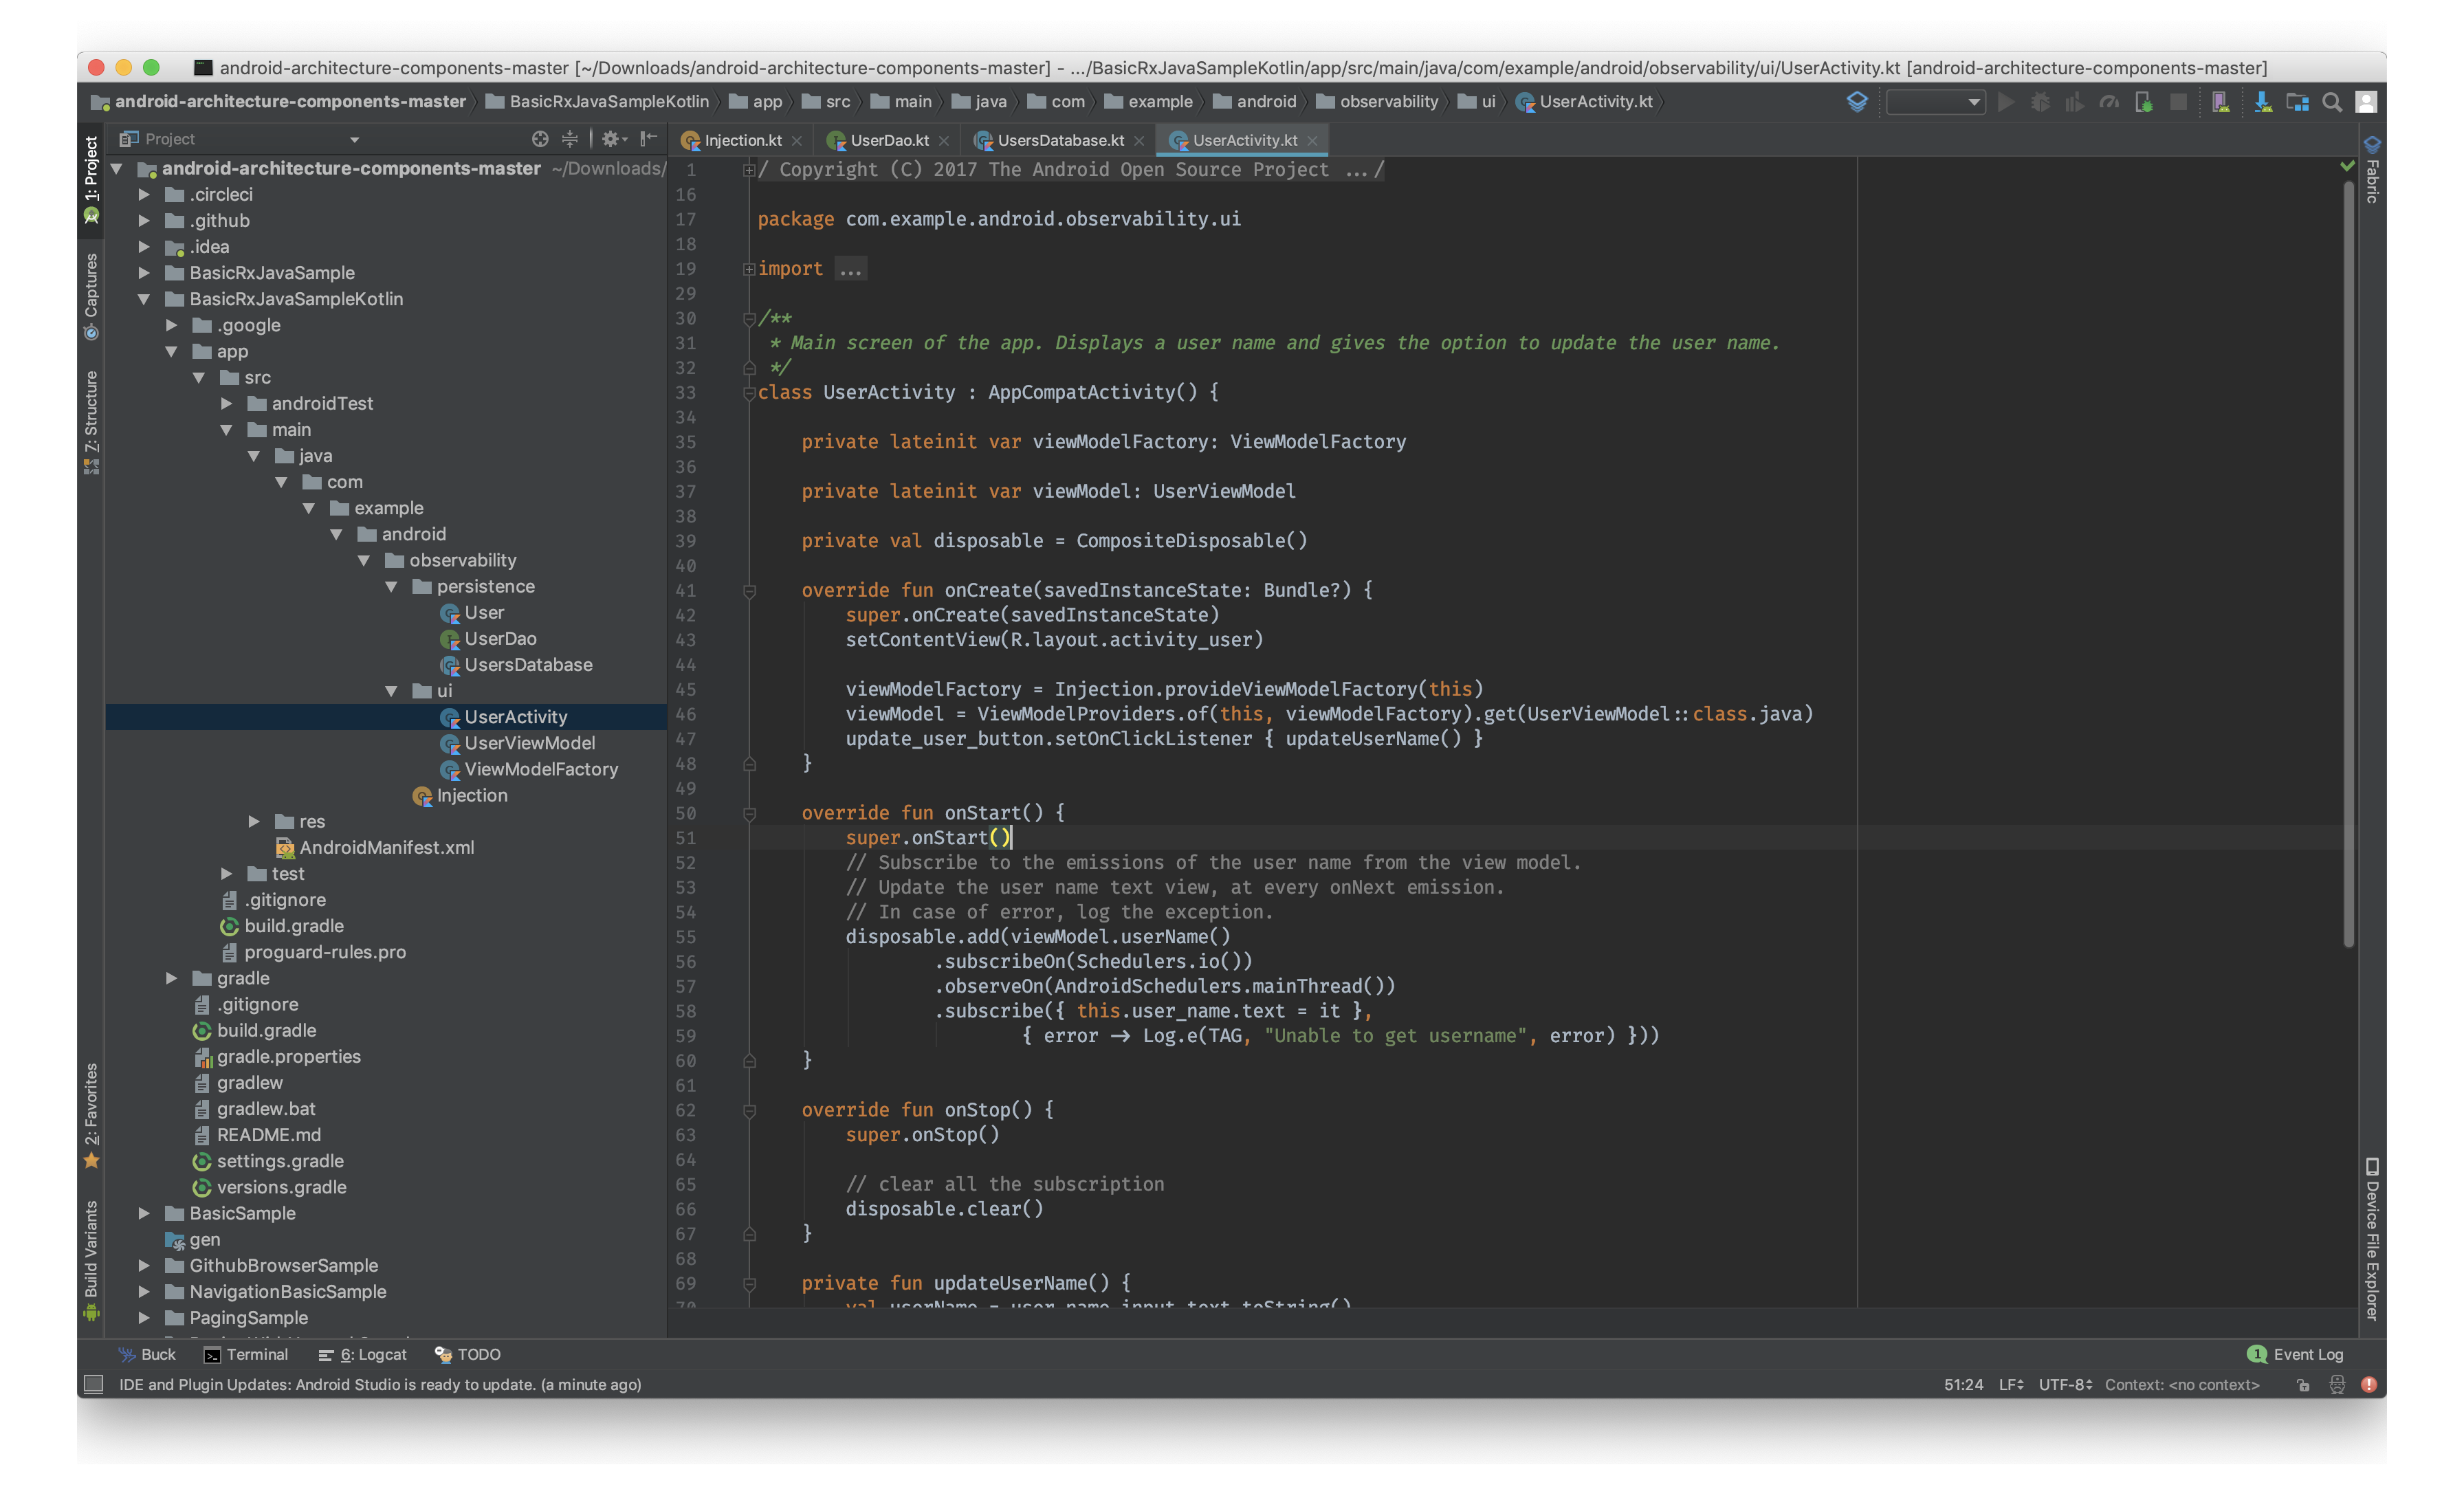
Also, Android Studio can preferably selects Fira Code, which we should have already installed. Remember to select Enable font ligatures to stay cool

It looks like this
Installing theme in VSCode is easy with extensions. There is this One Dark Pro that we can install directly from Extensions panel in VS Code. Alternatively, you can also choose Atom One Dark Theme
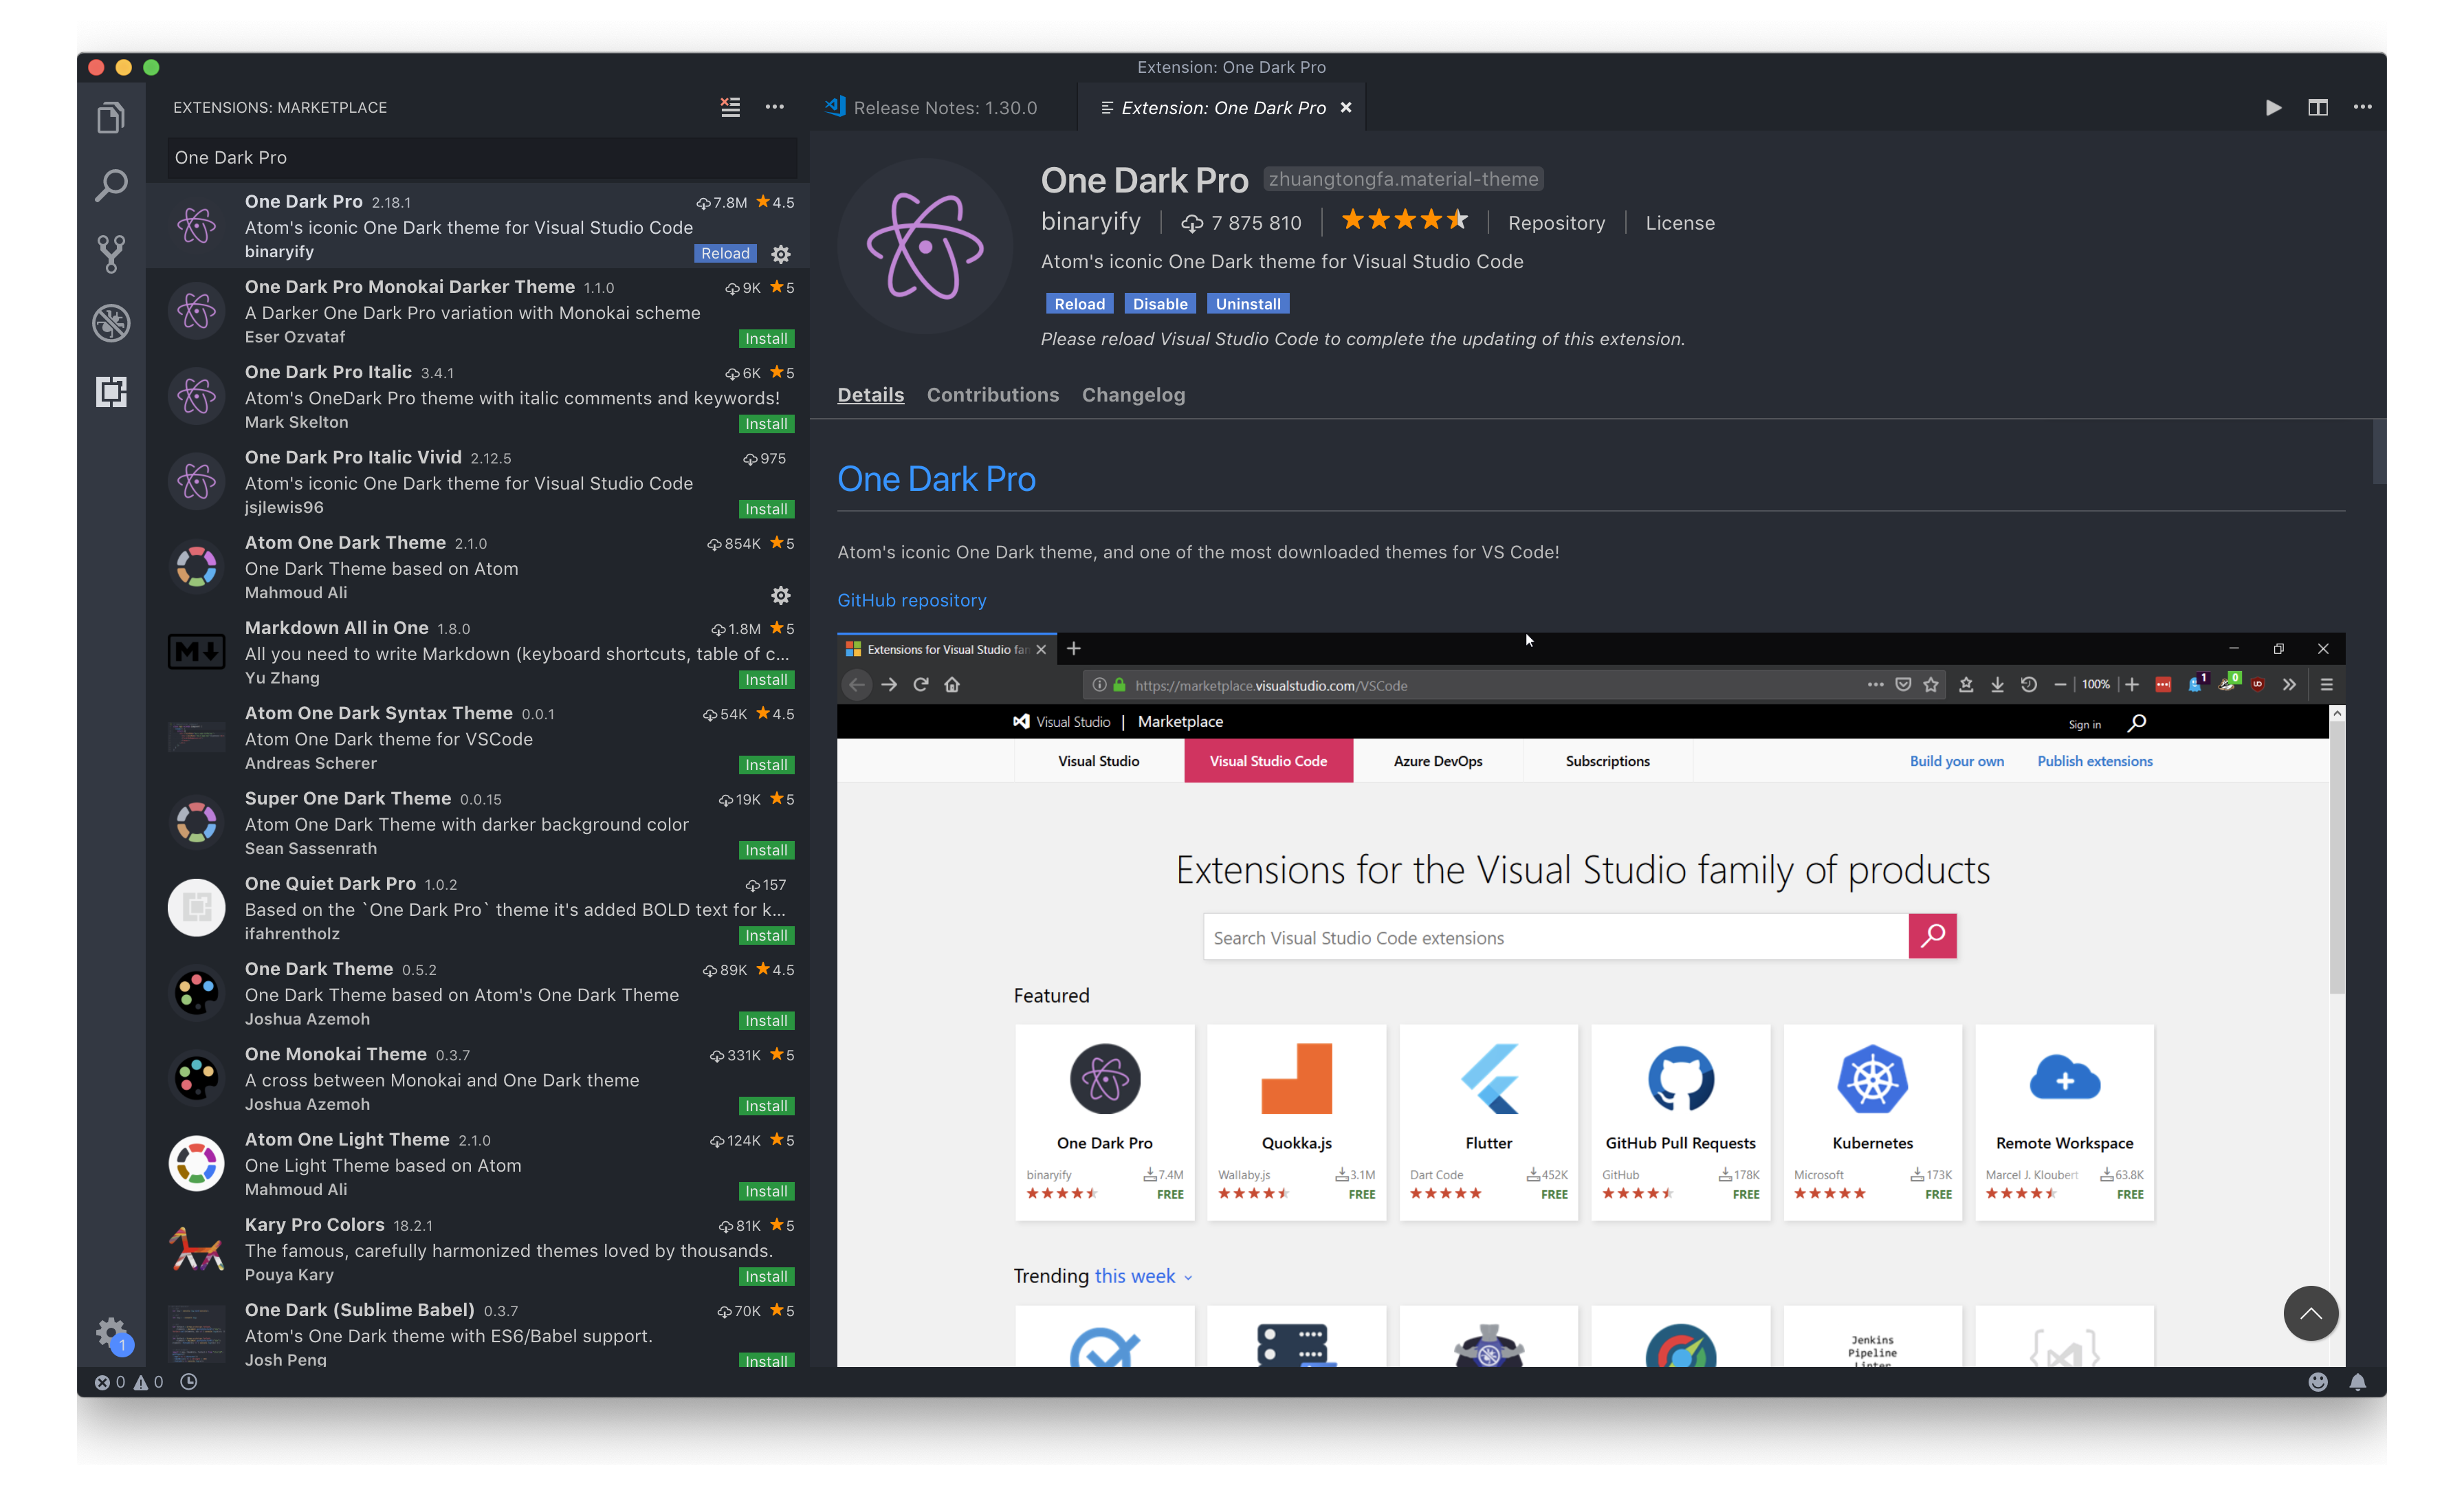
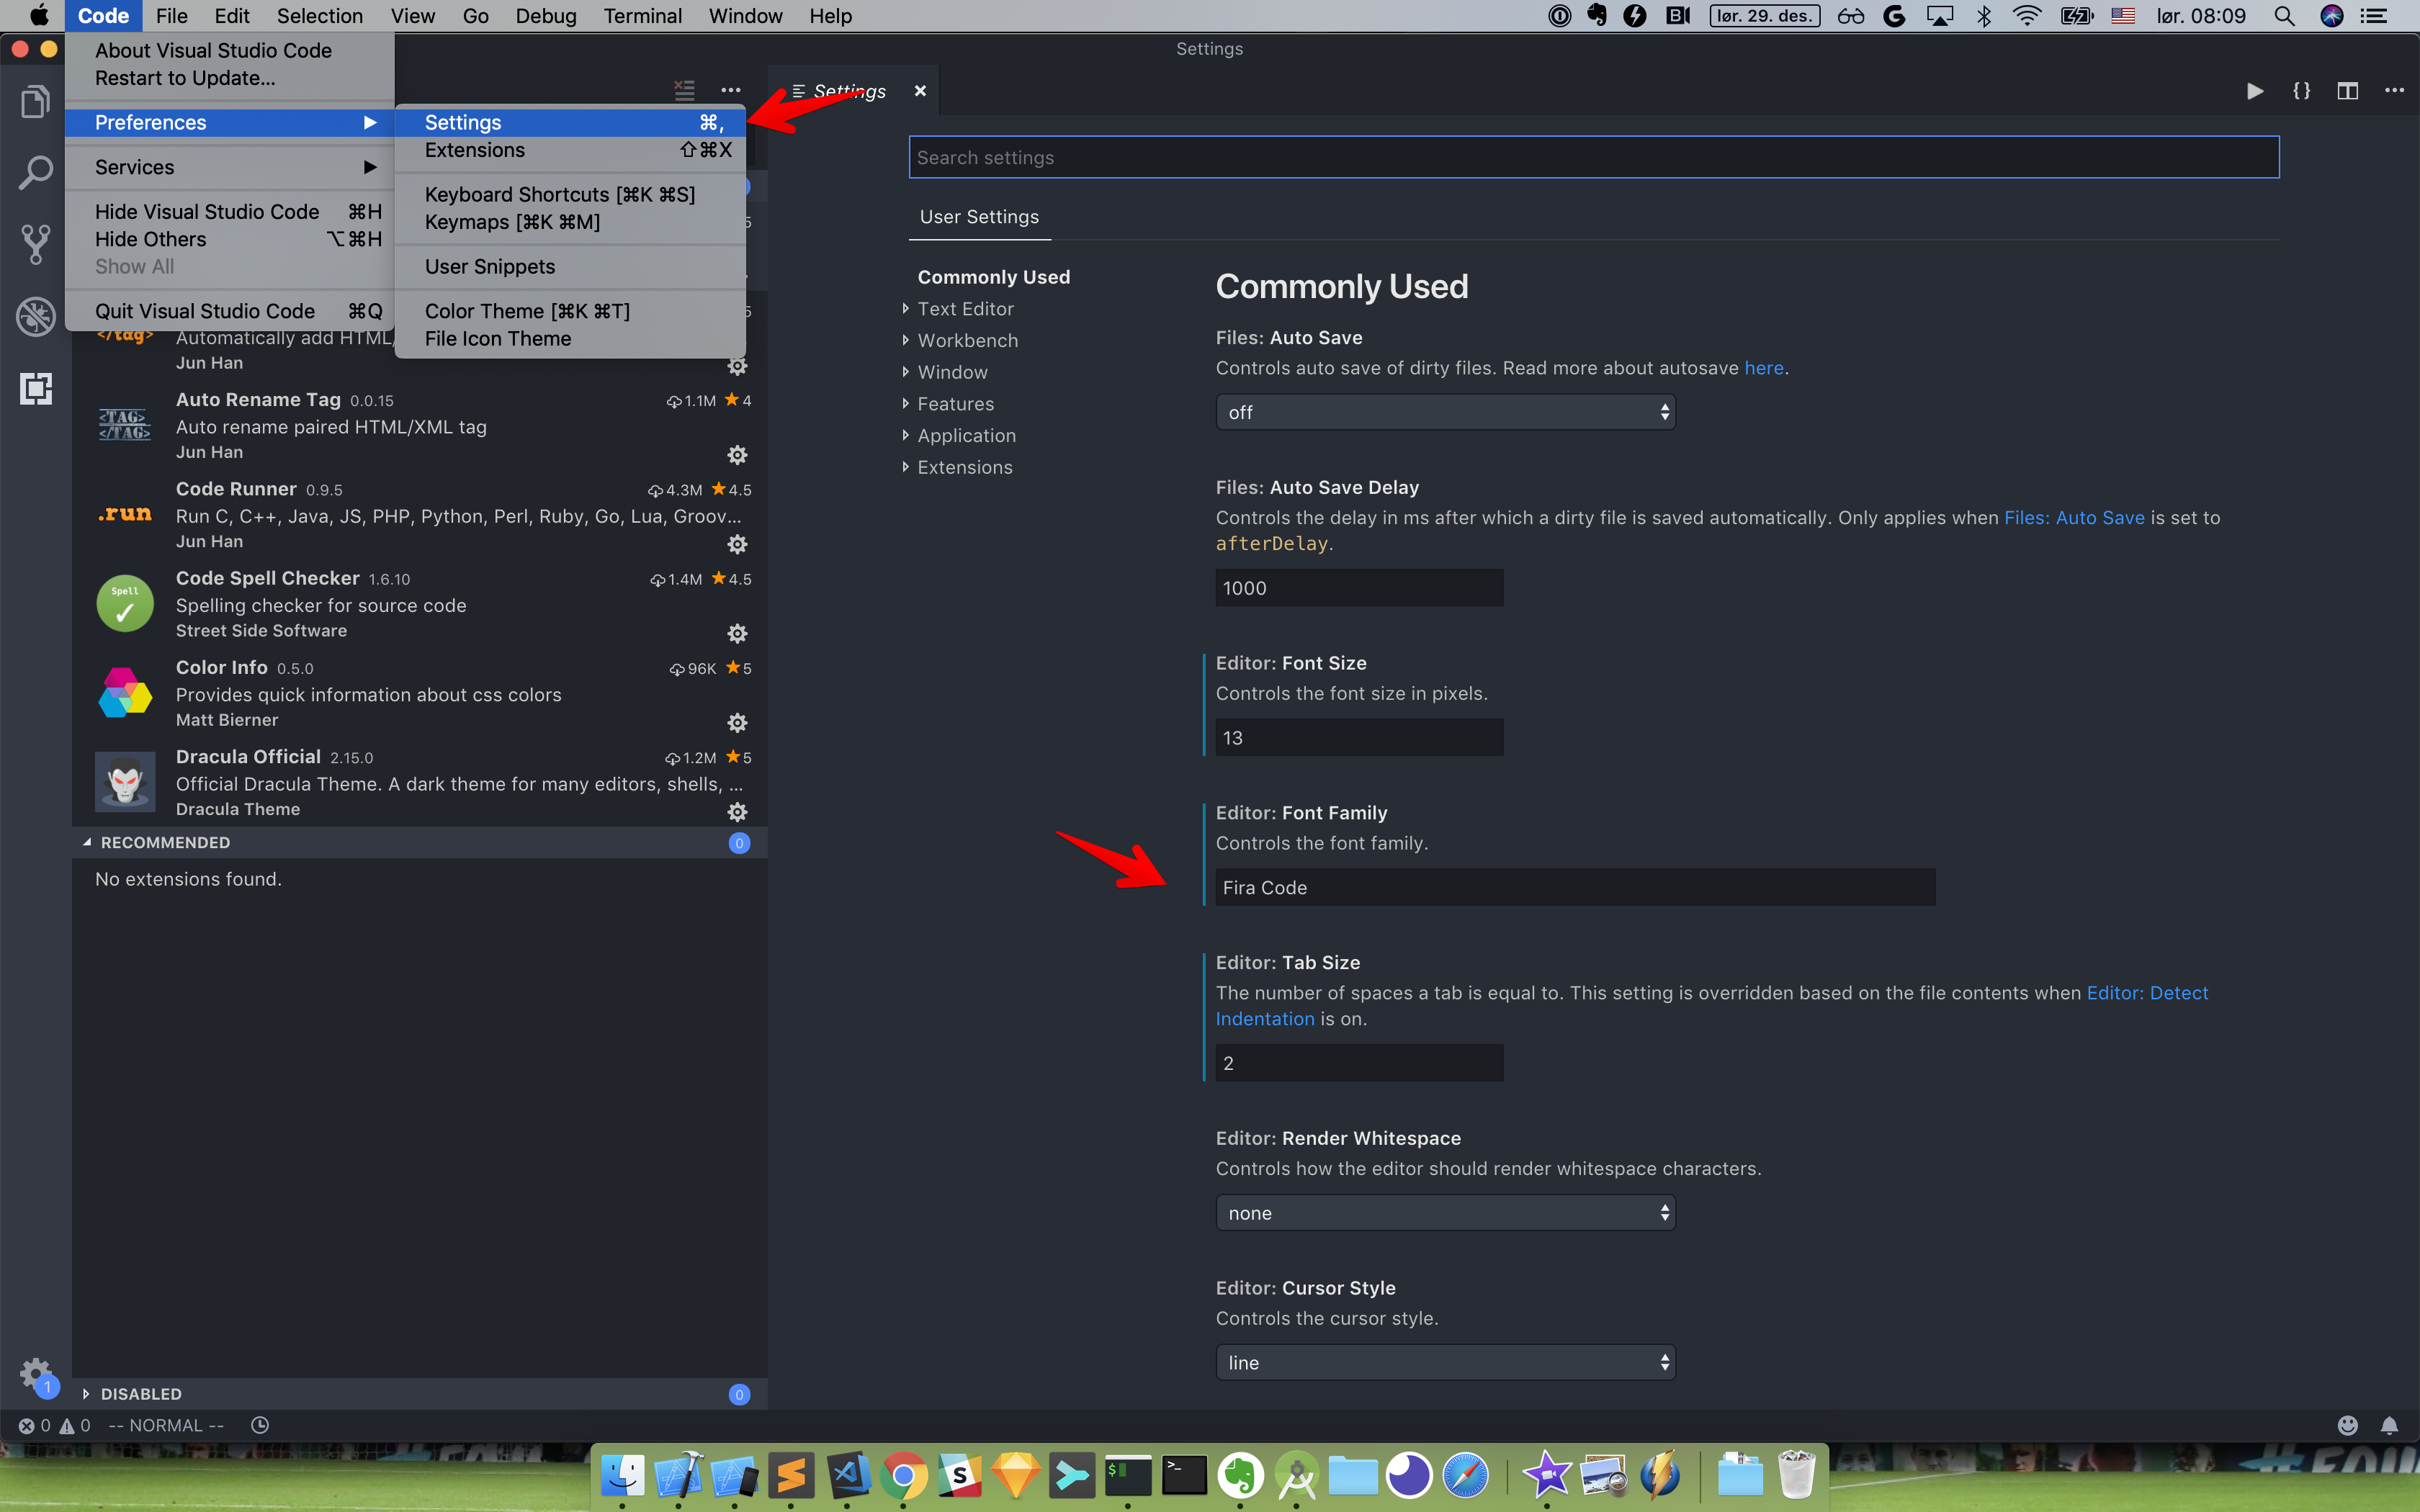
Then go to Preferences -> Settings to specify Fira Code . Remember to check for Font Ligatures
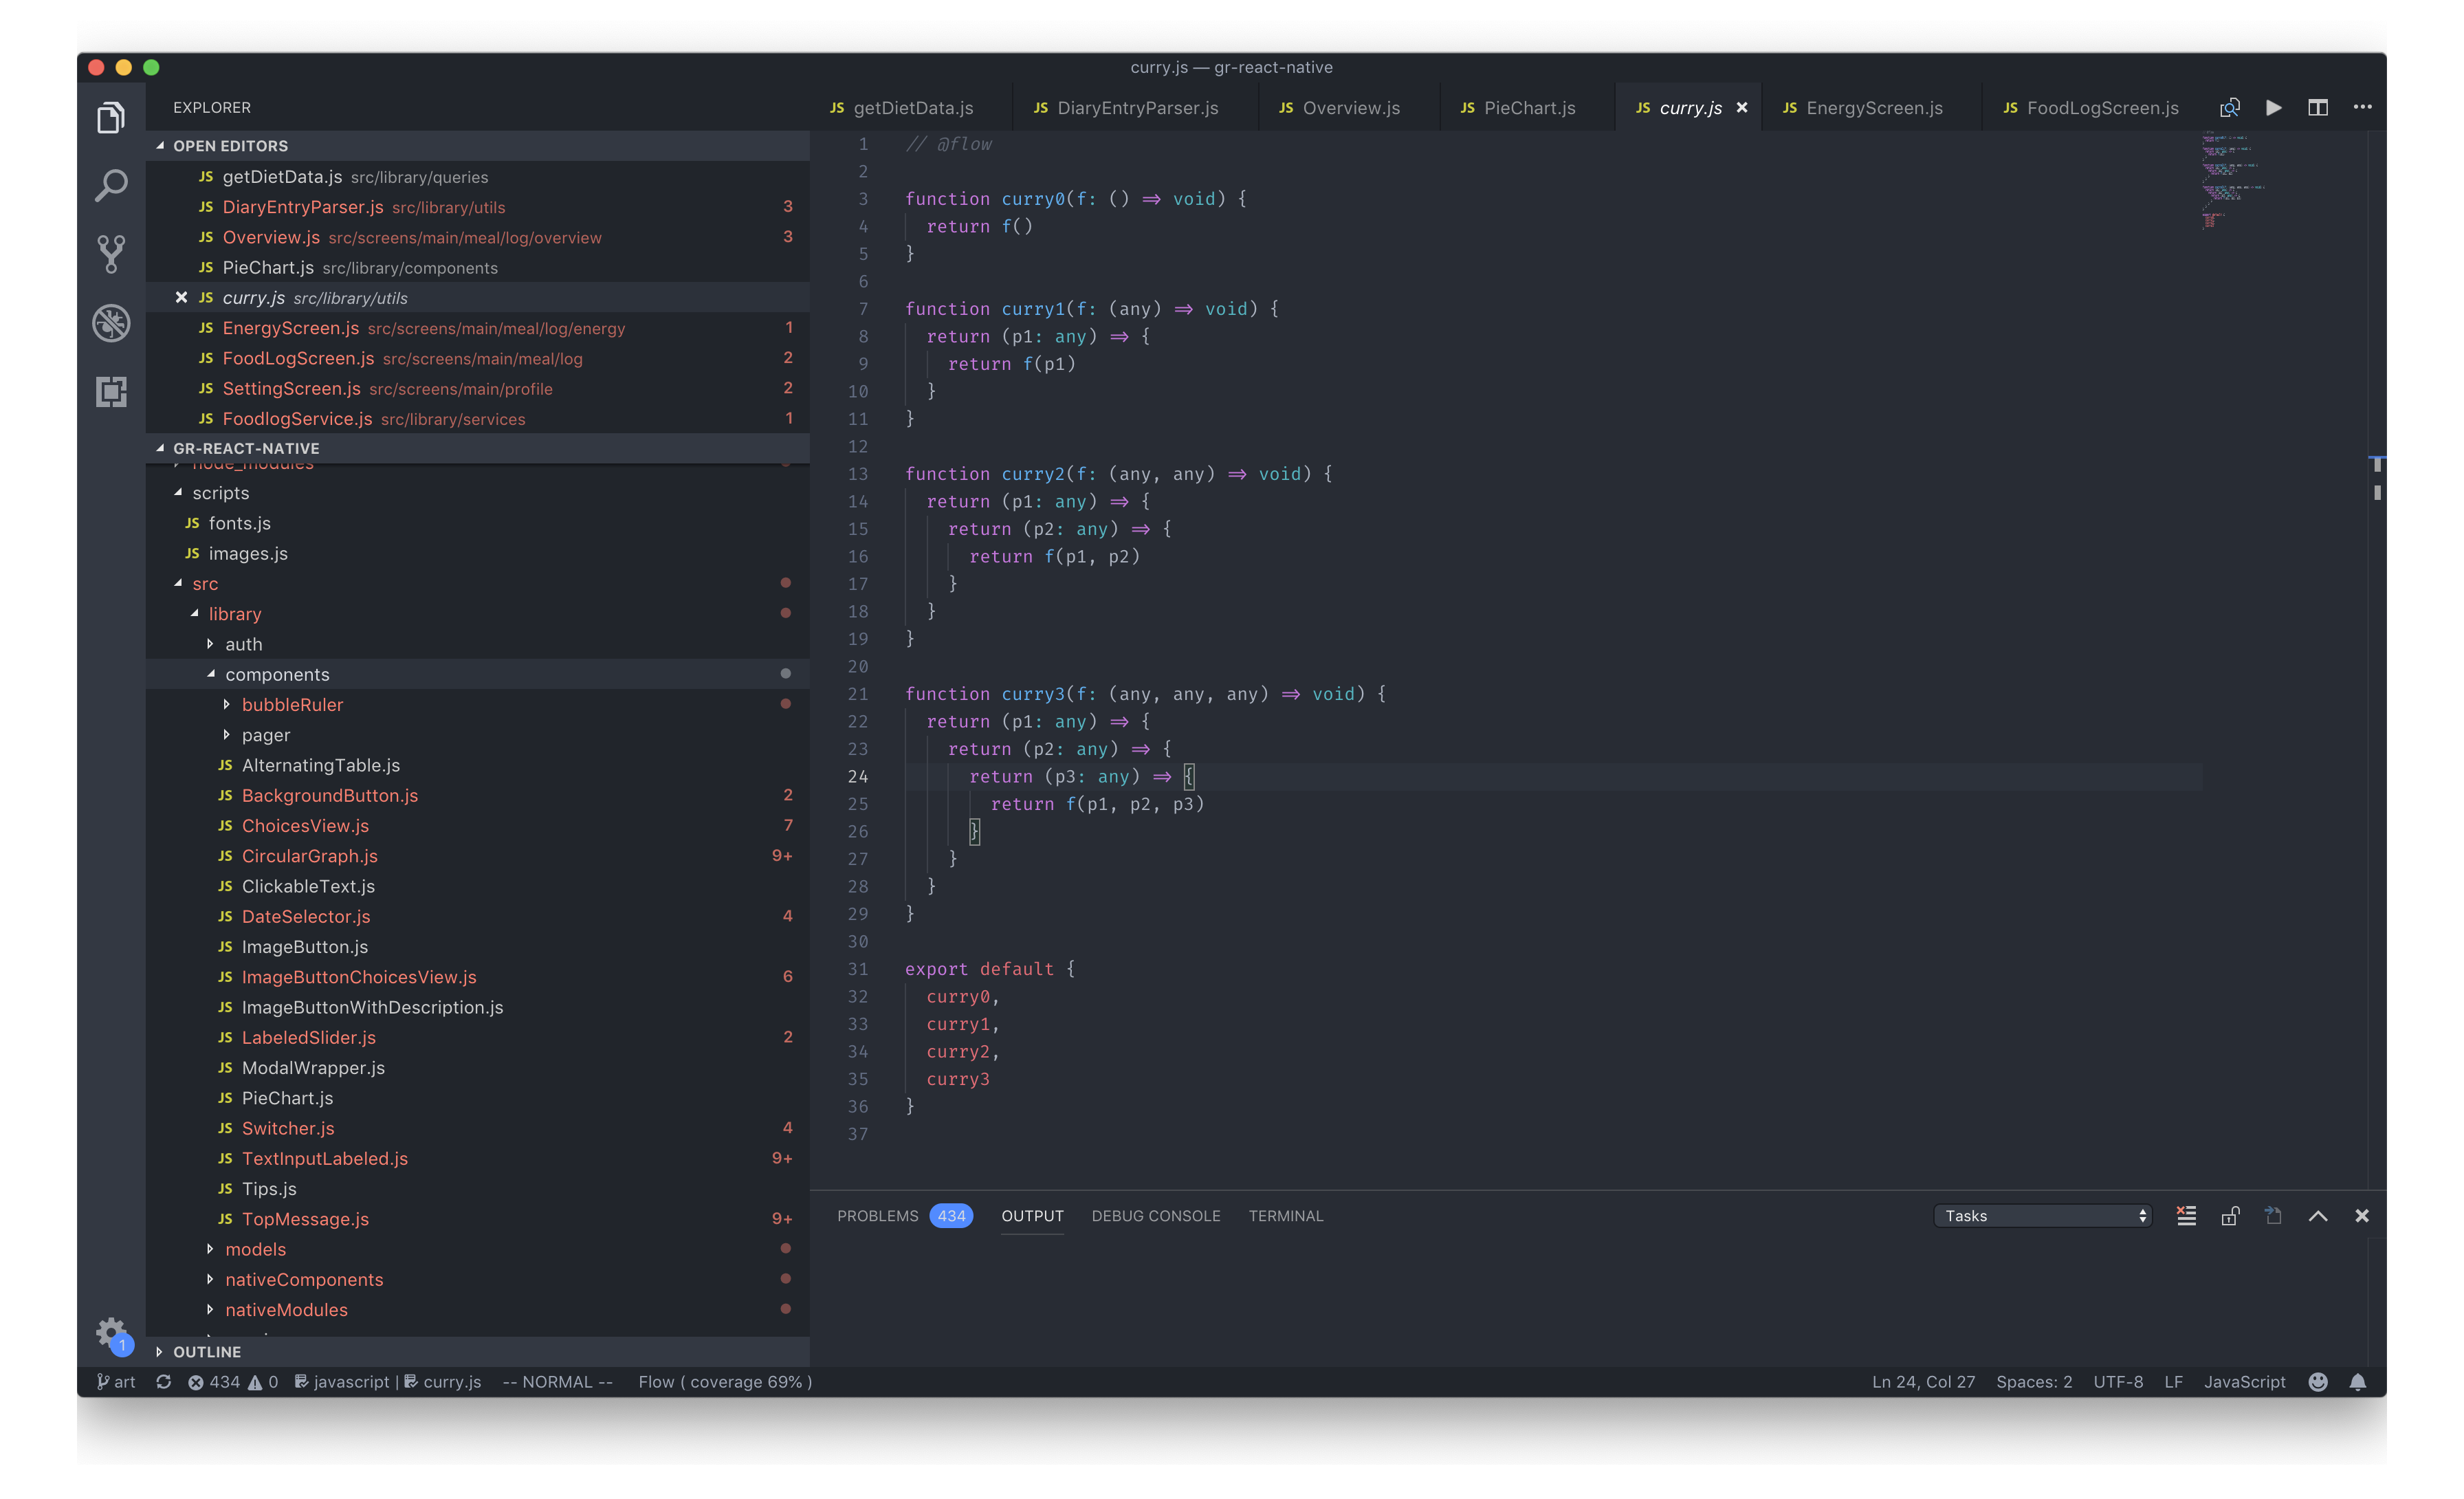
The result should look like this
Updated at 2020-12-05 05:33:52
Issue #280
Original post https://medium.com/fantageek/how-to-fix-wrong-status-bar-orientation-in-ios-f044f840b9ed
When I first started iOS, it was iOS 8 at that time, I had a bug that took my nearly a day to figure out. The issue was that the status bar always orients to device orientation despite I already locked my main ViewController to portrait. This was why I started notes project on GitHub detailing what issues I ‘ve been facing.
ViewController is locked to portrait but the status bar rotates when device rotates · Issue #2 ·…
PROBLEM The rootViewController is locked to portrait. When I rotates, the view controller is portrait, but the status…github.com
Now it is iOS 12, and to my surprise people still have this issues. Today I will revise this issue in iOS 12 project and use Swift.
Most apps only support portrait mode, with 1 or 2 screens being in landscape for image viewing or video player. So we usually declare Portrait, Landscape Left and Landscape Right.

Since iOS 7, apps have simple design with focus on content. UIViewController was given bigger role in appearance specification.
Supposed that we have a MainViewController as the rootViewController and we want this to be locked in portrait mode.
[@UIApplicationMain](http://twitter.com/UIApplicationMain)
class AppDelegate: UIResponder, UIApplicationDelegate {
 var window: UIWindow?
 func application(_ application: UIApplication, didFinishLaunchingWithOptions launchOptions: [UIApplication.LaunchOptionsKey: Any]?) -> Bool {
   window = UIWindow(frame: UIScreen.main.bounds)
   window?.rootViewController = MainViewController()
   window?.makeKeyAndVisible()
   return true
 }
}
There is a property called UIViewControllerBasedStatusBarAppearance that we can specify in Info.plist to assert that we want UIViewController to dynamically control status bar appearance.
A Boolean value indicating whether the status bar appearance is based on the style preferred for the current view controller.
Start by declaring in Info.plist
<key>UIViewControllerBasedStatusBarAppearance</key>
<true/>
And in MainViewController , lock status bar to portrait
import UIKit

class MainViewController: UIViewController {

let label = UILabel()

override func viewDidLoad() {
    super.viewDidLoad()

view.backgroundColor = .yellow

label.textColor = .red
    label.text = "MainViewController"
    label.font = UIFont.preferredFont(forTextStyle: .headline)
    label.sizeToFit()

view.addSubview(label)
  }

override func viewDidLayoutSubviews() {
    super.viewDidLayoutSubviews()

label.center = CGPoint(x: view.bounds.size.width/2, y: view.bounds.size.height/2)
  }

override var supportedInterfaceOrientations: UIInterfaceOrientationMask {
    return .portrait
  }
}
The idea is that no matter orientation the device is, the status bar always stays in portrait mode, the same as our MainViewController .
But to my surprise, this is not the case !!! As you can see in the screenshot below, the MainViewController is in portrait, but the status bar is not.
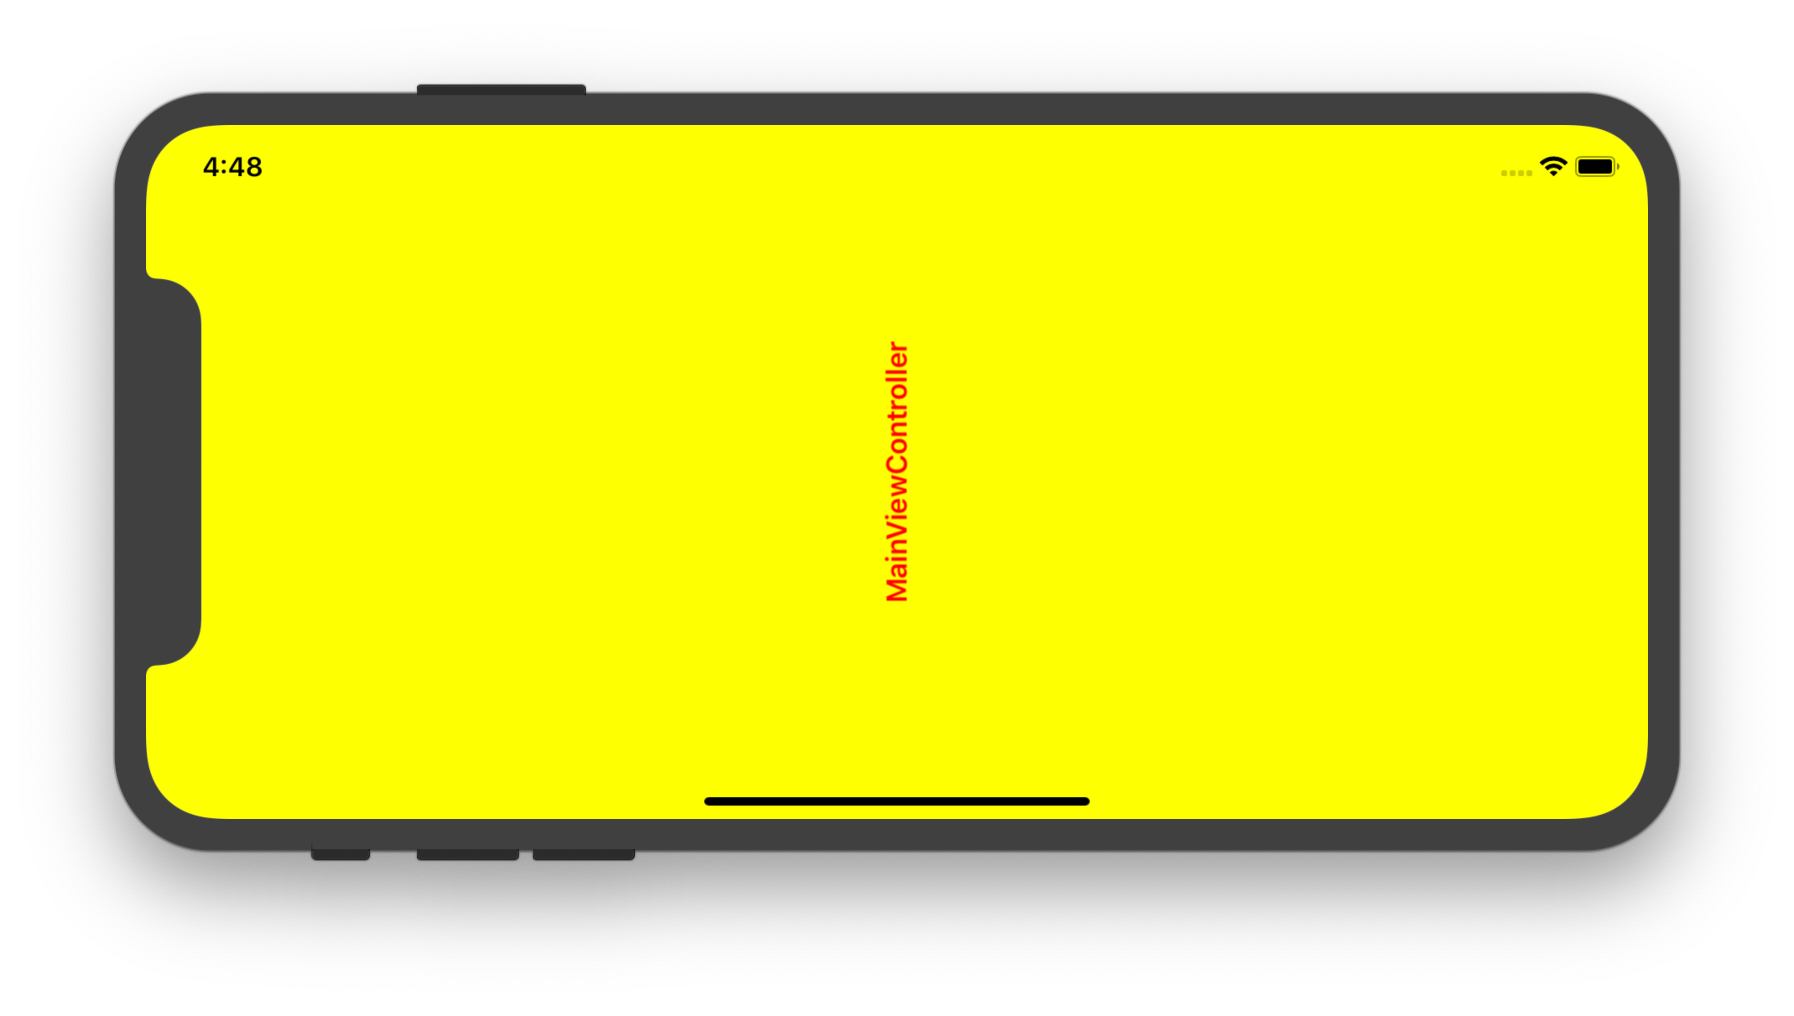
It took me a while to figure out that while I declare UIWindow in code, I also have MainStoryboard that configures UIWindow
<key>UIMainStoryboardFile</key>
<string>Main</string>
And this UIWindow from Storyboard has a default root ViewController
import UIKit

class ViewController: UIViewController {

override func viewDidLoad() {
    super.viewDidLoad()

  }
}In iOS, the status bar is hidden in landscape by default.
Setting UIViewControllerBasedStatusBarAppearance to false means that we want this default behaviour
Setting UIViewControllerBasedStatusBarAppearance to true means we want to have control over the status bar appearance. So to hide the status bar, we must override prefersStatusBarHidden in the rootViewController, the presented view controller or the full screen view controller
As you can see, the problem is that the ViewController from UIWindow in Storyboard clashes with our MainViewController in code, hence a lot of confusion.
The solution is simple, remove Main.storyboard and don’t use that in project
<key>UIMainStoryboardFile</key>
<string>Main</string>
Now we get our desired behaviour, status bar and view controllers are always locked to portrait regardless of the device orientation.
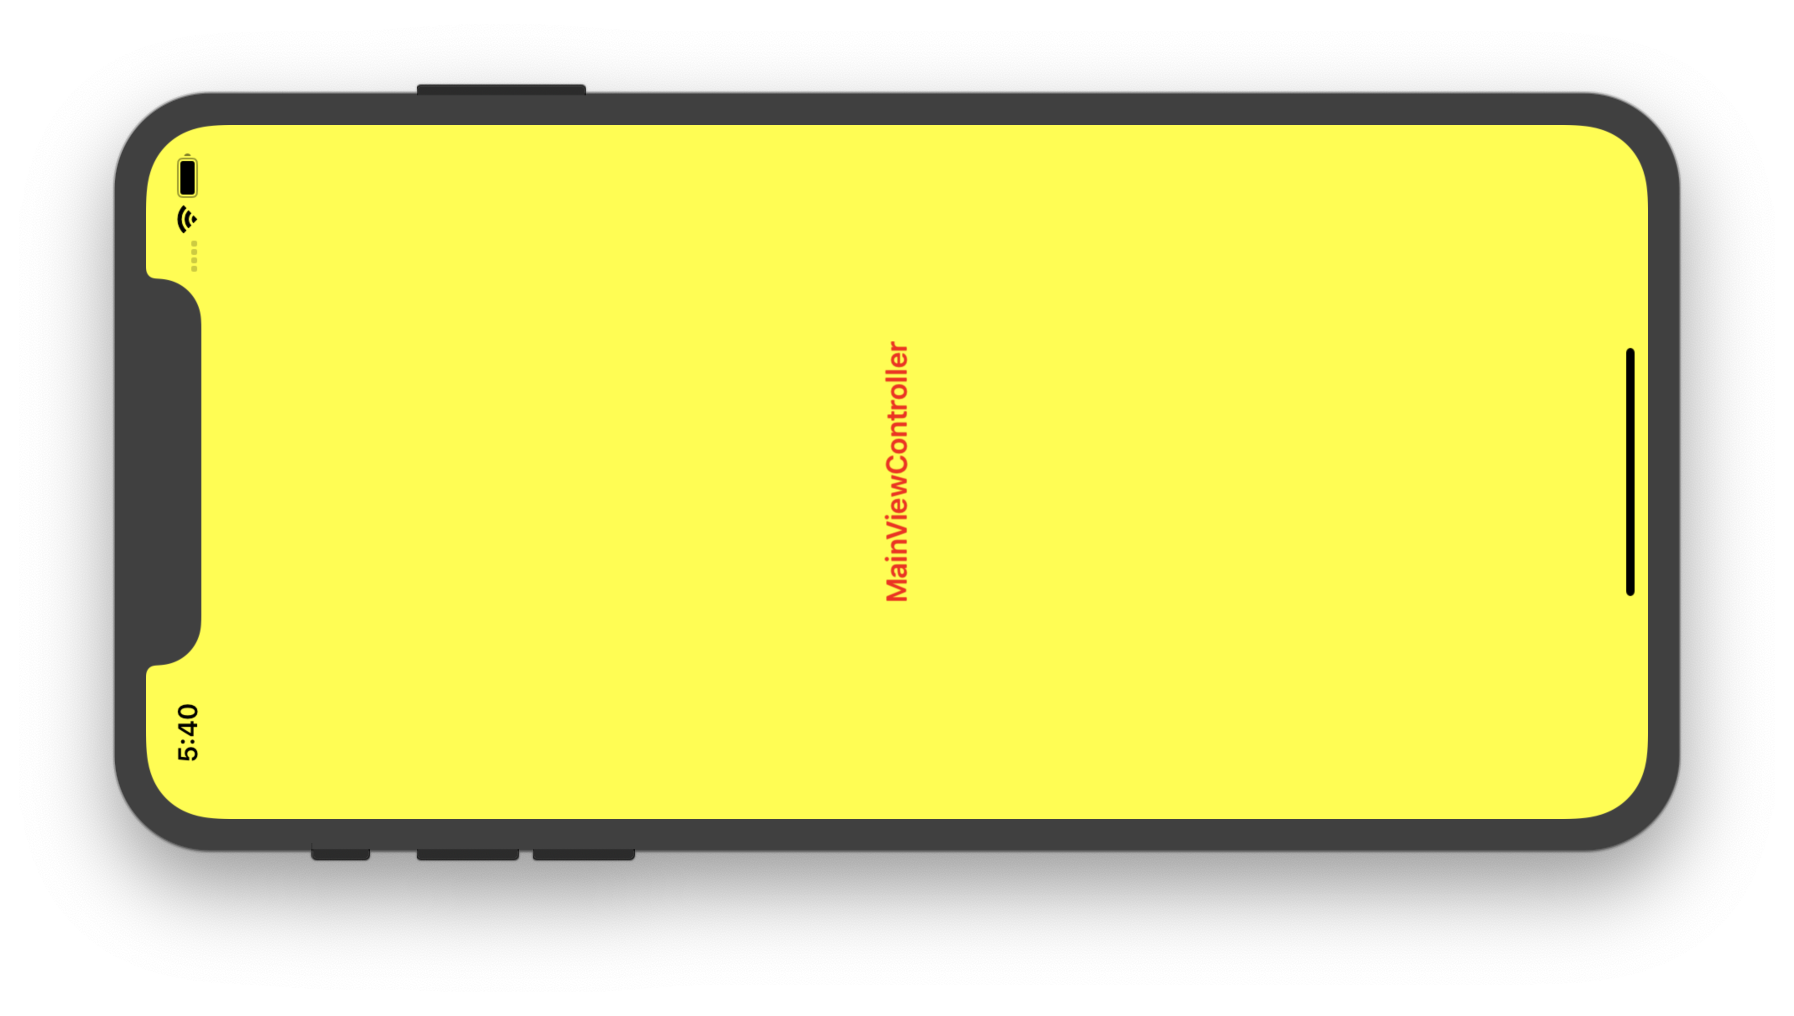
If you use code like me to setup UI, remember to clean up the generated storyboard and ViewController that comes default when project was generated by Xcode.
Issue #279
Original post https://medium.com/fantageek/what-is-create-react-native-app-9f3bc5a6c2a3
As someone who comes to React Native from iOS and Android background, I like React and Javascript as much as I like Swift and Kotlin. React Native is a cool concept, but things that sound good in theory may not work well in practice.
Up until now, I still don’t get why big companies choose React Native over native ones, as in the end what we do is to deliver good experience to the end user, not the easy development for developers. I have seen companies saying goodbye to React Native and people saying that React Native is just React philosophy learn once, write anywhere, that they choose React Native mainly for the React style, not for cross platform development. But the fact can’t be denied that people choose React Native mostly for cross platform development. Write once, deploy many places is so compelling. We still of course need to tweak a bit for each platform, but most of the code is reuse.
I have to confess that I myself spend less time developing than digging into compiling and bundling issues. Nothing comes for free. To be successful with React Native, not only we need strong understanding on both iOS and Android, but also ready to step into solving issues. We can’t just open issues, pray and wait and hope someone solves it. We can’t just use other dependencies blindly and call it a day. A trivial bug can be super hard to fix in React Native, and our projects can’t wait. Big companies have, of course, enough resource to solve issues, but for small teams, React Native is a trade off decision to consider.
Enough about that. Let’s go to official React Native getting started guide. It recommend create-react-native-app. As someone who made electron.js apps and used create-react-app, I choose create-react-native-app right away, as I think it is the equivalent in terms of creating React Native apps. I know there is react-native init and though that it must have some problems, otherwise people don’t introduce create-react-native-app.
After playing with create-react-native-app and eject, and after that read carefully through its caveats, I know it’s time to use just react-native init . In the end I just need a quick way to bootstrap React Native app with enough tooling (Babel, JSX, Hot reloading), however create-react-native-app is just a limited experience in Expo with opinionated services like Expo push notification docs.expo.io/versions/latest/guides/push-notifications.html and connectivity to Google Cloud Platform and AWS. I know every thing has its use case, but in this case it’s not the tool for me. Dependencies are the root of all evils, and React Native already has a lot, I don’t want more unnecessary things.
The concept of Expo is actually nice, in that it allows newbie to step into React Native fast with recommended tooling already set up, and the ability to reject later. It also useful in sharing Snack to help reproduce issues. But the name of the repo create-react-native-app is a bit misleading.
Maybe it’s just me, or …
dev.to/kylessg/ive-released-over-100-apps-in-react-native-since-2015-ask-me-anything-1m9g
No, I would never use Expo for a serious project. I imagine what ends up happening in most projects is they reach a point where they have to ultimately eject the app (e.g. needing a native module) which sounds very painful.
dev.to/gaserd/why-i-do-not-use-expo-for-react-native-dont-panic-1bp
If you use EXPO, you use wrapper-wrapper.
hackernoon.com/understanding-expo-for-react-native-7bf23054bbcd
Expo is a great tool for getting started quickly with React Native. However, it’s not always something that can get you to the finish line. From what I’ve seen, the Expo team is making a lot of great decisions with their product roadmap. But their rapid pace of development has often led to bugs in new features.
docs.expo.io/versions/latest/introduction/why-not-expo
JS and assets managed by Expo require connectivity to Google Cloud Platform and AWS
http://www.albertgao.xyz/2018/05/30/24-tips-for-react-native-you-probably-want-to-know
If you are coming from web world, you need to know that create-react-native-app is not the create-react-app equivalent
But if you want more control over your project, something like tweaking your react native Android and iOS project, I highly suggest you use the official react-native-cli. Still, one simple command, react-native init ProjectName, and you are good to go.
medium.com/@paulsc/react-native-first-impressions-expo-vs-native-9565cce44c92
I wish I would have used “Native” from the get go, instead I wasted quite a bit of time with Expo
Maybe the biggest one for me is that the whole thing feels like adding another layer of indirection and complexity to an already complicated stack
I wish Expo would get removed from the react-native Getting Started guide to avoid confusing new arrivals
levelup.gitconnected.com/how-i-ditched-expo-for-pure-react-native-fc0375361307
The Expo dev team did a lot of good stuff there, and they are all doing it for free, so I definitely want to thank all of them for providing a smoother entrance to this world. If they ever manage to solve this issue of custom native code somehow, it may become my platform of choice again.
https://medium.com/@aswinmohanme/how-i-reduced-the-size-of-my-react-native-app-by-86-27be72bba640
I love everything about Expo except the size of the binaries. Each binary weighs around 25 MB regardless of your app.
So the first thing I did was to migrate my existing Expo app to React Native.
If you are new to React Native and you think this is the “must” way to go. Check if it meets your needs first.
If you are planning to use third party RN packages that have custom native modules. Expo does not support this functionality and in that case, you will have to eject Expo-Kit. In my opinion, if you are going to eject any kit, don’t use it in the first place. It will probably make things harder than if you hadn’t used the kit at all.
Issue #278
Original post https://medium.com/fantageek/best-places-to-learn-ios-development-85ebebe890cf
It’s good to be software engineers, when you get paid to do what you like best. The good thing about software development is it ‘s changing fast, and challenging. This is also the not good thing, when you need to continuously learn and adapt to keep up with the trends.
This is for those who have been iOS developers for some time. If you have a lot of free time to spend, then congratulations. If you do not, you know the luxury of free time, then it’s time to learn wisely, by selecting only the good resources. But where should I learn from?
Welcome to the technology age, where there are tons to things to keep track of, iOS releases, SDK, 3rd frameworks, build tools, patterns, … Here are my list that I tend to open very often. It is opinionated and date aware. If it was several years ago, then http://nshipster.com/, https://www.objc.io/ should be in the top of the list.
I like to keep track of stuff, via my lists https://github.com/onmyway133/fantastic-ios, https://github.com/onmyway133/fantastic-ios-architecture, https://github.com/onmyway133/fantastic-ios-animation. Also you should use services like https://feedly.com/ to organise your subscription feed.
The point of this is for continuous learning, so it should be succinct. There is no particular order.
This is probably one of the most visited site for learning iOS development. All the tutorials are well designed and easy to follow. If you can, you can subscribe to videos https://videos.raywenderlich.com/courses. I myself find watching video much more relaxing. And the team is reviving its Podcast https://www.raywenderlich.com/rwpodcast which I really recommend
The people behind objc.io started their swift talks last year. I’m a fan of clean code, so these talks are really helpful when they show how to organise and write code. Also, they have awesome guests from some companies too.
If you have less time, then this is great option. These covers many aspects of the iOS SDKs, and the videos are weekly.
NSScreencast: Bite-sized Screencasts for iOS Development
Quality videos on iOS development, released each week.nsscreencast.com
I actually learn a lot from reading John ‘s blog. He shows various tips on iOS programming and the Swift language. Also his podcast is a must subscribe https://www.swiftbysundell.com/podcast/. I’ve listened to many podcasts, but I like this best.
All posts
Like many abstractions and patterns in programming, the goal of the builder pattern is to reduce the need to keep…www.swiftbysundell.com
I like this because the content is short, and focused. I can easily follow and grasp the gist immediately. And it has large collection of various contents.
AppCoda - Learn Swift & iOS Programming by Doing
AppCoda is an educational startup that focuses on teaching people how to learn Swift & iOS programming blog. Our…www.appcoda.com
This has updated posts for every new SDK features. Also, the content is short and to the points. It’s like wikipedia for iOS development.
Use Your Loaf
If you are upgrading to Xcode 10 and migrating to Swift 4.2 you are likely to see a number of errors because Swift 4.2…useyourloaf.com
The number of newsletters now is like stars on the sky. Among them I like iOS Goodies the best. It is driven by community https://github.com/iOS-Goodies/iOS-Goodies and contains lots of new awesome stuff each week.
iOS Goodies
weekly iOS newsletter curated by Marius Constantinescu logo by José Torre founded by Rui Peres and Tiago Almeidaios-goodies.com
This is a bit advanced where it discusses Swift languages. But it’s good to read if you want to get yourself to know more about hidden language features.
Erica Sadun
Recently, some of my simulators launched and loaded just fine. Others simply went black. It didn’t seem to matter which…ericasadun.com
I just discovered this recently, but I kinda like the blog. The number of posts are growing, and those are good reads about iOS SDKs.
swifting.io
Our dear friend and a founder of swifting.io - Michał, had an accident two months ago. He had a bad luck and got hit by…swifting.io
I learn many good patterns and clean code from reading this blog. He suggests many ideas on refactoring code. Really recommend.
Khanlou
To convert this into an infinite collection, we need to think about a few things. First, how will we represent an index…khanlou.com
This has been in my favorite list for a long time. Although this is a bit advanced, it is good to dive deep into Swift.
Articles - Ole Begemann
Edit descriptionoleb.net
This is my favorite, too. This shows many practical advices for iOS development. He also talks about build tool that I really like.
Posts
Have you ever written tests? Usually, they use equality asserts, e.g. XCTAssertEqual, what happens if the object isn’t…merowing.info
Realm collects a huge collection of iOS videos from conferences and meet ups, and it has transcripts too. It’s more than enough to fill your free time.
Realm Academy - Expert content from the mobile experts
Developer videos, articles and tutorials from top conferences, top authors, and community leaders.academy.realm.io
This has posts in both iOS and Android. But I really like the contents, very good.
App Development and Design Blog | Big Nerd Ranch
Our blog offers app development and design tutorials, tips and tricks for software engineering and insights for team…www.bignerdranch.com
This is very advanced, and suitable for hardcore fans. I feel small when reading the posts.
Cocoa with Love
The upcoming CwlViews library offers a syntax for constructing views that has a profound effect on the Cocoa…www.cocoawithlove.com
I really enjoy reading blog posts from Atomic Object. There are posts for many platforms, and about life, so you need to filter for iOS development.
Atomic Spin
More and more studies have shown that the most effective teams are the ones whose members trust each other and feel…spin.atomicobject.com
This has very good articles about iOS. Highly recommend.
React Native Animations: Part 2 - RaizException - Raizlabs Developer Blog
When we build apps for our clients, beautiful designs and interactions are important. But equally important is…www.raizlabs.com
This has topics for many iOS features. All the contents are good and succinct.
iOS Development - Computer Vision iOS Apps
Computer Vision iOS Appswww.invasivecode.com
I like posts about animation and replicating app features. This has all of them.
This has a series of small tips, on how to use iOS SDKs and other 3rd frameworks. Good to know.
Little Bites of Cocoa - Tips and techniques for iOS and Mac development - Weekday mornings at 9:42…
Tips and techniques for iOS and Mac development - Weekday mornings at 9:42 AM. The goal of each of these ‘bites’ is to…littlebitesofcocoa.com
All the posts are good, short and to the points. Really like this.
@samwize
¯_(ツ)_/¯samwize.com
I think that’s enough. Feel free to share and suggest other awesome blogs that I might miss. Also, it’s good to contribute back to community by writing your blog posts. You will learn a lot by sharing.
Issue #277
Original post https://codeburst.io/using-bitrise-ci-for-react-native-apps-b9e7b2722fe5
After trying Travis, CircleCI and BuddyBuild, I now choose Bitrise for my mobile applications. The many cool steps and workflows make Bitrise an ideal CI to try. Like any other CIs, the learning steps and configurations can be intimidating at first. Things that work locally can fail on CI, and how to send things that are marked as git ignore to be used in CI builds are popular issues.
In this post I will show how to deploy React Native apps for both iOS and Android. The key thing to remember is to have the same setup on CI as you have locally. They are to ensure exact same versions for packages and tools, to be aware of file patterns in gitignore as those changes won’t be there on CI, and how to property use environment variables and secured files.
This post tried to be intuitive with lots of screenshots. Hope you learn something and avoid the wasted hours that I have been too.
In its simplest sense, React Native is just Javascript code with native iOS and Android projects, and Bitrise has a very good support for React Native. It scans ios and android folder, and give suggestion about scheme and build variants to build.
Another good thing about Bitrise is its various useful steps and workflows. Unlike other CIs where we have to spend days on how to property edit the configuration file, Bitrise has a pretty good UI to add and edit steps. Steps are just custom scripts, and we can write pretty much what we like. Most of the predefined steps are open source. Here are a few
Unless you use the step Build with Simulator , you will need provisioning profile and certificates with private keys in order to build for devices.
React Native moves fast and break things. If you don’t have same version of React Native, you will have hard time figuring out why the builds constantly fail on CI.
Currently I use React Native 0.57.0, so I enter install react-native@0.57.0 to let Bitrise install the same version. But normally you just need to npm install as versions should be explicitly defined in package.json file.
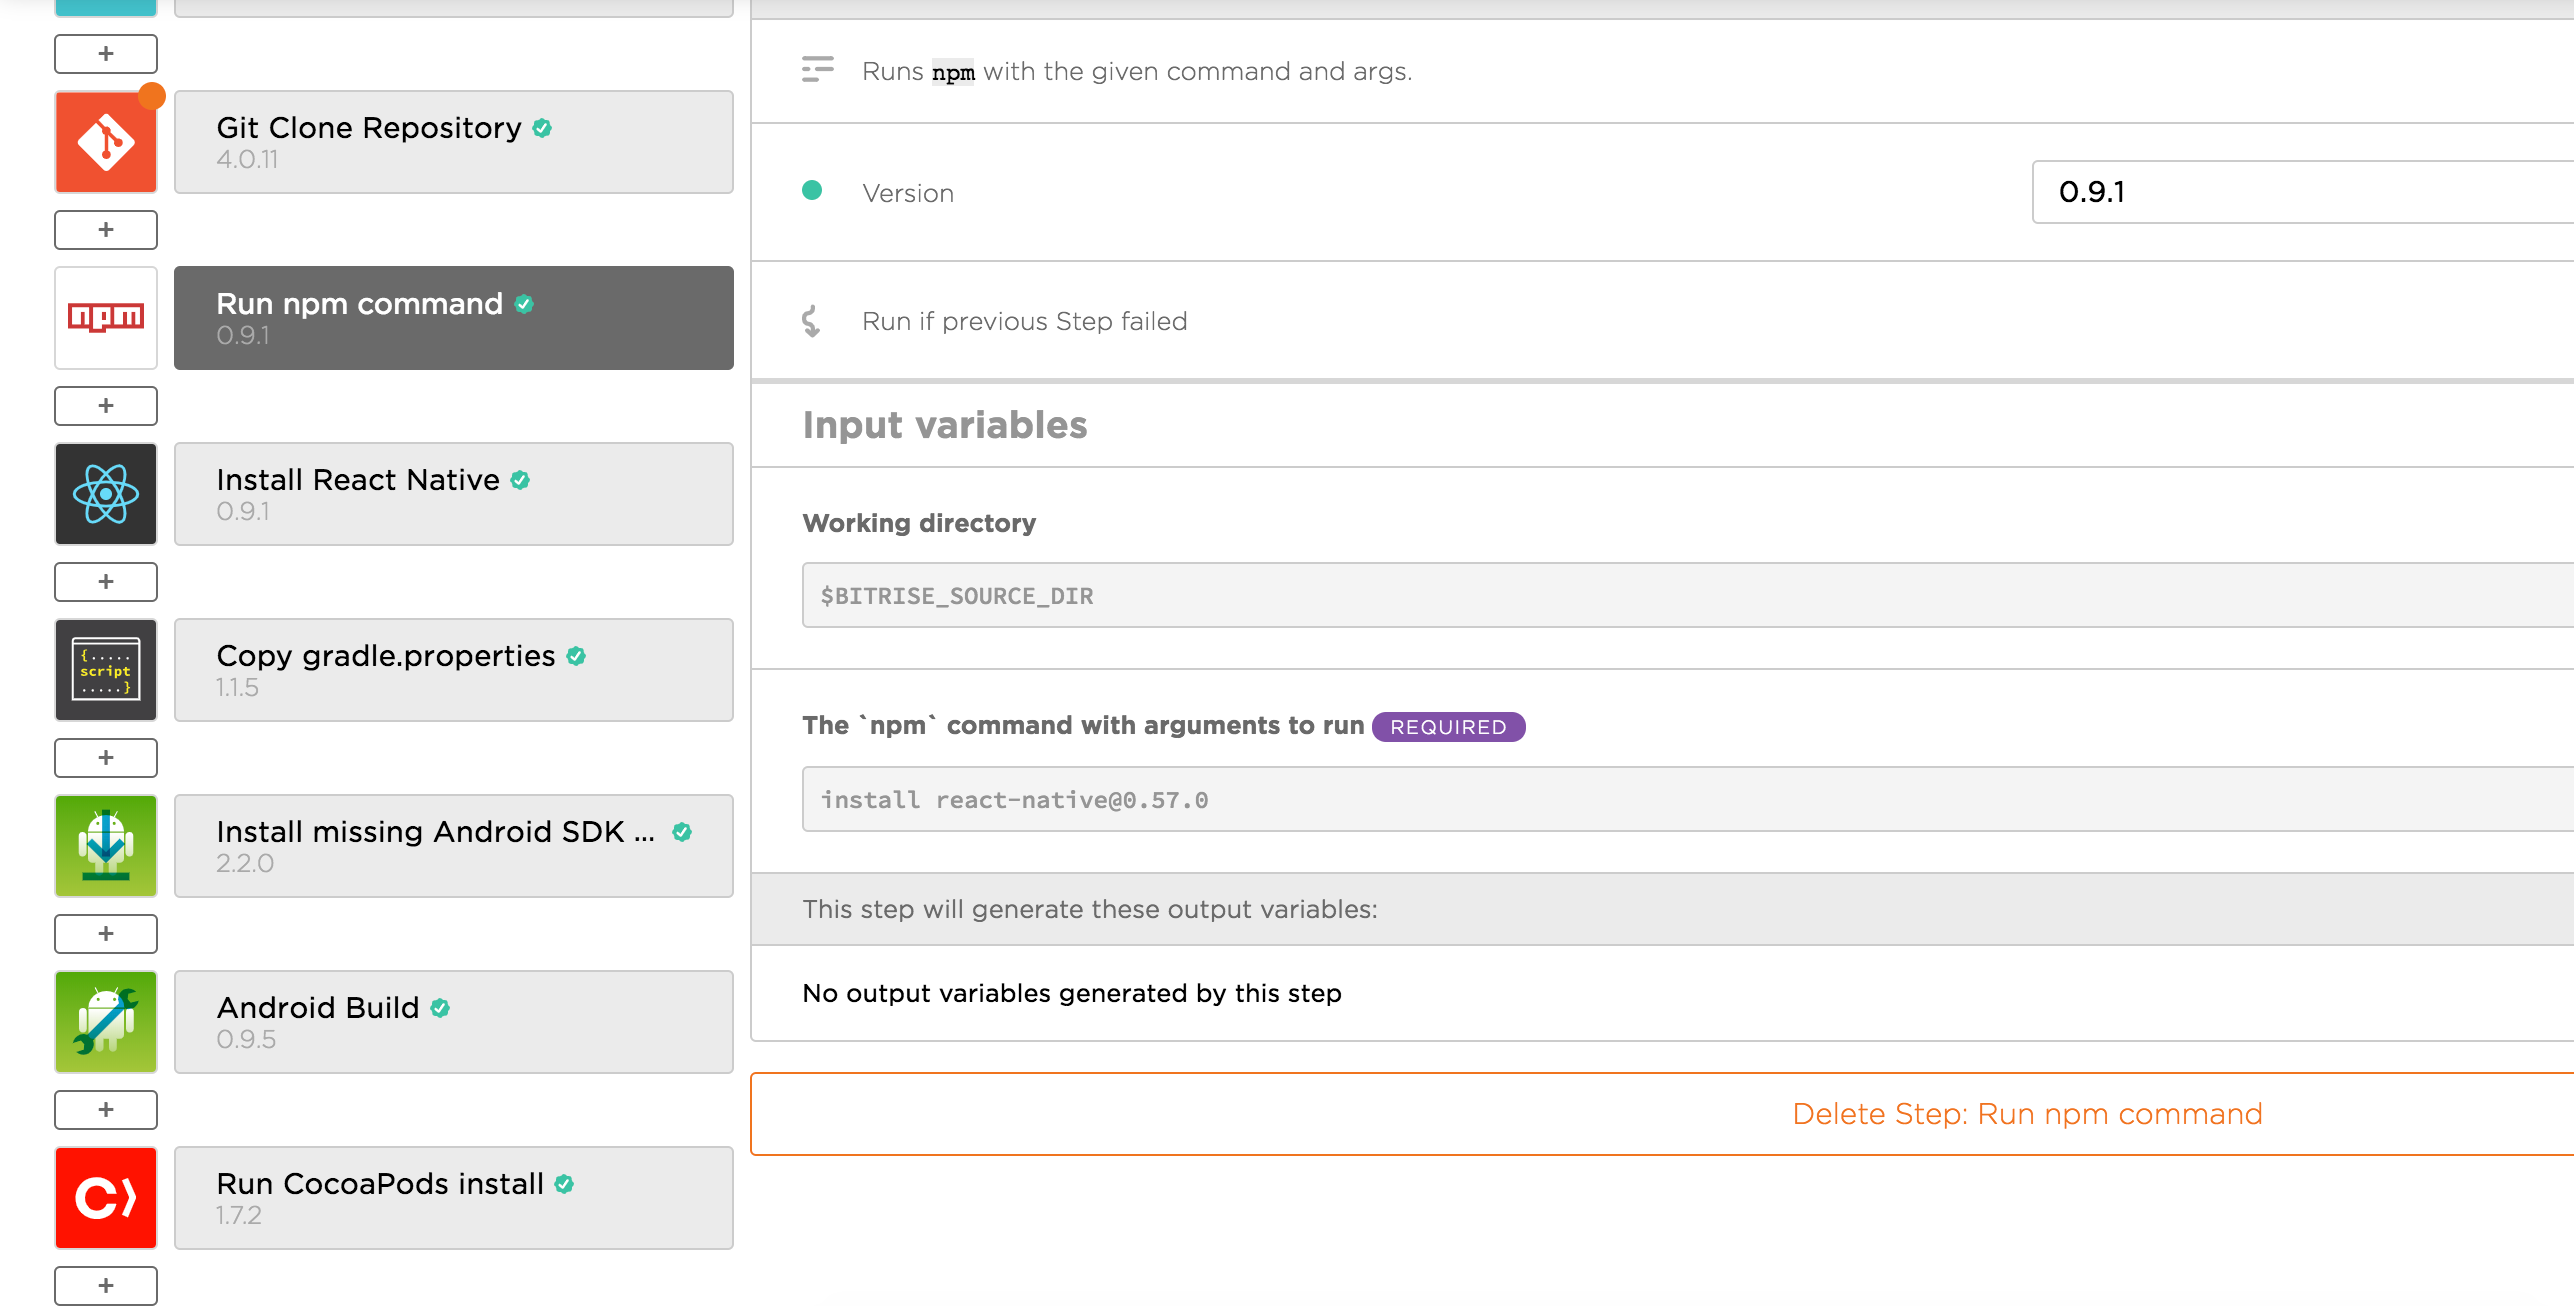
Also, we need to make sure we have the same version of react-native-cli with Install React Native step

It’s safe to have the same CocoaPods version. For Xcode 10, we need at least CocoaPods 1.6.0.beta-1 to avoid the bug Skipping code signing because the target does not have an Info.plist file. Note that our Xcode project is inside ios folder, so we specify ./ios/Podfile for Podfile path
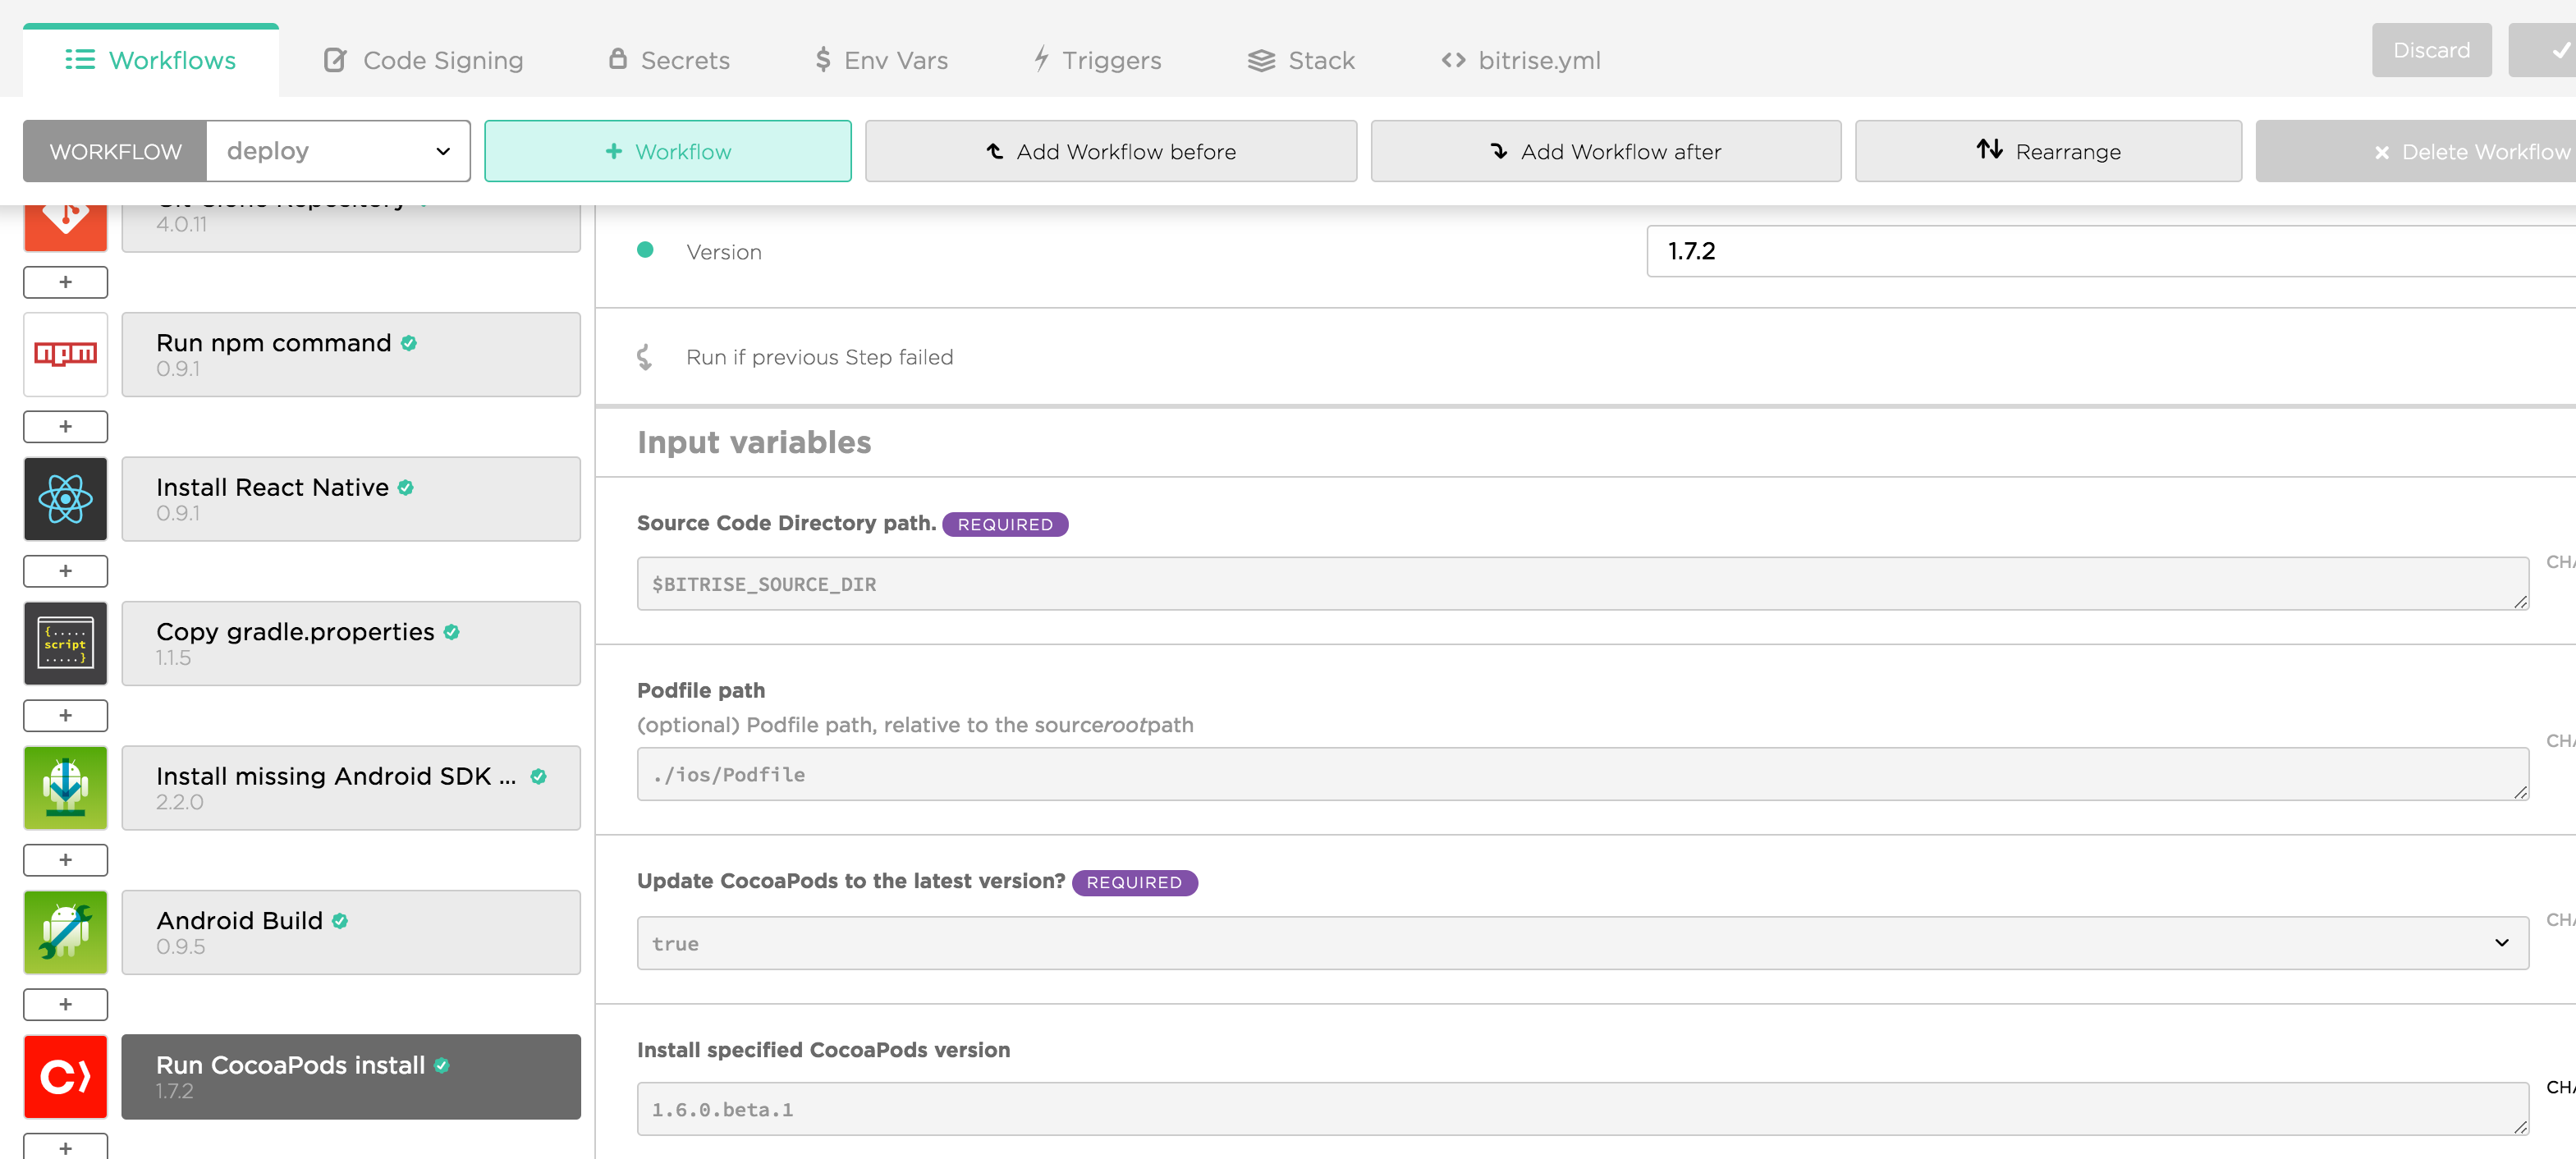
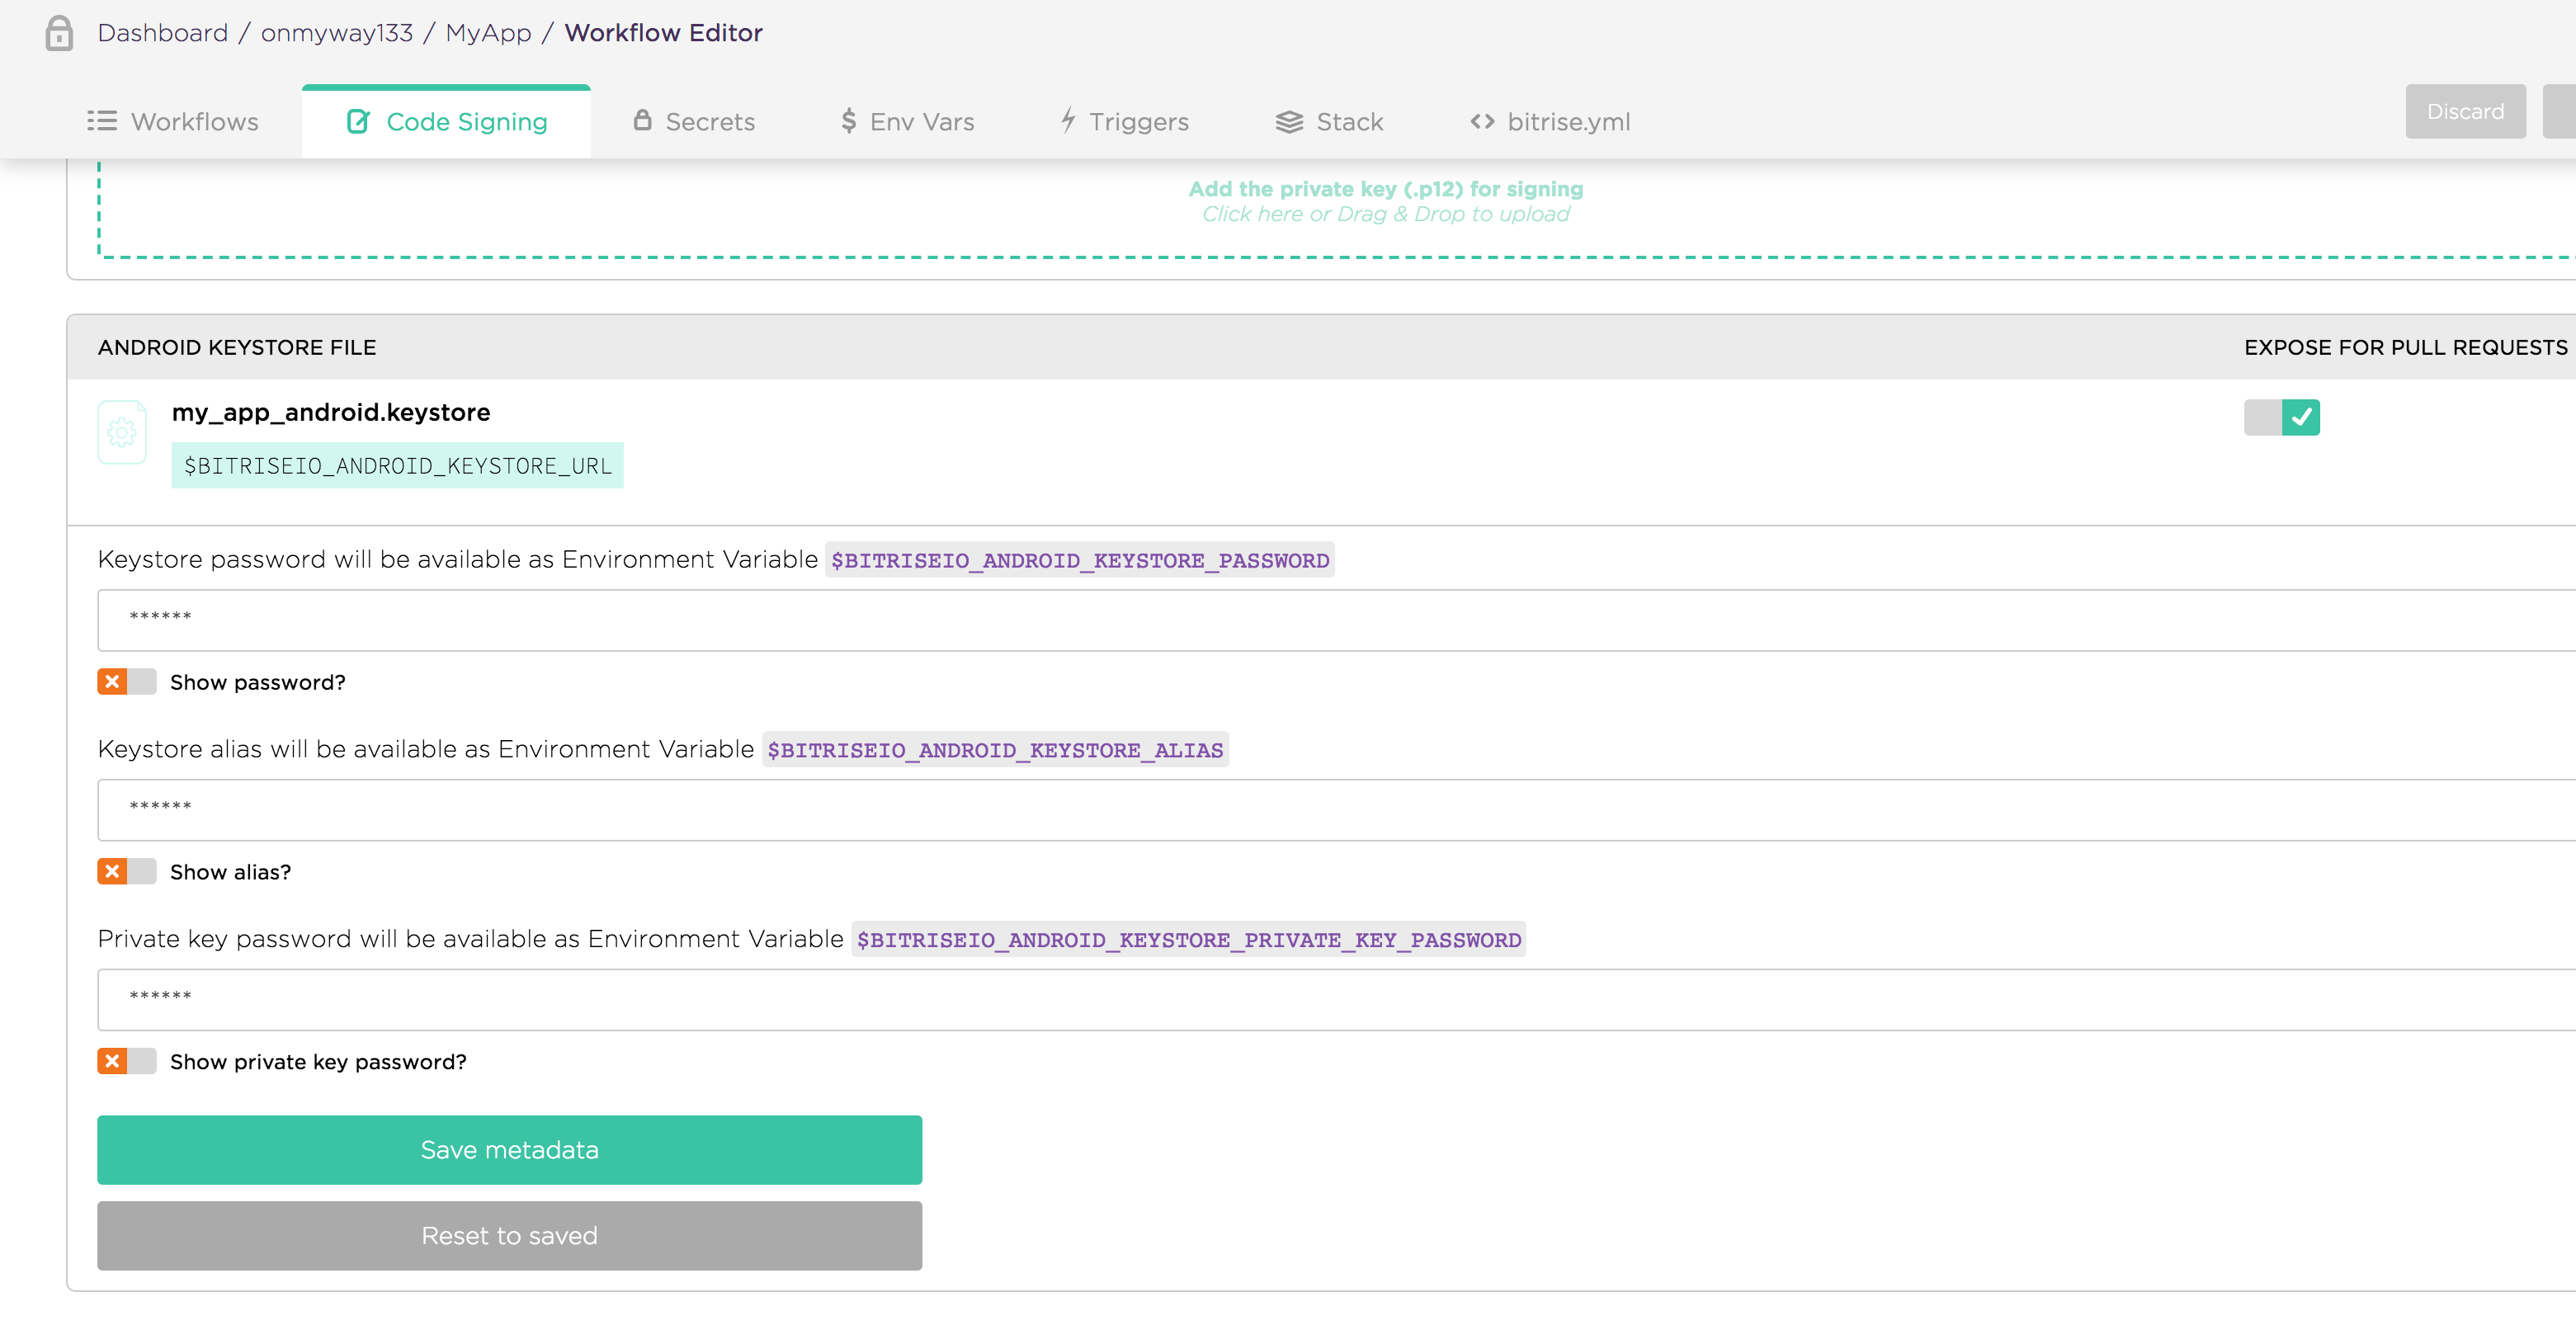
Under Workflow -> Code Signing we can upload provisioning profiles and certificates.
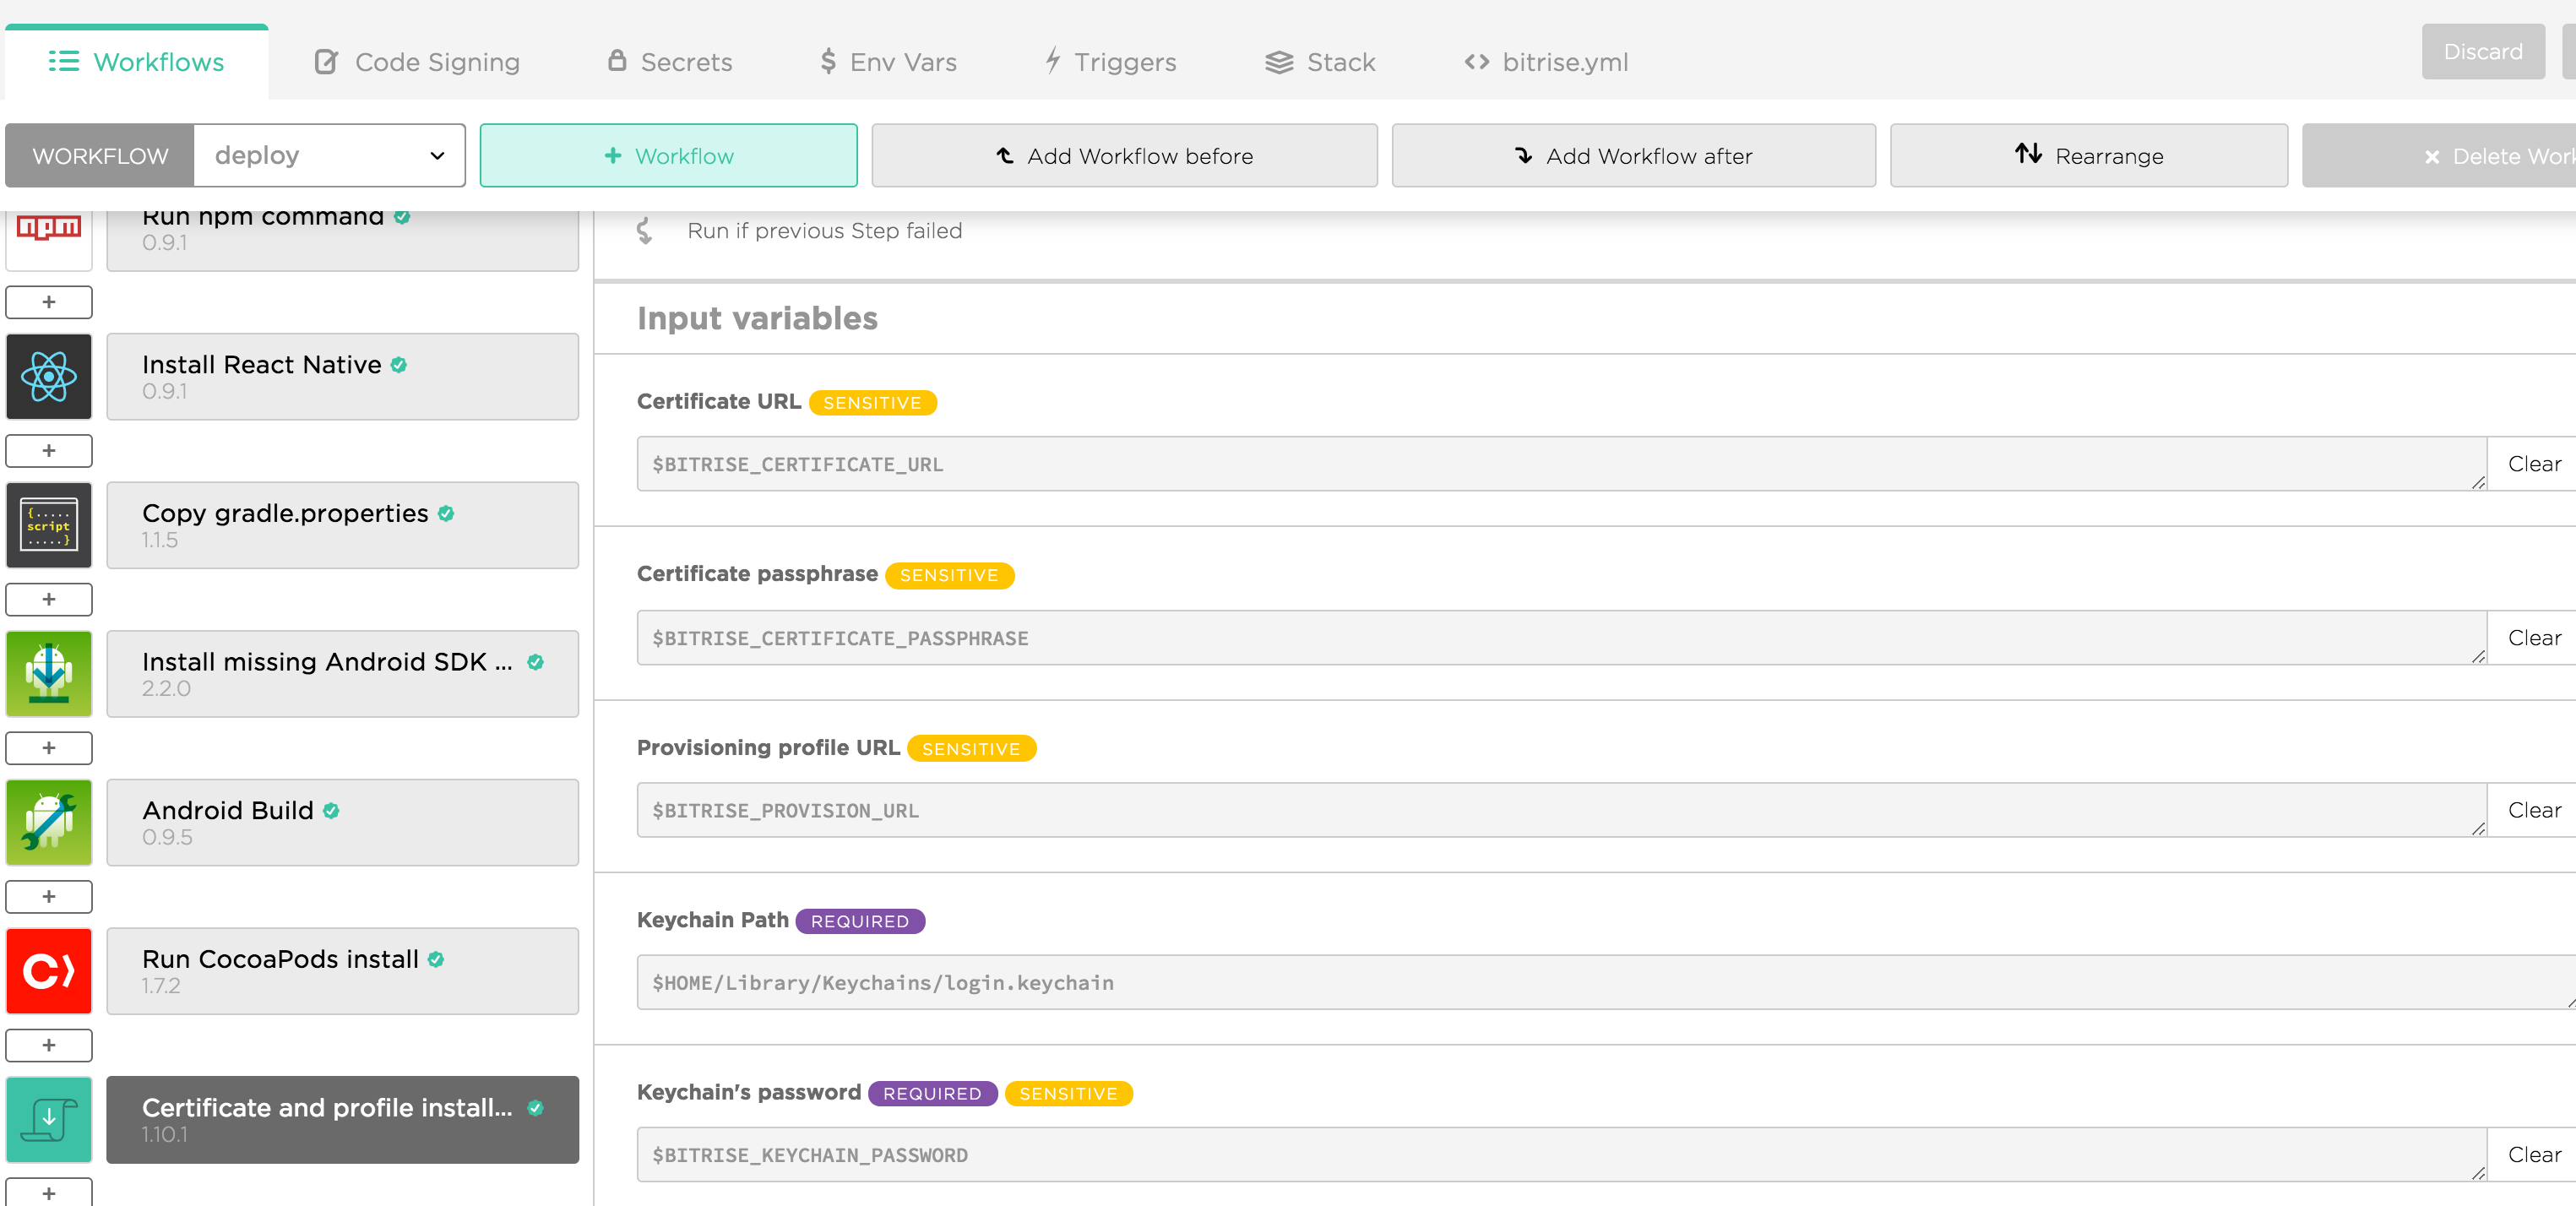
Then we need to use Certificate and profile install step to make use of the profiles and certificates we uploaded.
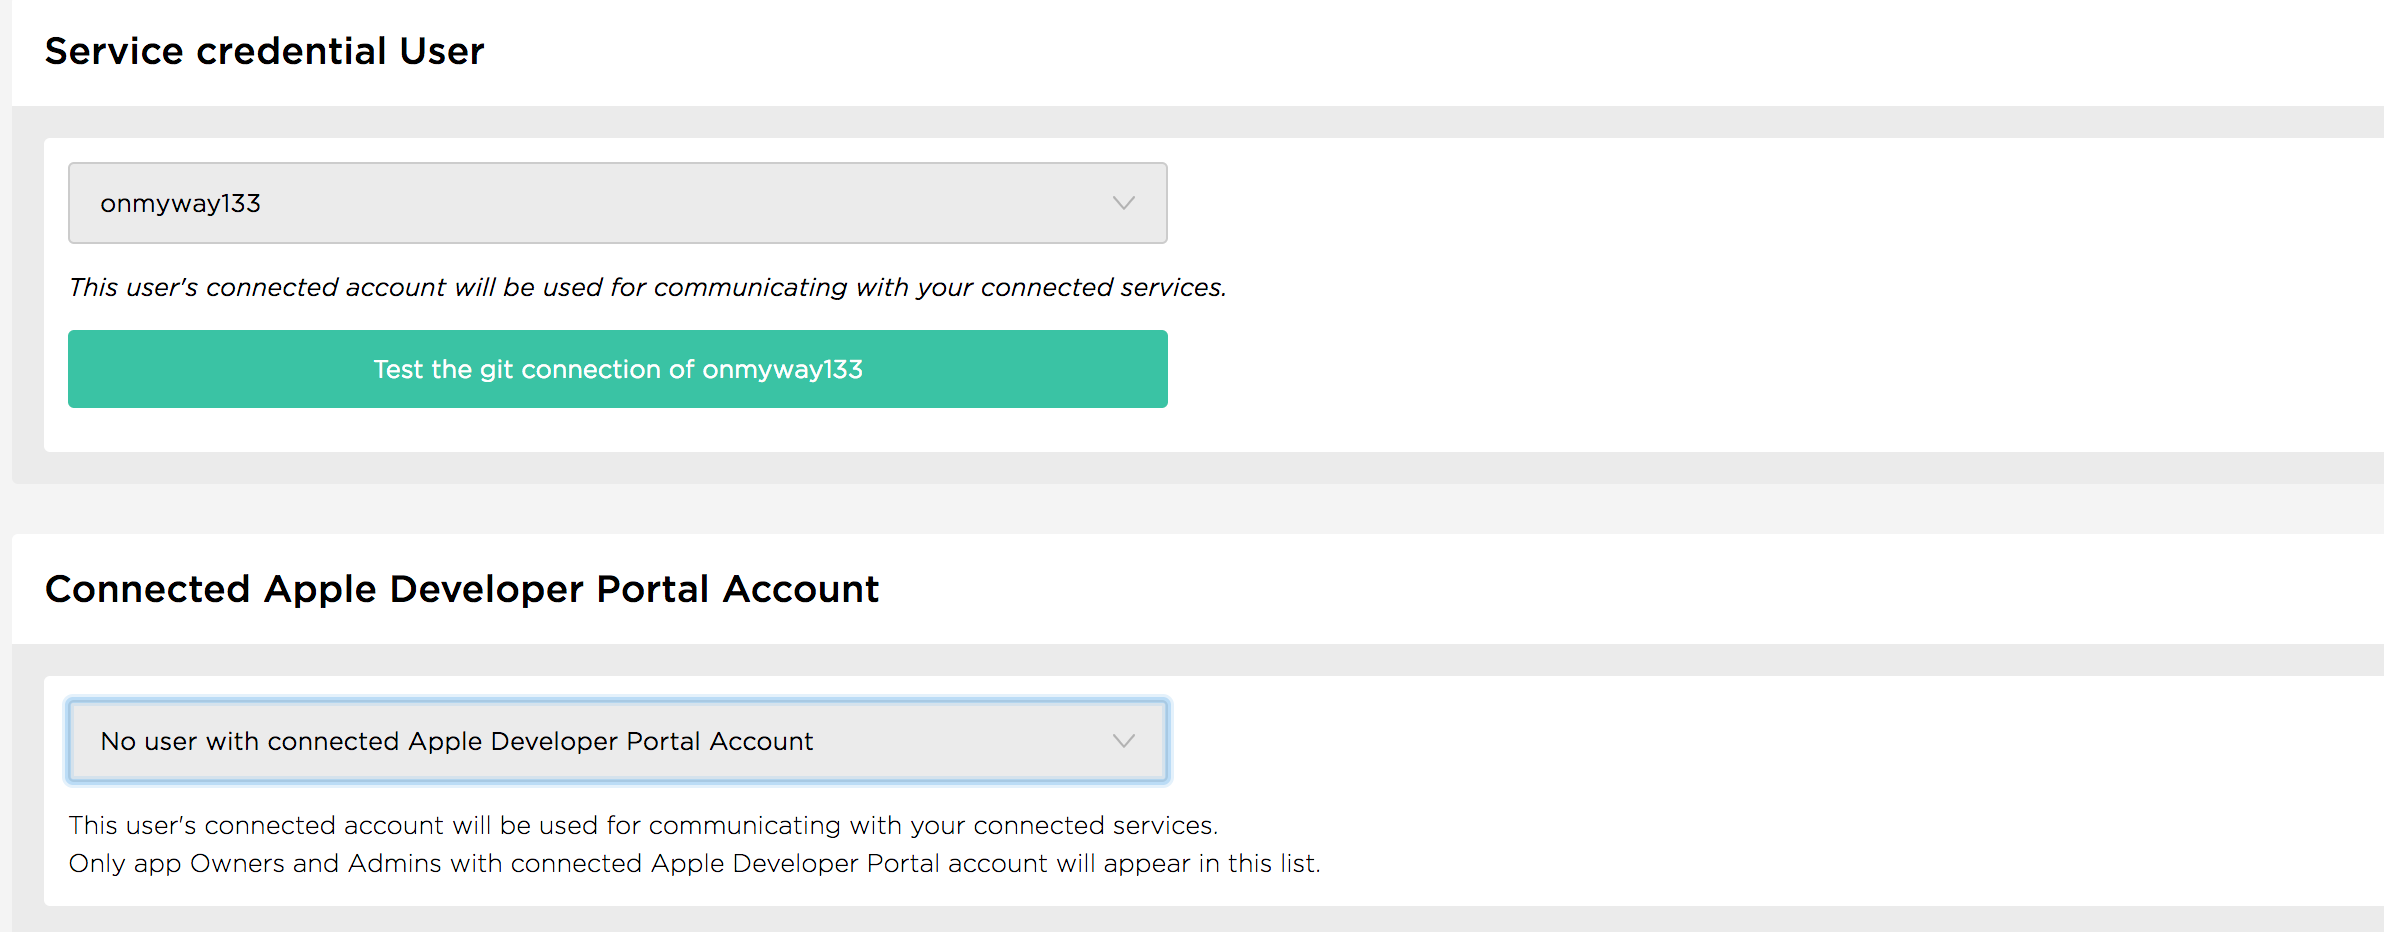
Another option is to use the iOS Auto Provision step, but it requires that we need to have an account in team that has connected Apple Developer Account. This way Bitrise can autogenerate profiles for us.
Sometimes you need to set Should the step try to generate Provisioning Profiles even if Xcode managed signing is enabled in the Xcode project? to yes
Under Xcode Archive & Export for iOS -> Debug -> Additional options for xcodebuild call We need to pass -allowProvisioningUpdates to make auto provisioning profile update happen.
Bitrise can autogenerate schemes with the Recreate user scheme step, but it’s good to mark our scheme as Shared in Xcode. This ensures consistence between local and CI builds.
To archive project, we need to add Xcode Archive & Export . For React Native, iOS project is inside ios folder, so we need to specify ./ios/MyApp.xcworkspace for Project path. Note that I use xcworkspace because I have CocoaPods
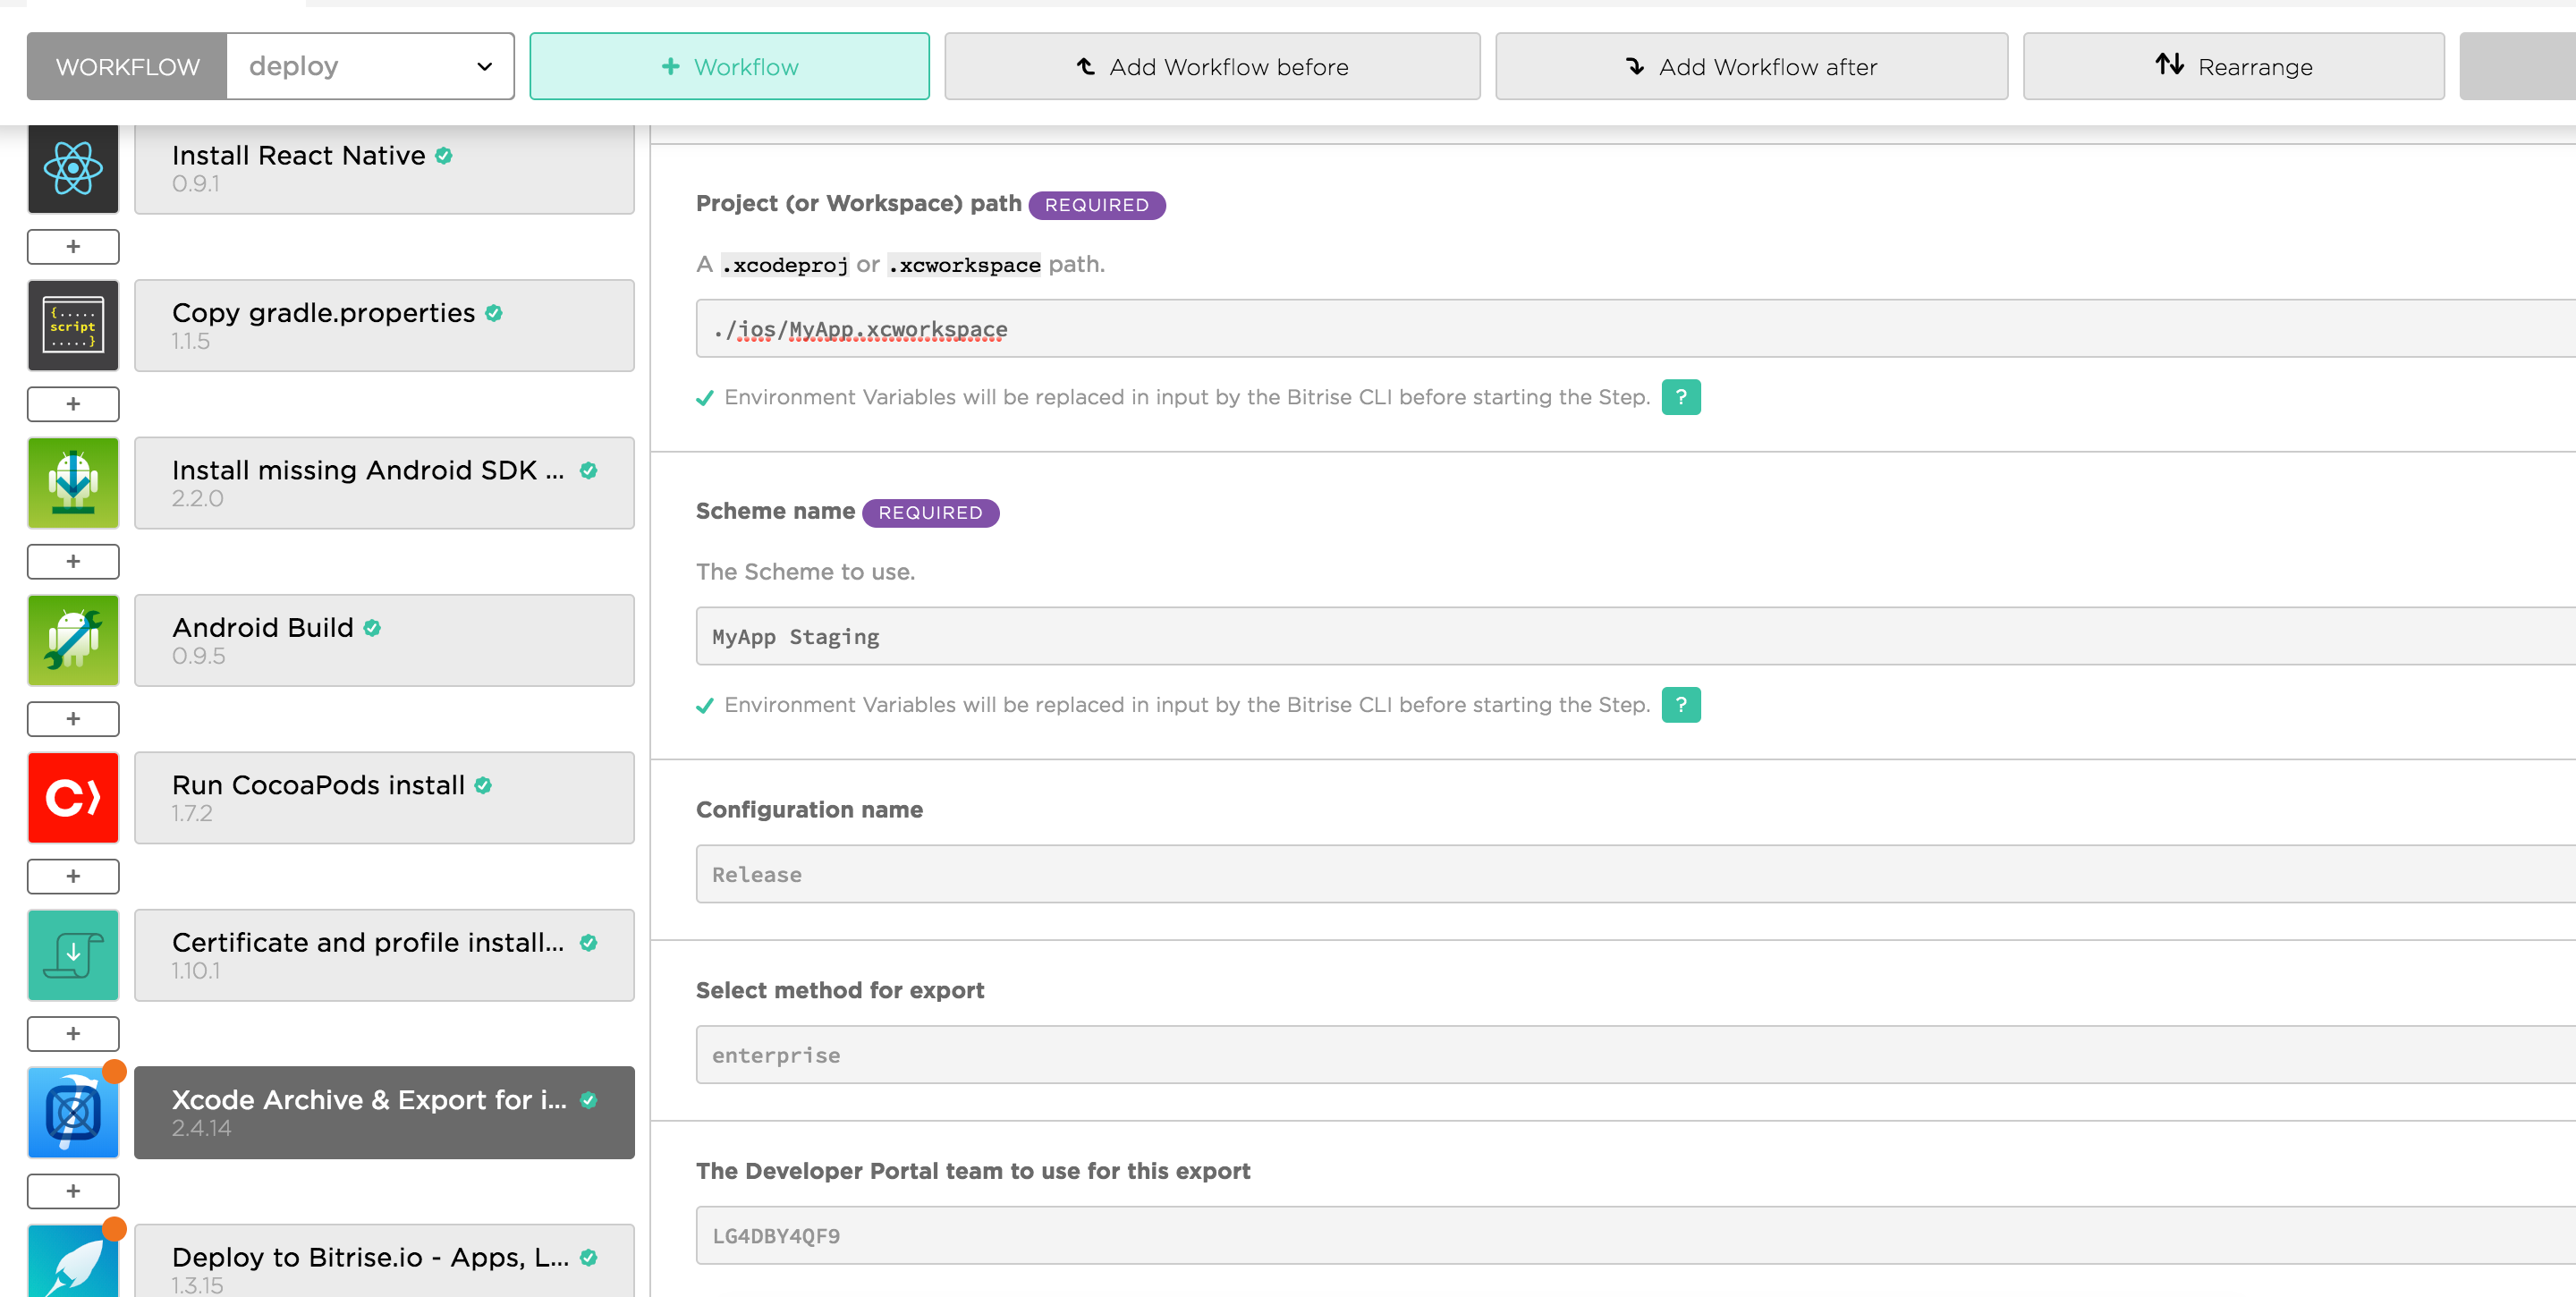
Right now, as of React Native 0.57.0, it has problem running with the new build system in Xcode 10, so the quick fix is to use legacy build system. Under Xcode Archive & Export step there are fields to add additional options for xcodebuild call. Enter -UseModernBuildSystem=NO
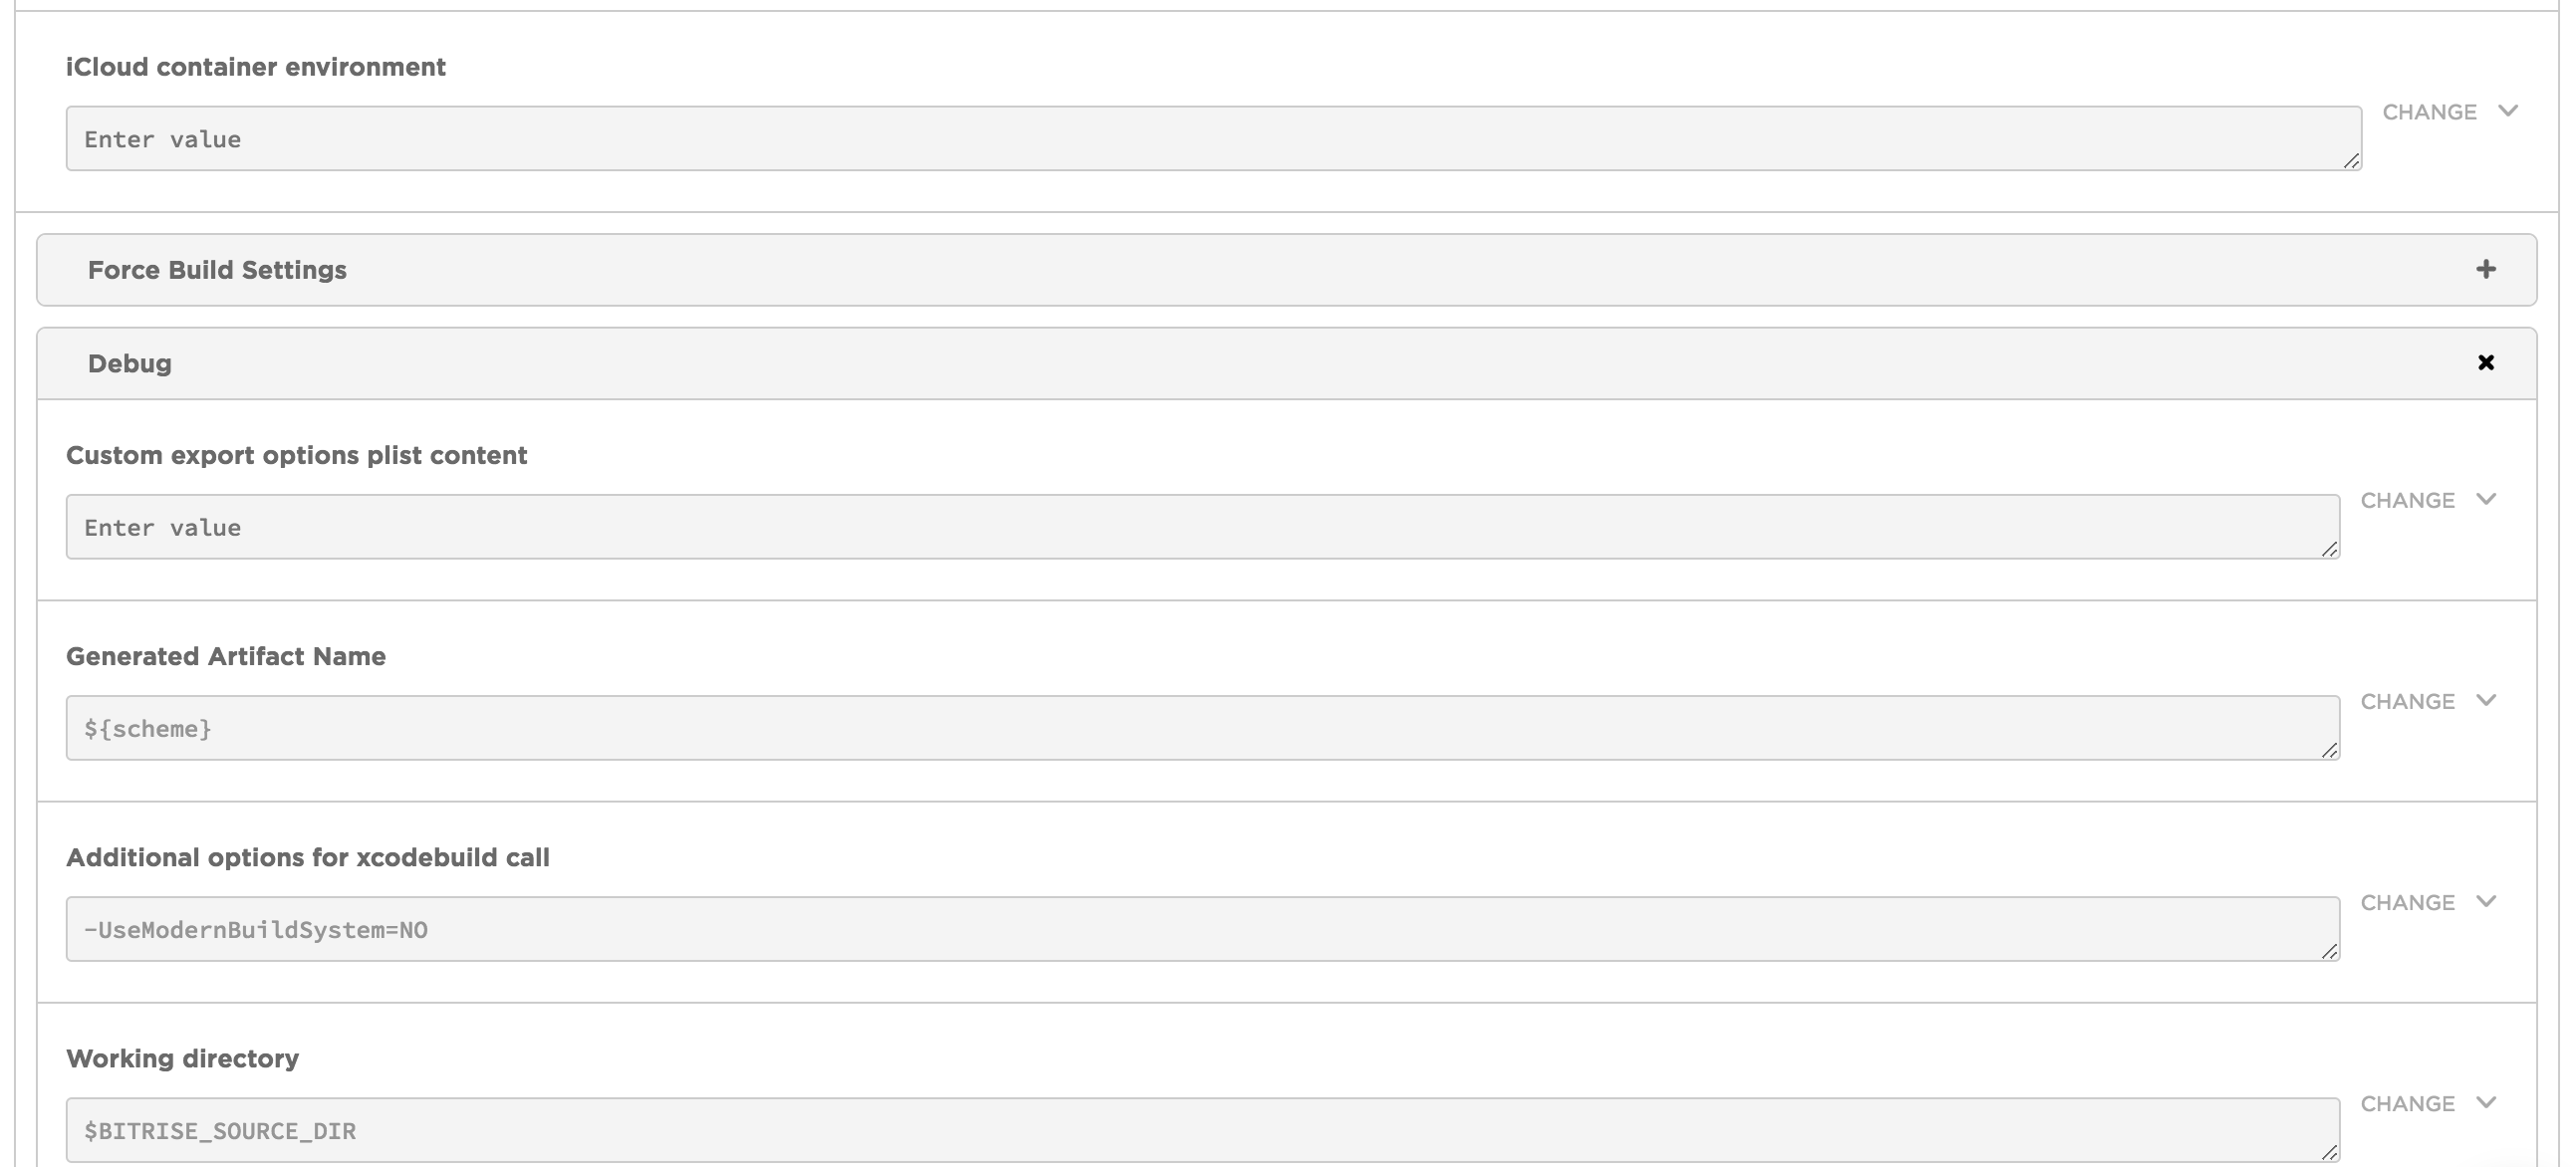
You can read more Build System Release Notes for Xcode 10
Xcode 10 uses a new build system. The new build system provides improved reliability and build performance, and it catches project configuration problems that the legacy build system does not.
For Android, the most troublesome task is to give keystore files to Bitrise as it is something we would keep privately from GitHub. Bitrise allows us to upload keystore file, but we also need to specify key alias and key password. One solution is to use Secrets and Environment variables
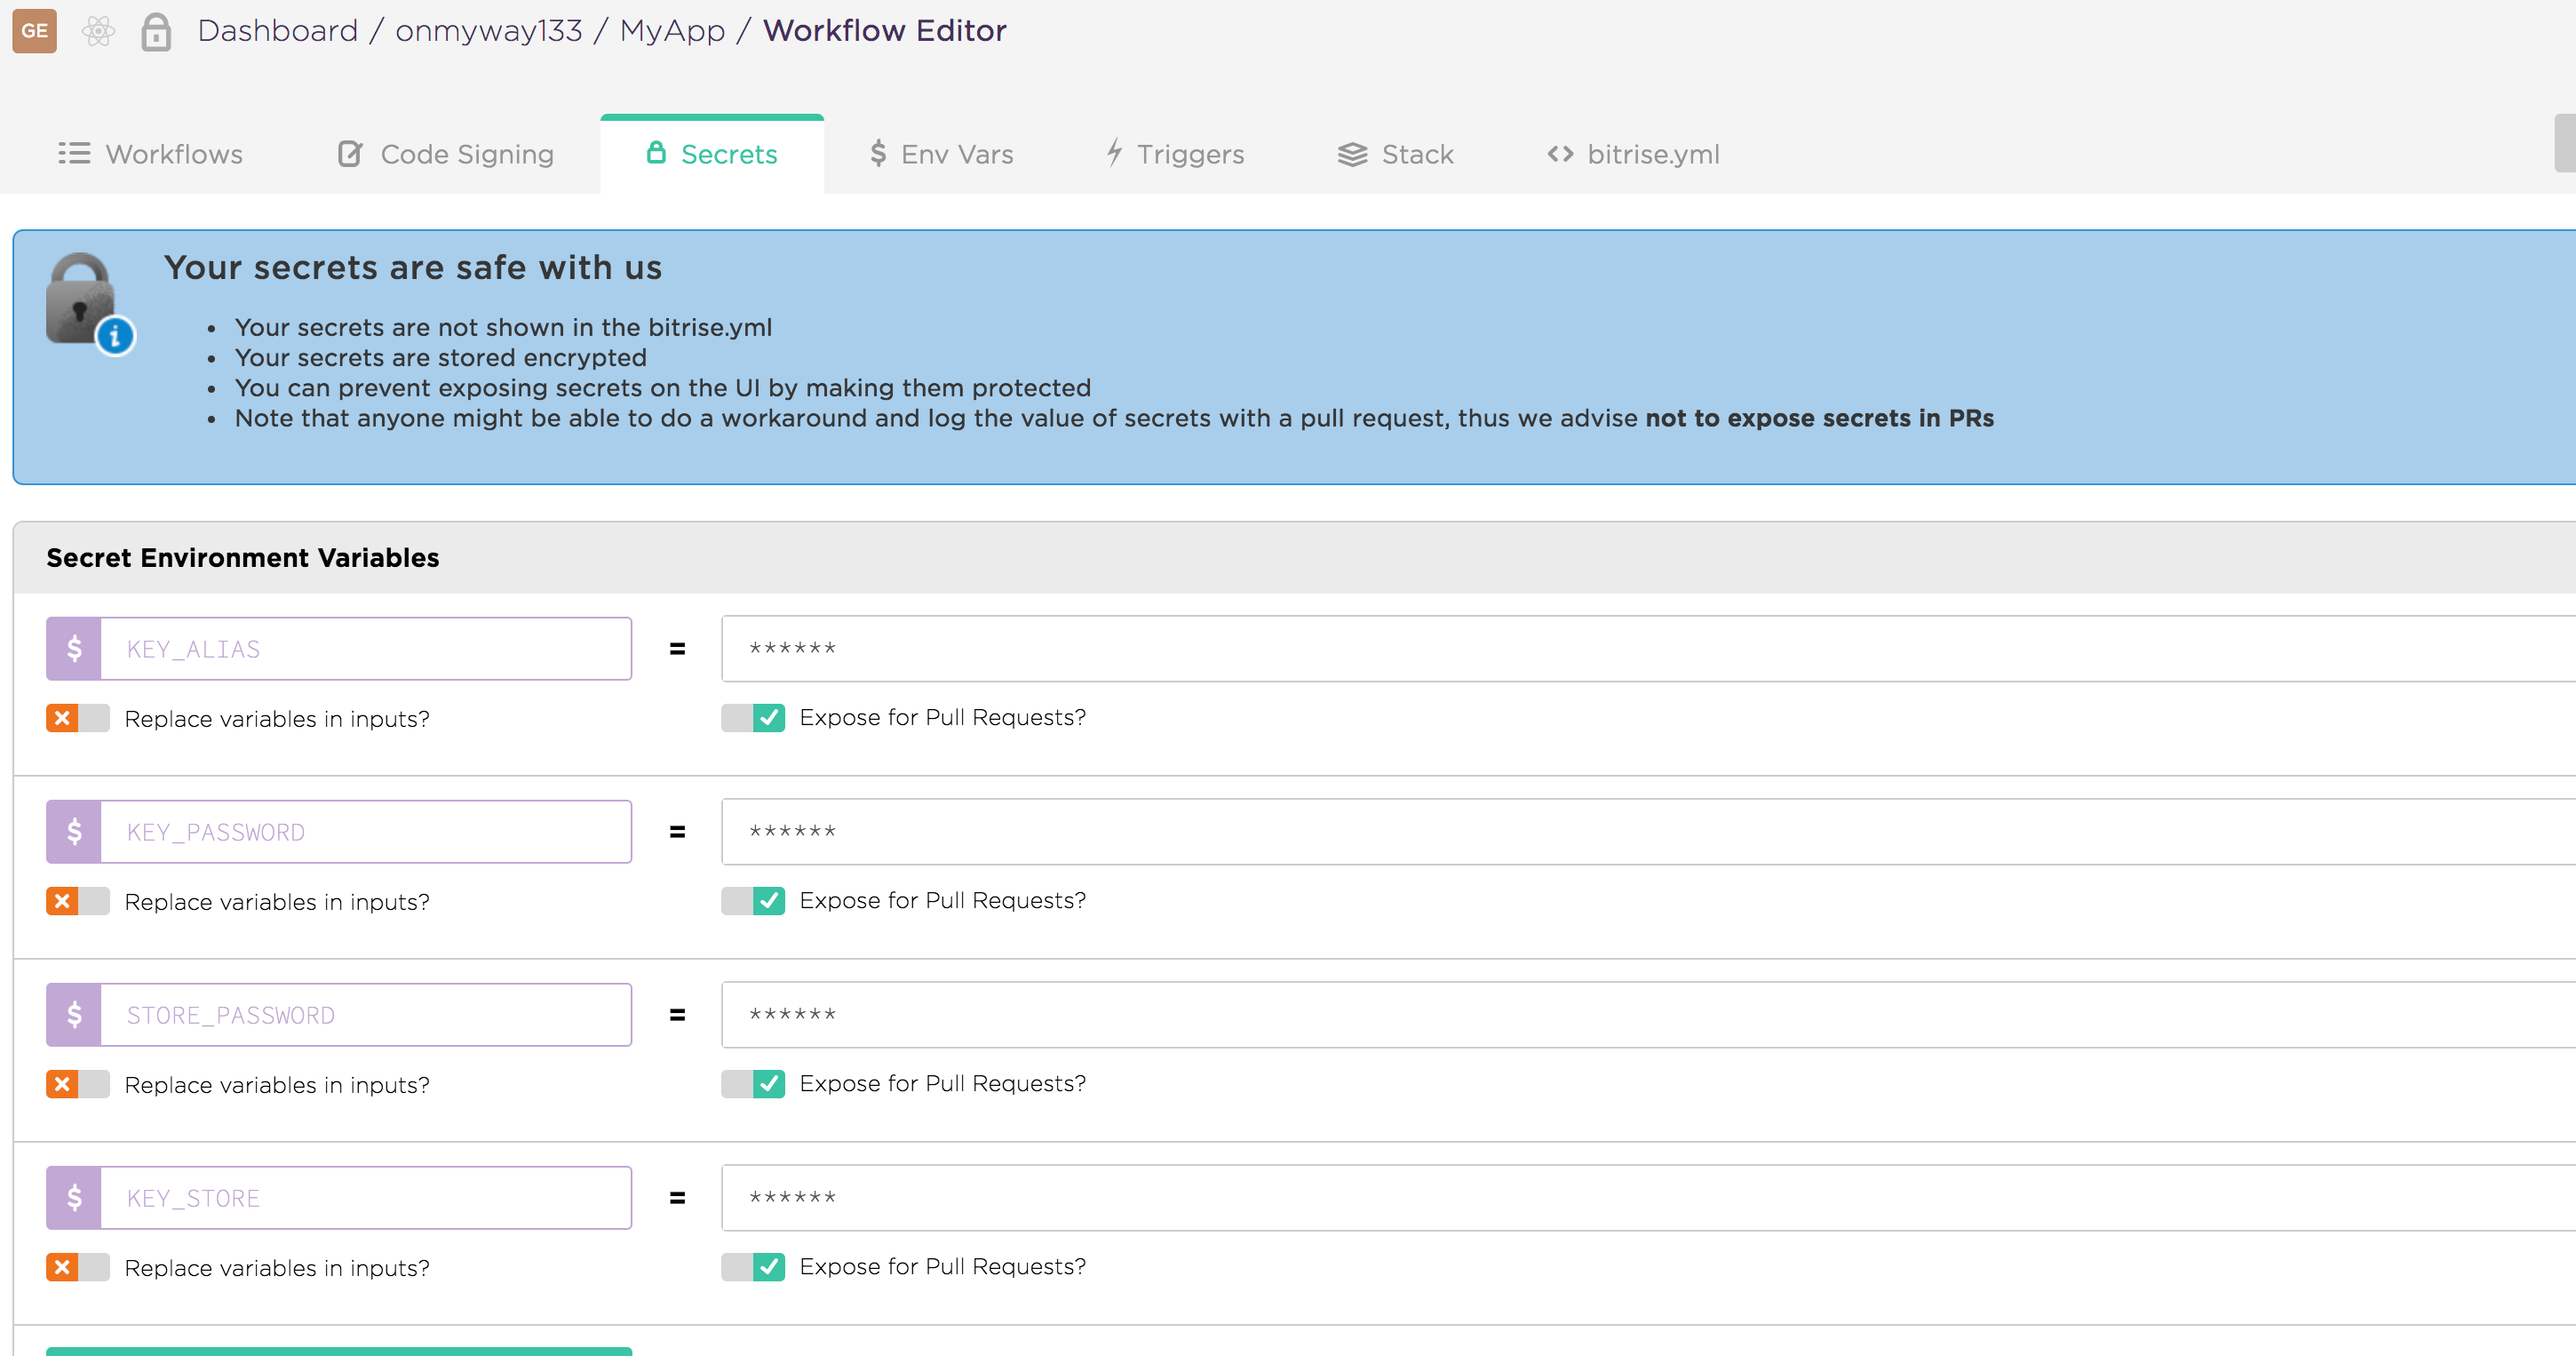
But as we often use gradle.properties to specify custom variables for Gradle, it’s convenient to upload this file. Under Workflow -> Code Signing is where we can upload keystore, as well as secured files
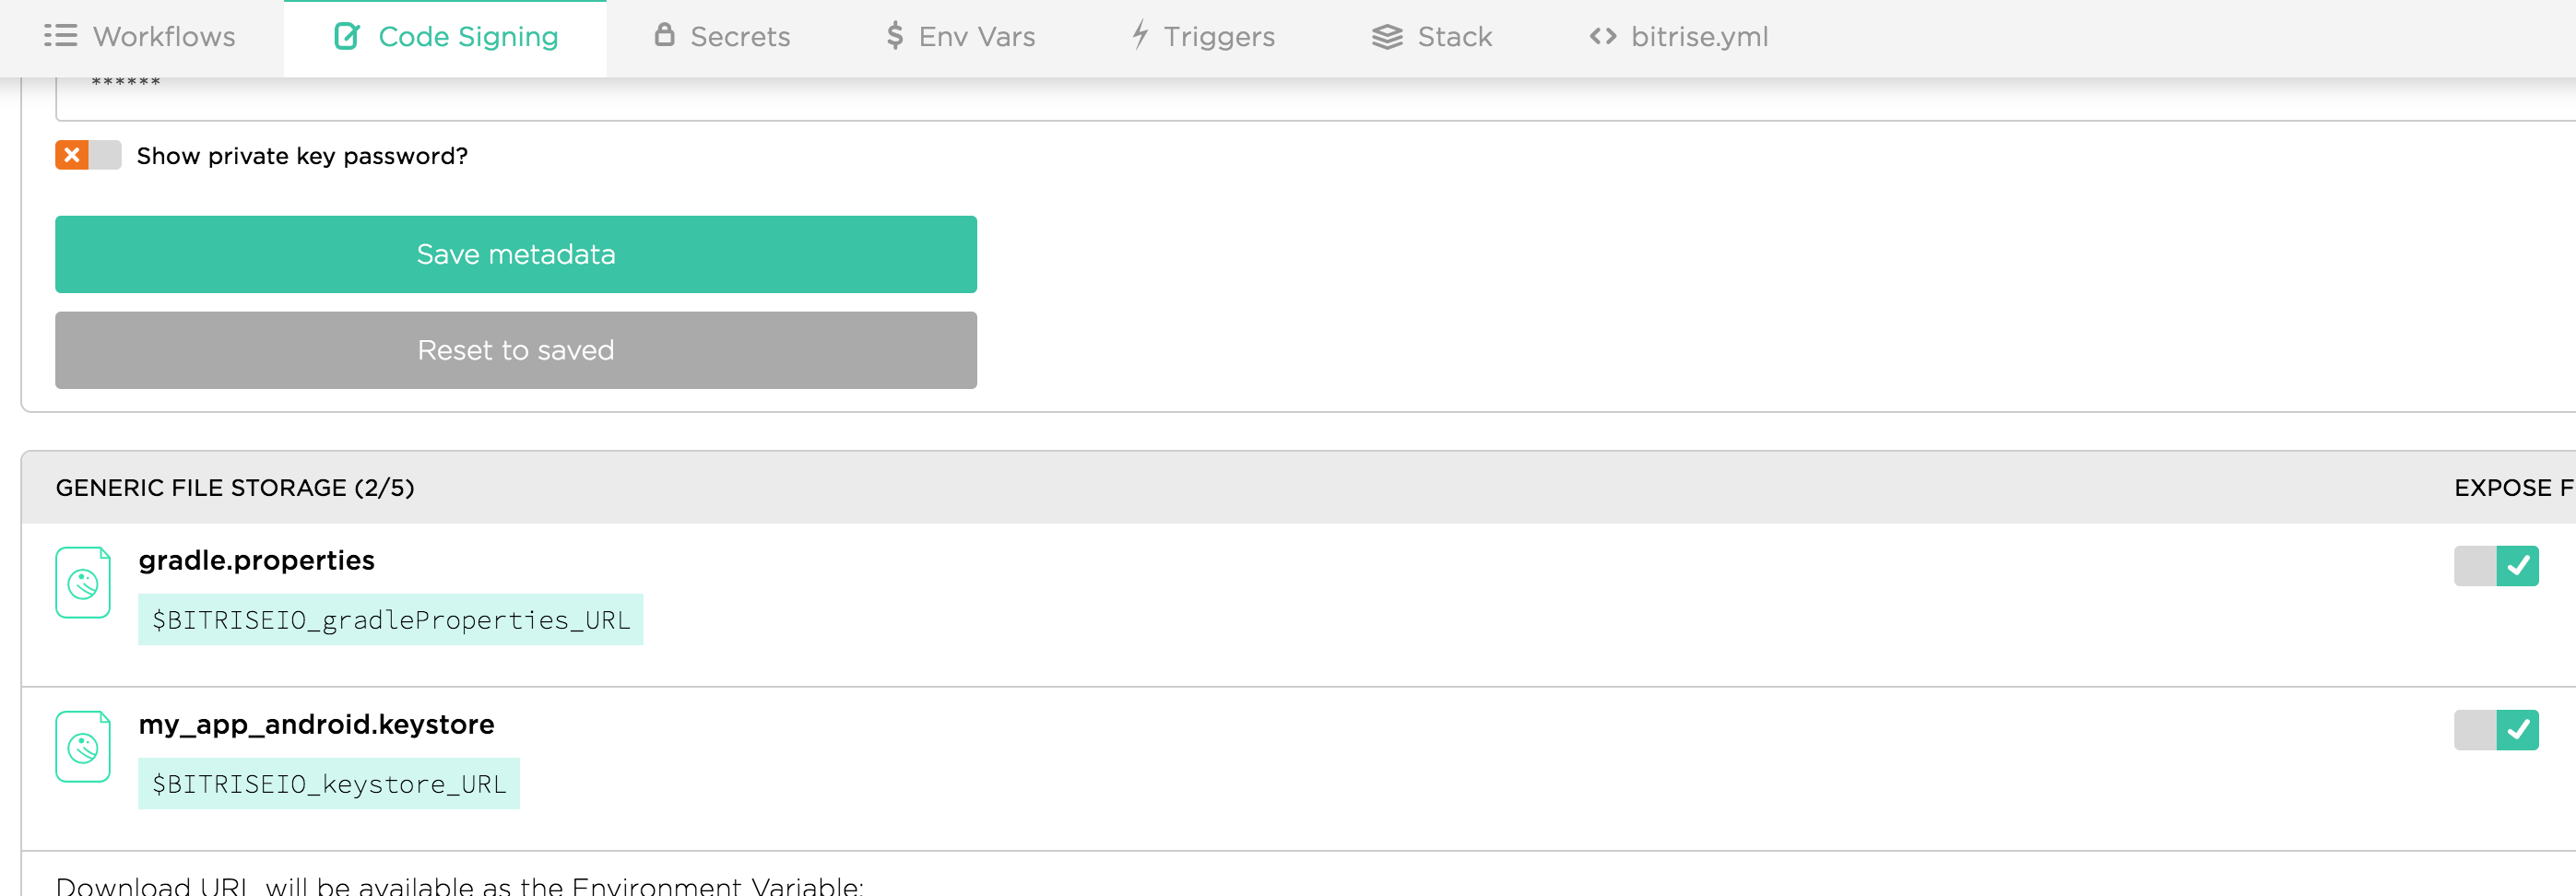
The generated URL variables are path to our uploaded files. We can use curl to download them. Bitrise has also Generic File Storage step to download all secured files.
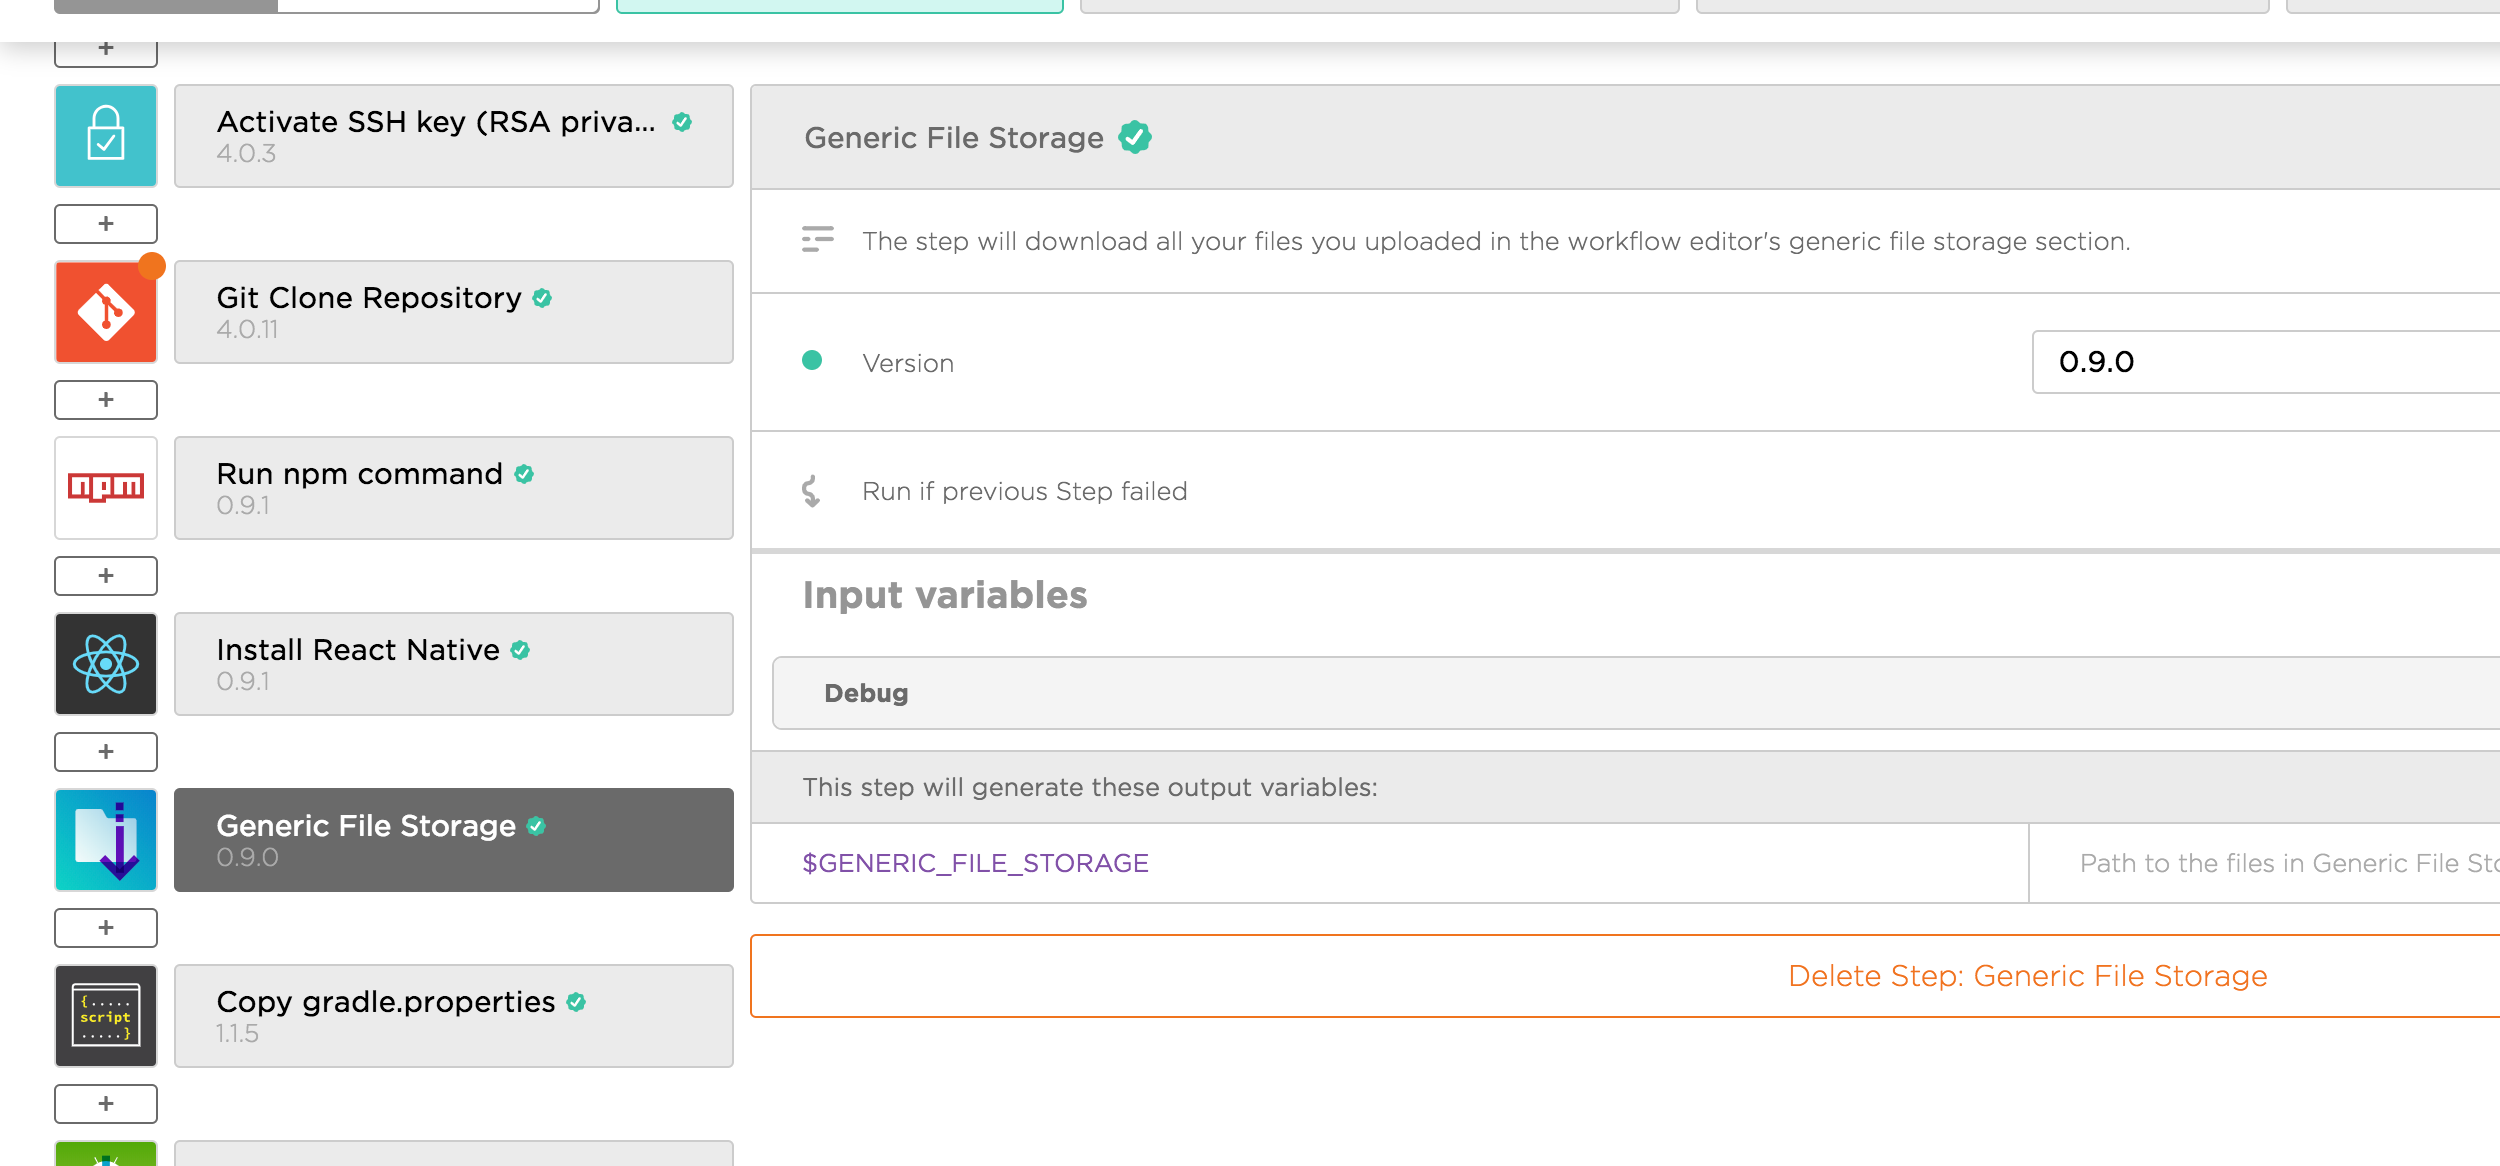
The downloaded files is located at GENERIC_FILE_STORAGE , so we add another Custom Script step to copy those files into ./android folder

#!/usr/bin/env bash

cp $GENERIC_FILE_STORAGE/gradle.properties ./android/gradle.properties
cp $GENERIC_FILE_STORAGE/my_app_android.keystore ./android/my_app_android.keystore
Note that the name of the files are the same of when we uploaded, and we use cp command to copy to folders.
By default, Bitrise has 2 workflows: primary for quick start, and deploy for archiving and deploying. In the deploy workflow there is Android Build step. We can overwrite module and build variant here.
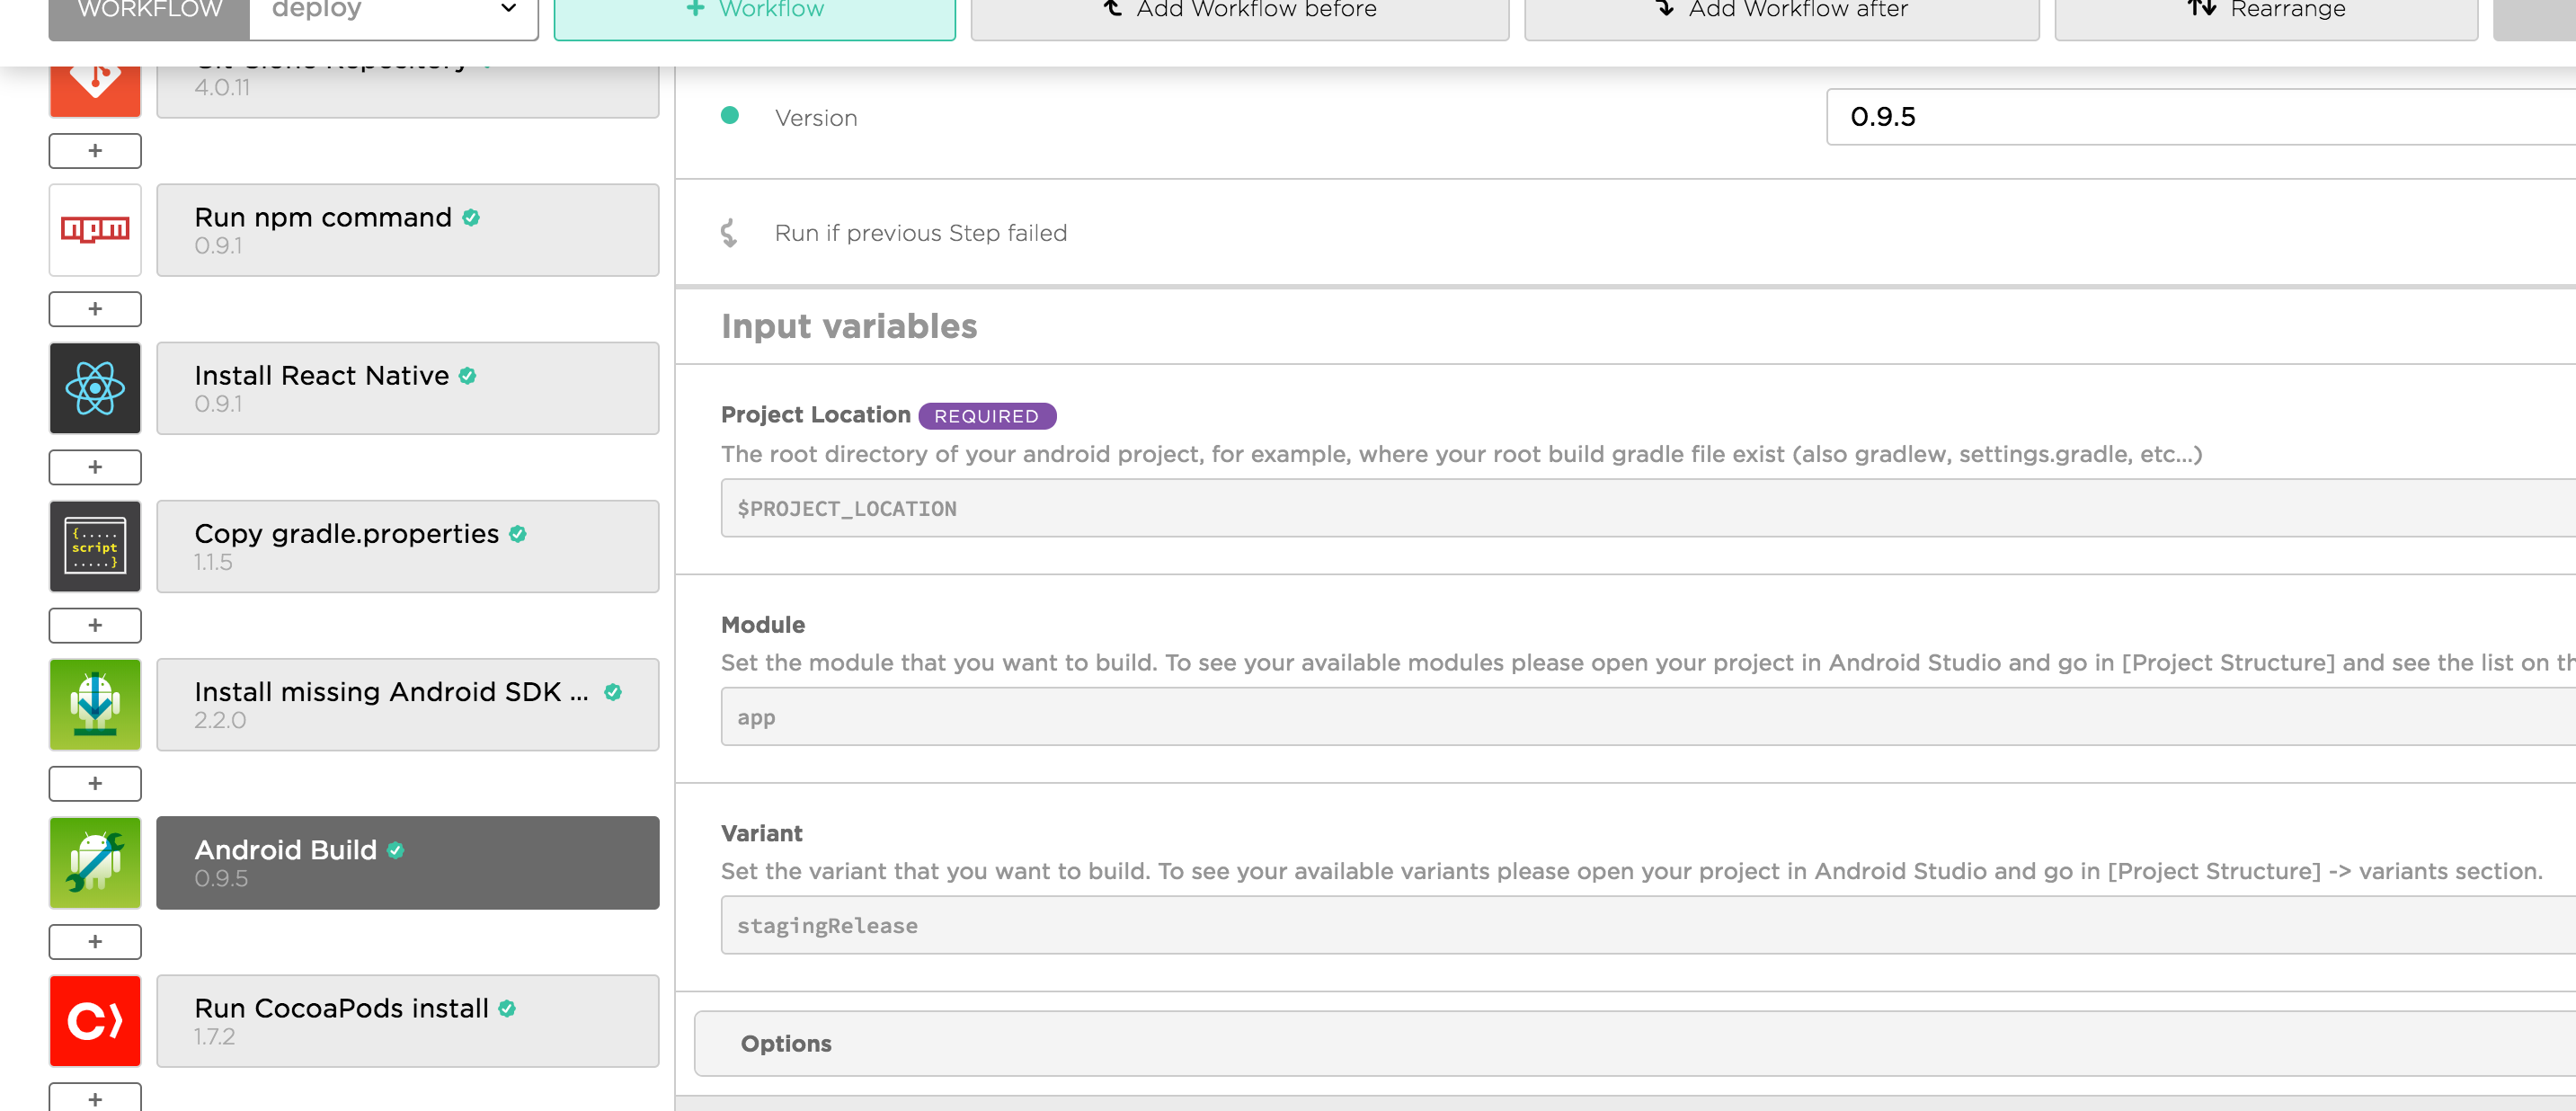
In Bitrise we can mark a step to continue regardless of the previous step. I use this to make sure iOS build independently from Android

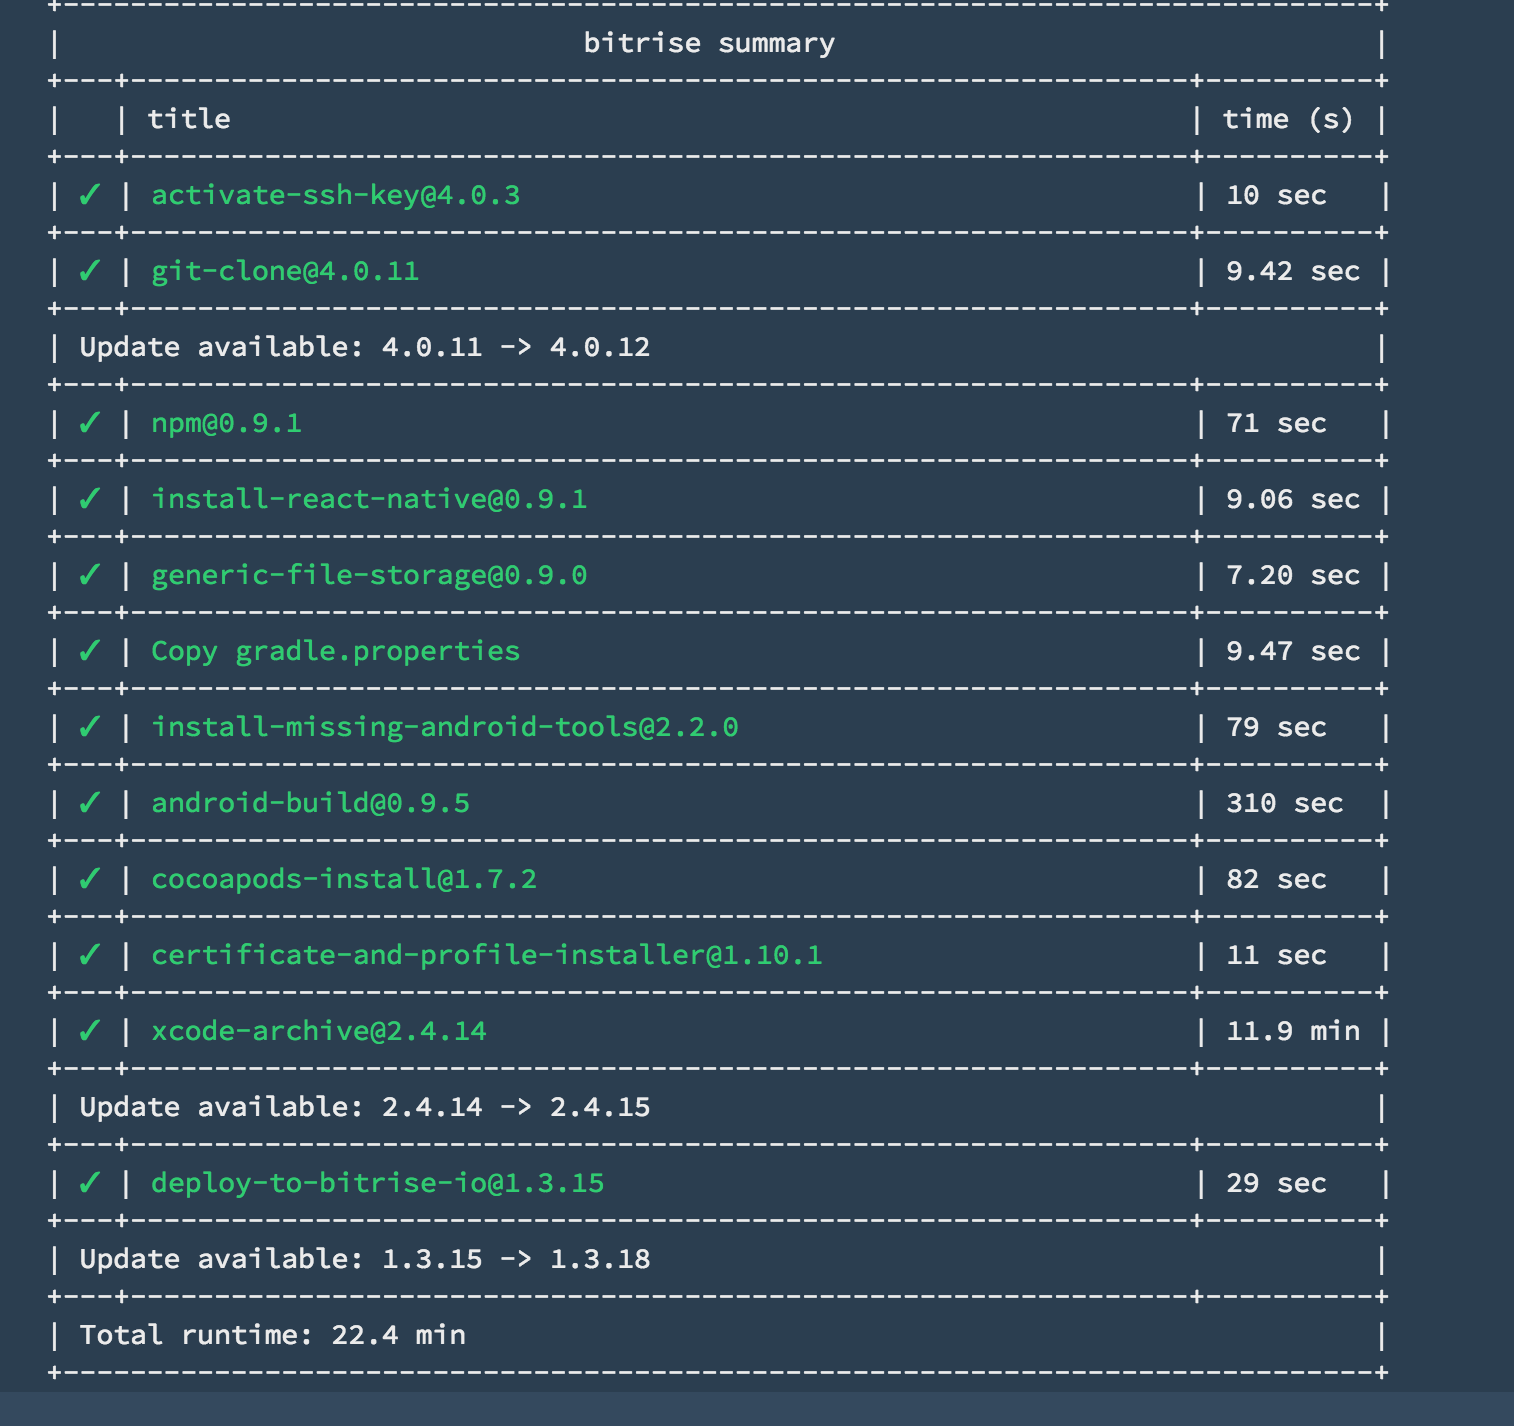
If both iOS and Android build are successful, we should see the below summary
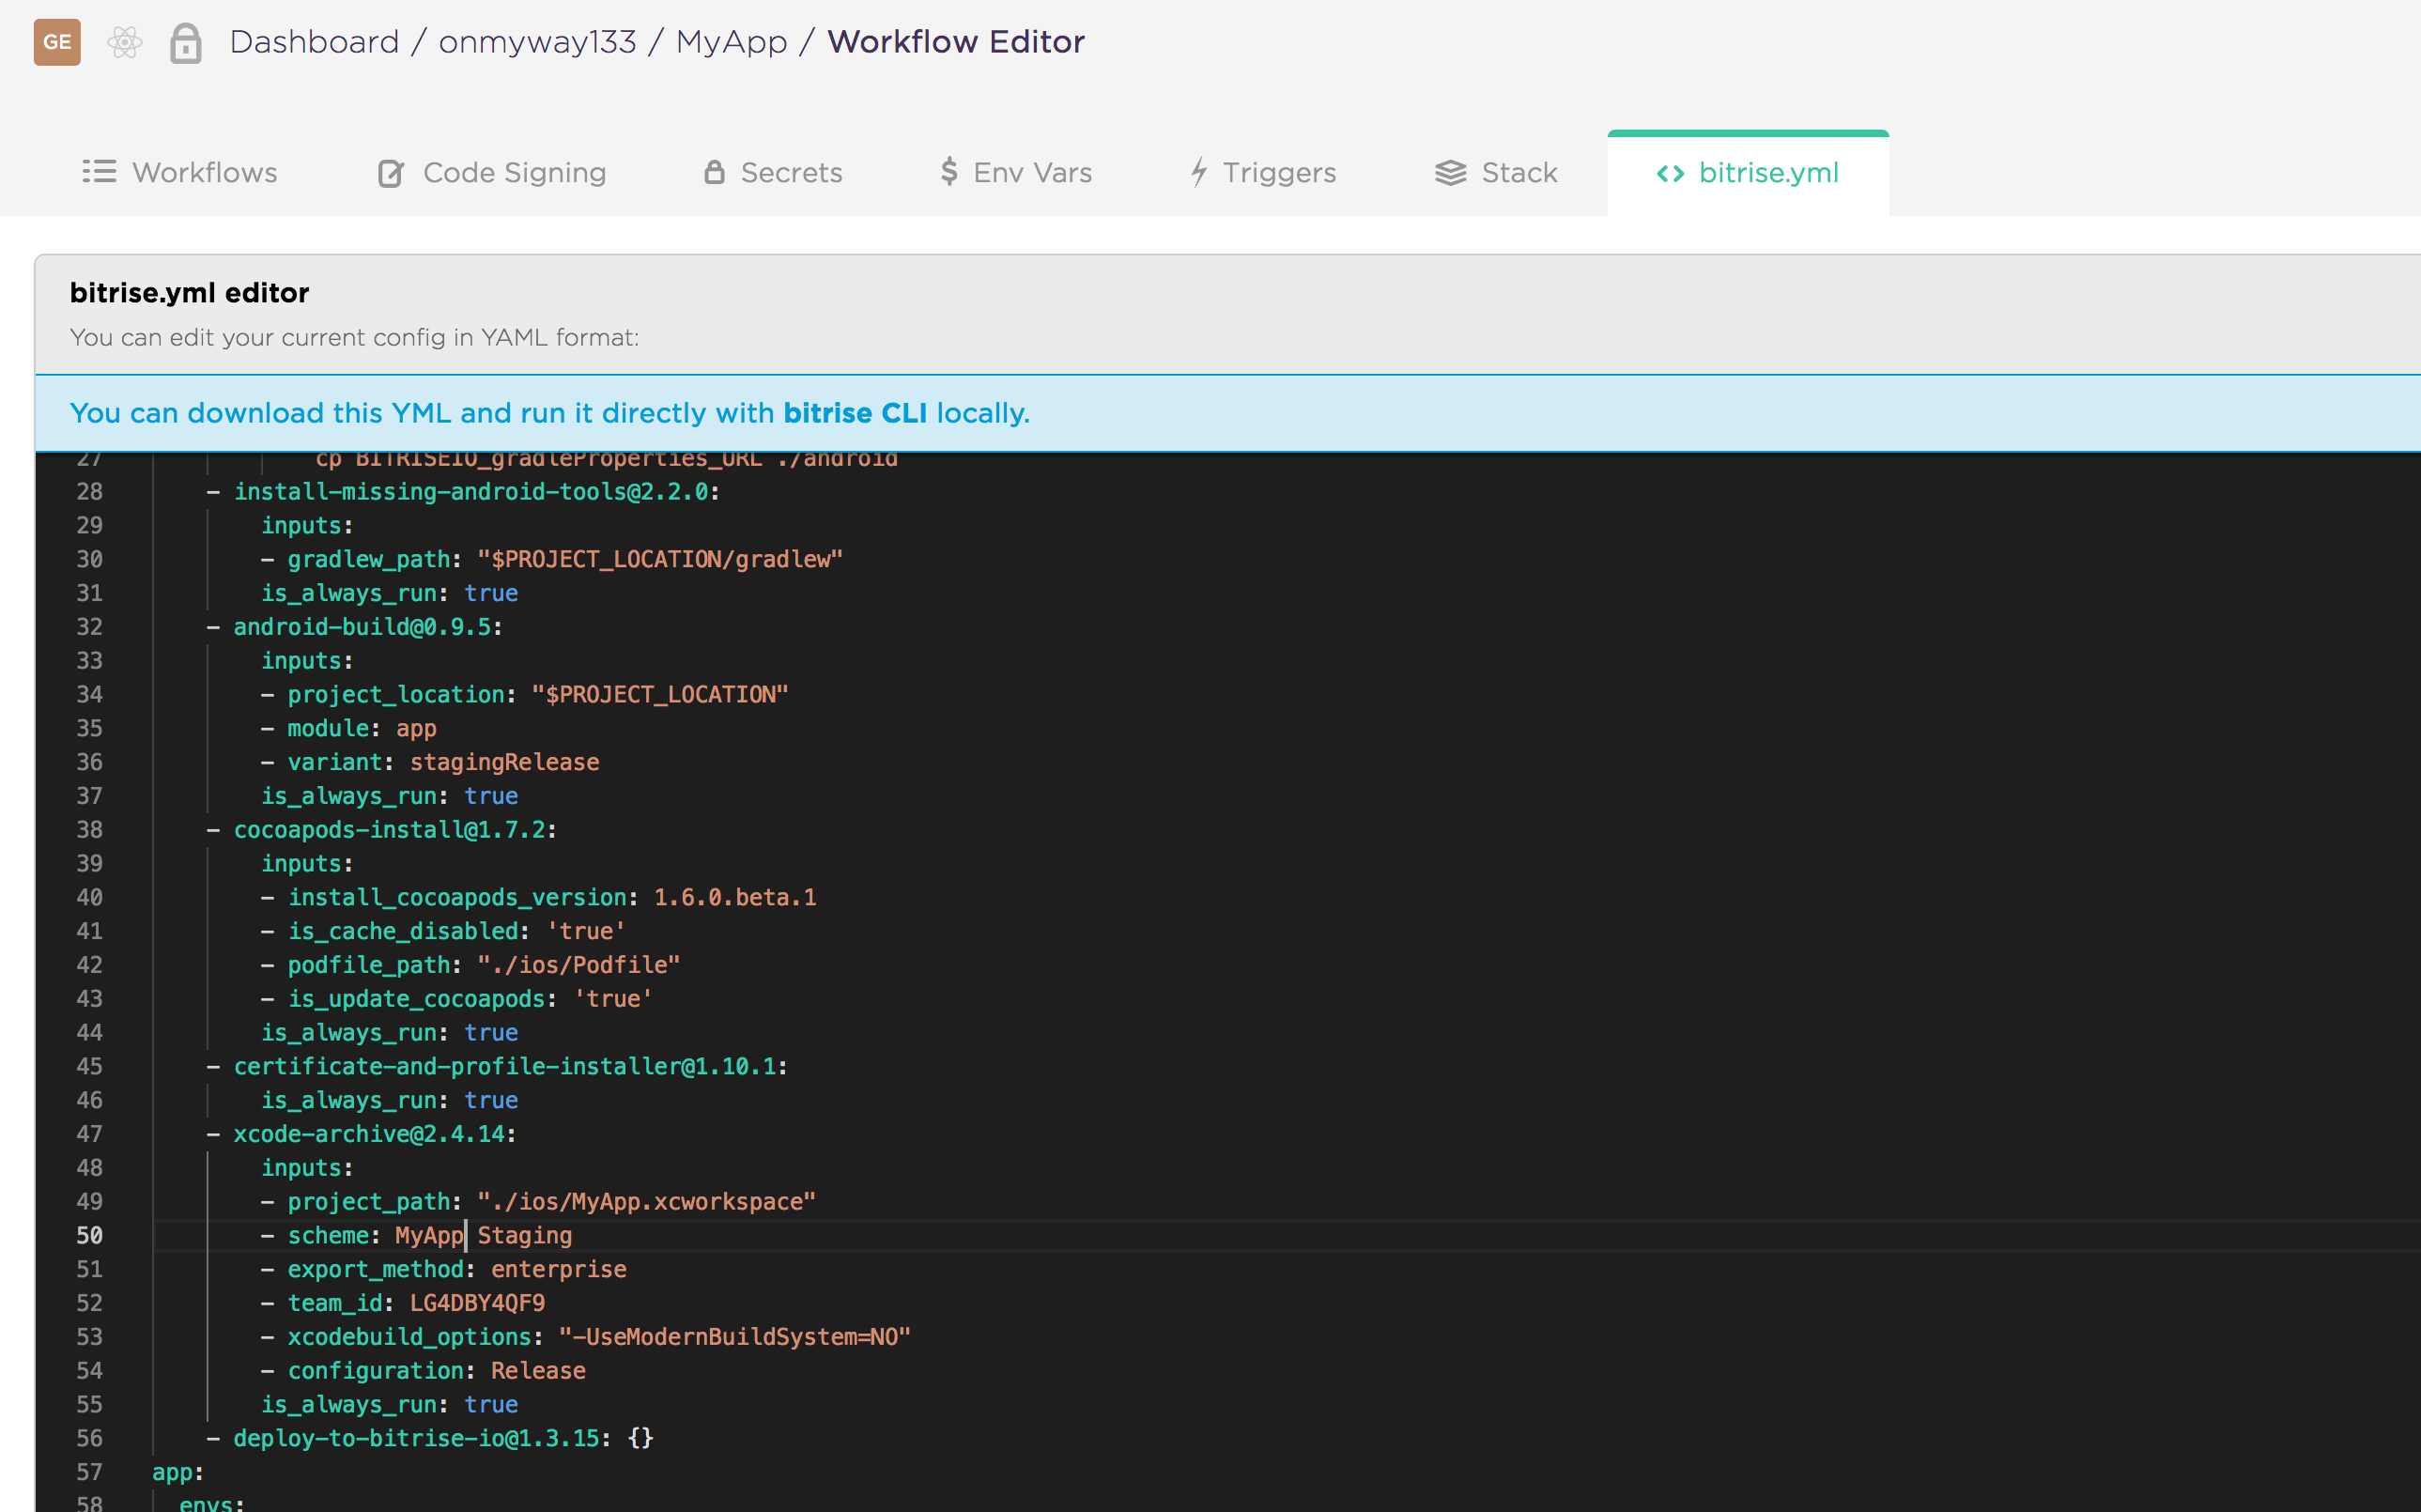
Although Bitrise has a good UI to configure workflows and steps, we have fine grained control every parameters in the bitrise.yml file. It’s good to reason here as we get familiar with all the steps.
I hope you learn something and have a happy deploy. Since you are here, below articles may be of your interest
Issue #275
Original post https://codeburst.io/making-unity-games-in-pure-c-2b1723cdc71f
As an iOS engineers, I ditched Storyboard to avoid all possible hassles and write UI components in pure Swift code. I did XAML in Visual Studio for Windows Phone apps and XML in Android Studio for Android apps some time ago, and I had good experience. However since I’m used to writing things in code, I like to do the same for Unity games, although the Unity editor and simulator are pretty good. Besides being comfortable declaring things in code, I find that code is easy to diff and organise. I also learn more how components work, because in Unity editor, most of important the components and properties are already wired and set up for us, so there’s some very obvious things that we don’t know.
All the things we can do in the editor, we can express in code. Things like setting up components, transform anchor, animation, sound, … are all feasible in code and you only need to using the correct namespace. There’s lots of info at Welcome to the Unity Scripting Reference. Unity 2018 has Visual Studio Community so that’s pretty comfortable to write code.
I would be extremely happy if Unity supports Kotlin or Swift, but for now only Javascript and C# are supported. I’m also a huge fan of pure Javascript, but I choose C# because of type safety, and also because C# was the language I studied at university for XNA and ASP.NET projects.

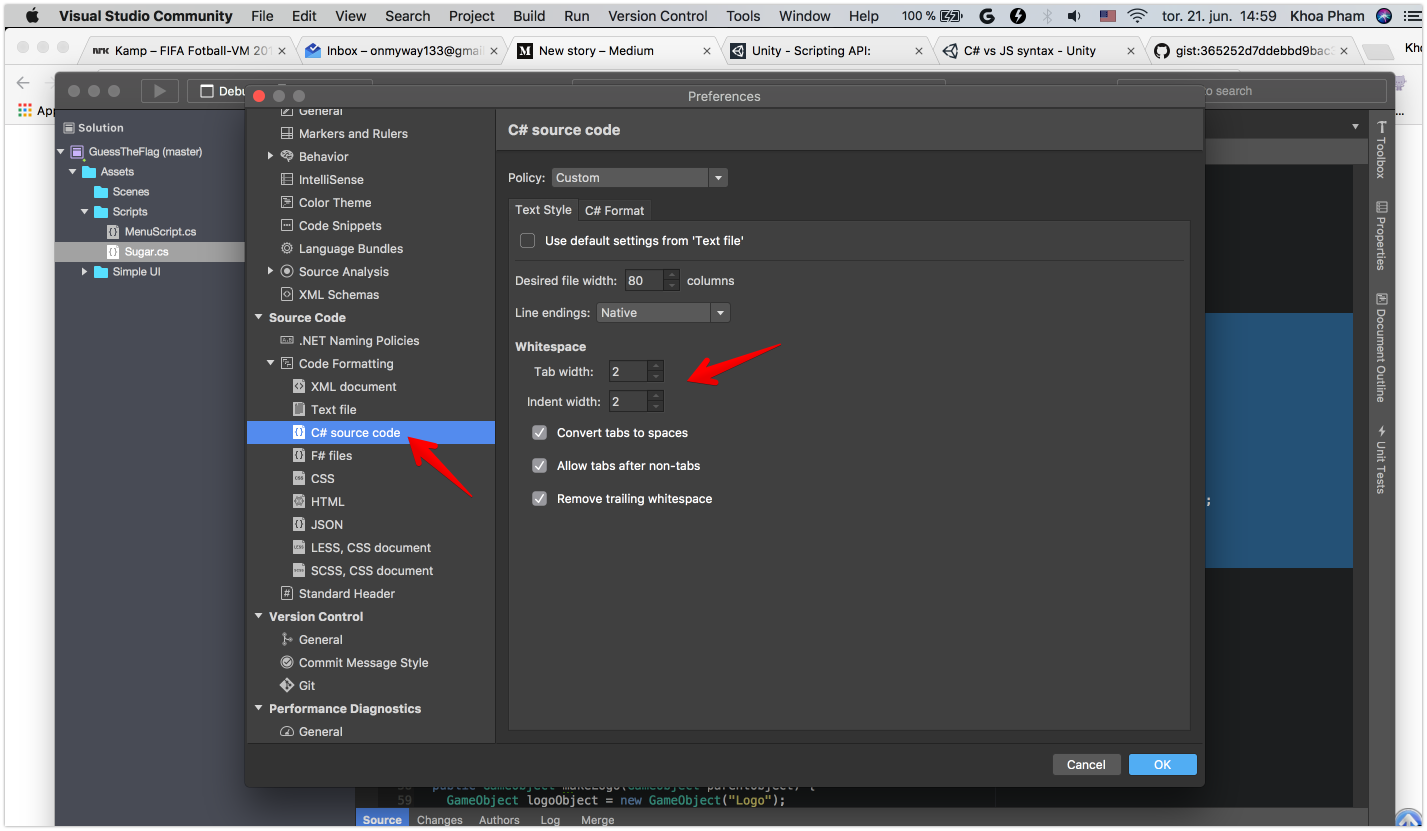
If you like 2 spaces indentation like me, you can go to Preferences in Visual Studio to change the editor settings
In the Unity editor, try dragging an arbitrary UI element onto the screen, you can see that a Canvas and EventSystem are also created. These are GameObject that has a bunch of predefined Component .
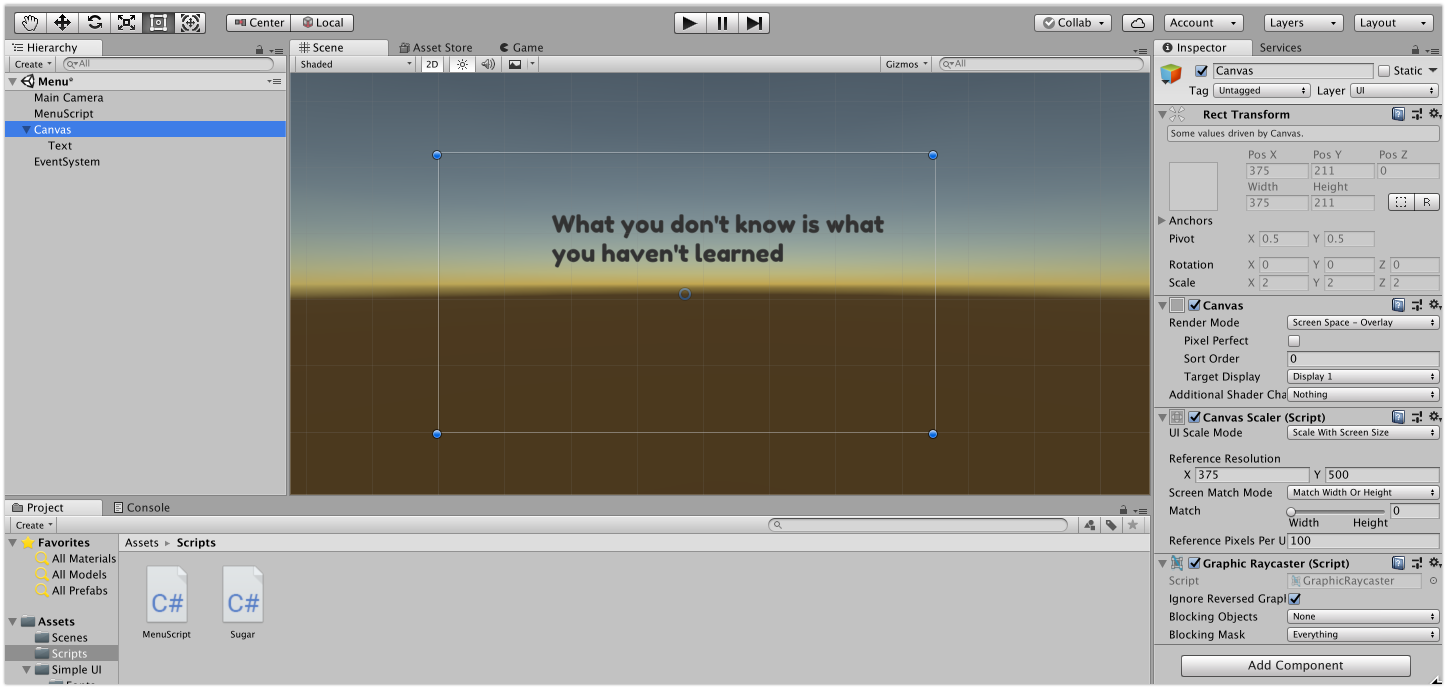
If we were to write this in code, we just need to follow the what is on the screen. In the beginning, we must use the editor to learn objects and properties, but later if we are familiar with Unity and its many GameObject , we can just code. Bear with me, it can be a hassle with code at first, but you surely learn a lot.
I usually organise reusable code into files, let’s create a C# file and name it Sugar . For EventSystemand UI we need UnityEngine.EventSystems and using UnityEngine.UI namespaces.
Here’s how to create EventSystem
1 | public class Sugar { |
and Canvas
1 | public GameObject makeCanvas() { |
and how to make some common UI elements
1 | public GameObject makeBackground(GameObject canvasObject) { |
Now create an empty GameObject in your Scene and add a Script component to this GameObject . You can reference code in your Sugar.cs without any problem
1 | public class MenuScript : MonoBehaviour { |
Creating UI elements from scripting: another way is to use Prefabs and Instantiate function in C# to easily reference and construct elements
2D Game Creation: official Unity tutorials for making 2D games.
Issue #274
Original post https://hackernoon.com/20-recommended-utility-apps-for-macos-in-2018-ea494b4db72b
Depending on the need, we have different apps on the mac. As someone who worked mostly with development, below are my indispensable apps. They are like suits to Tony Stark. Since I love open source apps, they have higher priority in the list.
iTerm2 is a replacement for Terminal and the successor to iTerm. It works on Macs with macOS 10.10 or newer. iTerm2 brings the terminal into the modern age with features you never knew you always wanted.
iTerm2 has good integration with tmux and supports Split Panes
Term2 allows you to divide a tab into many rectangular “panes”, each of which is a different terminal session. The shortcuts cmd-d and cmd-shift-d divide an existing session vertically or horizontally, respectively. You can navigate among split panes with cmd-opt-arrow or cmd-[ and cmd-]. You can “maximize” the current pane — hiding all others in that tab — with cmd-shift-enter. Pressing the shortcut again restores the hidden panes.
There’s the_silver_searcher with ag command to quickly search for files
A delightful community-driven (with 1,200+ contributors) framework for managing your zsh configuration. Includes 200+ optional plugins (rails, git, OSX, hub, capistrano, brew, ant, php, python, etc), over 140 themes to spice up your morning, and an auto-update tool so that makes it easy to keep up with the latest updates from the community.
I use z shell with oh-my-zsh plugins. I also use zsh-autocompletions to have autocompletion like fish shell and z to track and quickly navigate to the most used directories.
Spectacle allows you to organize your windows without using a mouse.
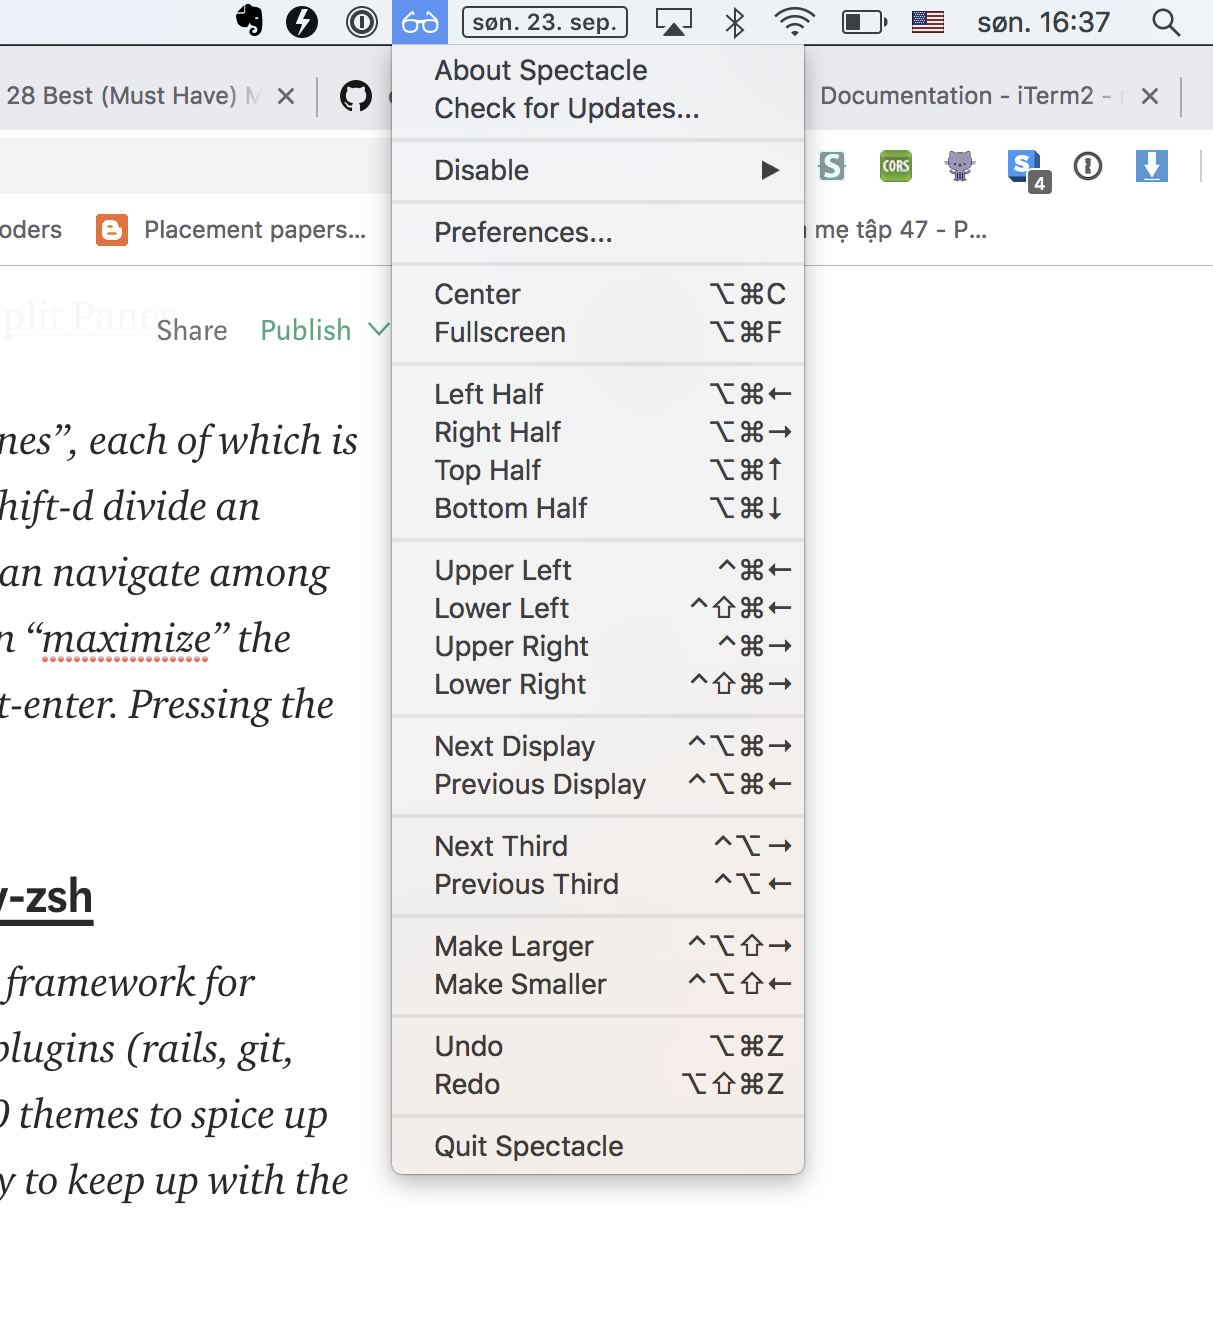
With spectable, I can organise windows easily with just Cmd+Option+F or Cmd+Option+Left
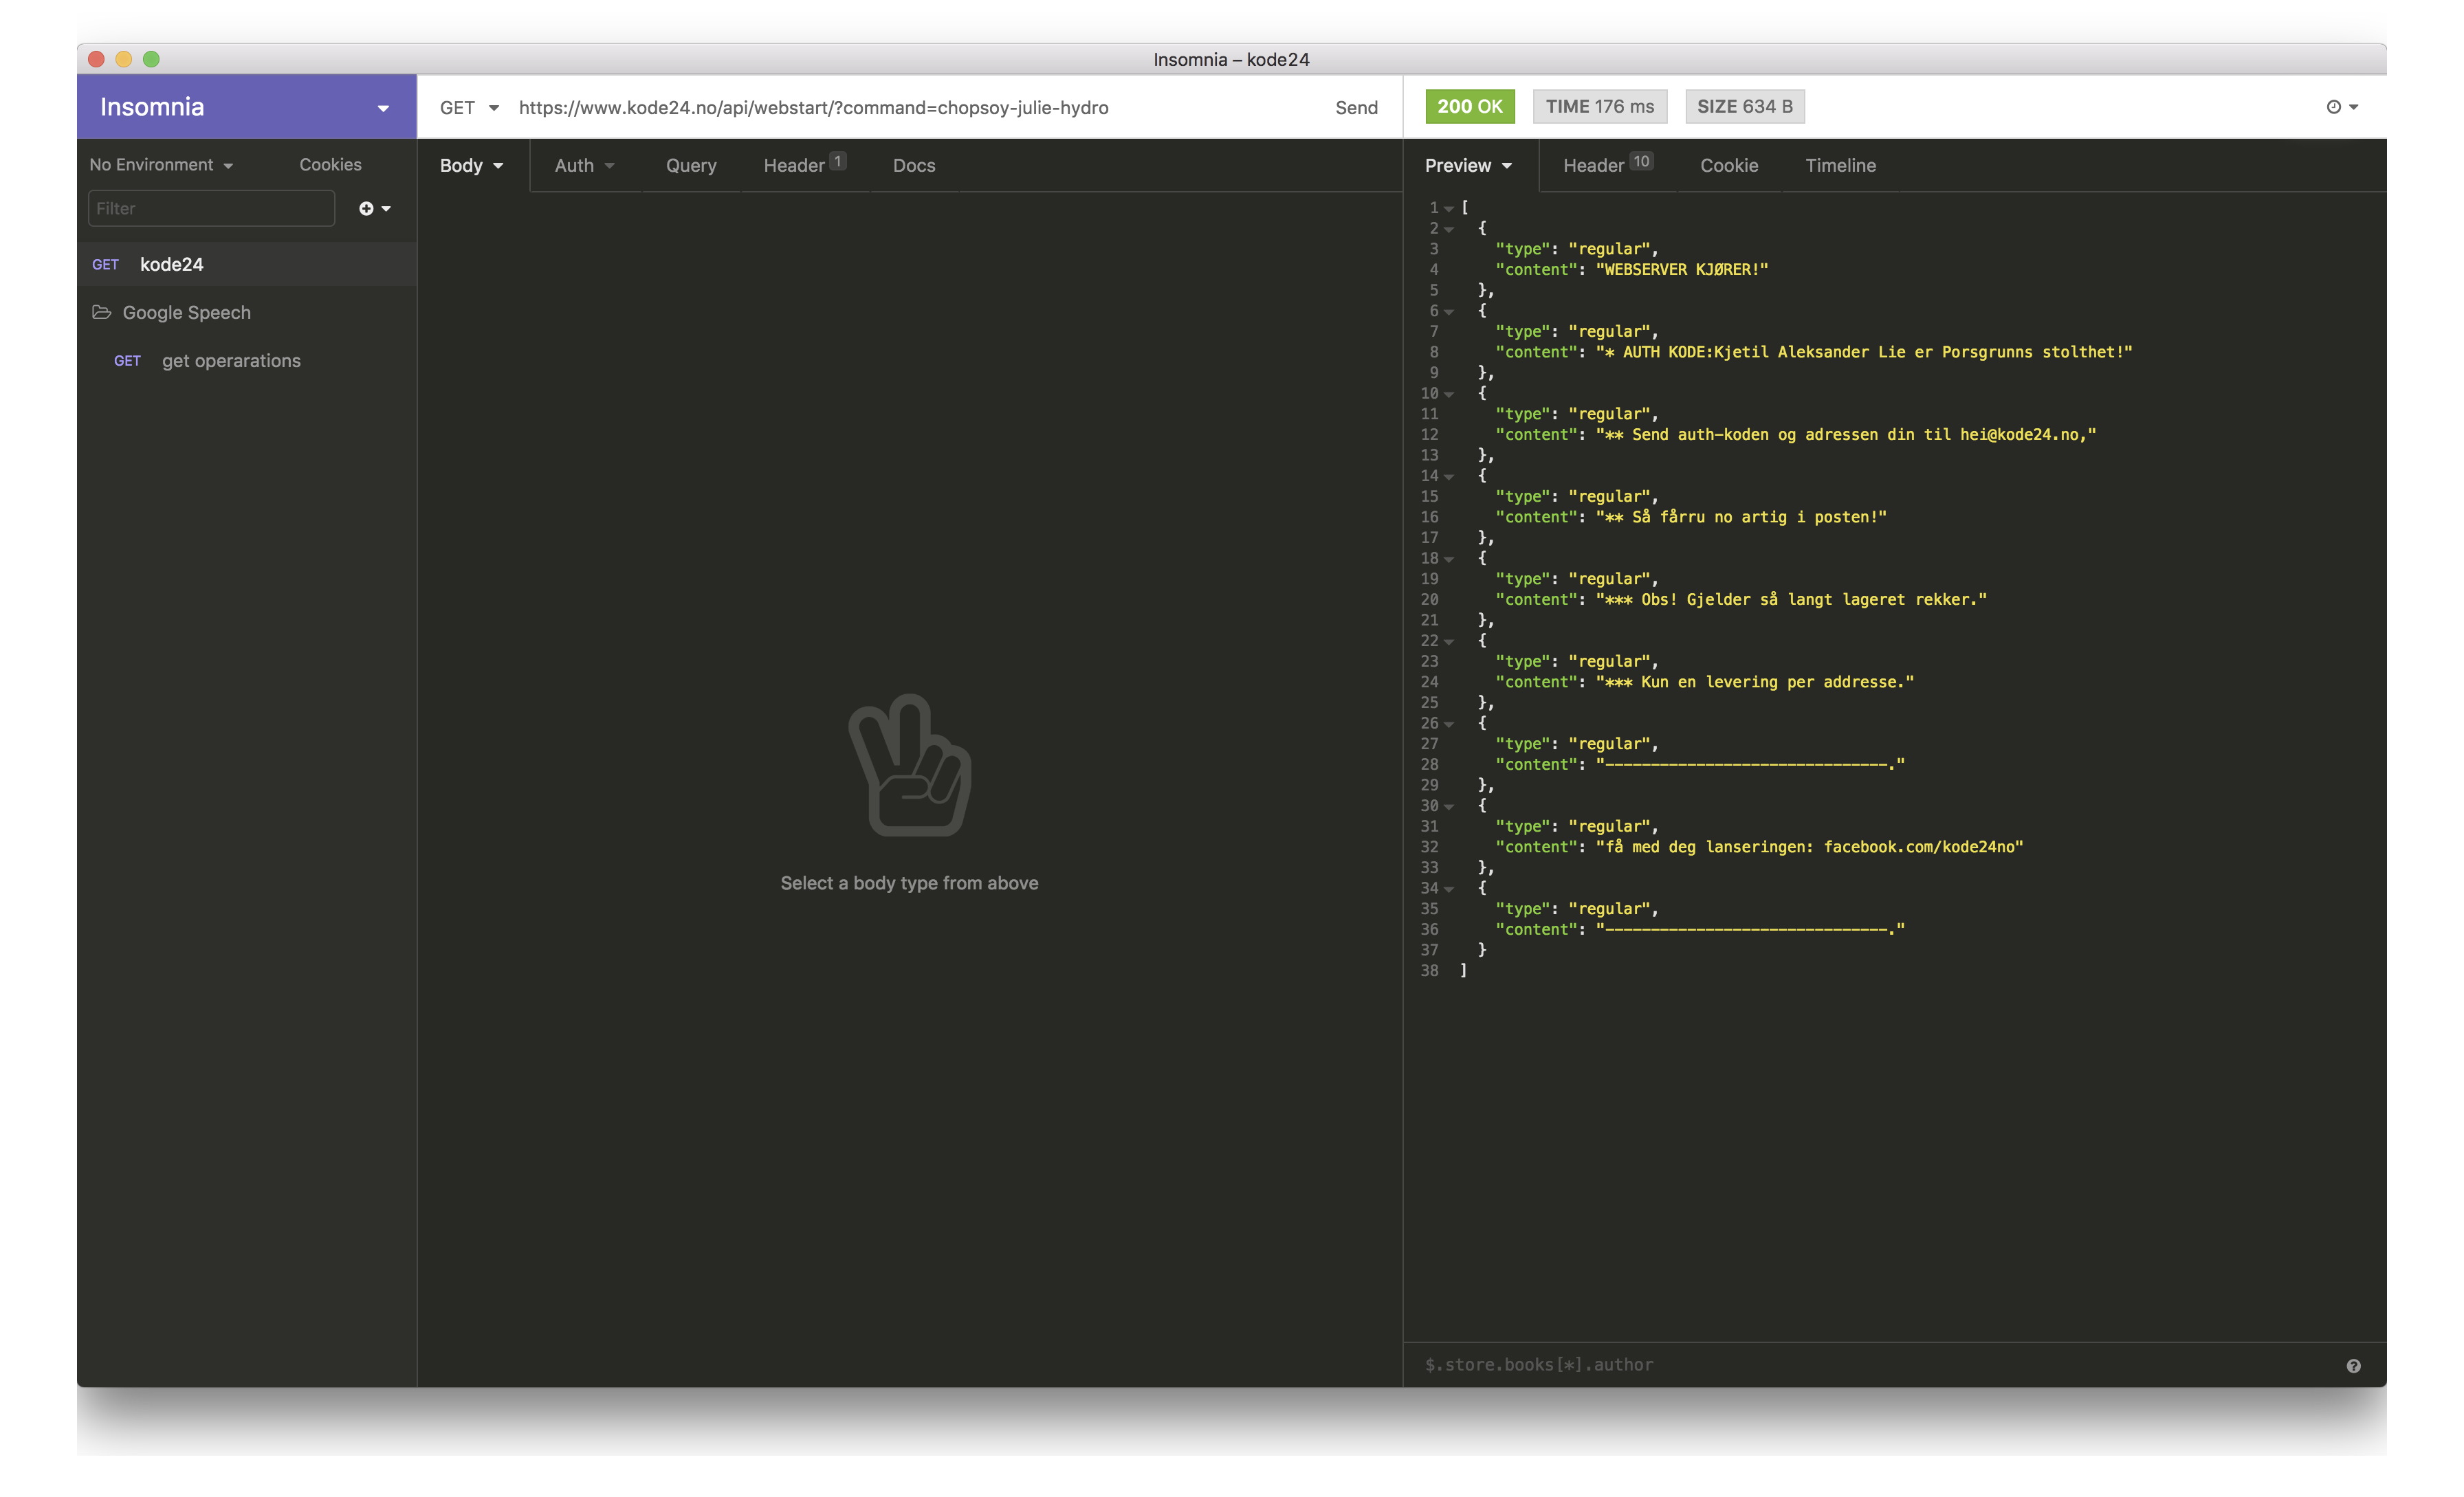
Insomnia is a cross-platform REST client, built on top of Electron.
Regardless if you like electron.js apps or not. This is a great tool for testing REST requets
VS Code is a new type of tool that combines the simplicity of a code editor with what developers need for their core edit-build-debug cycle. Code provides comprehensive editing and debugging support, an extensibility model, and lightweight integration with existing tools.
This seems to be the most popular for front end development, and many other things. There’s bunch of extensions that make the experience to a new level.
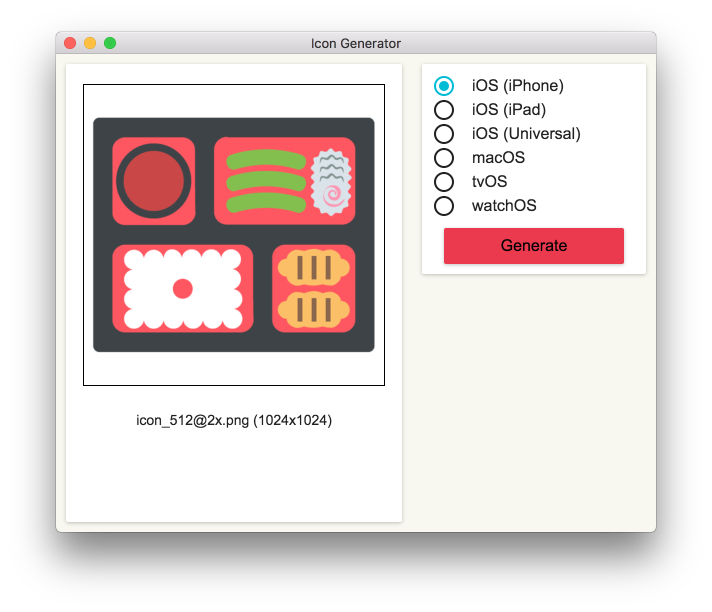
Built by me. When developing iOS, Android and macOS applications, I need a quick way to generate icons in different sizes. You can simply drag the generated asset into Xcode and that’s it.
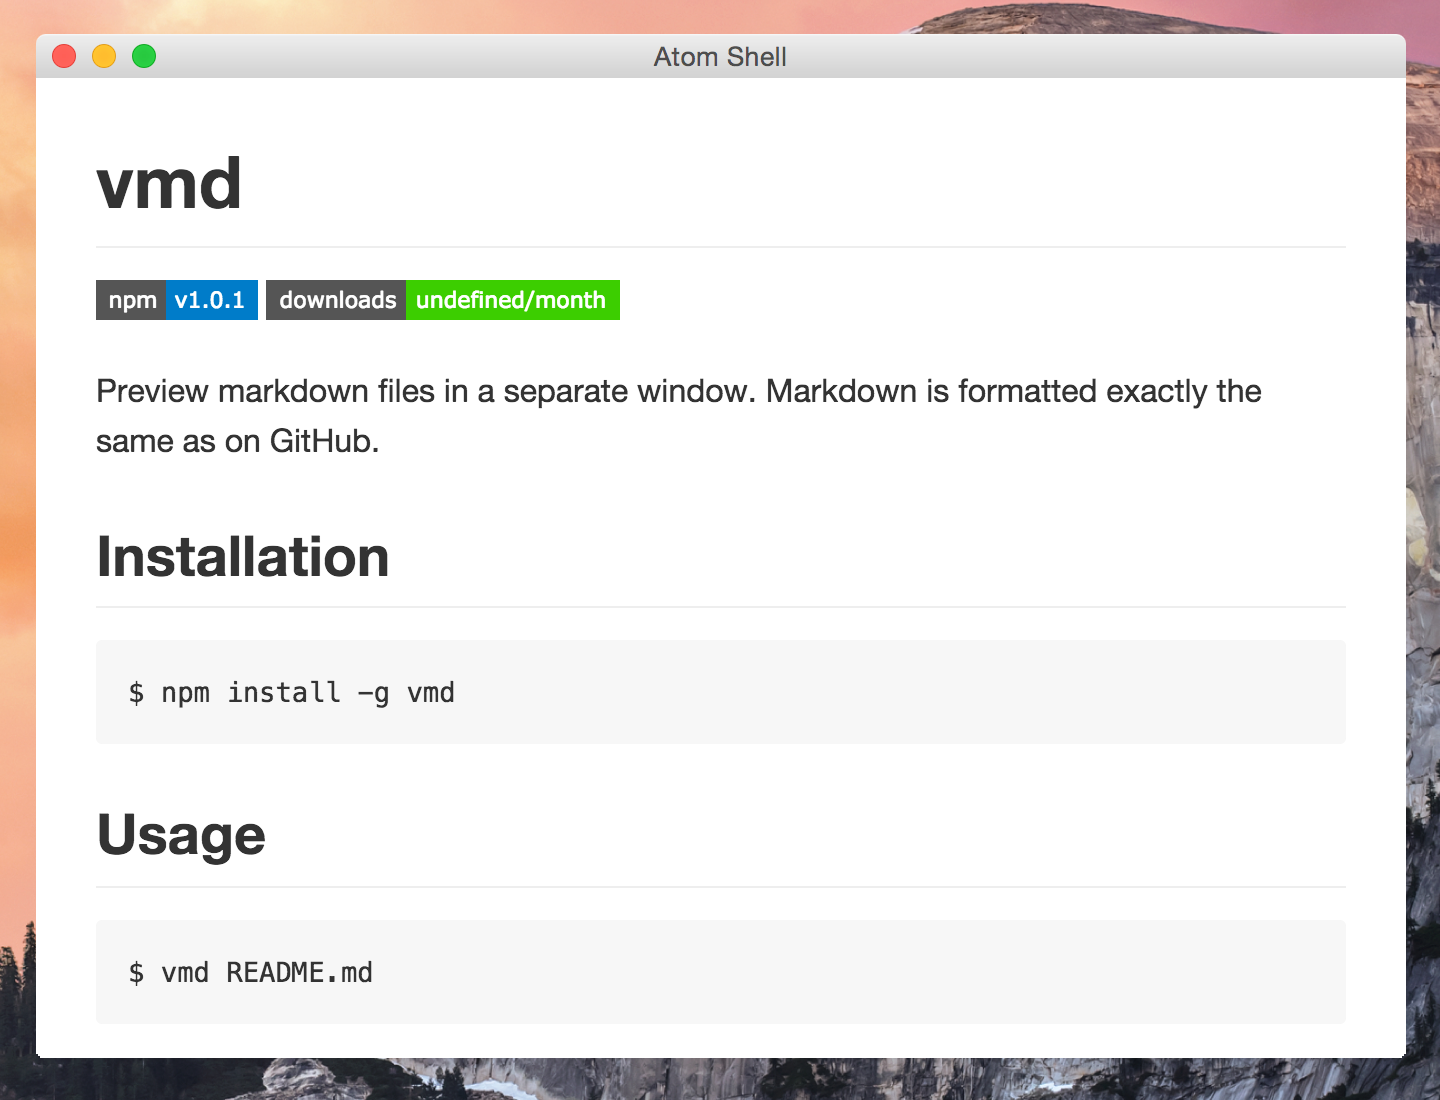
Preview markdown files in a separate window. Markdown is formatted exactly the same as on GitHub.
A mininal but complete colorpicker desktop app
I used to use Sip but I often get the problem of losing focus.
I built this as a native macOS app to capture screen and save to gif file. It works like Licecap but open source. There’s also an open source tool called kap that is slick.

Itsycal is a tiny calendar for your Mac’s menu bar.
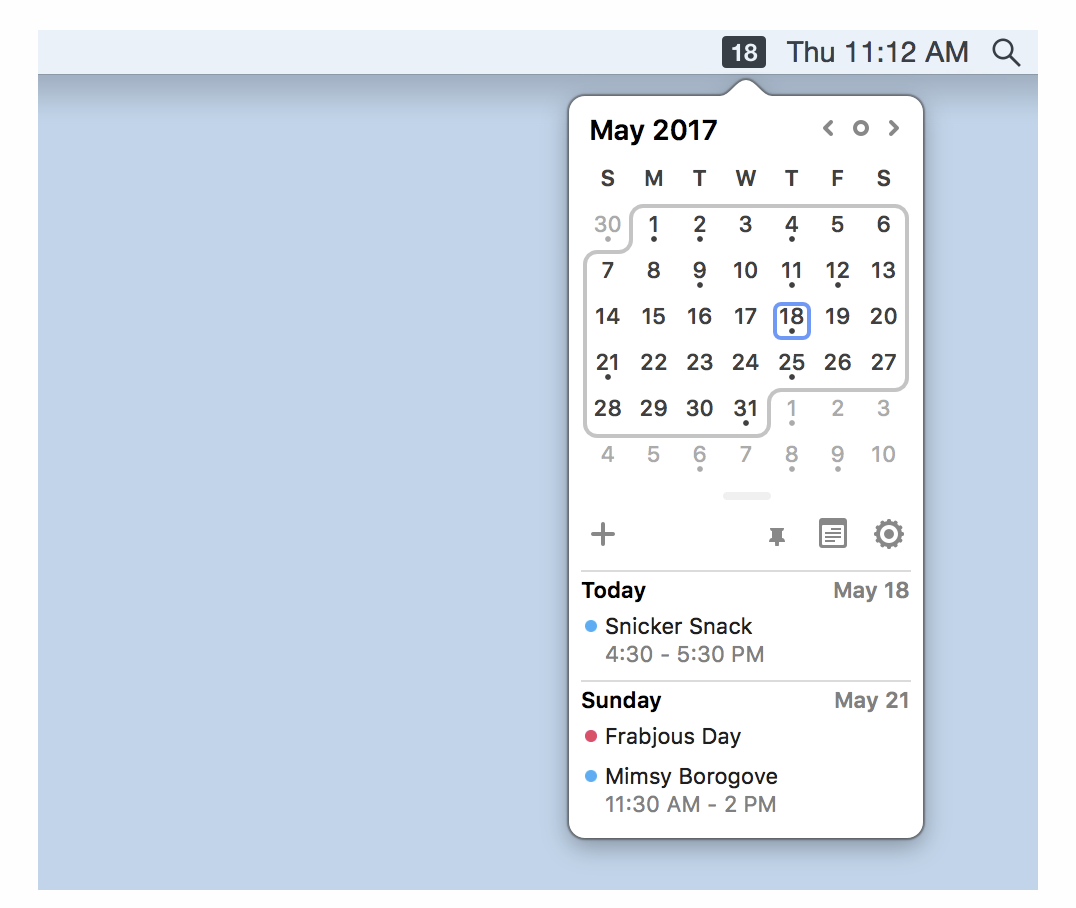
The app is minimal and works very well. It can shows calendar for integrated accounts in the mac.
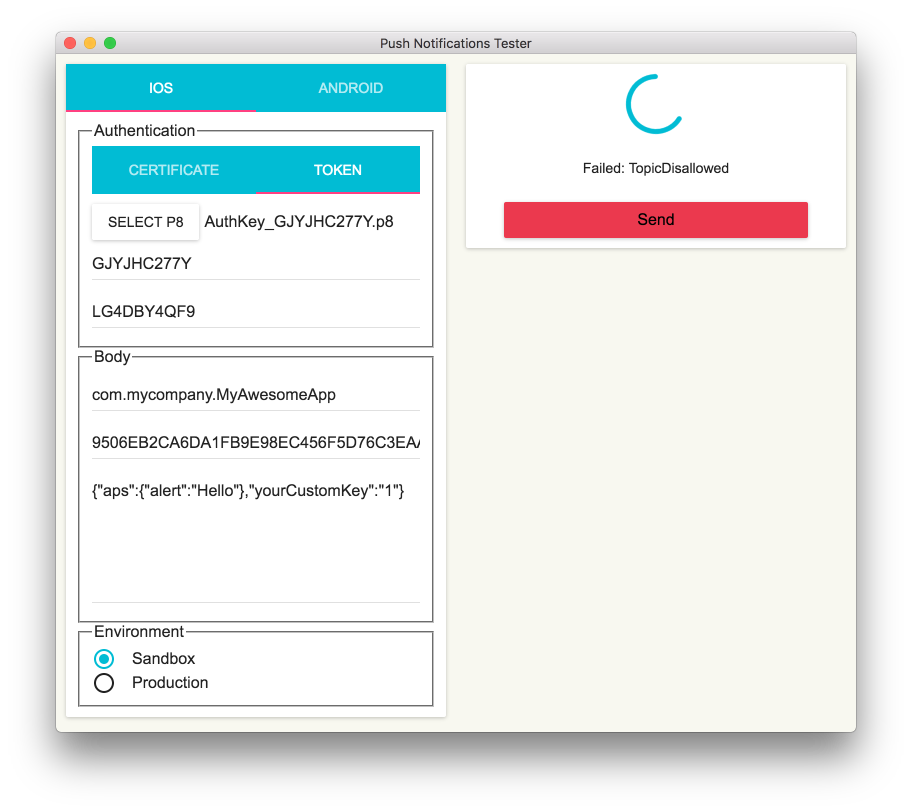
I often need to test push notification to iOS and Android apps. And I want to support both certificate and key p8 authentication for Apple Push Notification service, so I built this tool.
A menu bar app to show the lyric of the playing Spotify song
When I listen to some songs in Spotify, I want to see the lyrics too. The lyrics is fetched from https://genius.com/ and displayed in a wonderful UI.

GitHub Notifications on your desktop.
I use this to get real time notification for issues and pull requests for projects on GitHub. I hope there is support for Bitbucket soon.

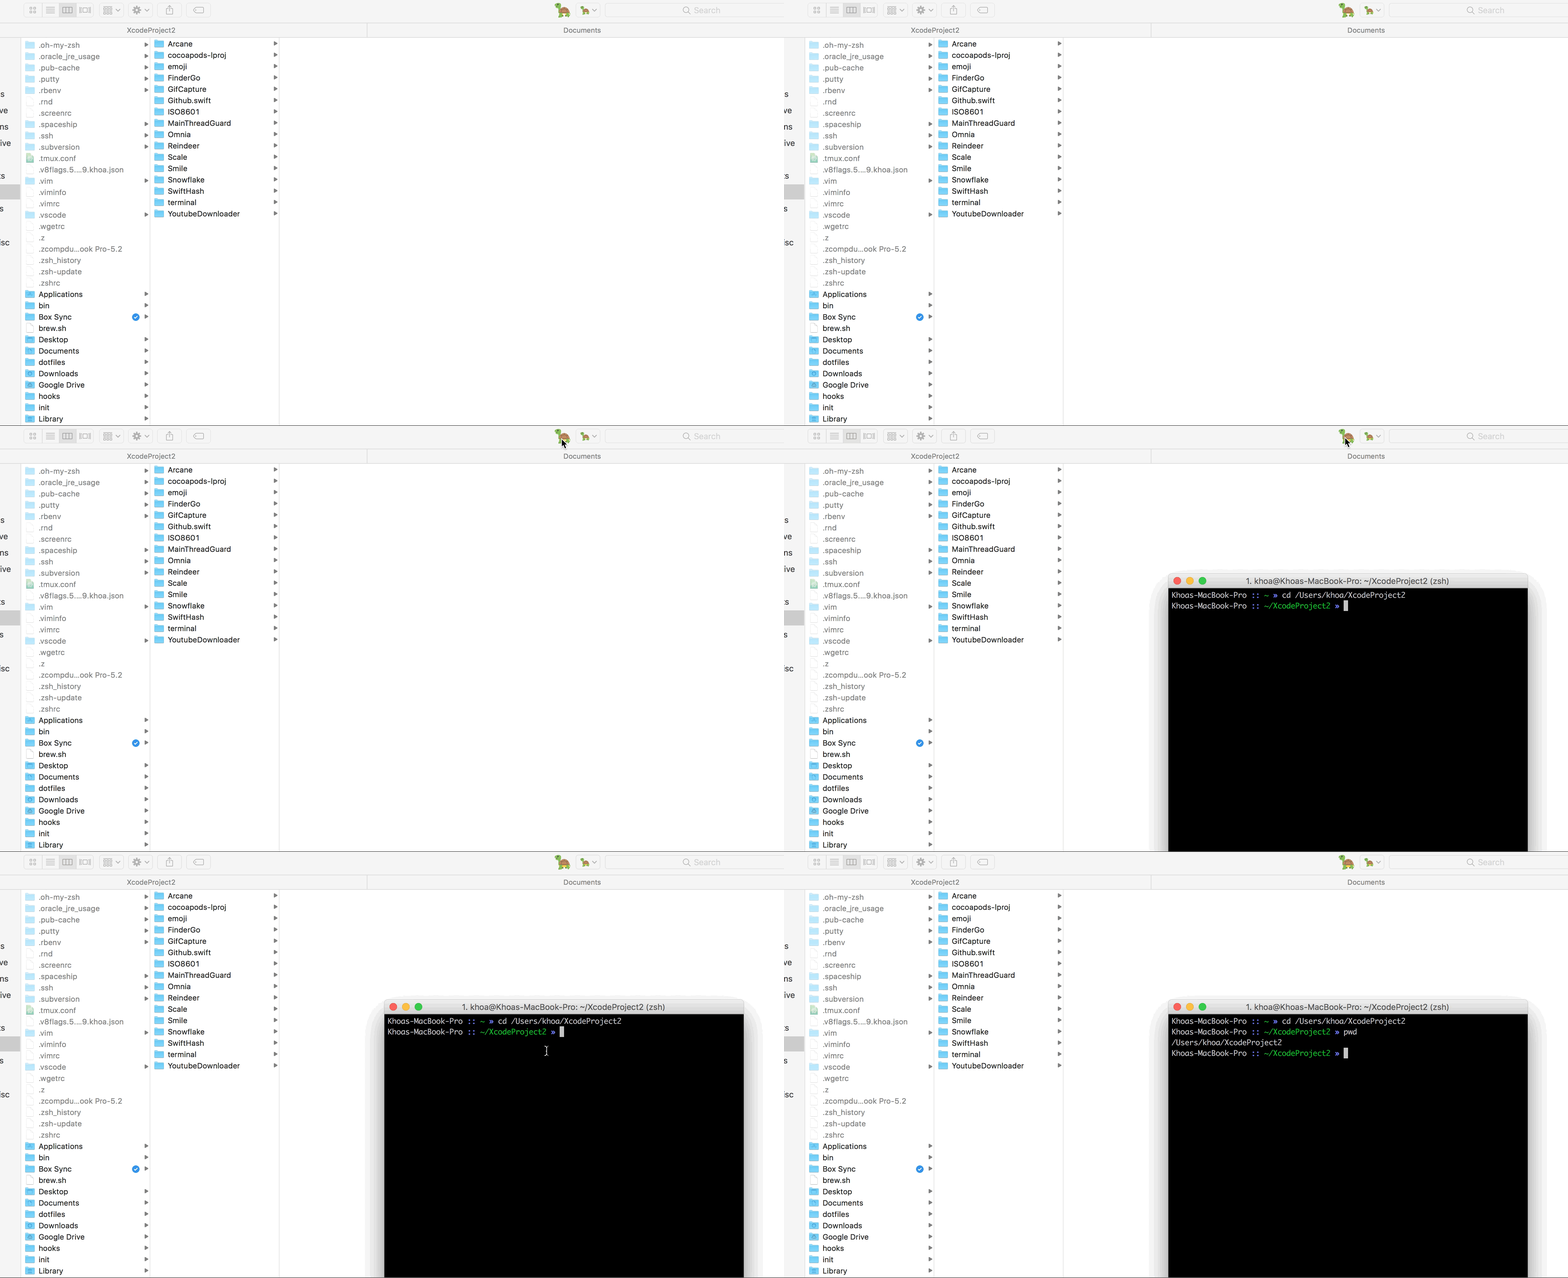
FinderGo is both a native macOS app and a Finder extension. It has toolbar button that opens terminal right within Finder in the current directory. You can configure it to open either Terminal, iTerm2 or Hyper
This is about theme. There is the very popular dracular themes, but I find it too strong for the eyes. I don’t use Atom, but I love its one dark UI. I used to maintain my own theme for Xcode called DarkSide but now I use xcode-one-dark for Xcode and Atom One Dark Theme for Visual Studio Code.
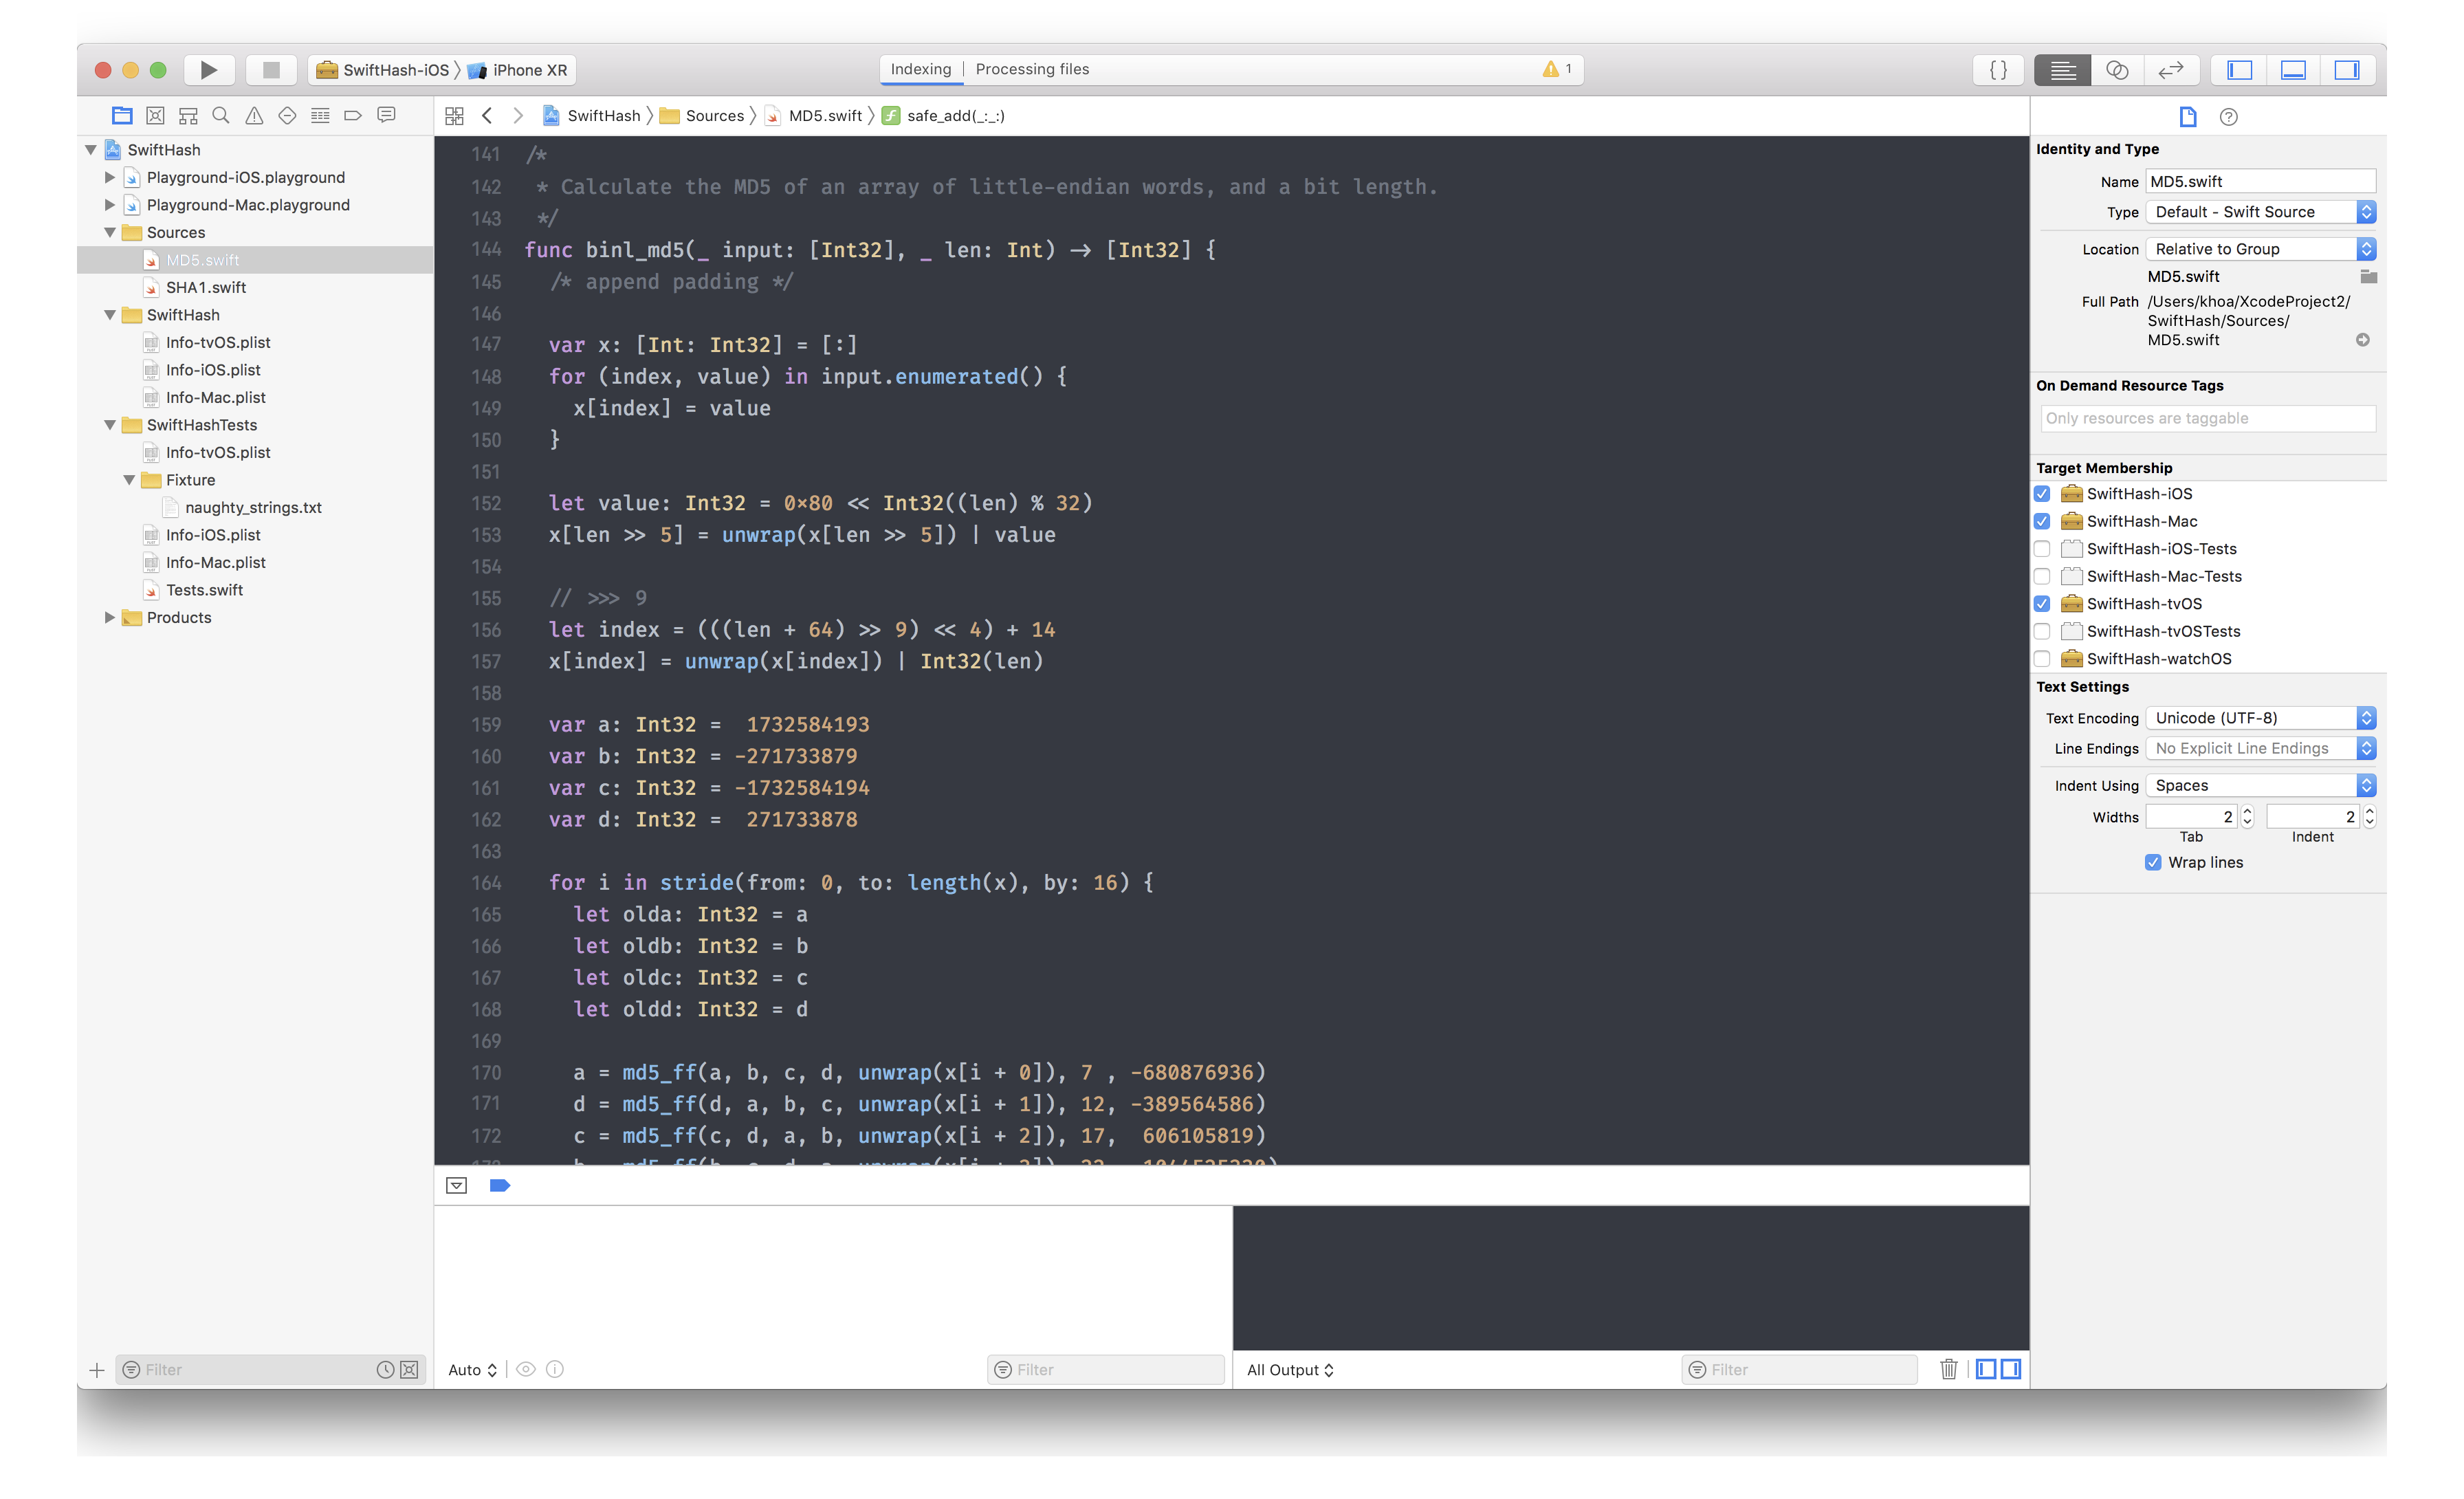
I also use Fira Code font in Xcode, Visual Studio Code and Android Studio, which has beautiful ligatures.
I use Chrome for its speed and wonderful support for extensions. The extensions I made are github-chat to enable chat within GitHub and github-extended to see more pinned repositories.
There are also refined github, github-repo-size and octotree that are indispensable for me.
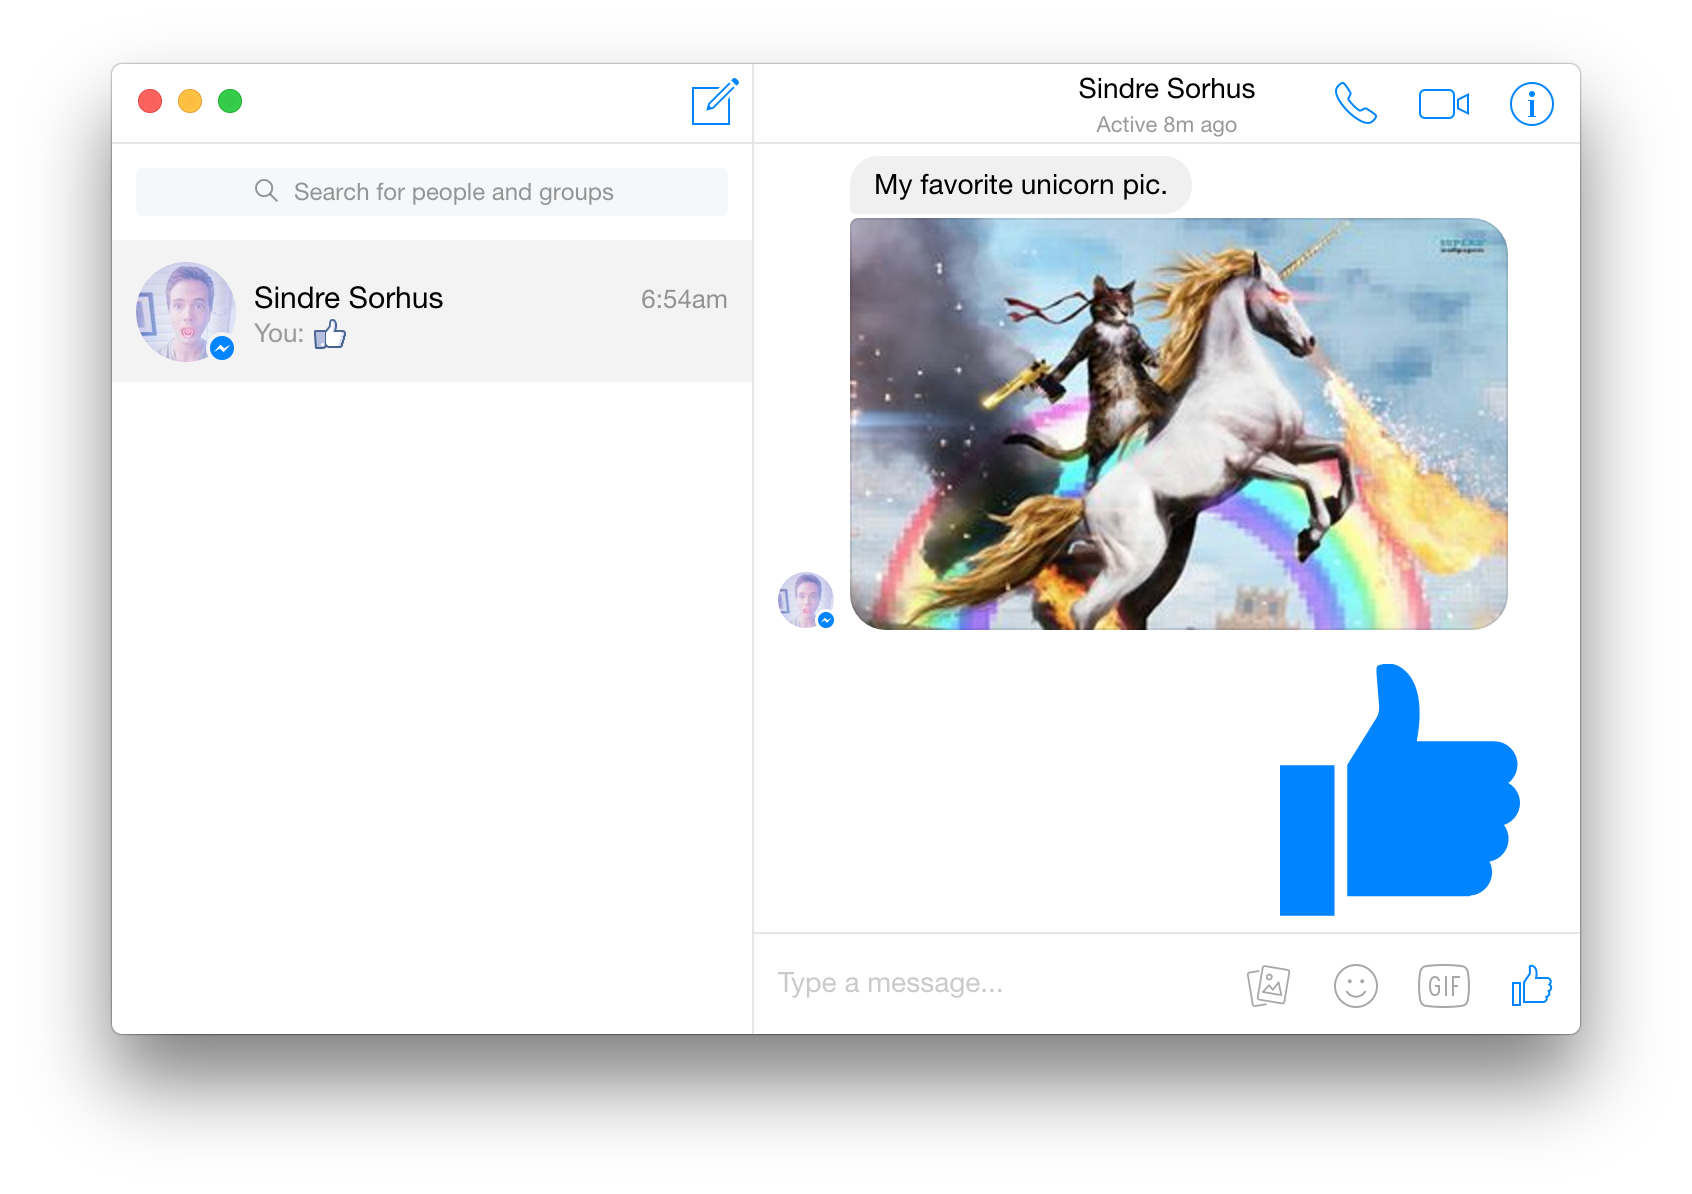
Caprine is an unofficial and privacy focused Facebook Messenger app with many useful features.
Sublime Text is a sophisticated text editor for code, markup and prose. You’ll love the slick user interface, extraordinary features and amazing performance.
Sublime Text is simply fast and the editing experience is very good. I’ve used Atom but it is too slow.
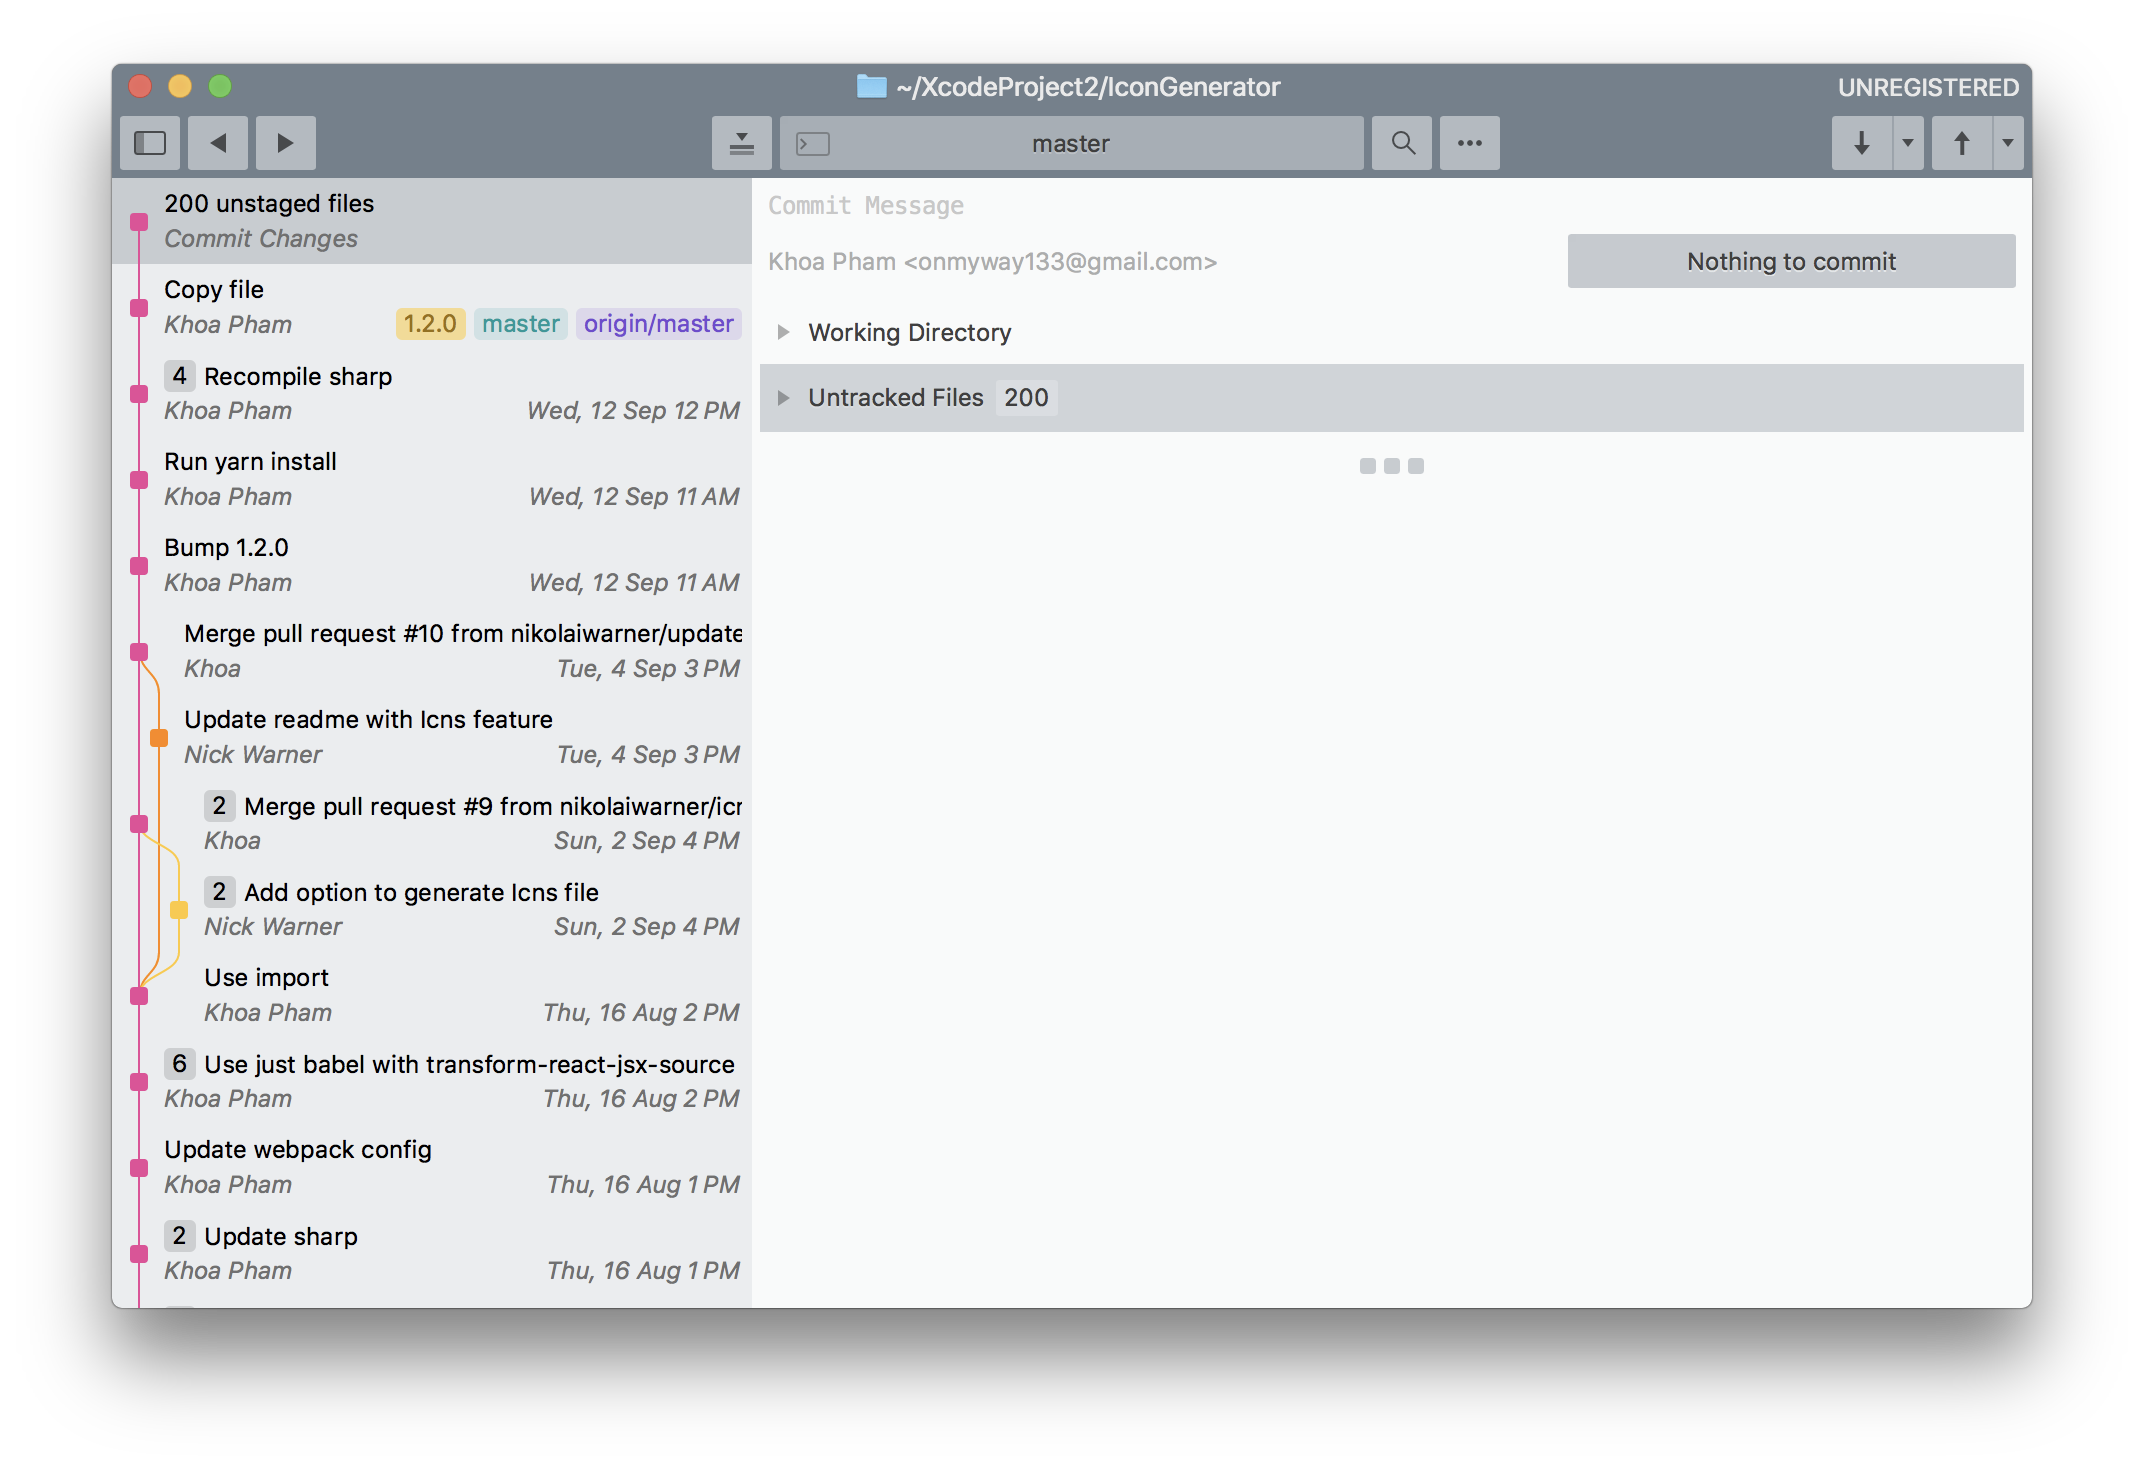
Meet a new Git client, from the makers of Sublime Text
Sublime Merge never lets me down. The source control app is simply very quick. I used SourceTree in the past, but it is very slow and had problem with authentication to Bitbucket and GitHub, and it halts very often for React Native apps, which has lots of node modules committed.
1Password remembers them all for you. Save your passwords and log in to sites with a single click. It’s that simple.
Everyone need strong and unique passwords these day. This tool is indispensable
Make screenshots. Draw on it. Shoot video and share your files. It’s fast, easy and free.
I haven’t found a good open source alternative, this is good in capturing screen or portion of the screen.

iTunes or Quick Time has problem with some video codecs. This app VLC can play all kinds of video types.
Xcode is the go to editor for iOS developer. The current version is Xcode 10. From Xcode 8, plugins are not supported. The way to go is Xcode extensions.
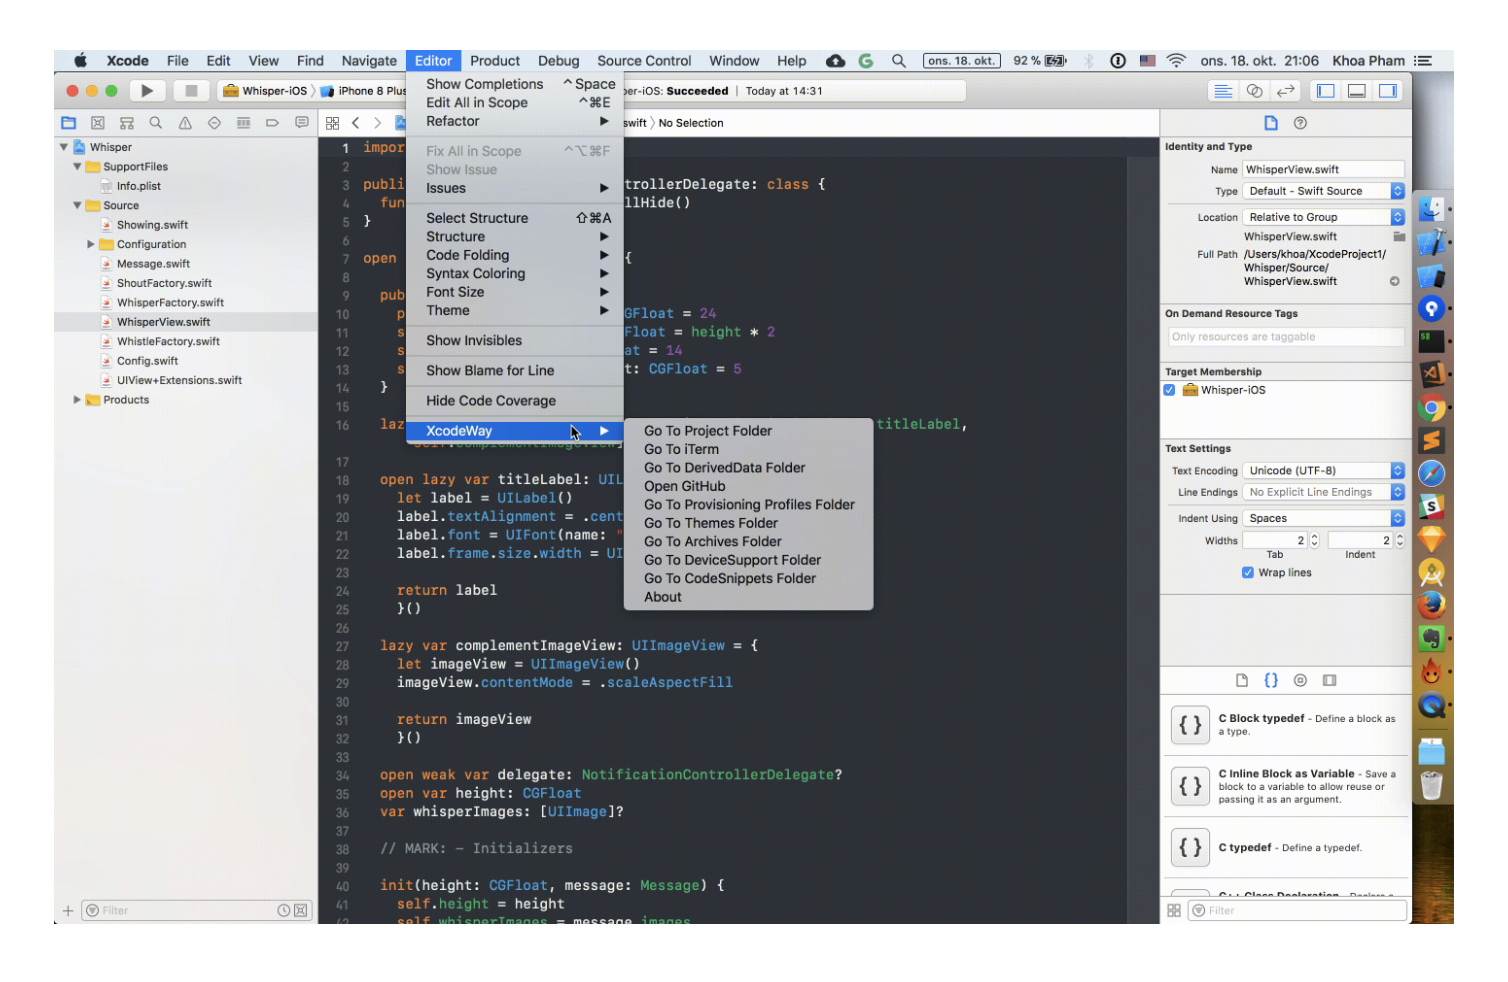
I have developed XcodeColorSense2 to easily recognise hex colors, and XcodeWay to easily navigate to many places right from Xcode

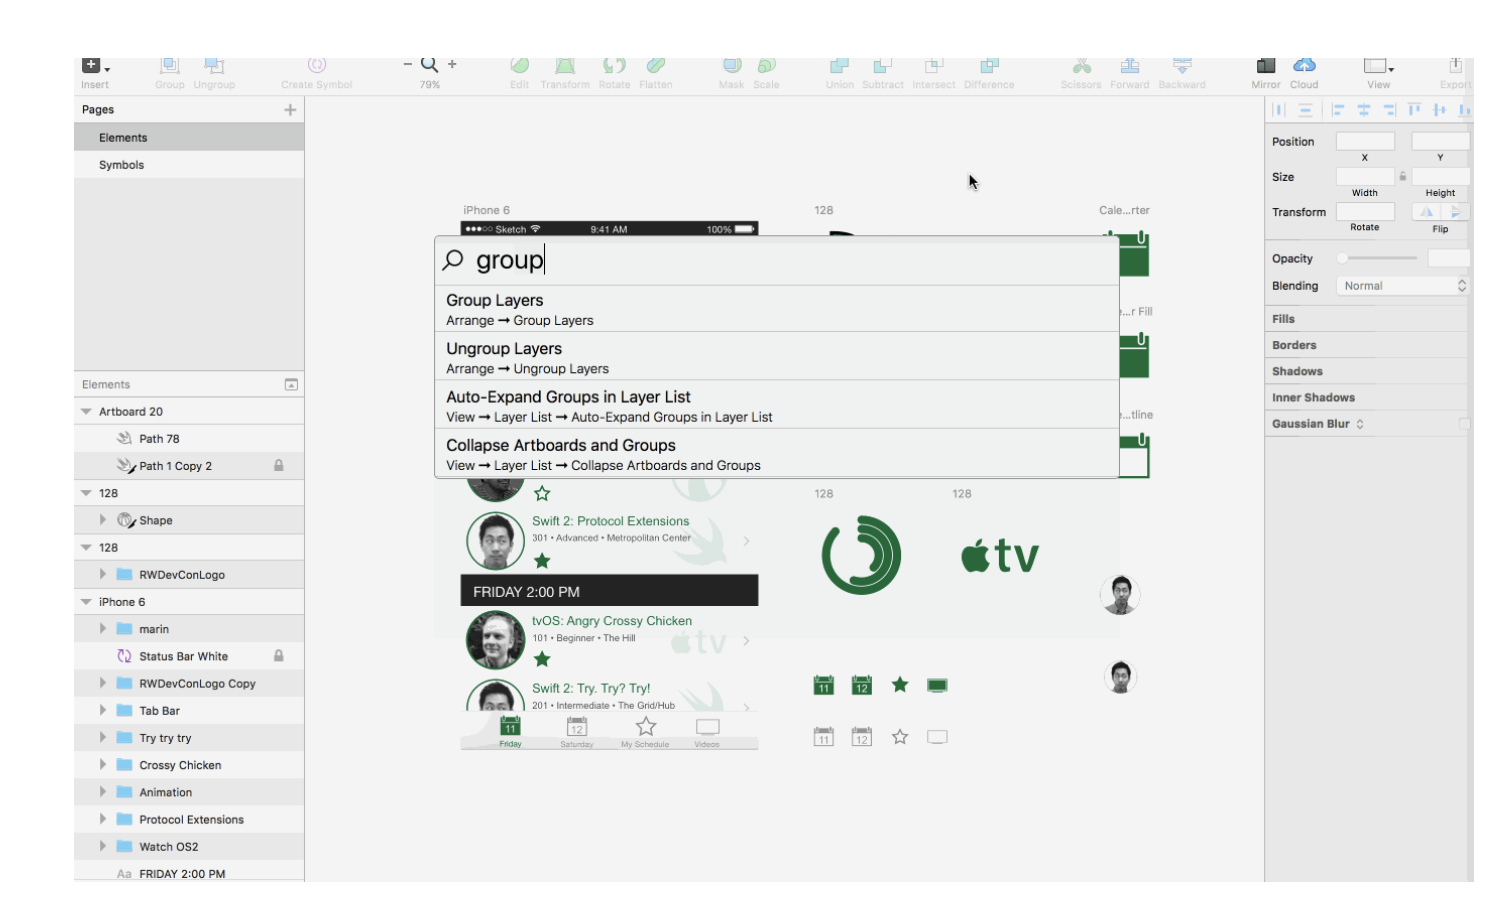
Sketch is a design toolkit built to help you create your best work — from your earliest ideas, through to final artwork.
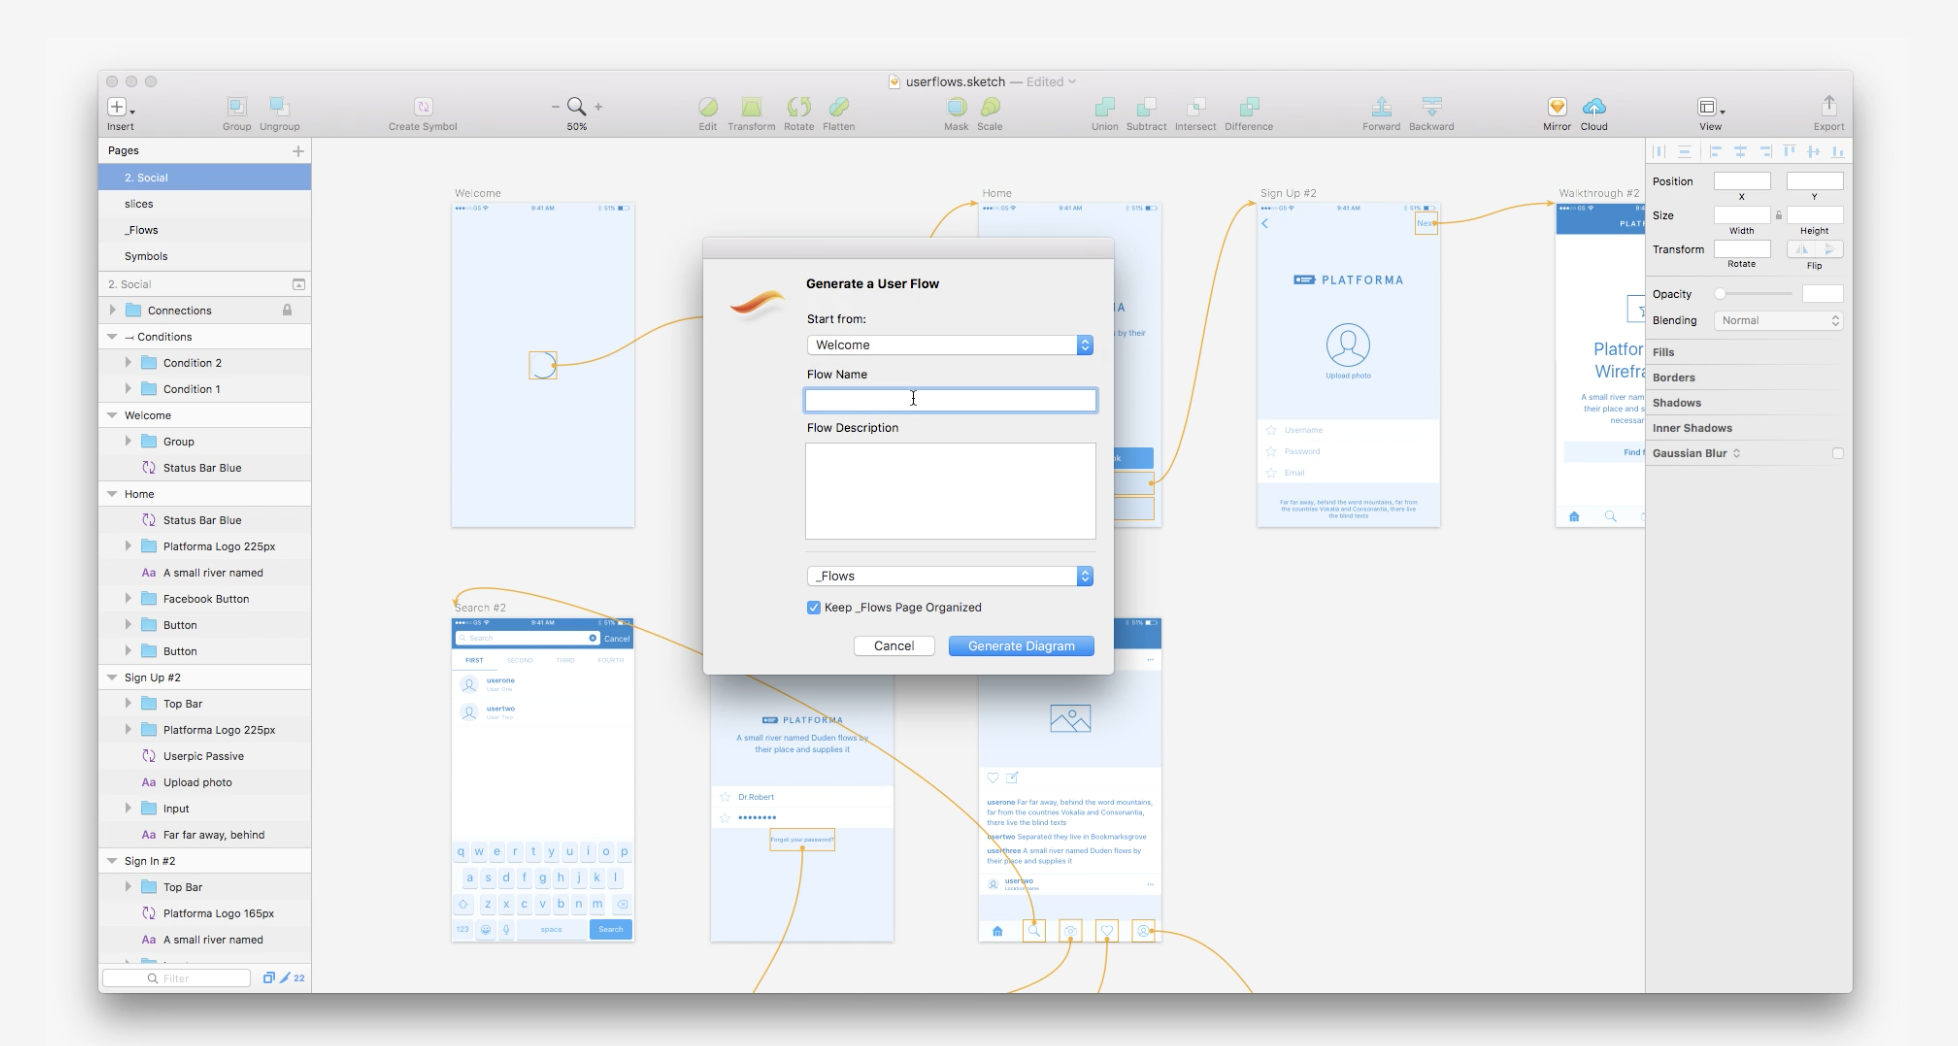
Sketch is the most favorite design tool these days. There are many cool plugins for it. I use Sketch-Action and User Flows
I hope you find some new tools to try. If you know other awesome tools, feel free to make a comment. Here are some more links to discover further
Issue #273
Original post https://hackernoon.com/using-bitrise-ci-for-android-apps-fa9c48e301d8
CI, short for Continuous Integration, is a good practice to move fast and confidently where code is integrated into shared repository many times a day. The ability to have pull requests get built, tested and release builds get distributed to testers allows team to verify automated build and identify problems quickly.
I ‘ve been using BuddyBuild for both iOS and Android apps and were very happy with it. The experience from creating new apps and deploying build is awesome. It works so well that Apple acquired it, which then lead to the fact that Android apps are no longer supported and new customers can’t register.
We are one of those who are looking for new alternatives. We’ve been using TravisCI, CircleCI and Jenkins to deploy to Fabric. There is also TeamCity that is promising. But after a quick survey with friends and people, Bitrise is the most recommended. So maybe I should try that.
The thing I like about Bitrise is its wide range support of workflow. They are just scripts that execute certain actions, and most of them are open source. There’s also yml config file, but all things can be done using web interface, so I don’t need to look into pages of documentation just to get the configuration right.
This post is not a promote for Bitrise, it is just about trying and adapting to new things. There is no eternal thing in tech, things come ad go fast. Below are some of the lessons I learn after using Bitrise, hope you find them useful.
There is no Android Build step in the default ‘primary’ workflow, as primary is generally used for testing the code for every push. There is an Android Build step in the deploy workflow and the app gets built by running this workflow. However, I like to have the Android Build step in my primary workflow, so I added it there.
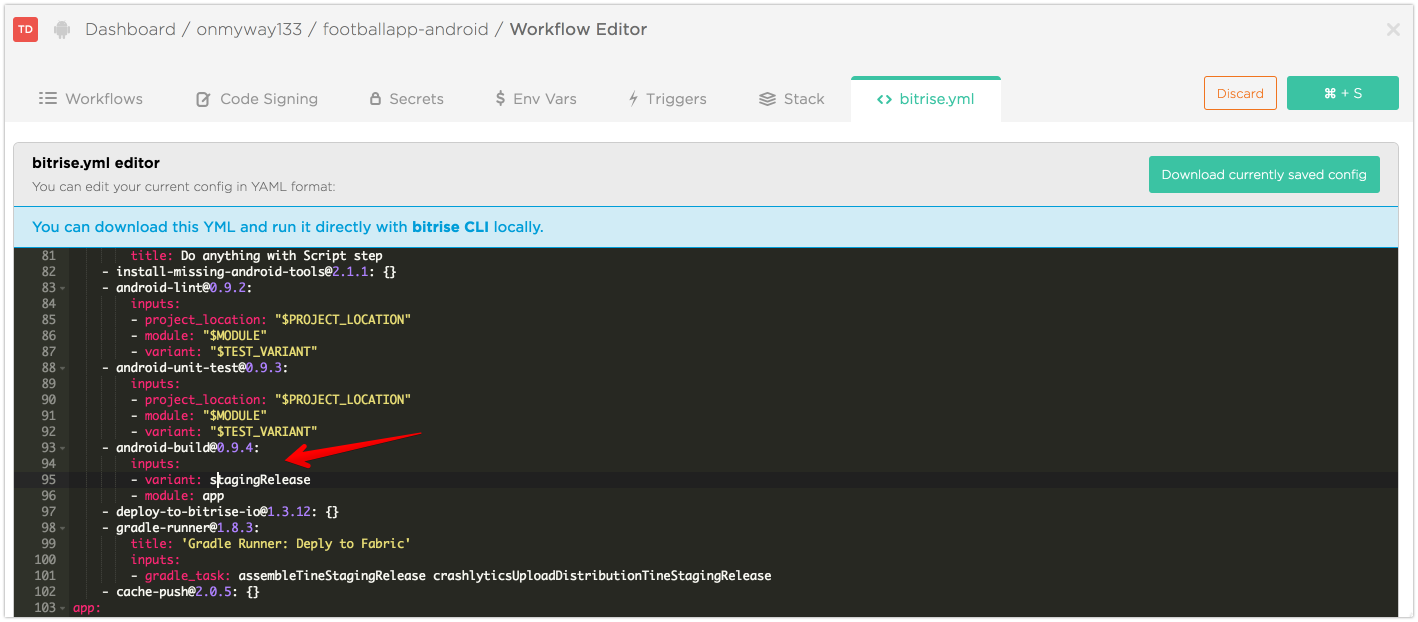
Usually I want app module and stagingRelease build variant as we need to deploy staging builds to internal testers.
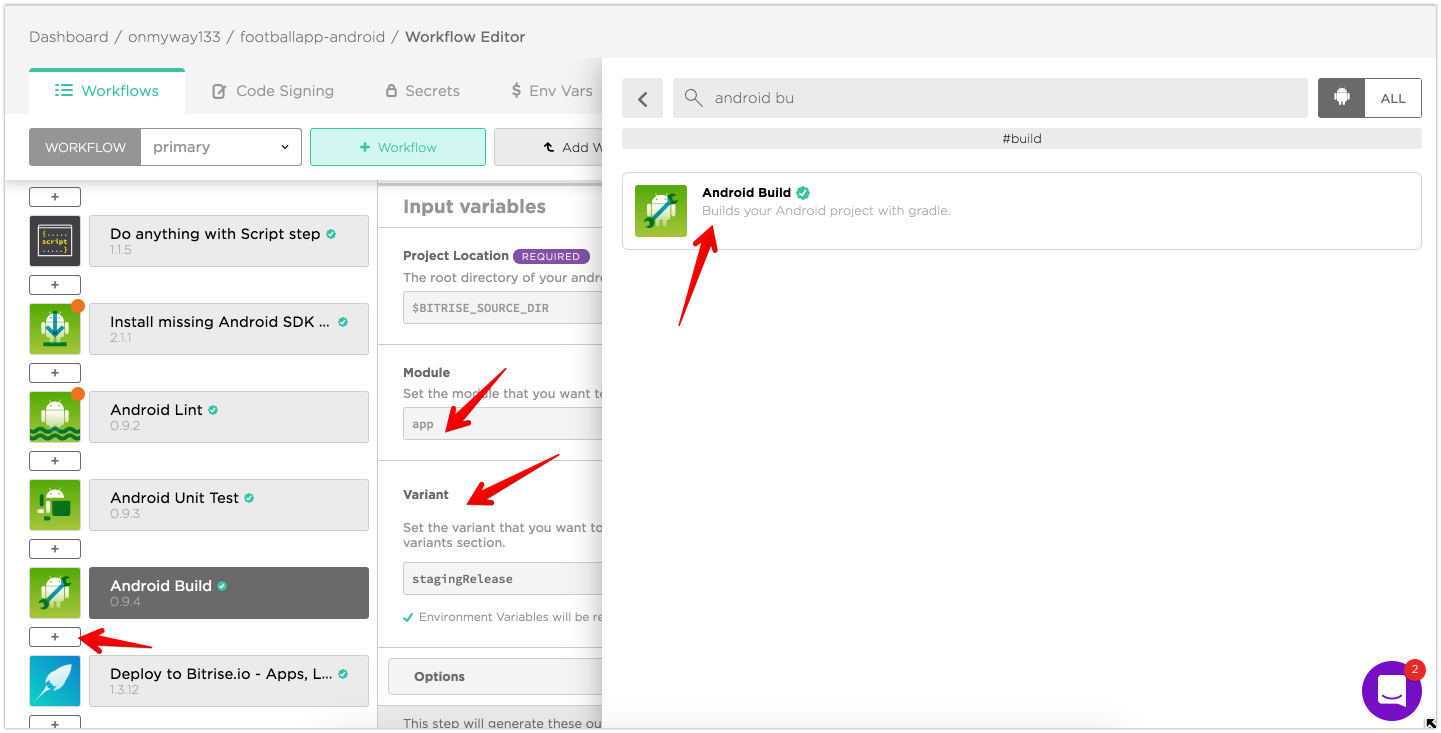
If you go to Bitrise.yml tab you can see that the configuration file has been updated. This is very handy. I’ve used some other CI services and I needed to lookup their documentation on how to make this yml work.
I’ve used some other CI services before and the app version code surely does not start from 0. So it makes sense that Bitrise can auto bump version code from the current number. There are some predefined steps in Workflow but they don’t serve my need
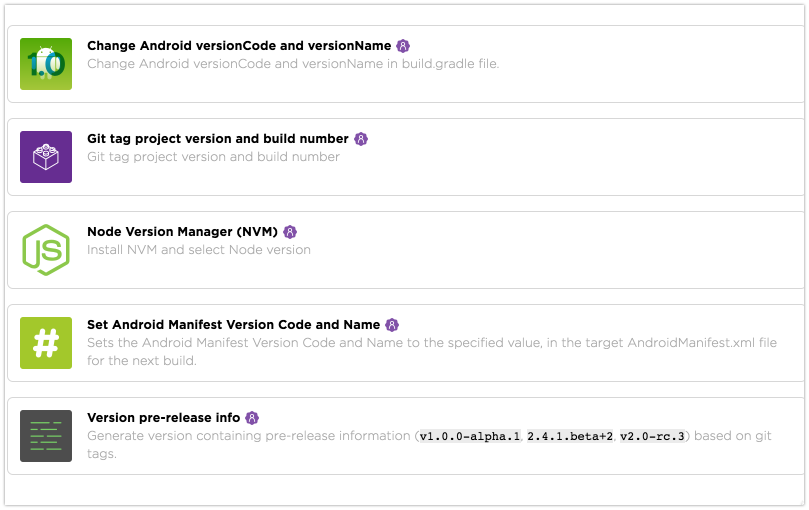
For the Set Android Manifest Version code and name step, the source code is here so I understand what it does. It works by modify AndroidManifest.xml file using sed . This article Adjust your build number is not clear enough.
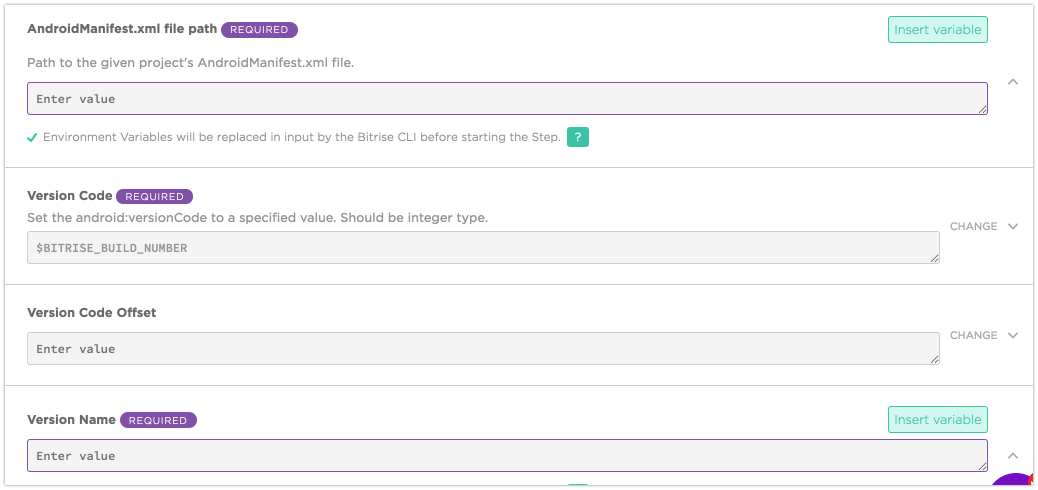
sed -i.bak “s/android:versionCode=”\”${VERSIONCODE}\””/android:versionCode=”\”${CONFIG_new_version_code}\””/” ${manifest_file}In our projects, the versionCode is from an environment variable BUILD_NUMBER in Jenkins, so we need look up the same thing in Available Environment Variables, and it is BITRISE_BUILD_NUMBER , which is a build number of the build on bitrise.io.
This is how versionCode looks like in build.gradle
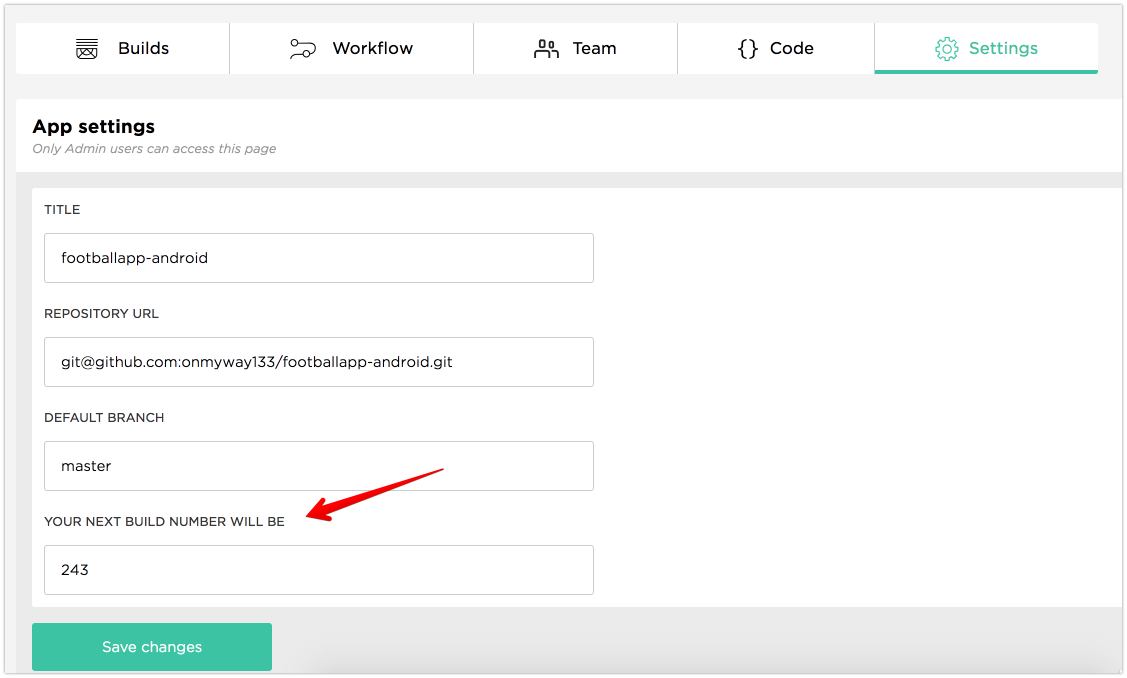
versionCode (System.*getenv*("BITRISE_BUILD_NUMBER") as Integer ?: System.*getenv*("BUILD_NUMBER") as Integer ?: 243)243 is the current version code of this project, so let’s go to app’s Settings and change Your next build number will be
I hope Bitrise has its own Crash reporting tool. For now I use Crashlytics in Fabric. And despite that Bitrise can distribute builds to testers, I still need to cross deploy to Fabric for historial reasons.
There is only script steps-fabric-crashlytics-beta-deploy to deploy IPA file for iOS apps, so we need something for Android. Fortunately I can use the Fabric plugin for gradle.
Follow Install Crashlytics via Gradle to add Fabric plugin. Basically you need to add these dependencies to your app ‘s build.gradle
buildscript {
    repositories {
        google()
        maven { url 'https://maven.fabric.io/public' }
    }

    dependencies {
        classpath 'io.fabric.tools:gradle:1.+'
    }
}

apply plugin: 'io.fabric'

dependencies {
    compile('com.crashlytics.sdk.android:crashlytics:2.9.4@aar') {
        transitive = true;
    }
}
and API credentials in Manifest file
<meta-data
 android:name=”io.fabric.ApiKey”
 android:value=”67ffdb78ce9cd50af8404c244fa25df01ea2b5bc”
/>Modern Android Studio usually includes a gradlew execution file in the root of your project. Run ./gradlew tasks for the list of tasks that you app can perform, look for Build tasks that start with assemble . Read more Build your app from the command line
You can execute all the build tasks available to your Android project using the Gradle wrapper command line tool. It’s available as a batch file for Windows (gradlew.bat) and a shell script for Linux and Mac (gradlew.sh), and it’s accessible from the root of each project you create with Android Studio.
For me, I want to deploy staging release build variant, so I run. Check that the build is on Fabric.
./gradlew assembleStagingRelease crashlyticsUploadDistributionStagingReleaseGo to your app on Fabric.io and create group of testers. Note that alias that is generated for the group
Go to your app’s build.gradle and add ext.betaDistributionGroupAliases=’my-internal-testers’ to your desired productFlavors or buildTypes . For me I add to staging under productFlavors
productFlavors {
   staging {
     // …
     ext.betaDistributionGroupAliases=’hyper-internal-testers-1'
   }
   production {
     // …
   }
}
Now that the command is run correctly, let’s add that to Bitrise
Go to Workflow tab and add a Gradle Run step and place it below Deploy to Bitrise.io step.
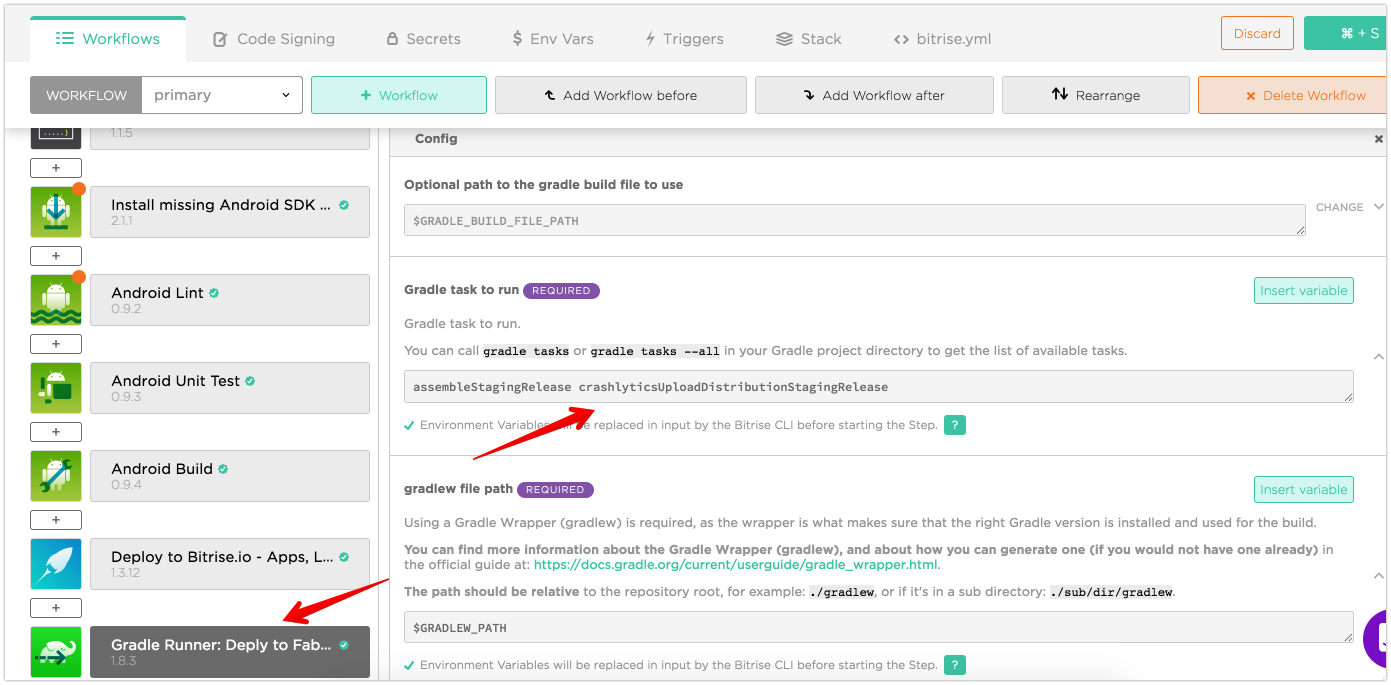
Expand Config, and add assembleStagingRelease crashlyticsUploadDistributionStagingRelease to Gradle task to run .
Now start a new build in Bitrise manually or trigger new build by making pull request, you can see that the version code is increased for every build, crossed build gets deployed to Fabric to your defined tester groups.
As an alternative, you can also use Fabric/Crashlytics deployer, just update config with your apps key and secret found in settings.
I hope those tips are useful to you. Here are some more links to help you explore further
Issue #271
Original post https://hackernoon.com/how-to-make-tag-selection-view-in-react-native-b6f8b0adc891
Besides React style programming, Yoga is another cool feature of React Native. It is a cross-platform layout engine which implements Flexbox so we use the same layout code for both platforms.
As someone who uses Auto Layout in iOS and Constraint Layout in Android, I find Flexbox bit hard to use at first, but there are many tasks that Flexbox does very well, they are distribute elements in space and flow layout. In this post we will use Flexbox to build a tag selection view using just Javascript code. This is very easy to do so we don’t need to install extra dependencies.
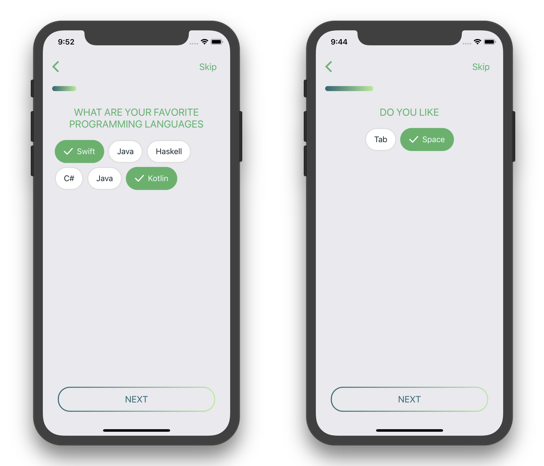
Our tag view will support both multiple selection and exclusive selection. First, we need a custom Button .
Button is of the basic elements in React Native, but it is somewhat limited if we want to have custom content inside the button, for example texts, images and background
import { Button } from 'react-native'
...

<Button
  onPress={onPressLearnMore}
  title="Learn More"
  color="#841584"
  accessibilityLabel="Learn more about this purple button"
/>Luckily we have TouchableOpacity, which is a wrapper for making views respond properly to touches. On press down, the opacity of the wrapped view is decreased, dimming it.
To implement button in our tag view, we need to a button with background a check image. Create a file called BackgroundButton.js
import React from 'react'
import { TouchableOpacity, View, Text, StyleSheet, Image } from 'react-native'
import R from 'res/R'

export default class BackgroundButton extends React.Component {
  render() {
    const styles = this.makeStyles()
    return (
      <TouchableOpacity style={styles.touchable} onPress={this.props.onPress}>
        <View style={styles.view}>
          {this.makeImageIfAny(styles)}
          <Text style={styles.text}>{this.props.title}</Text>
        </View>
      </TouchableOpacity>
    )
  }

makeImageIfAny(styles) {
    if (this.props.showImage) {
      return <Image style={styles.image} source={R.images.check} />
    }
  }

makeStyles() {
    return StyleSheet.create({
      view: {
        flexDirection: 'row',
        borderRadius: 23,
        borderColor: this.props.borderColor,
        borderWidth: 2,
        backgroundColor: this.props.backgroundColor,
        height: 46,
        alignItems: 'center',
        justifyContent: 'center',
        paddingLeft: 16,
        paddingRight: 16
      },
      touchable: {
        marginLeft: 4,
        marginRight: 4,
        marginBottom: 8
      },
      image: {
        marginRight: 8
      },
      text: {
        fontSize: 18,
        textAlign: 'center',
        color: this.props.textColor,
        fontSize: 16
      }
    })
  }
}Normally we use const styles = StyleSheet.create({}) but since we want our button to be configurable, we make styles into a function, so on every render we get a new styles with proper configurations. The properties we support are borderColor, textColor, backgroundColor and showImage
In the makeImageIfAny we only need to return Image if the view is selected. We don’t have the else case, so in if showImage is false, this returns undefined and React won’t render any element
makeImageIfAny(styles) {
  if (this.props.showImage) {
    return <Image style={styles.image} source={R.images.check} />
  }
}To understand padding and margin, visit CSS Box Model. Basically padding means clearing an area around the content and padding is transparent, while margin means clearing an area outside the border and the margin also is transparent.

Pay attention to styles . We have margin for touchable so that each tag button have a little margin outside each other.
touchable: {
  marginLeft: 4,
  marginRight: 4,
  marginBottom: 8
}
In the view we need flexDirection as row because React Native has flexDirection as column by default. And a row means we have Image and Text side by side horizontally inside the button. We also use alignItems and justifyContent to align elements centeredly on both main and cross axises. The padding is used to have some spaces between the inner text and the view.
view: {
  flexDirection: 'row',
  height: 46,
  alignItems: 'center',
  justifyContent: 'center',
  paddingLeft: 16,
  paddingRight: 16
}Create a file called TagsView.js This is where we parse tags and show a bunch of BackgroundButton
import React from 'react'
import { View, StyleSheet, Button } from 'react-native'
import R from 'res/R'
import BackgroundButton from 'library/components/BackgroundButton'
import addOrRemove from 'library/utils/addOrRemove'

export default class TagsView extends React.Component {
  constructor(props) {
    super(props)
    this.state = {
      selected: props.selected
    }
  }

render() {
    return (
      <View style={styles.container}>
        {this.makeButtons()}
      </View>
    )
  }

onPress = (tag) => {
    let selected
    if (this.props.isExclusive) {
      selected = [tag]
    } else {
      selected = addOrRemove(this.state.selected, tag)
    }

this.setState({
      selected
    })
  }

makeButtons() {
    return this.props.all.map((tag, i) => {
      const on = this.state.selected.includes(tag)
      const backgroundColor = on ? R.colors.on.backgroundColor : R.colors.off.backgroundColor
      const textColor = on ? R.colors.on.text : R.colors.off.text
      const borderColor = on ? R.colors.on.border : R.colors.off.border

return (
        <BackgroundButton
          backgroundColor={backgroundColor}
          textColor={textColor}
          borderColor={borderColor}
          onPress={() => {
            this.onPress(tag)
          }}
          key={i}
          showImage={on}
          title={tag} />
      )
    })
  }
}

const styles = StyleSheet.create({
  container: {
    flex: 1,
    flexDirection: 'row',
    flexWrap: 'wrap',
    padding: 20
  }
})
We parse an array of tags to build BackgroundButton . We keep the selected array in state because this is mutated inside the TagsView component. If it is isExclusive then the new selected contains just the new selected tag. If it is multiple selection, then we add the new selected tag into the selected array.
The addOrRemove is a our homegrown utility function to add an item into an array if it does not exists, or remove if it exists, using the high orderfilter function.
const addOrRemove = (array, item) => {
  const exists = array.includes(item)

if (exists) {
    return array.filter((c) => { return c !== item })
  } else {
    const result = array
    result.push(item)
    return result
  }
}Pay attention to styles
const styles = StyleSheet.create({
  container: {
    flex: 1,
    flexDirection: 'row',
    flexWrap: 'wrap',
    padding: 20
  }
})
The hero here is flexWrap which specifies whether the flexible items should wrap or not. Take a look at CSS flex-wrap property for other options. Since we have main axis as row , element will be wrapped to the next row if there are not enough space. That’s how we can achieve a beautiful tag view.
Then consuming TagsView is as easy as declare it inside render
const selected = ['Swift', Kotlin]
const tags = ['Swift', 'Kotlin', 'C#', 'Haskell', 'Java']

return (
  <TagsView
    all={tags}
    selected={selected}
    isExclusive={false}
  />
)
Learning Flebox is crucial in using React and React Native effectively. The best places to learn it are w3school CSS Flexbox and Basic concepts of flexbox by Mozzila.
Basic concepts of flexbox
The Flexible Box Module, usually referred to as flexbox, was designed as a one-dimensional layout model, and as a…developer.mozilla.org
There is a showcase of all possible Flexbox properties
The Full React Native Layout Cheat Sheet
A simple visual guide with live examples for all major React Native layout propertiesmedium.com
Yoga has its own YogaKit published on CocoaPods, you can learn it with native code in iOS
Yoga Tutorial: Using a Cross-Platform Layout Engine
Learn about Yoga, Facebook’s cross-platform layout engine that helps developers write more layout code in style akin to…www.raywenderlich.com
And when we use flexbox, we should compose element instead of hardcoding values, for example we can use another View with justifyContent: flex-end to move a button down the screen. This follows flexbox style and prevent rigid code.
Position element at the bottom of the screen using Flexbox in React Native
React Native uses Yoga to achieve Flexbox style layout, which helps us set up layout in a declarative and easy way.medium.com
I hope you learn something useful in this post. For more information please consult the official guide Layout with Flexbox and layout-props for all the possible Flexbox properties.
Issue #270
As you know, in the Pragmatic Programmer, section Your Knowledge Portfolio, it is said that
Learn at least one new language every year. Different languages solve the same problems in different ways. By learning several different approaches, you can help broaden your thinking and avoid getting stuck in a rut. Additionally, learning many languages is far easier now, thanks to the wealth of freely available software on the Internet
I see learning programming languages as a chance to open up my horizon and learn some new concepts. It also encourage good habit like immutability, composition, modulation, …
I’d like to review some of the features of all the languages I have played with. Some are useful, some just make me interested or say “wow”
Each language can have its own style of grouping block of code, but I myself like the curly braces the most, which are cute :]
Some like C, Java, Swift, … use curly braces
Swift
init(total: Double, taxPct: Double) {
  self.total = total
  self.taxPct = taxPct
  subtotal = total / (taxPct + 1)
}
Some like Haskell, Python, … use indentation
Haskell
bmiTell :: (RealFloat a) => a -> String
bmiTell bmi
    | bmi <= 18.5 = "You're underweight, you emo, you!"
    | bmi <= 25.0 = "You're supposedly normal. Pffft, I bet you're ugly!"
    | bmi <= 30.0 = "You're fat! Lose some weight, fatty!"
    | otherwise   = "You're a whale, congratulations!"
Some like Elixir use keyword list
ELixir
if false, do: :this, else: :thatLanguage like Objective C, Swift offer named parameter, which make it easier to reason about a function call
func sayHello(to person: String, and anotherPerson: String) -> String {
    return "Hello \(person) and \(anotherPerson)!"
}Language like C, Swift, Java, … have type information in parameter and in return, which make it easier to reason about a function call
Swift
func sayHello(personName: String, alreadyGreeted: Bool) -> String {
    if alreadyGreeted {
        return sayHelloAgain(personName)
    } else {
        return sayHello(personName)
    }
}Languages like Haskell, Python, Elixir, support list comprehension
Elixir
iex> for n <- [1, 2, 3, 4], do: n * n
[1, 4, 9, 16]I enjoy functional programming, so first class function support in Javascript, Swift, Haskell, Elixir, … really make me happy
Haskell
zipWith' (*) (replicate 5 2) [1..]Currying is the technique of translating the evaluation of a function that takes multiple arguments (or a tuple of arguments) into evaluating a sequence of functions, each with a single argument (partial application)
Language like Swift 2, Haskell, … have curry by default. Some like Javascript can use libraries (Lodash, …) to achieve this. In Haskell, every function officially only takes one parameter.
In Swift 3, curry was removed :(
Haskell
1 | multThree :: (Num a) => a -> a -> a -> a |
By calling functions with too few parameters, we’re creating new functions on the fly.
Javascript
1 | var curry = require('lodash.curry'); |
I find pattern matching as a better way around if else statement
Swift supports pattern matching in switch statement
Swift
1 | enum Trades { |
Some like Haskell, Elixir, … also pattern matches on function name, which makes it work great for recursion
Haskell
sayMe :: (Integral a) => a -> String
sayMe 1 = "One!"
sayMe 2 = "Two!"
sayMe 3 = "Three!"
sayMe 4 = "Four!"
sayMe 5 = "Five!"
sayMe x = "Not between 1 and 5"


map _ []     = []
map f (x:xs) = f x : map f xs
In Elixir, the = operator is actually a match operator
Elixir
iex> x = 1
1
iex> x
1
iex> 1 = x
1
iex> 2 = x
** (MatchError) no match of right hand side value: 1Some language like Haskell, Elixir, … don’t use loop, they use recursion with performance in mind, no overflow.
Haskell
length' :: (Num b) => [a] -> b
length' [] = 0
length' (_:xs) = 1 + length' xsSome languages support infinite collection, thanks to their laziness.
Haskell is lazy, if you map something over a list several times and filter it several times, it will only pass over the list once
Haskell
largestDivisible :: (Integral a) => a
largestDivisible = head (filter p [100000,99999..])
    where p x = x `mod` 3829 == 0
Elixir defines the concept of Eager with Enum and Lazy with Stream
Elixir
1..100_000 |> Enum.map(&(&1 * 3)) |> Enum.filter(odd?) |> Enum.sumElixir is famous for its pipe |> operator
The |> symbol used in the snippet above is the pipe operator: it simply takes the output from the expression on its left side and passes it as the first argument to the function call on its right side
Elixir
1..100_000 |> Enum.map(&(&1 * 3)) |> Enum.filter(odd?) |> Enum.sumHaskell often takes advantage of this custom -: operator Haskell
x -: f = f x

(0,0) -: landLeft 1 -: landRight 1 -: landLeft 2I really like enjoy Haskell because of these typeclasses. It realizes common pattern (map, apply, join, bind, …) with comptutational context. It really enlightens me when I find that function is a Monad as well (you should read the Reader monad)
Haskell
instance Monad Maybe where
    return x = Just x
    Nothing >>= f = Nothing
    Just x >>= f  = f x
    fail _ = Nothing

landLeft :: Birds -> Pole -> Maybe Pole
landLeft n (left,right)
    | abs ((left + n) - right) < 4 = Just (left + n, right)
    | otherwise                    = Nothing

landRight :: Birds -> Pole -> Maybe Pole
landRight n (left,right)
    | abs (left - (right + n)) < 4 = Just (left, right + n)
    | otherwise                    = Nothing

ghci> return (0,0) >>= landLeft 1 >>= banana >>= landRight 1
Nothing
List comprehension in Haskell is just syntactic sugar for using lis as Monad Haskell
ghci> [ (n,ch) | n <- [1,2], ch <- ['a','b'] ]
[(1,'a'),(1,'b'),(2,'a'),(2,'b')]
Swift
enum Result<T> {
    case Value(T)
    case Error(NSError)
}

extension Result {
    func map<U>(f: T -> U) -> Result<U> {
        switch self {
            case let .Value(value):
                return Result<U>.Value(f(value))
            case let .Error(error):
                return Result<U>.Error(error)
        }
    }
}

extension Result {
    static func flatten<T>(result: Result<Result<T>>) -> Result<T> {
        switch result {
            case let .Value(innerResult):
                return innerResult
            case let .Error(error):
                return Result<T>.Error(error)
        }
    }
}

extension Result {
    func flatMap<U>(f: T -> Result<U>) -> Result<U> {
        return Result.flatten(map(f))
    }
}Languages like Scala, … support trait
Similar to interfaces in Java, traits are used to define object types by specifying the signature of the supported methods. Unlike Java, Scala allows traits to be partially implemented; i.e. it is possible to define default implementations for some methods
Scala
trait Similarity {
  def isSimilar(x: Any): Boolean
  def isNotSimilar(x: Any): Boolean = !isSimilar(x)
}

class Point(xc: Int, yc: Int) extends Similarity {
  var x: Int = xc
  var y: Int = yc
  def isSimilar(obj: Any) =
    obj.isInstanceOf[Point] &&
    obj.asInstanceOf[Point].x == x
}
Swift can uses Protocol Extension to achieve trait
Swift
protocol GunTrait {
    func shoot() -> String {
        return "Shoot"
    }
}

protocol RenderTrait {
    func render() -> String {
        return "Render"
    }
}

struct Player: GameObject, AITrait, GunTrait, RenderTrait, HealthTrait {

}
Ruby supports Mixin via Module
Ruby
module Greetings
  def hello
    puts "Hello!"
  end

  def bonjour
    puts "Bonjour!"
  end

  def hola
    puts "Hola!"
  end
end

class User
  include Greetings
endThere are certain common kinds of properties that would be very nice to implement once and for all like lazy, observable and storing. An example is in Kotlin
class Delegate {
    operator fun getValue(thisRef: Any?, property: KProperty<*>): String {
        return "$thisRef, thank you for delegating '${property.name}' to me!"
    }

    operator fun setValue(thisRef: Any?, property: KProperty<*>, value: String) {
        println("$value has been assigned to '${property.name}' in $thisRef.")
    }
}Hope you find something interesting. Each language has its own pros and is designed for specific purpose. So no list will be enough to cover them all.
To take a quick peek into other programming languages, I find Learn in One Video by Derek very helpful.
There are things that intrigue us every day like Swift initialization rule make it explicit when using initializer, Go goroutine and channel for concurrent code, Elixir process for easy concurrent and message communication. You’ll be amazed by how process encapsulates state, Haskell data type encourages immutability and thread safe code, Elixir macro for great extension of the language. The best way to to learn is to use and dive into the languages often.
May your code continue to compile.
While you are here, you may like my other posts
Updated at 2020-12-05 05:44:54
Issue #269
Original post https://medium.com/swlh/introducing-learn-talks-awesome-conference-and-meetup-talks-e97c8cf7e0f
Product Hunt https://www.producthunt.com/posts/learn-talks
Hi, it’s Khoa here. I’m so glad to finally launch LearnTalks, in order to help others and myself to catch up with new conference and meetup talks.
Being one who is extremely passionate about making things and writing , I also love to learn about every new thing in tech. Tech moves so fast, what we learn today may be deprecated very soon, and only continuous learning can keep us move forward. Tech conference and meetup are best places to learn about new things and tips, although there are some rises and falls …, they are still growing and provides valuable resources for lots of people. There are lots of conferences and meetups that one can’t go to all, this can give fear of missing out feeling.
Fortunately people are kind enough to always publish videos publicly so others can learn from. I have been for a long time curating a list… to keep track of all cool videos, but it get out of hand very quickly.

That’s why I make LearnTalks.com as a convenient place to search and explore new tech talks. The features include

Firstly, thanks to all the people who helped me alpha test the website and provided valuable feedback. I addressed and fixed many issues.
And thanks a lot to many conference organisers who gave me a yes, support and encouragement promptly after I sent emails. Thanks a lot for spending your free time organising cool events and sharing the videos to the community. I really appreciate.
This website is just a curation to videos, it does not repost or claim copyright of any of the videos. And there are links back to conference and meetup pages. It is free to use and has no commercial purpose.
Hope you find the website useful as I do. There are of course many things needed to improve, I’m looking forward to receiving feedbacks and support from you ❤️ If there are any issues or copyright violations, please feel free to drop me a message.
Issue #268
React Native was designed to be “learn once, write anywhere,” and it is usually used to build cross platform apps for iOS and Android. And for each app that we build, there are times we need to reuse the same code, build and tweak it a bit to make it work for different environments. For example, we might need multiple skins, themes, a free and paid version, or more often different staging and production environments.
And the task that we can’t avoid is adding app icons and splash screens to our apps.
In fact, to add a staging and production environment, and to add app icons, requires us to use Xcode and Android Studio, and we do it the same way we do with native iOS or Android projects.
Let’s call our app MyApp and bootstrap it with react-native init MyApp . There will of course, be tons of libraries to help us with managing different environments.
In this post, we will do just like we did with native apps, so that we know the basic steps.
There are some terminologies we needed to remember. In iOS, debug and releases are called build configurations, and staging and production are called targets.
A build configuration specifies a set of build settings used to build a target’s product in a particular way. For example, it is common to have separate build configurations for debug and release builds of a product.
A target specifies a product to build and contains the instructions for building the product from a set of files in a project or work-space. A target defines a single product; it organizes the inputs into the build system — the source files and instructions for processing those source files — required to build that product. Projects can contain one or more targets, each of which produces one product
In Android, debug and releases are called build types, and staging and production are called product flavors. Together they form build variants.
For example, a “demo” product flavor can specify different features and device requirements, such as custom source code, resources, and minimum API levels, while the “debug” build type applies different build and packaging settings, such as debug options and signing keys. The resulting build variant is the “demoDebug” version of your app, and it includes a combination of the configurations and resources included in the “demo” product flavor, “debug” build type, and main/ source set.
Open MyApp.xcodeproj inside ios using Xcode. Here is what we get after bootstrapping:
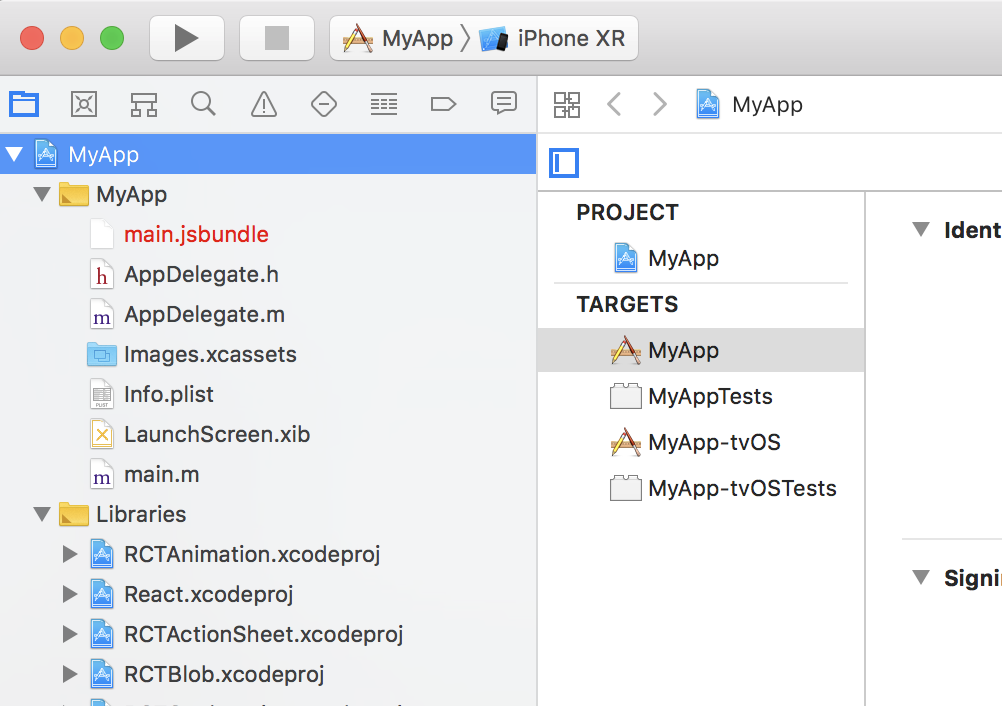
React Native creates iOS and tvOS apps, and two test targets. In Xcode, a project can contain many targets, and each target means a unique product with its own build settings — Info.plist and app icons.
If we don’t need the tvOS app, we can delete the MyApp-tvOS and MyApp-tvOSTests . Let’s use MyApp target as our production environment, and right click -> Duplicate to make another target. Let’s call it MyApp Staging.
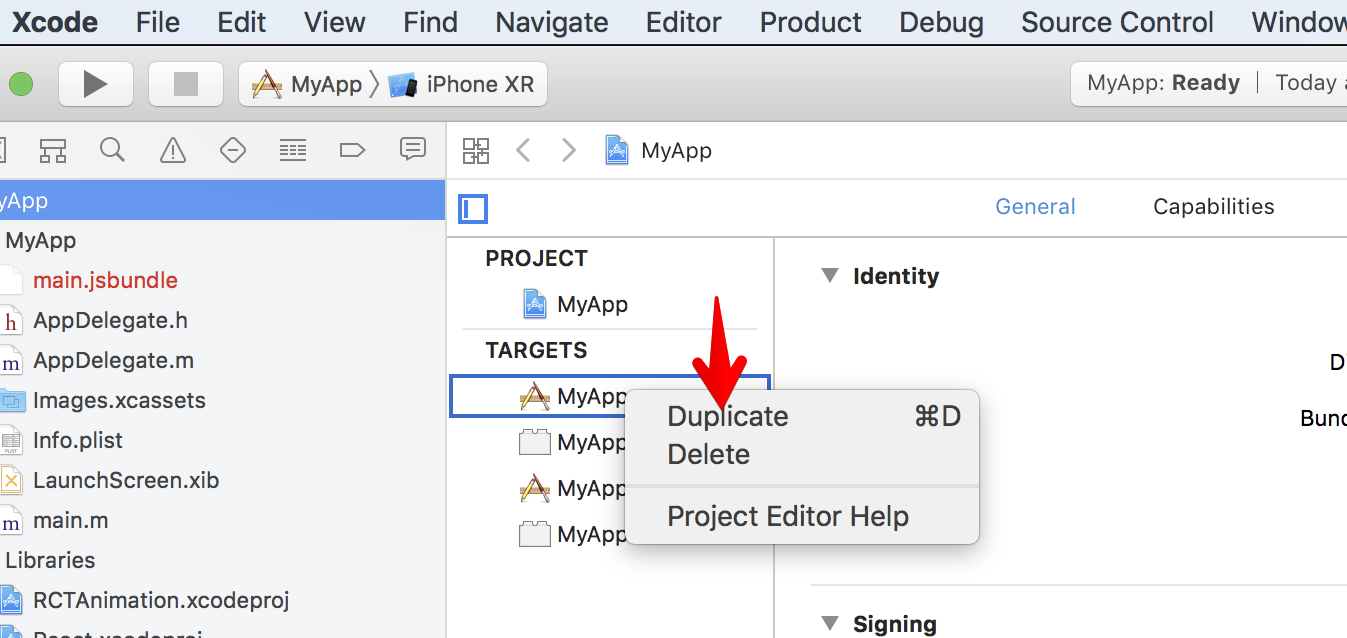
Each target must have unique bundle id. Change the bundle id of MyApp to com.onmyway133.MyApp and MyApp Staging to com.onmyway133.MyApp.Staging.

When we duplicate MyApp target , Xcode also duplicates Info.plist into MyApp copy-Info.plist for the staging target. Change it to a more meaningful name Info-Staging.plist and drag it to the MyApp group in Xcode to stay organised. After dragging, MyApp Staging target can’t find the plist, so click Choose Info.plist File and point to the Info-Staging.plist.
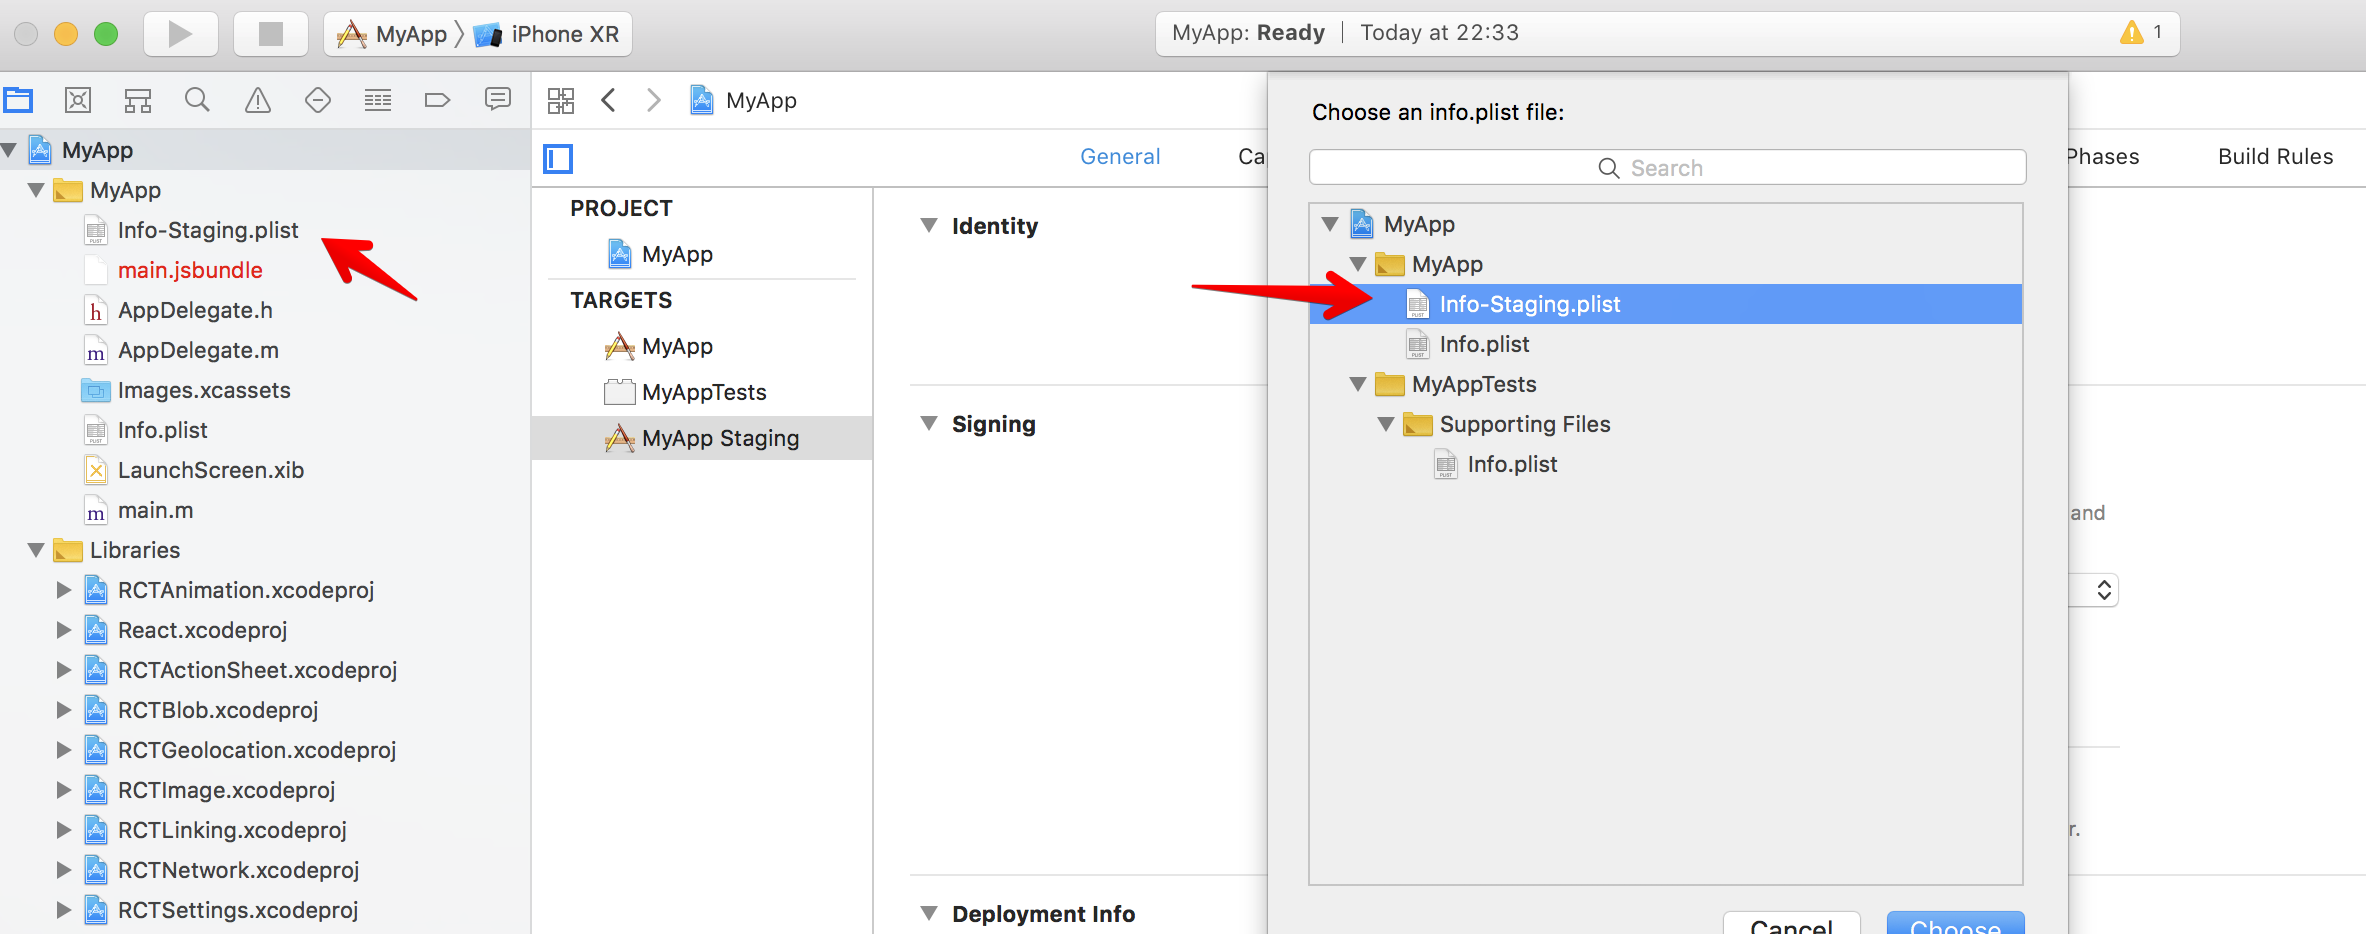
Xcode also duplicates the scheme when we duplicate the target, so we get MyApp copy:
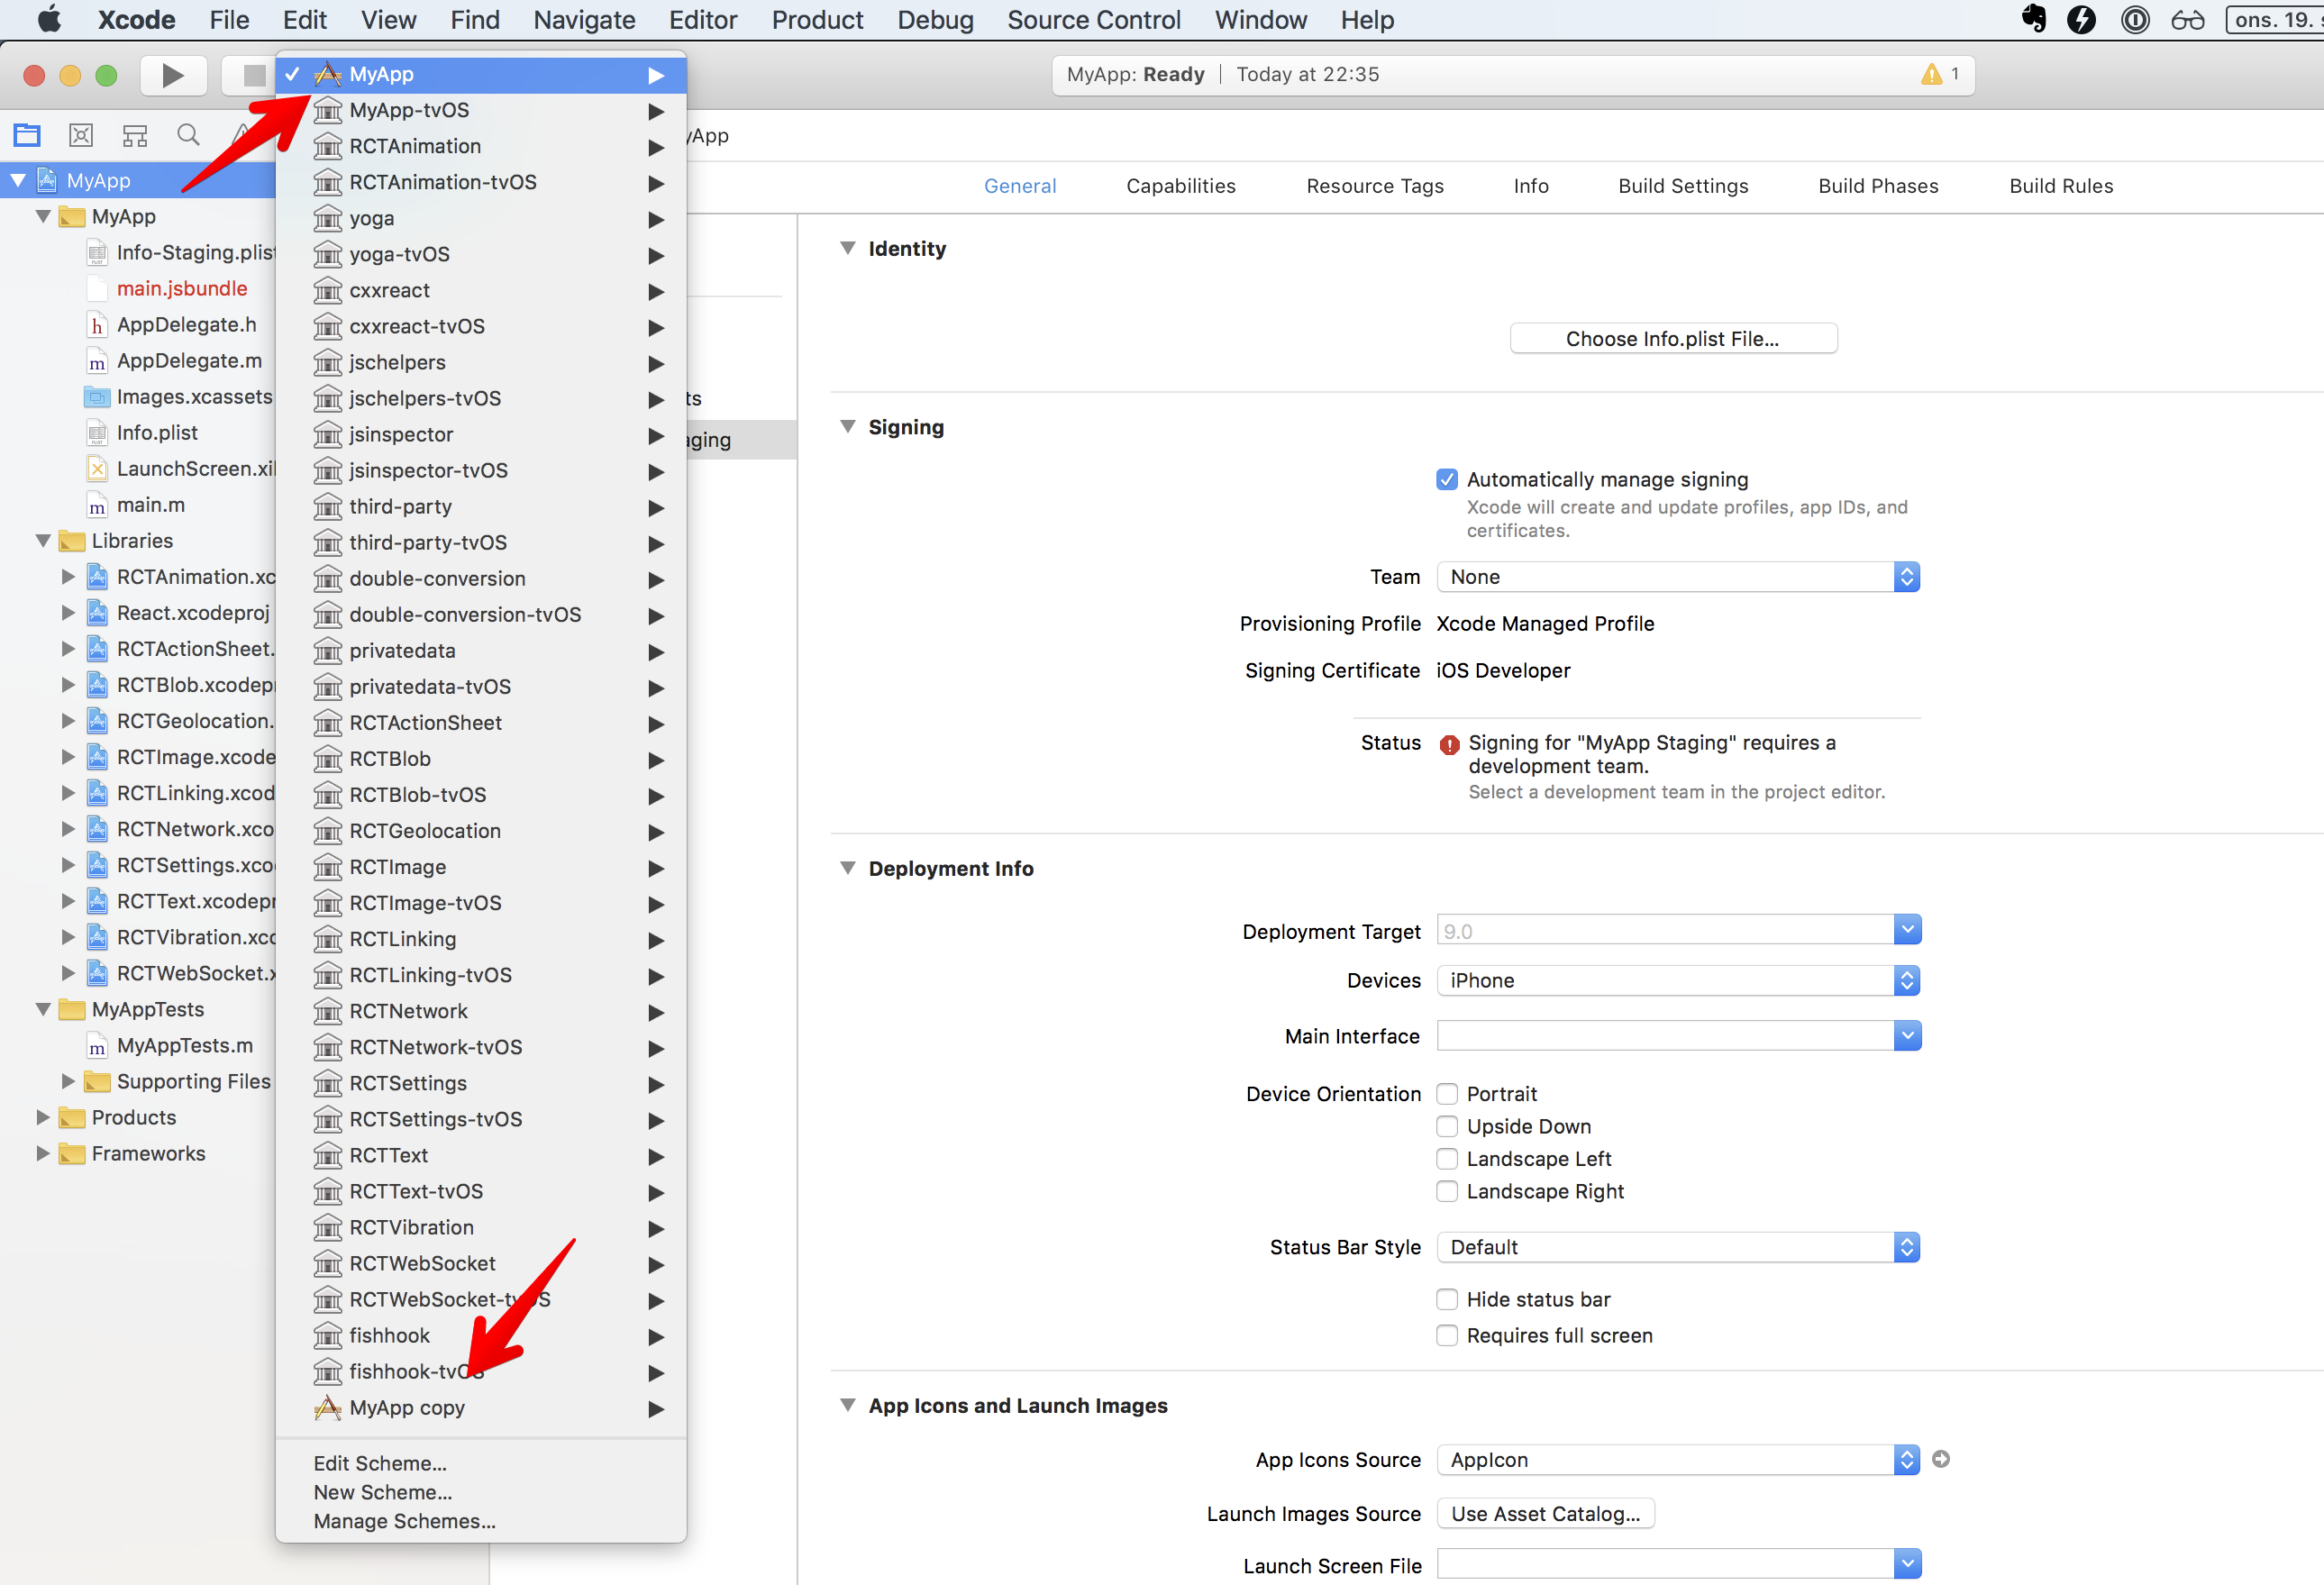
Click Manage Schemes in the scheme drop-down to open Scheme manager:
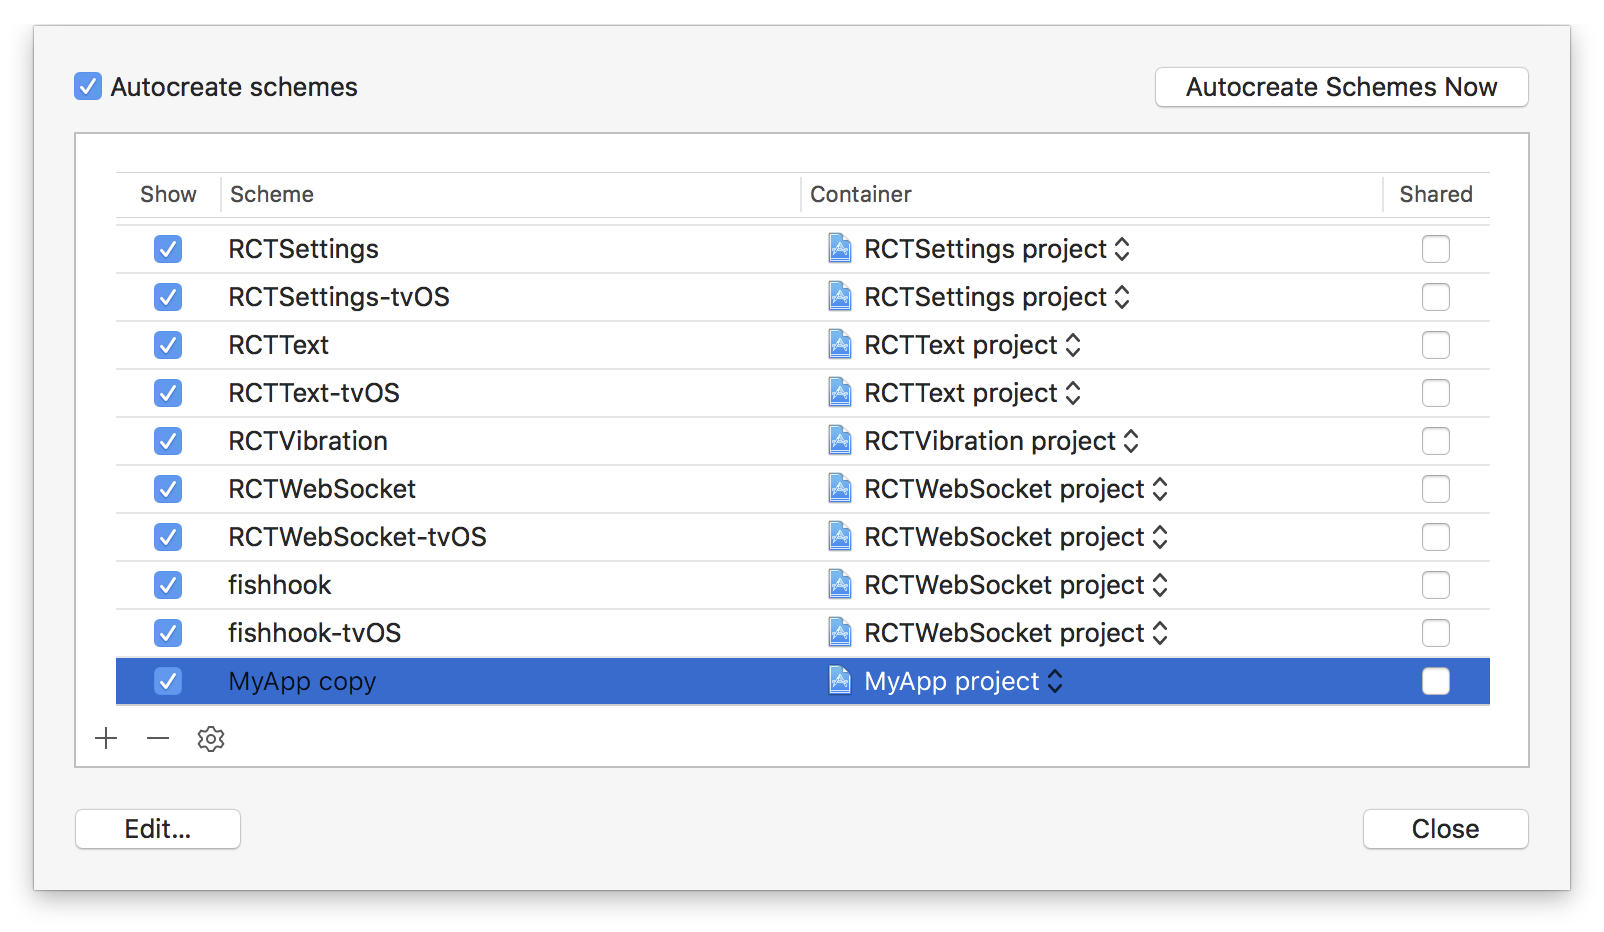
I usually delete the generated MyApp copy scheme, then I create a new scheme again for the MyApp Staging target. You need to make sure that the scheme is marked as Shared so that it is tracked into git.
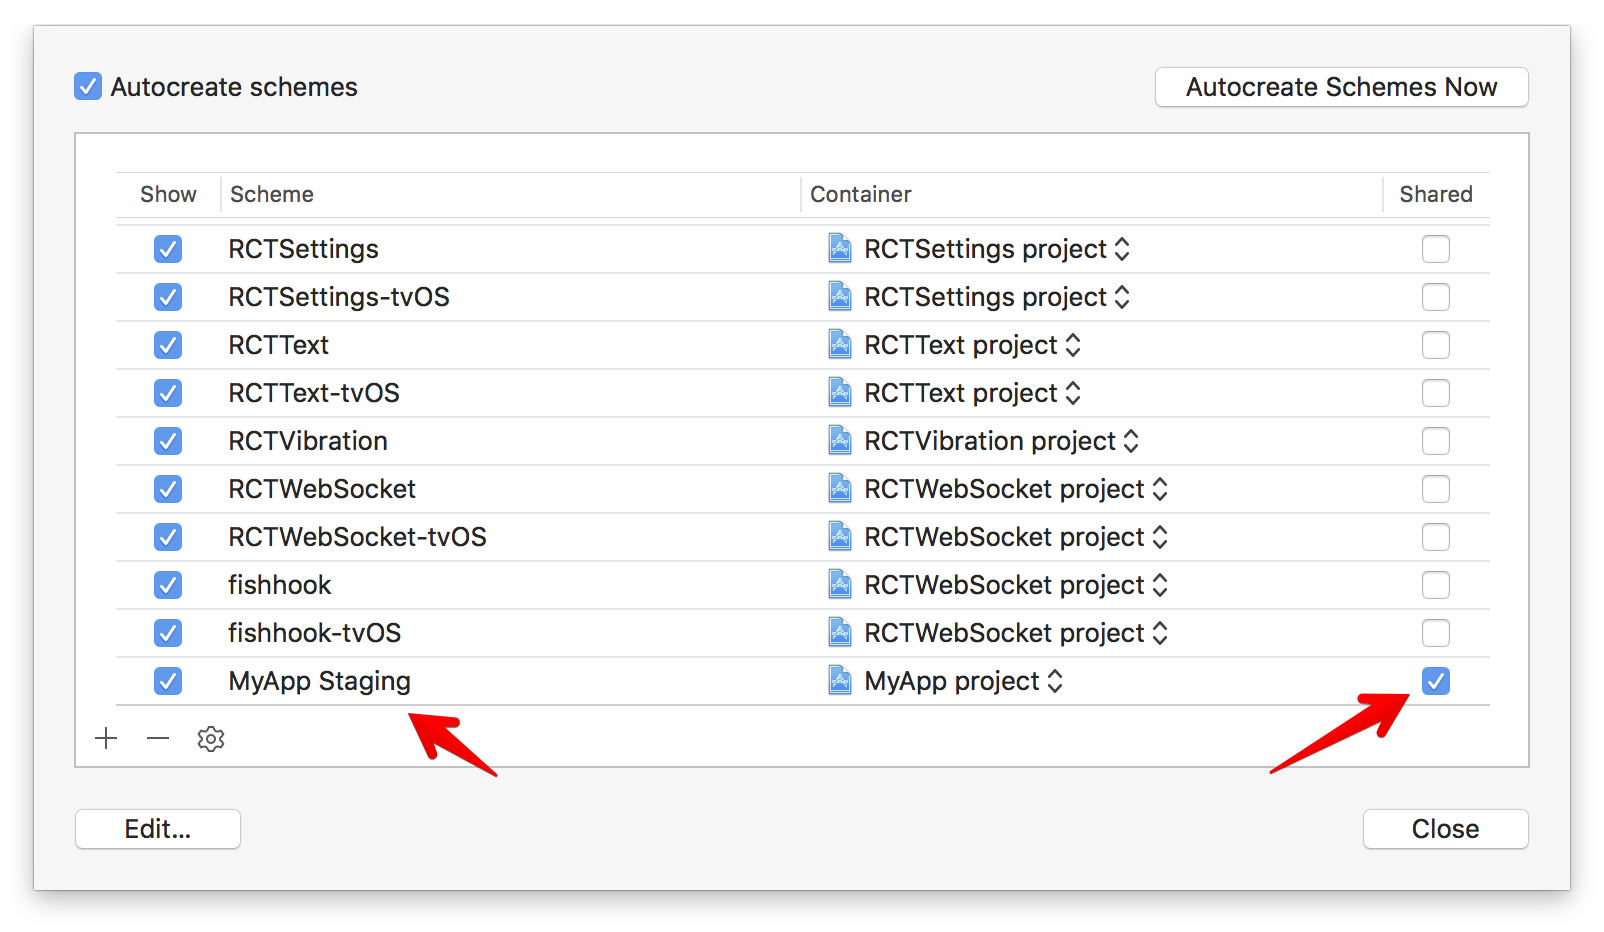
For some reason, the staging scheme does not have all the things set up like the production scheme. You can run into issues like ‘React/RCTBundleURLProvider.h’ file not found or RN: ‘React/RCTBridgeModule.h’ file not found . It is because React target is not linked yet.
To solve it, we must disable Parallelise Build and add React target and move it above MyApp Staging.
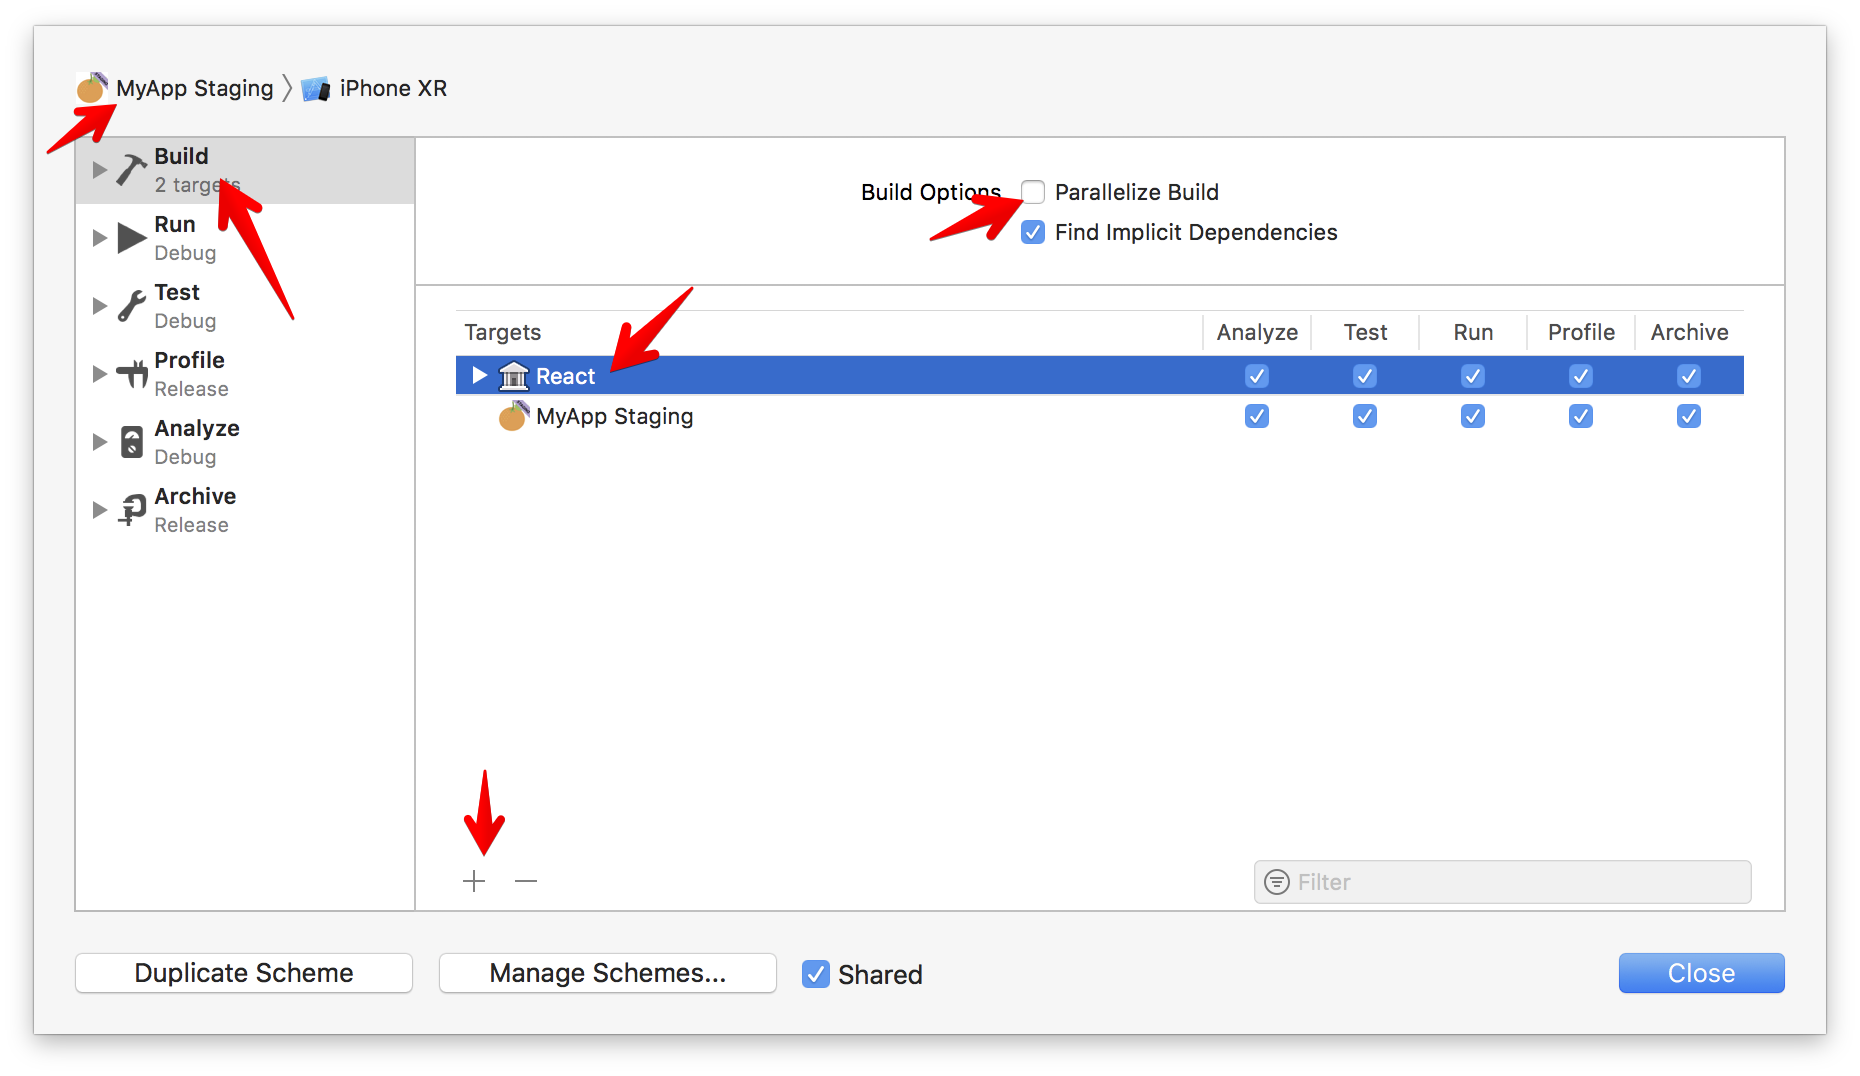
Open the android folder in Android Studio. By default there are only debug and release build types:
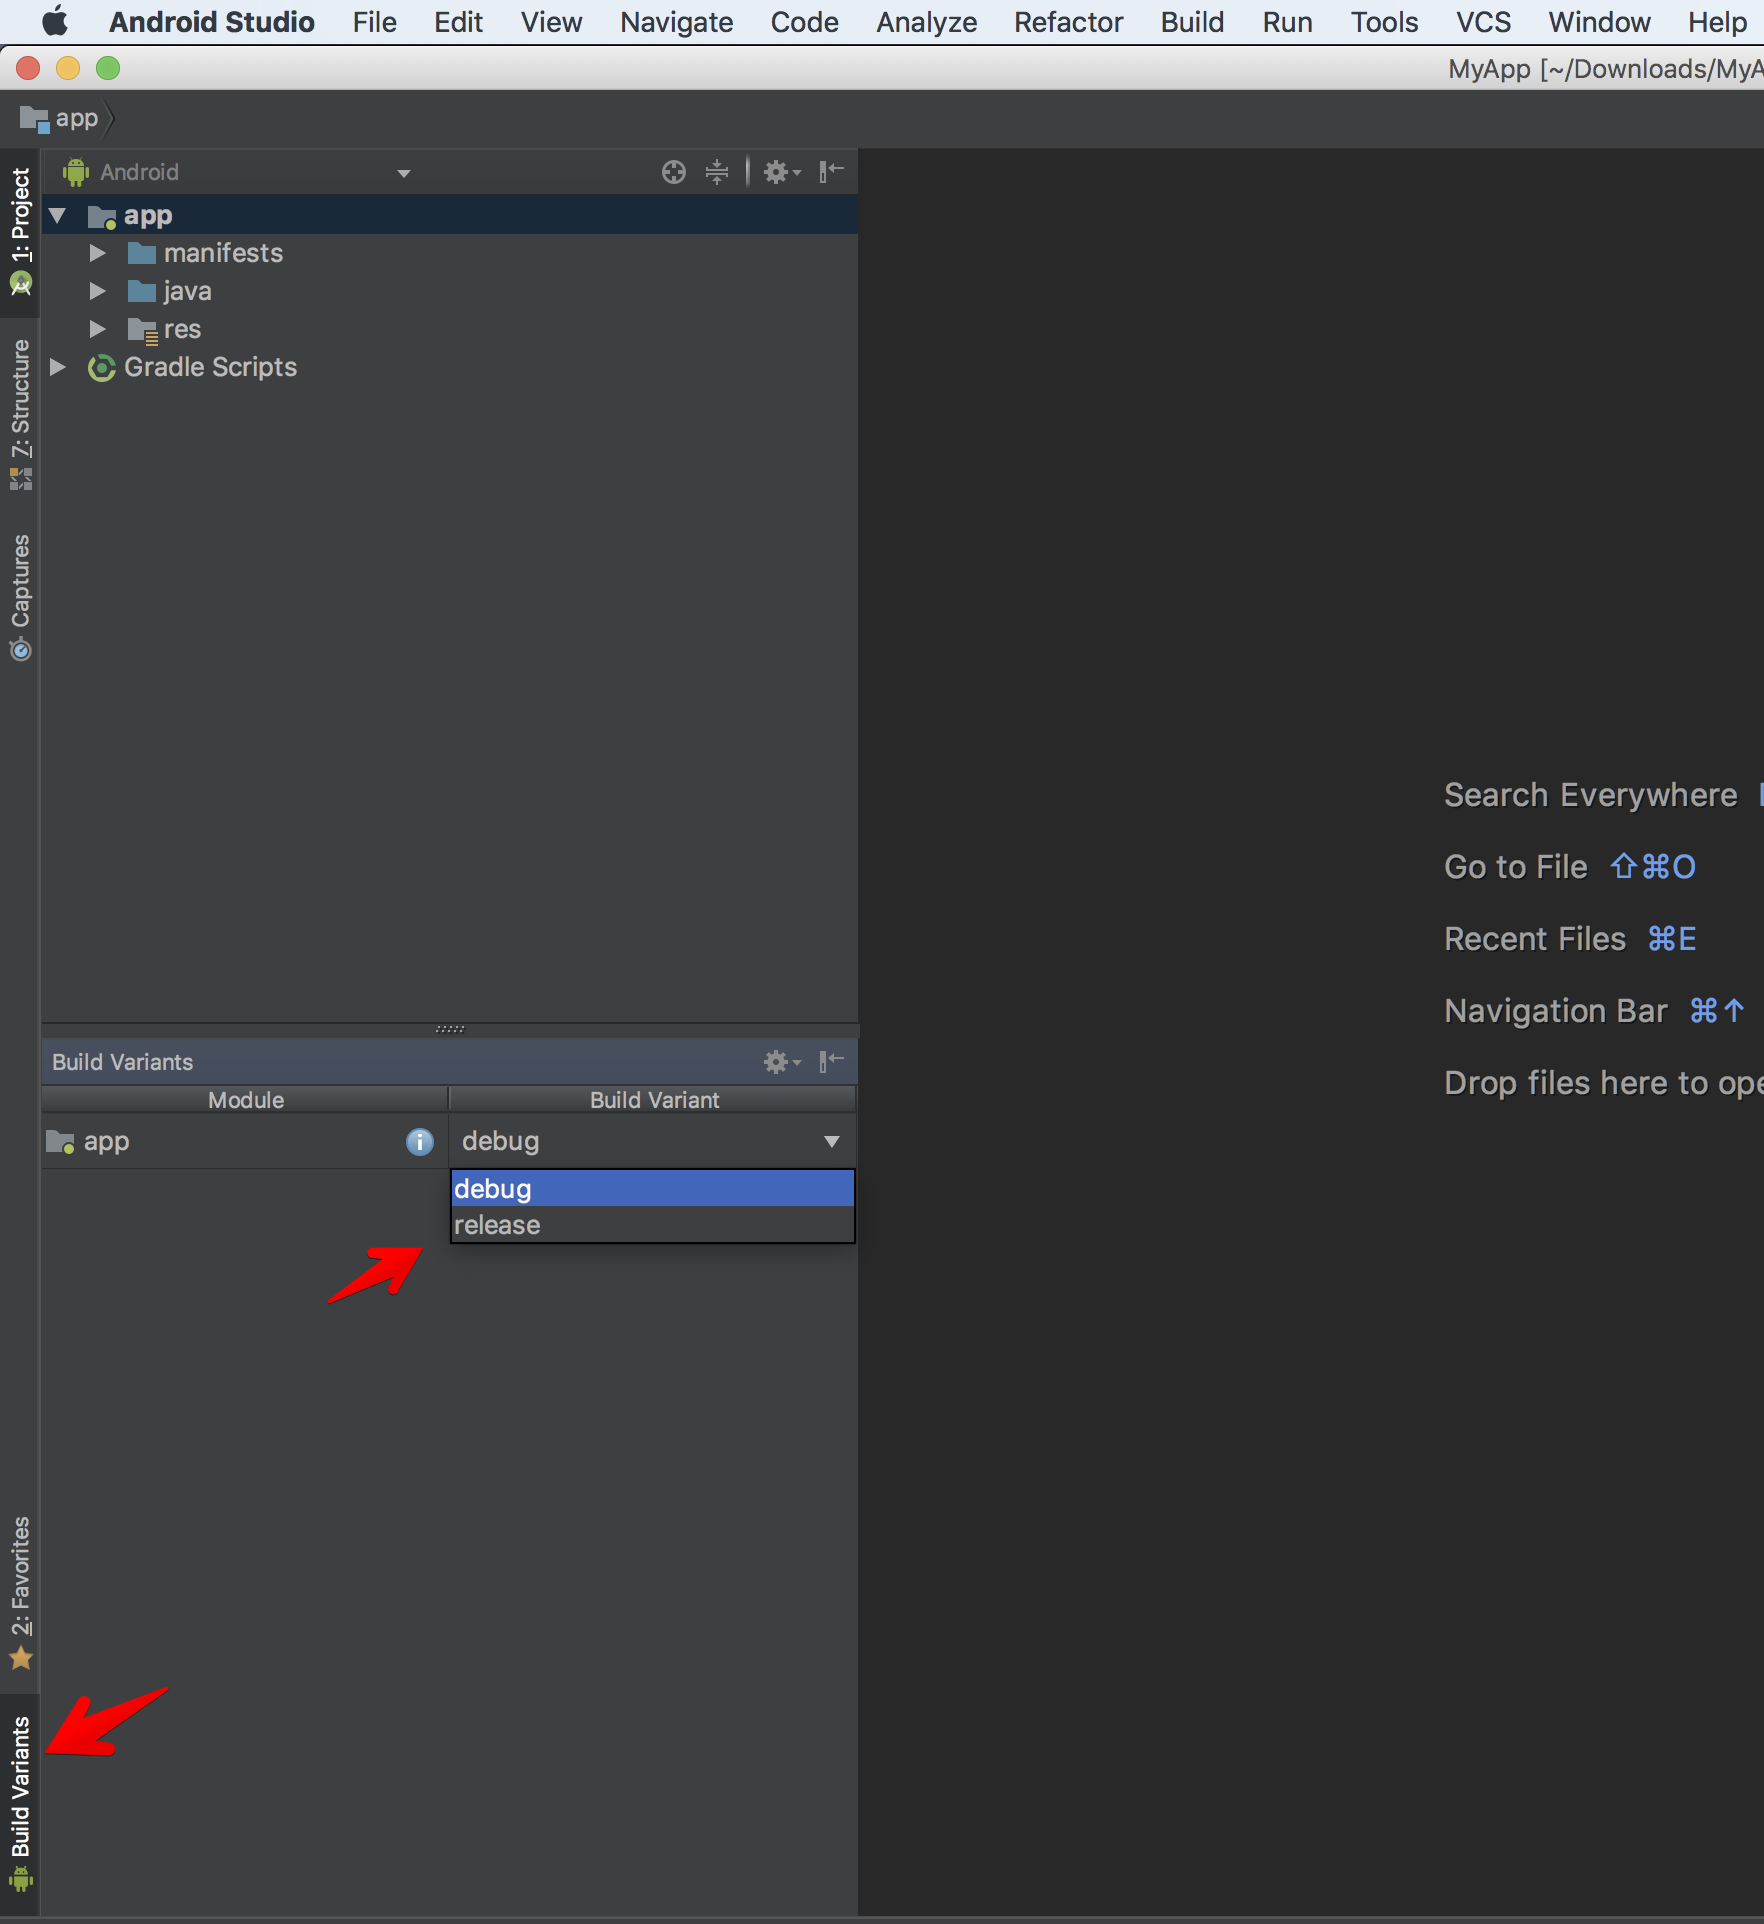
They are configured in the app module build.gradle:
buildTypes {
    release {
        minifyEnabled enableProguardInReleaseBuilds
        proguardFiles getDefaultProguardFile("proguard-android.txt"), "proguard-rules.pro"
    }
}
First, let’s change application id to com.onmyway133.MyApp to match iOS. It is not required but I think it’s good to stay organised. Then create two product flavors for staging and production. For staging, let’s add .Staging to the application id.
From Android Studio 3, “all flavors must now belong to a named flavor dimension” — normally we just need default dimensions. Here is how it looks in build.gradle for our app module:
android {
    compileSdkVersion rootProject.ext.compileSdkVersion
    buildToolsVersion rootProject.ext.buildToolsVersion
    flavorDimensions "default"

defaultConfig {
        applicationId "com.onmyway133.MyApp"
        minSdkVersion rootProject.ext.minSdkVersion
        targetSdkVersion rootProject.ext.targetSdkVersion
        versionCode 1
        versionName "1.0"
        ndk {
            abiFilters "armeabi-v7a", "x86"
        }
    }
    splits {
        abi {
            reset()
            enable enableSeparateBuildPerCPUArchitecture
            universalApk false  // If true, also generate a universal APK
            include "armeabi-v7a", "x86"
        }
    }
    buildTypes {
        release {
            minifyEnabled enableProguardInReleaseBuilds
            proguardFiles getDefaultProguardFile("proguard-android.txt"), "proguard-rules.pro"
        }
    }

productFlavors {
        staging {
            applicationIdSuffix ".Staging"
        }

        production {

        }
    }
}
Click Sync Now to let gradle do the syncing job. After that, we can see that we have four build variants:
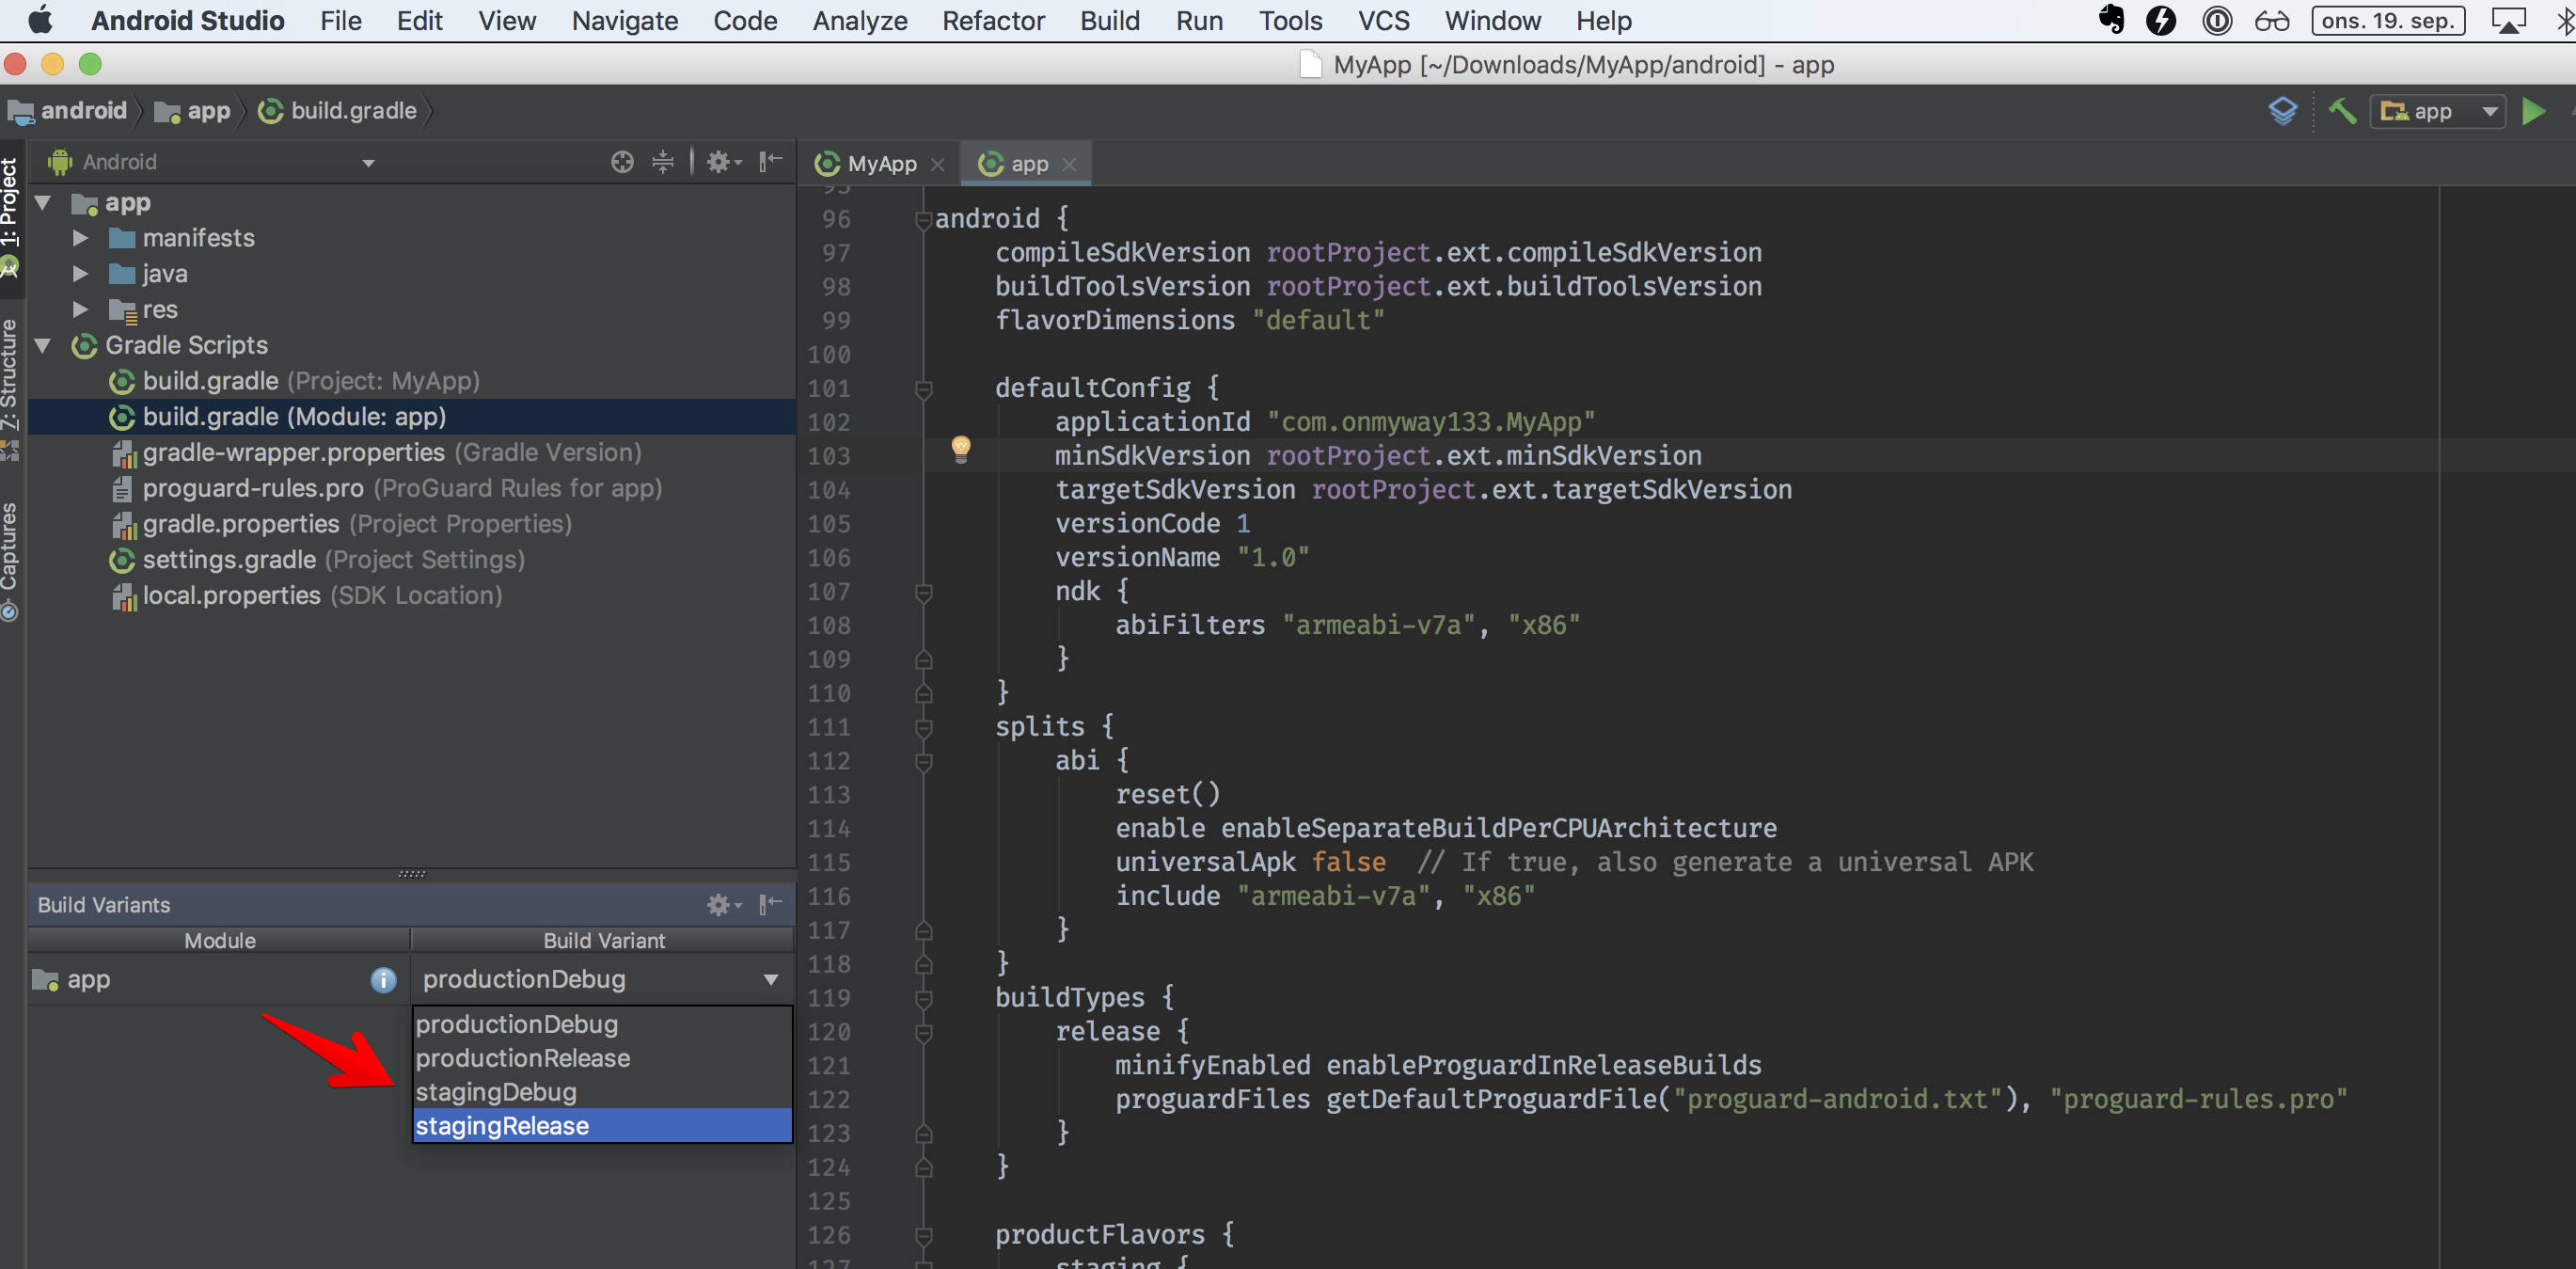
To run the Android app, we can specify a variant like react-native run-android — variant=productionDebug, but I prefer to go to Android Studio, select the variant, and run.
To run iOS app, we can specify the scheme like react-native run-ios — simulator=’iPhone X’ — scheme=”MyApp Staging” . As of react-native 0.57.0 this does not work. But it does not matter as I usually go to Xcode, select the scheme, and run.
According to the Human Interface Guideline, we need app icons of different sizes for different iOS versions, device resolutions, and situations (notification, settings, Spring Board). I’ve crafted a tool called IconGenerator, which was previously mentioned in Best Open Source Tools For Developers. Drag the icon that you want — I prefer those with 1024x1024 pixels for high resolution app icons — to the Icon Generator MacOS app.
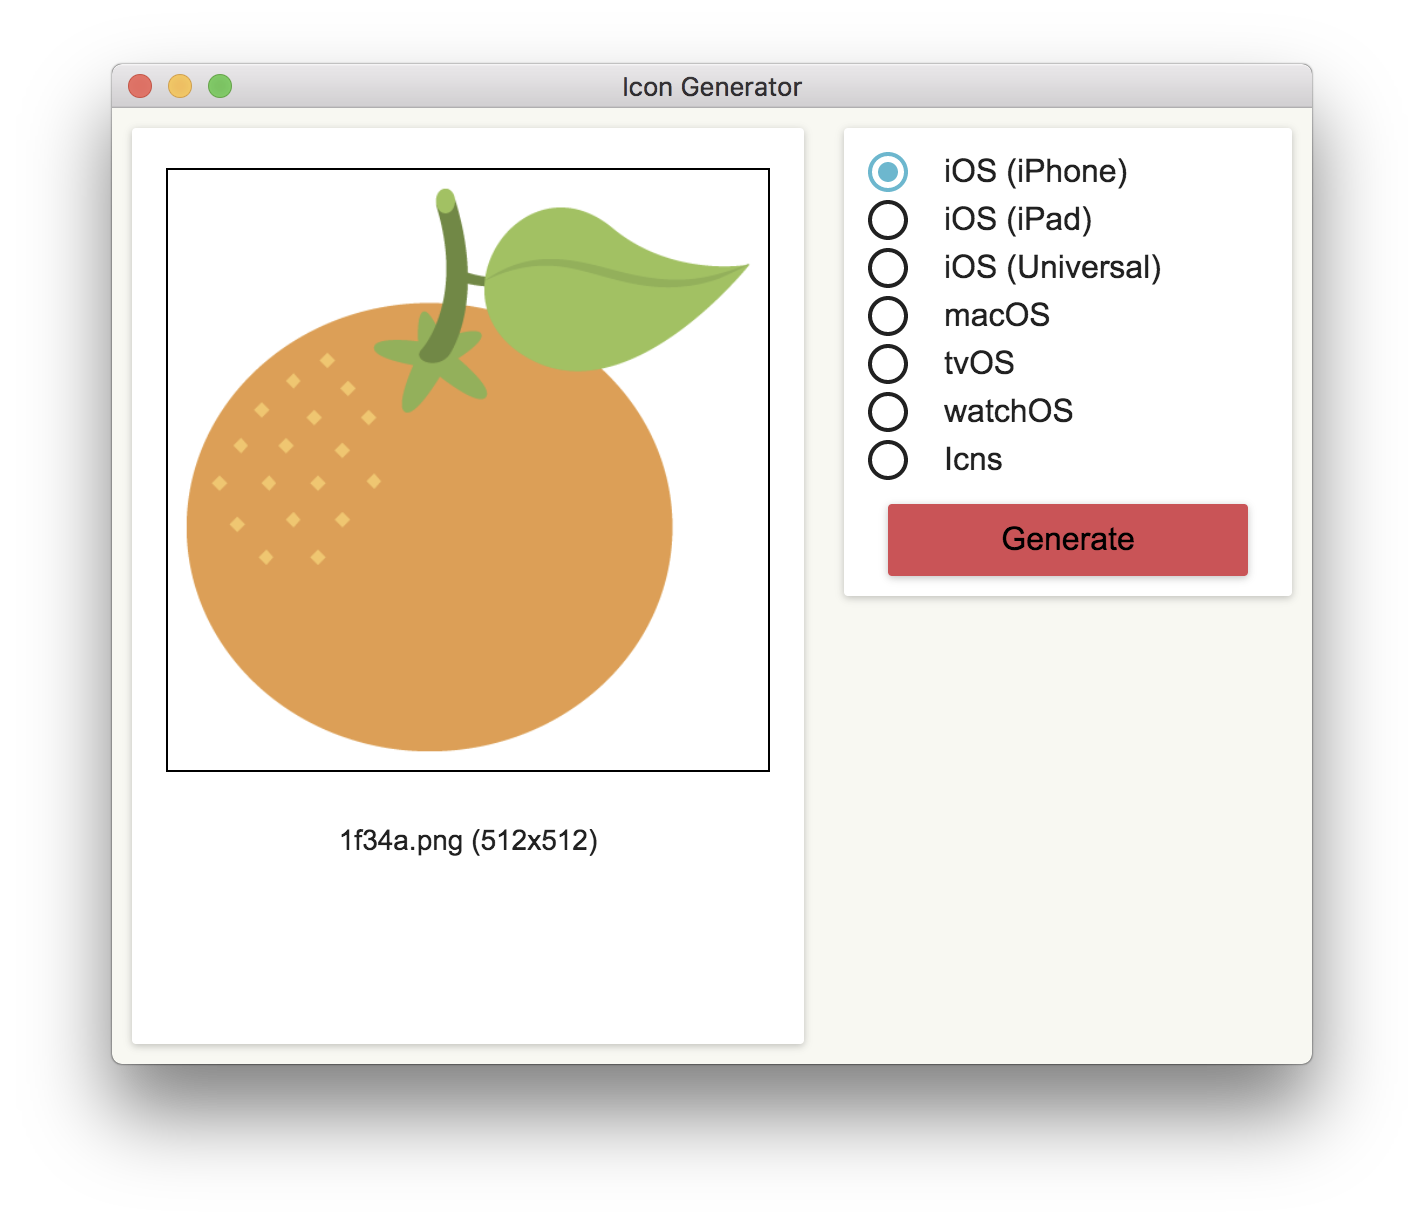
Click Generate and we get AppIcon.appiconset . This contains app icons of the required sizes that are ready to be used in Asset Catalog. Drag this to Asset Catalog in Xcode. That is for production.
For staging, it’s good practice to add a “Staging” banner so that testers know which is staging, and which is production. We can easily do this in Sketch.
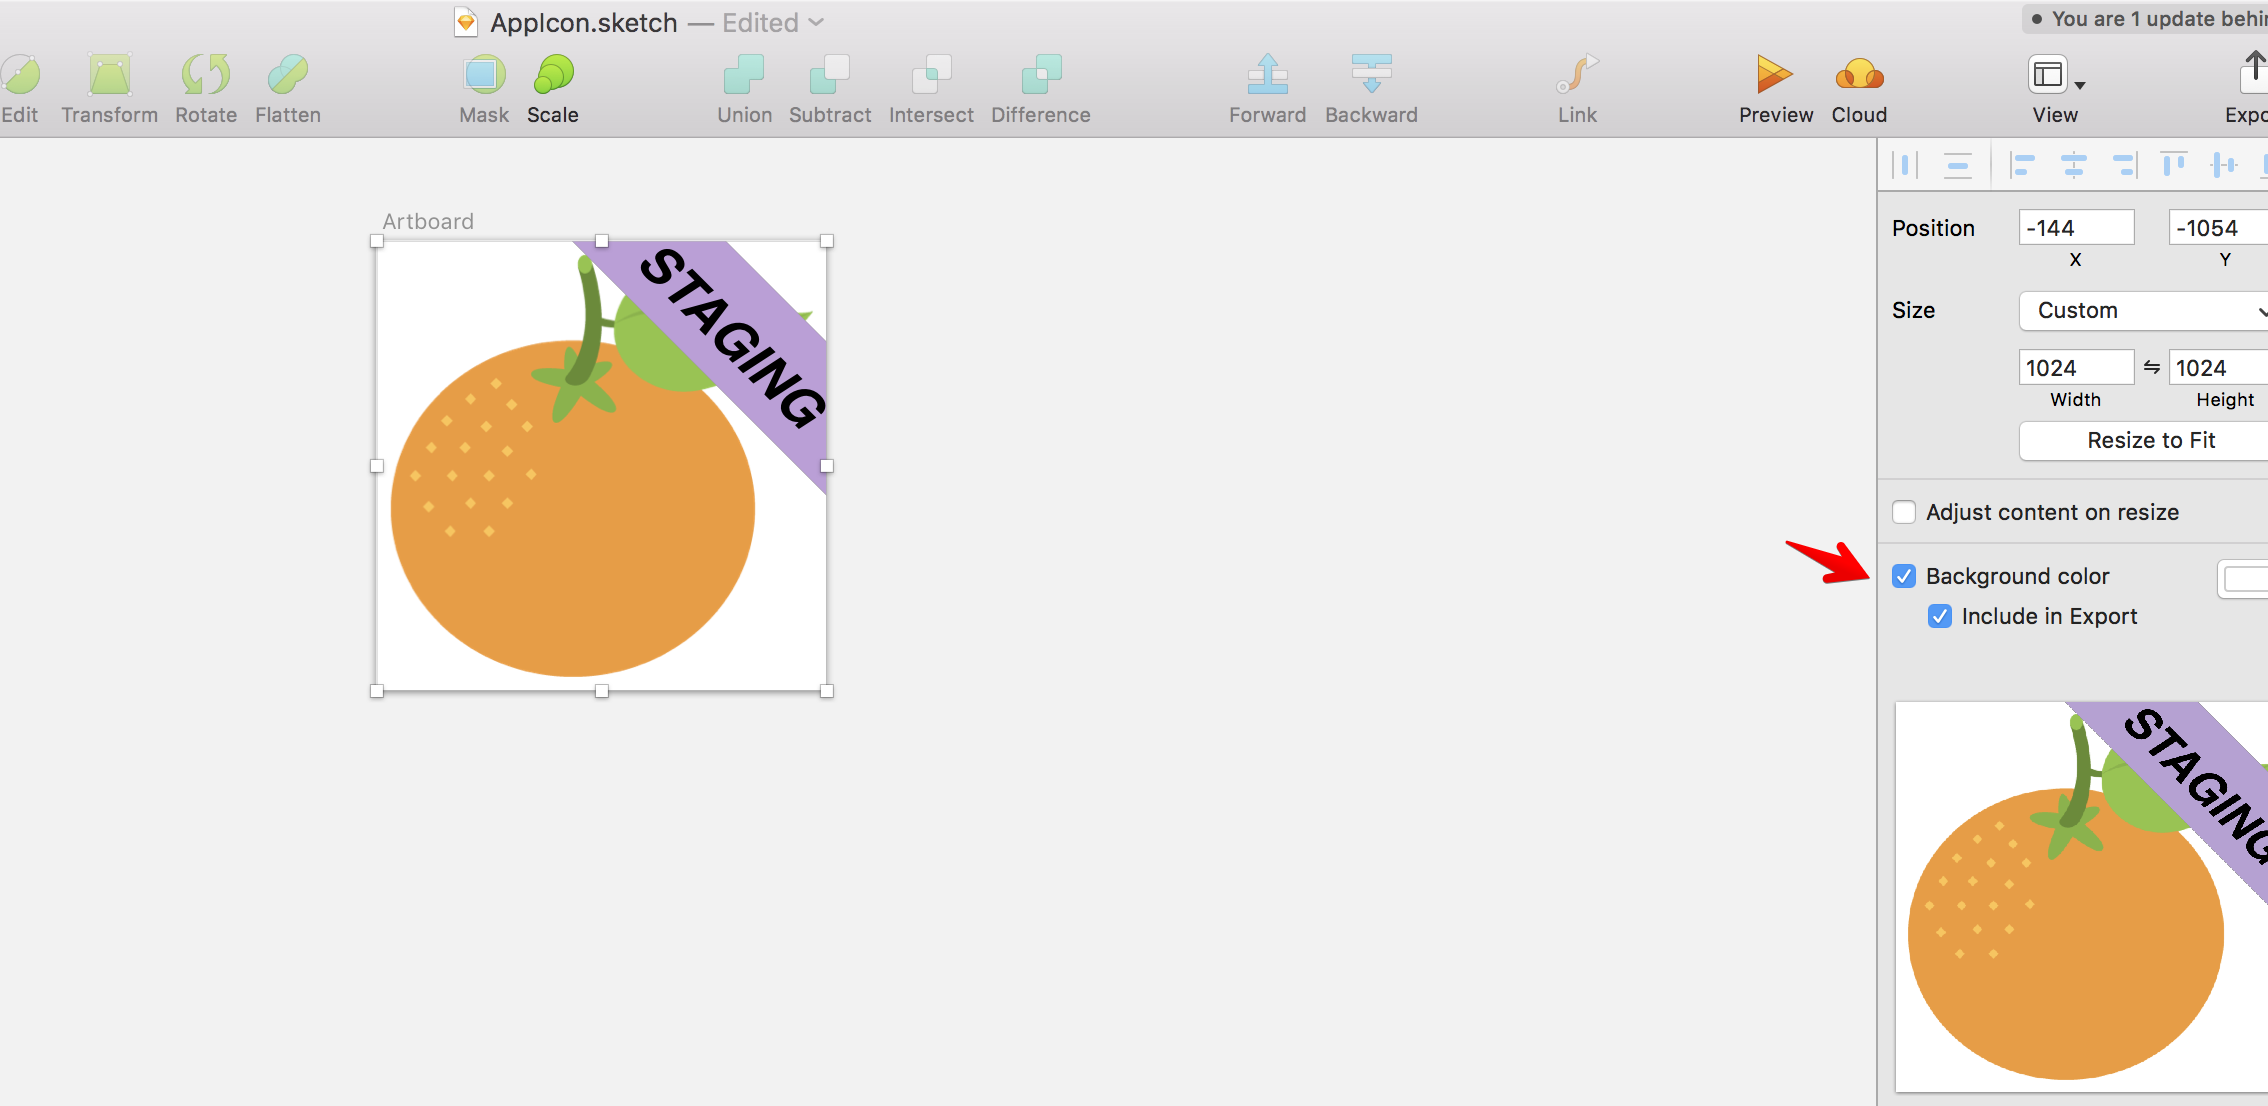
Remember to set a background, so we don’t get a transparent background. For an app icon with transparent background, iOS shows the background as black which looks horrible.
After exporting the image, drag the staging icon to the IconGenerator the same way we did earlier. But this time, rename the generated appiconset to AppIcon-Staging.appiconset. Then drag this to Asset Catalog in Xcode.
For the staging target to use staging app icons, open MyApp Staging target and choose AppIcon-Staging as App Icon Source.
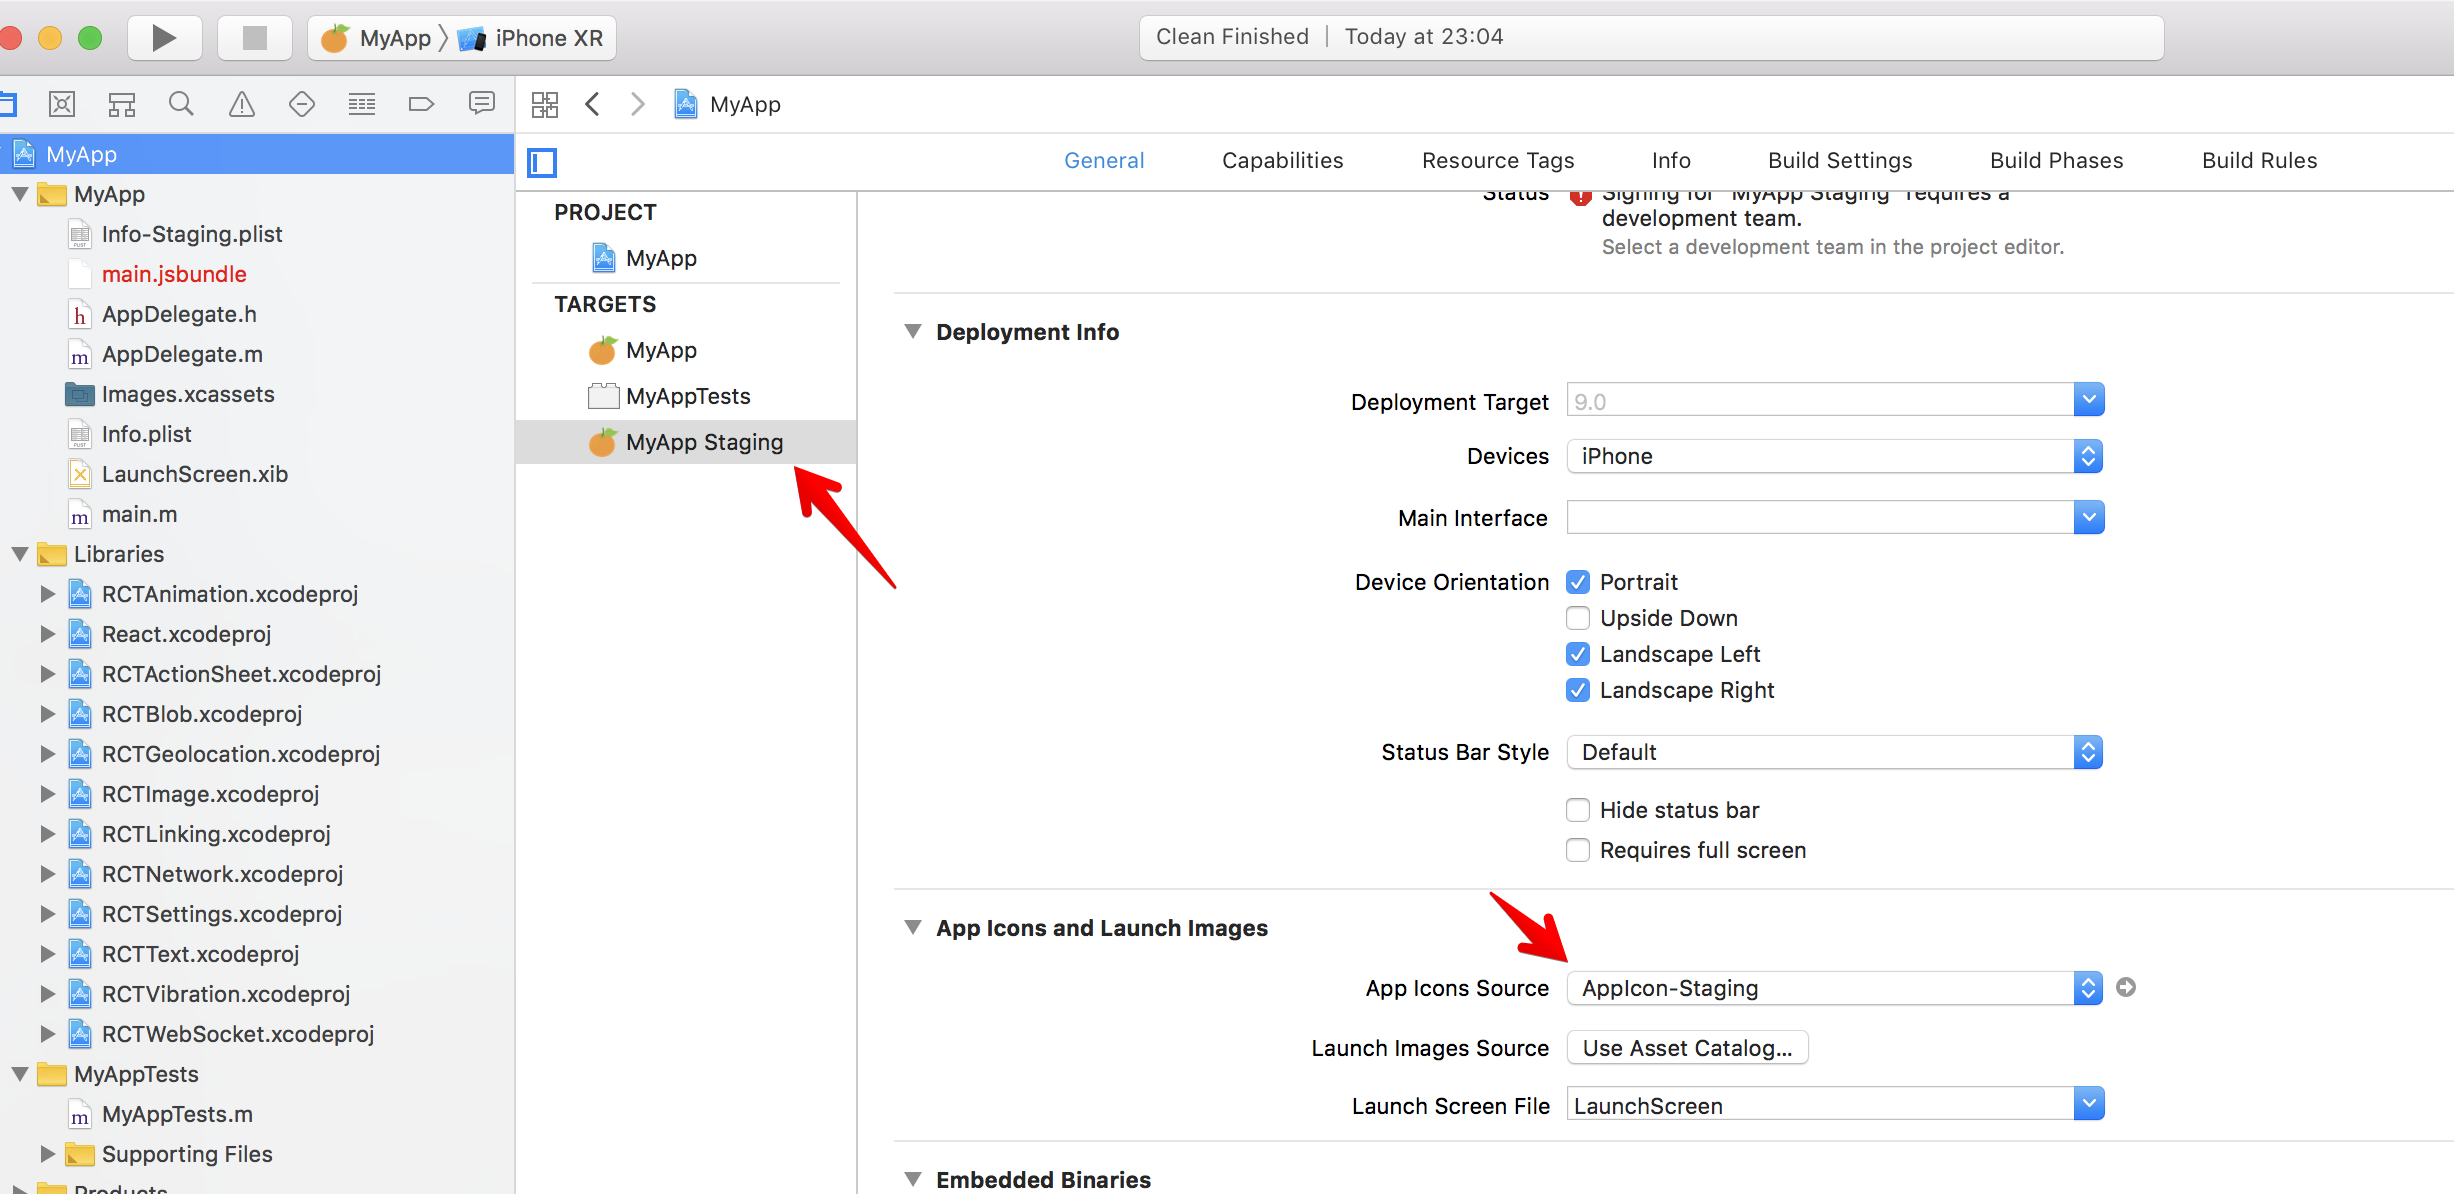
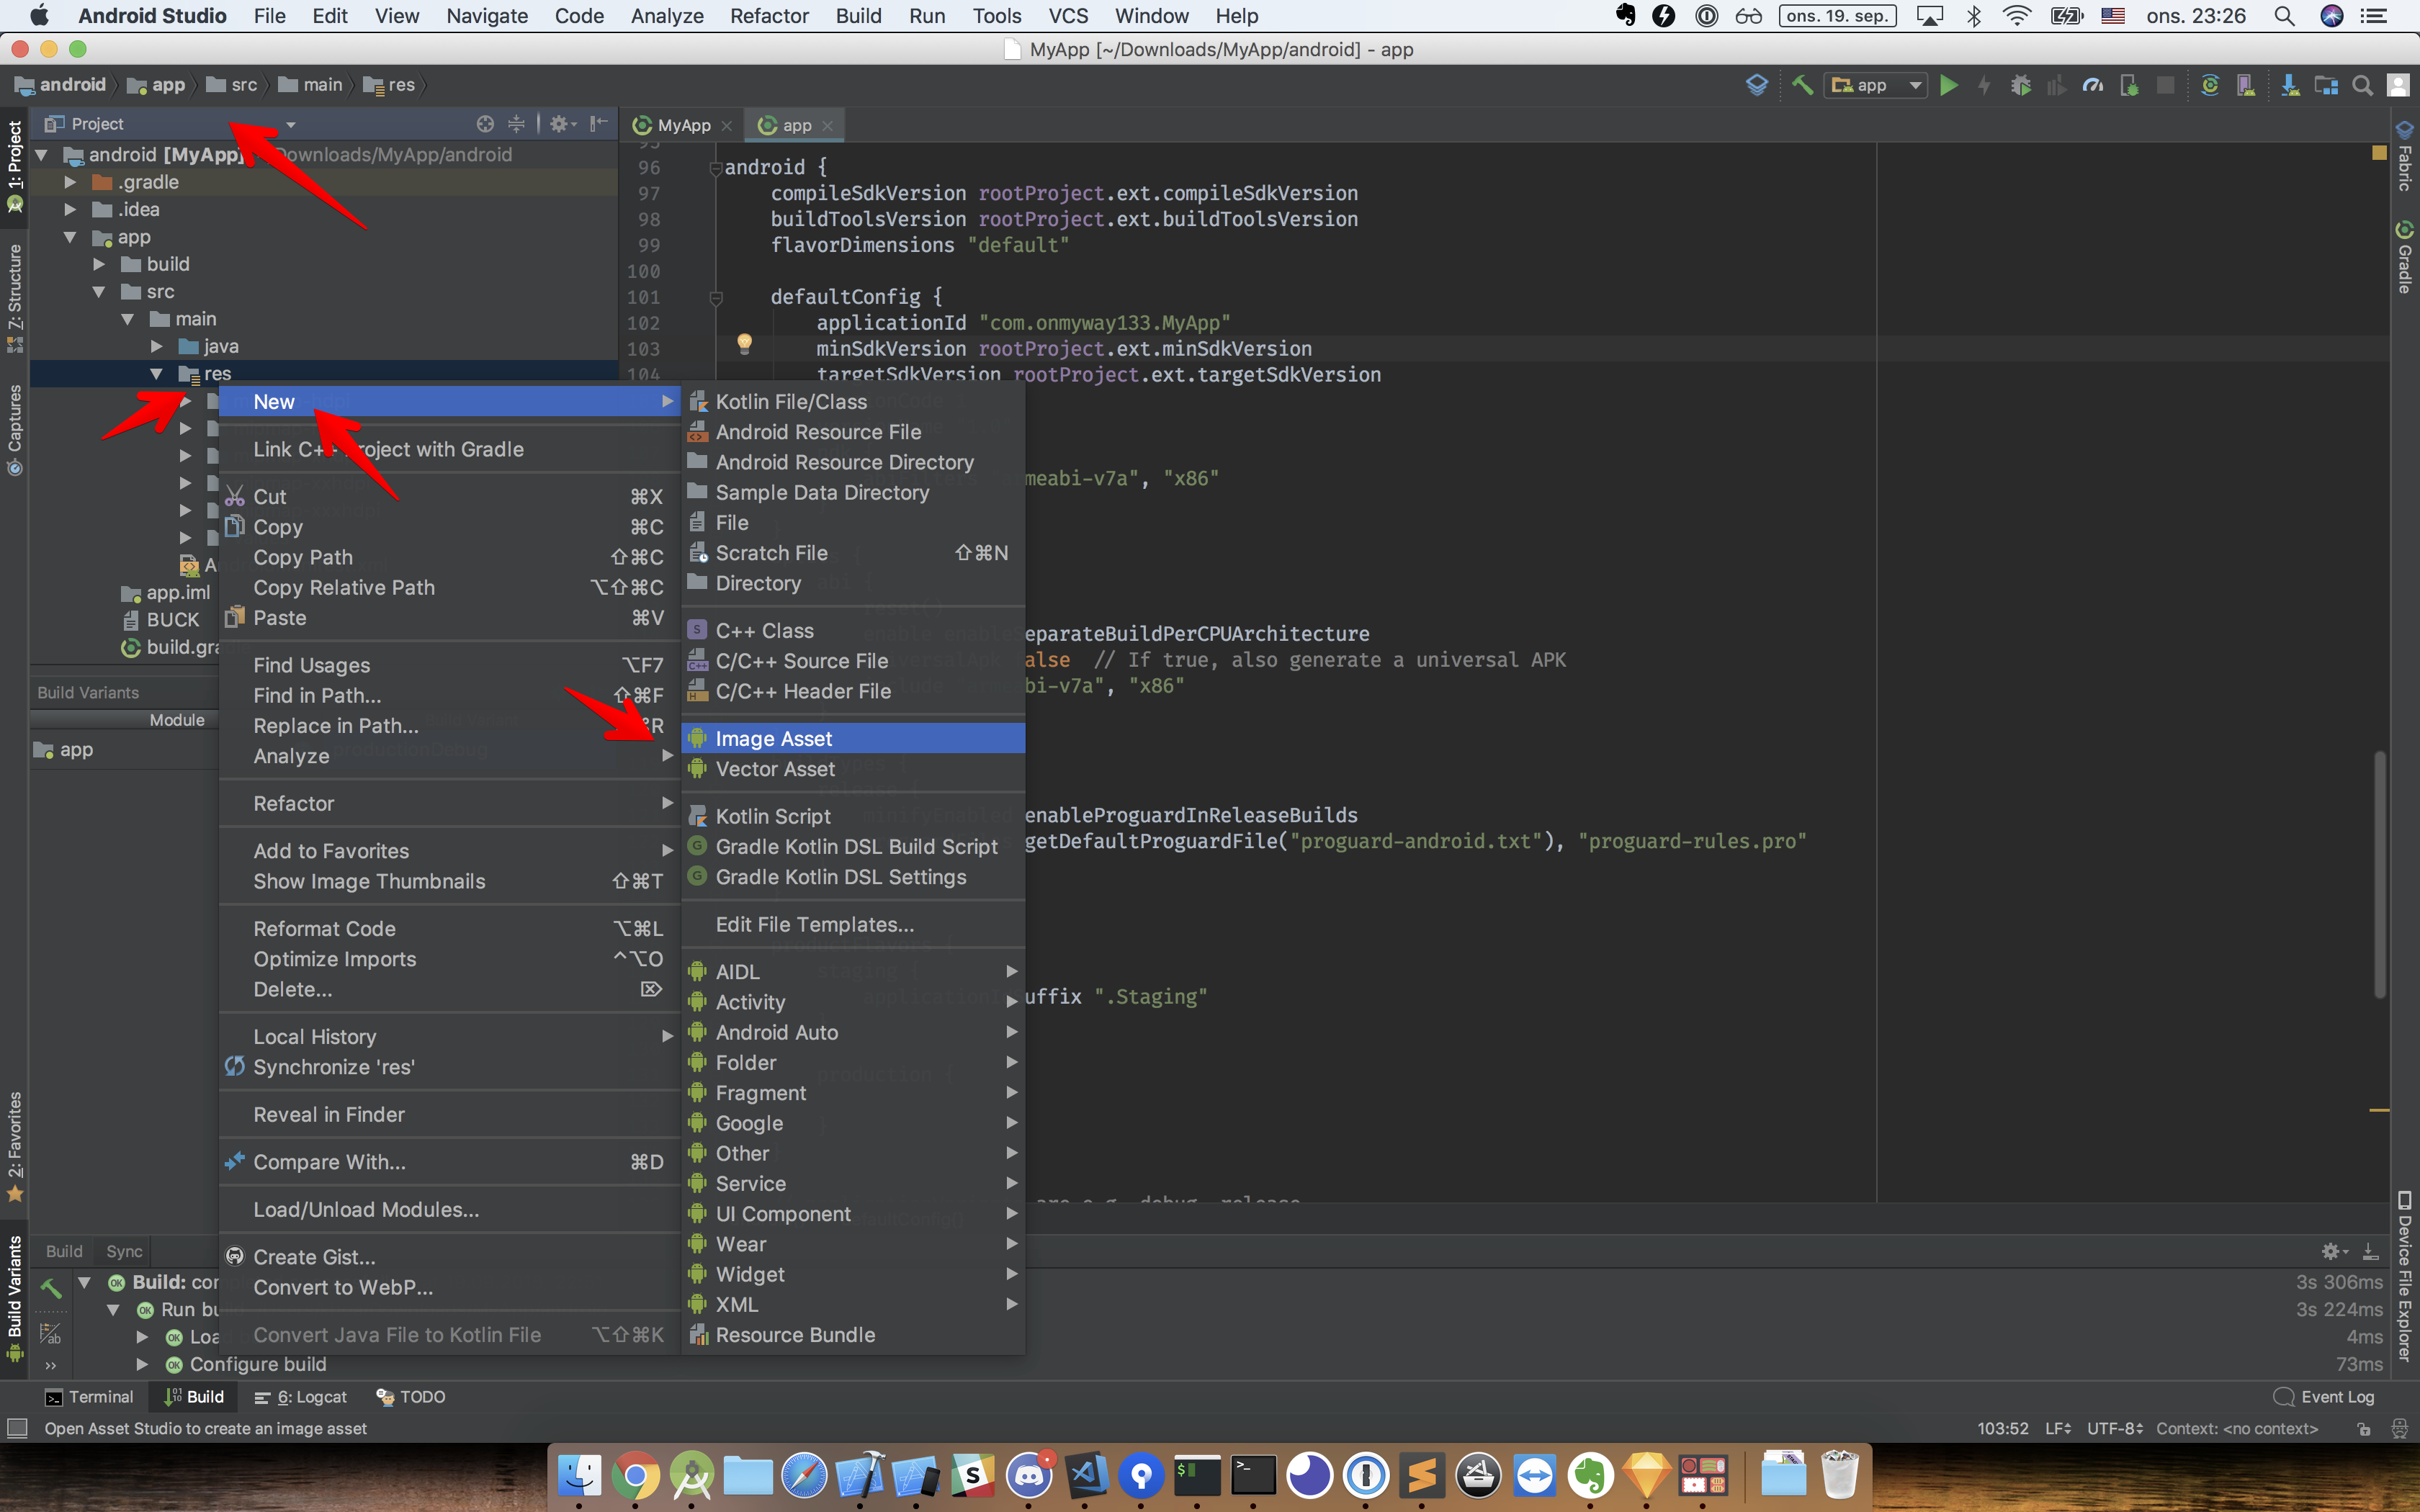
I like to switch to Project view, as it is easier to change app icons. Click res -> New -> Image Asset to open Asset Studio. We can use the same app icons that we used in iOS:
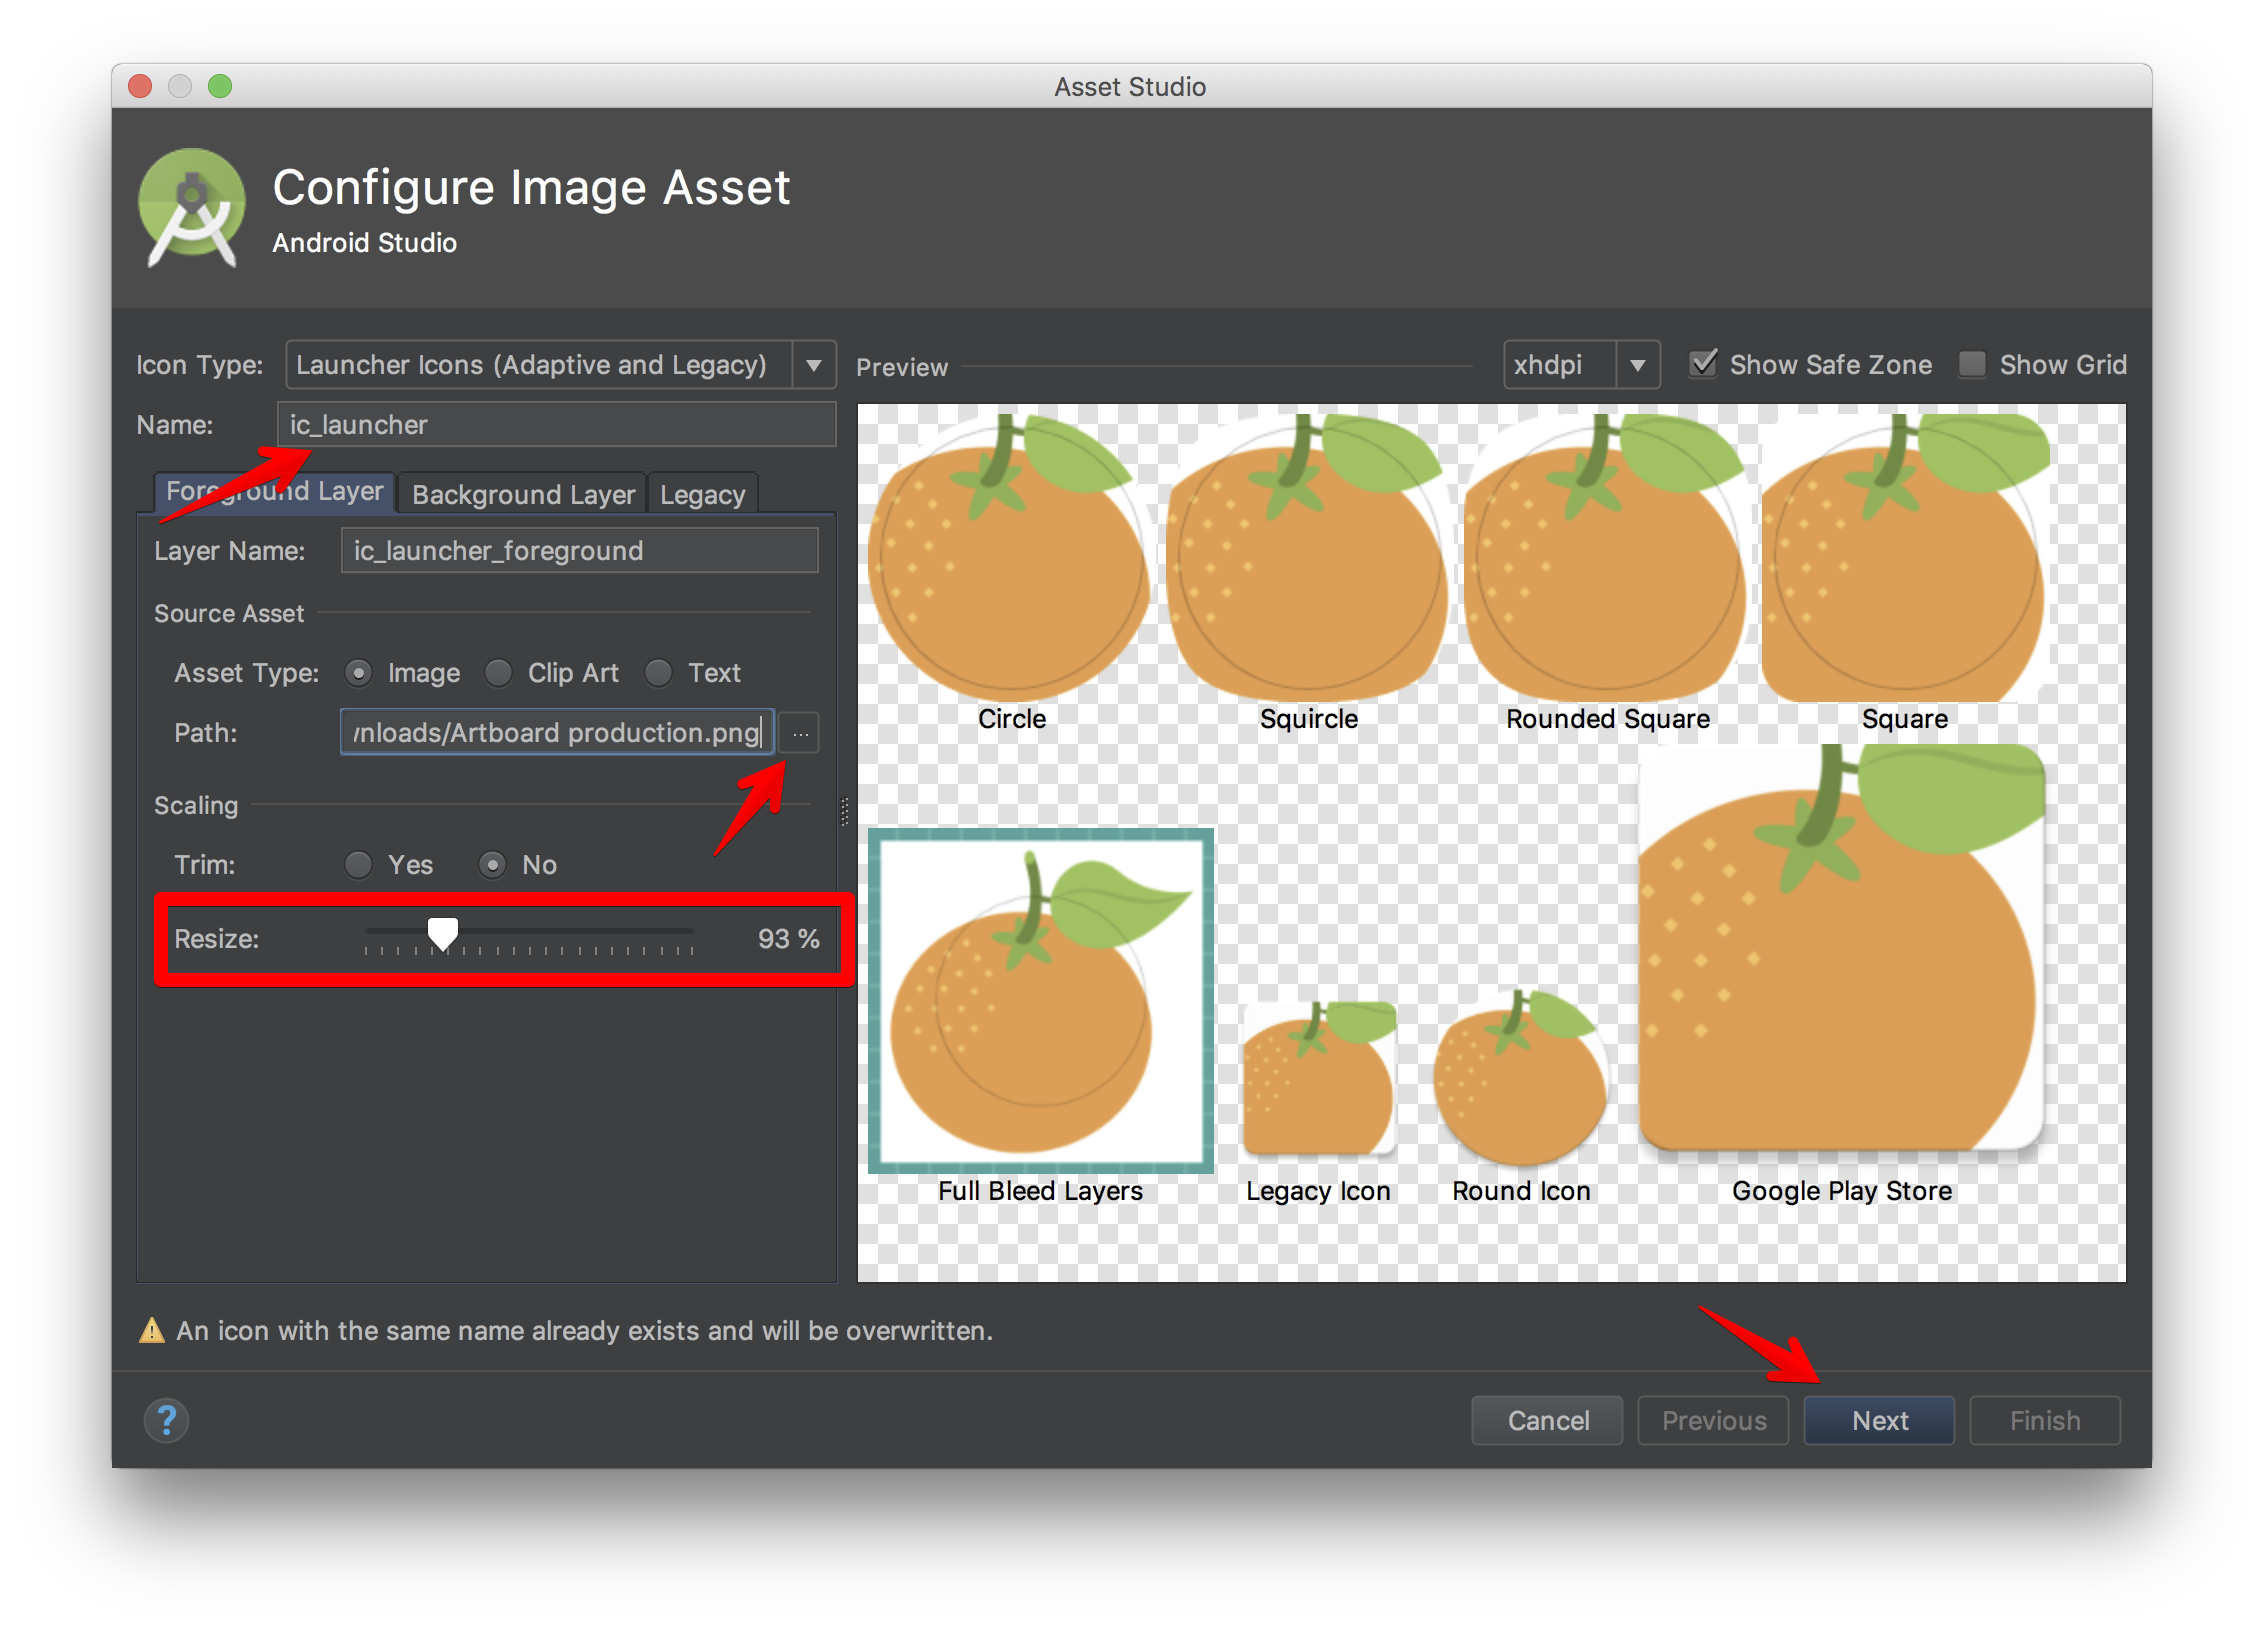
Android 8.0 (API level 26) introduced Adaptive Icons so we need to tweak the Resize slider to make sure our app icons look as nice as possible.
Android 8.0 (API level 26) introduces adaptive launcher icons, which can display a variety of shapes across different device models. For example, an adaptive launcher icon can display a circular shape on one OEM device, and display a squircle on another device. Each device OEM provides a mask, which the system then uses to render all adaptive icons with the same shape. Adaptive launcher icons are also used in shortcuts, the Settings app, sharing dialogs, and the overview screen. — Android developers
We are doing for production first, which means the main Res Directory. This step will replace the existing placeholder app icons generated by Android Studio when we bootstrapped React Native projects.
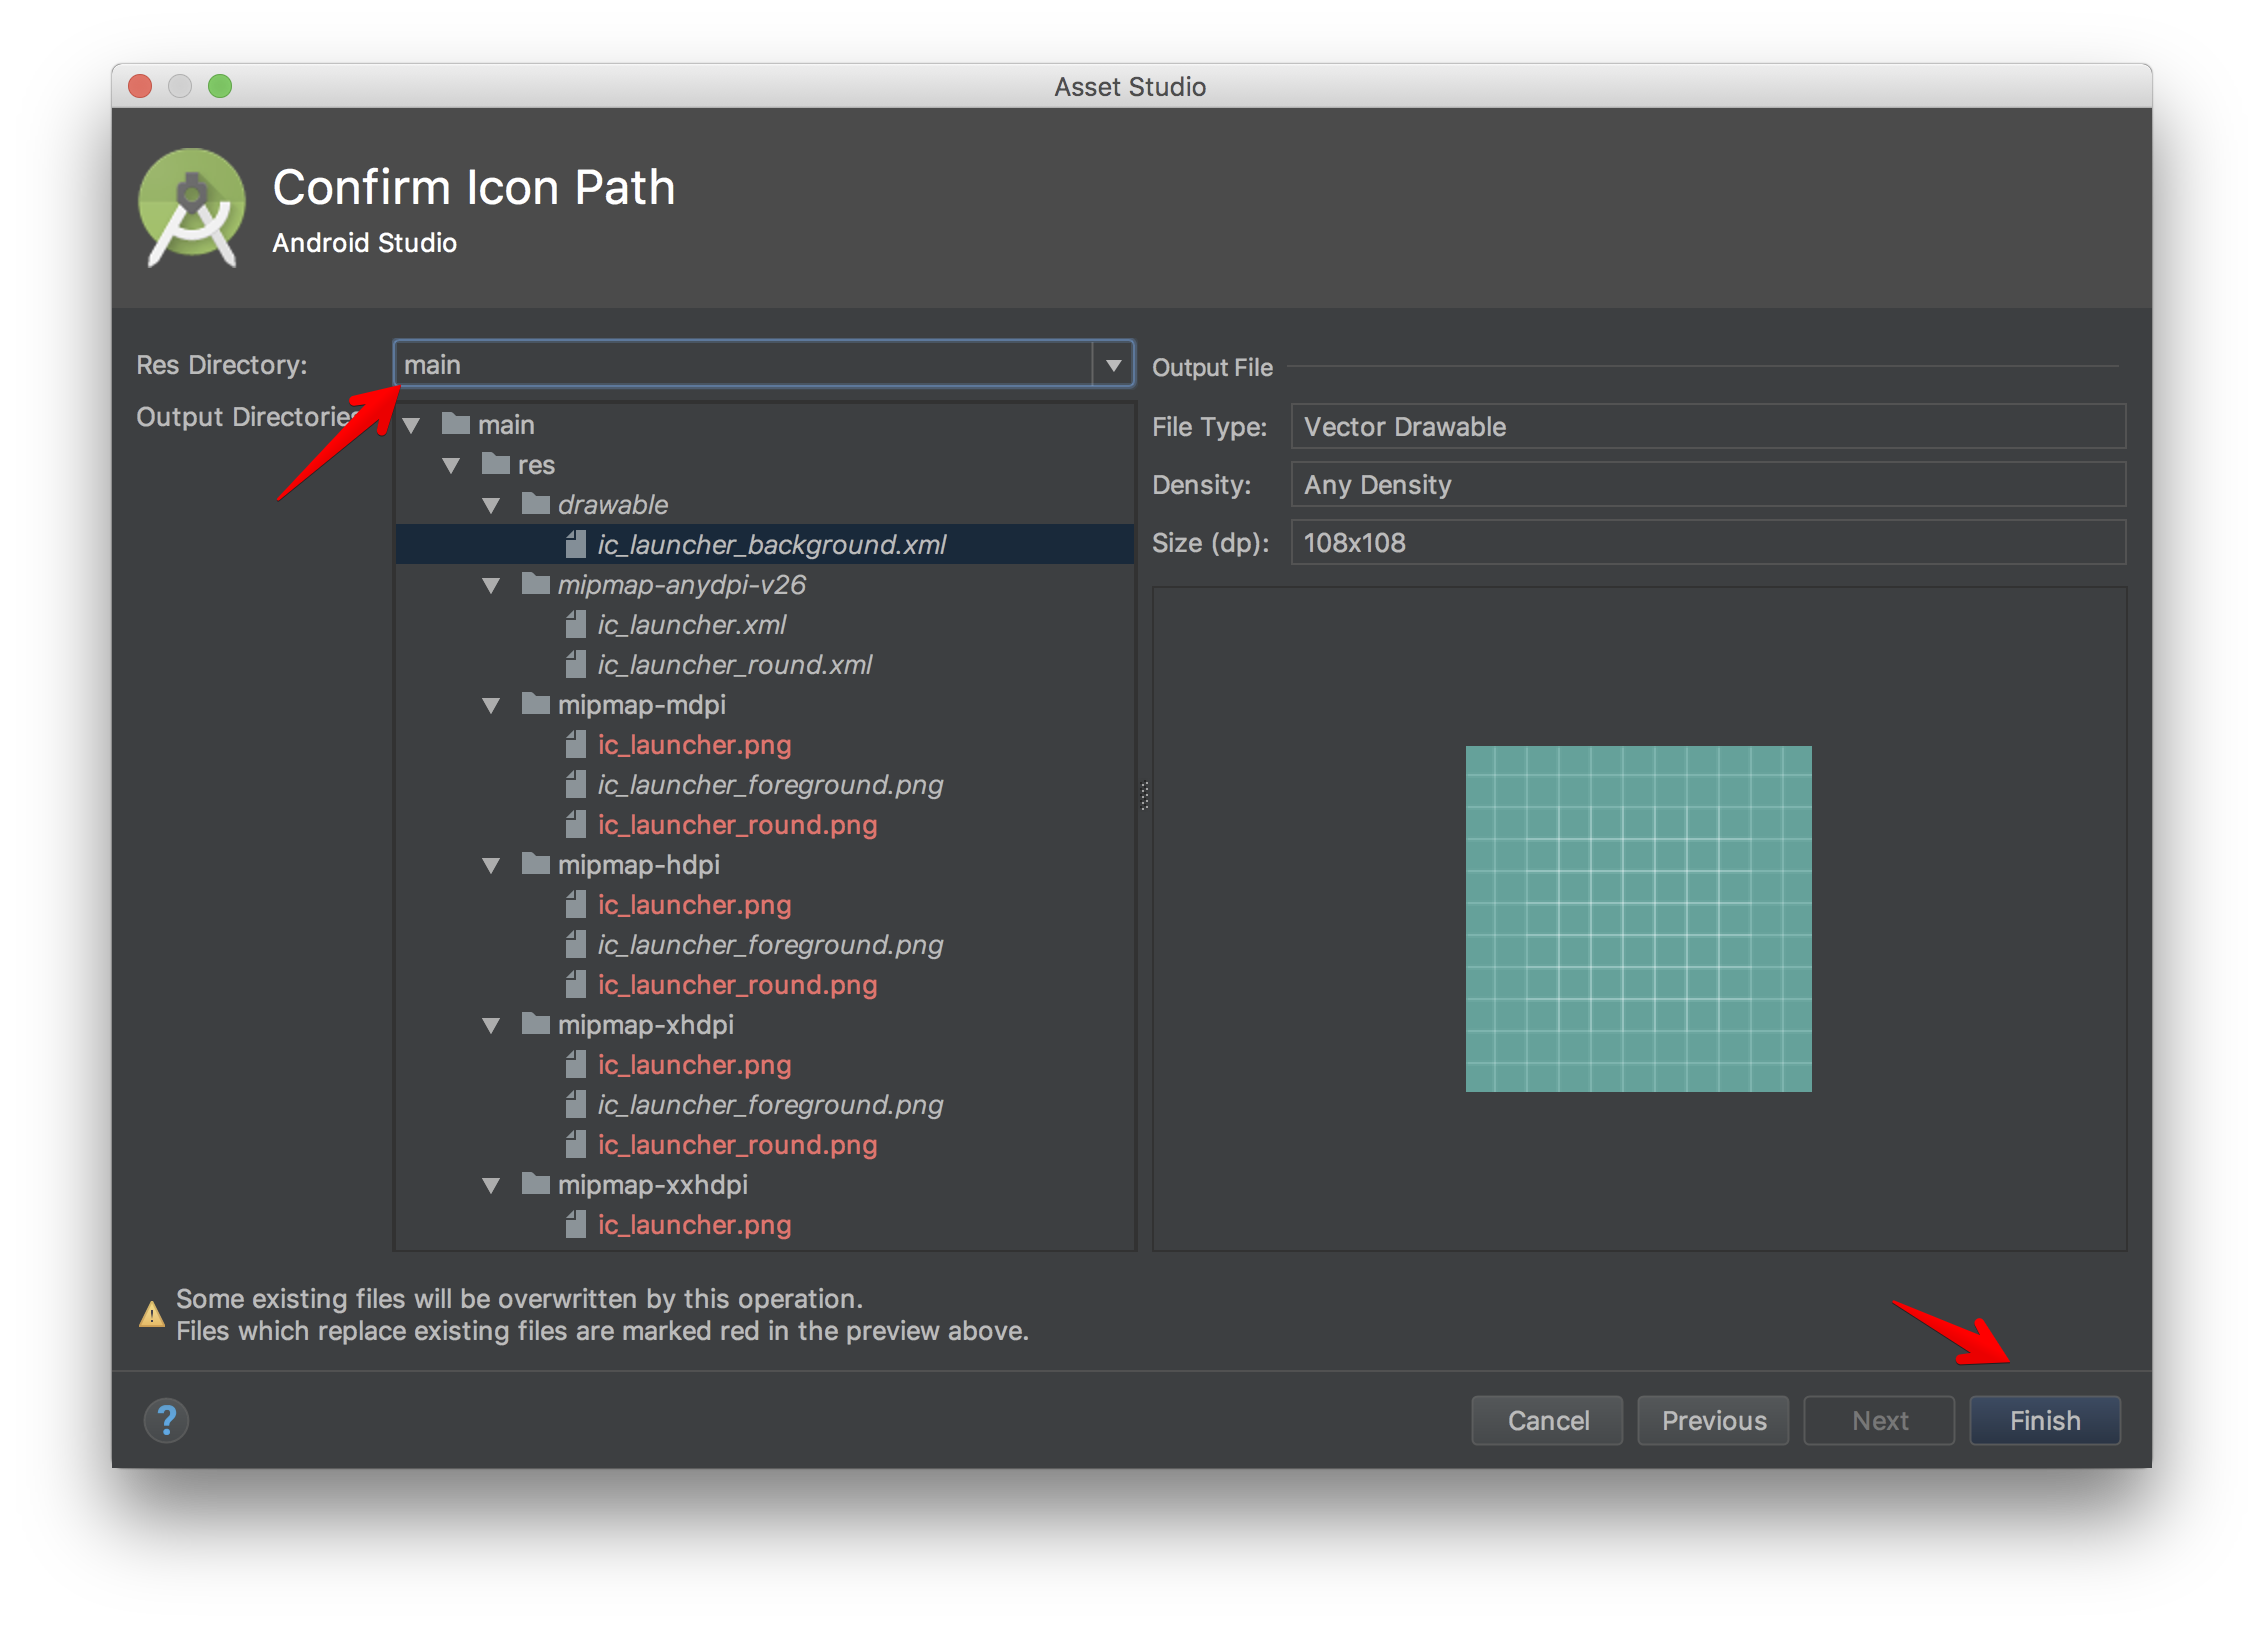
Now that we have production app icons, let’s make staging app icons. Android manages code and assets via convention. Click on src -> New -> Directory and create a staging folder. Inside staging, create a folder called res . Anything we place in staging will replace the ones in main — this is called source sets.
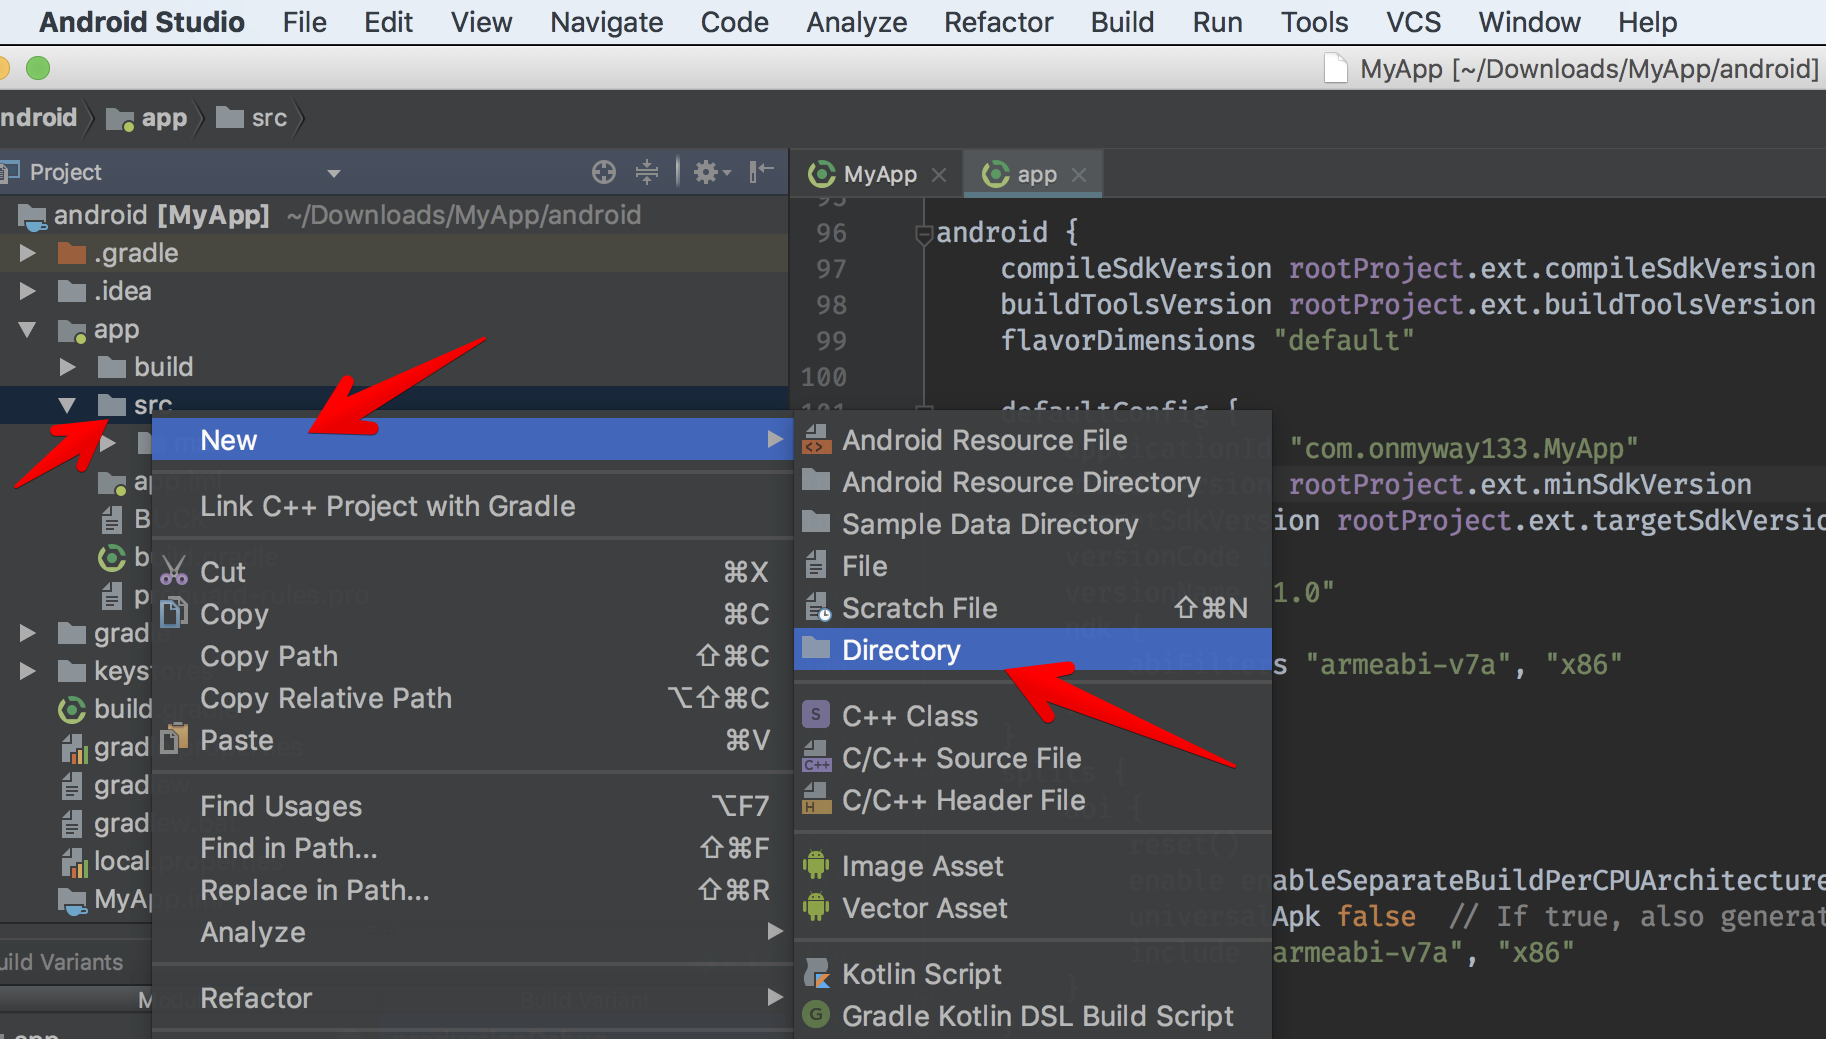
You can read more here: Build with source sets.
You can use source set directories to contain the code and resources you want packaged only with certain configurations. For example, if you are building the “demoDebug” build variant, which is the crossproduct of a “demo” product flavor and “debug” build type, Gradle looks at these directories, and gives them the following priority:
src/demoDebug/ (build variant source set)
src/debug/ (build type source set)
src/demo/ (product flavor source set)
src/main/ (main source set)
Right click on staging/res -> New -> Image Asset to make app icons for staging. We also use the same staging app icons like in iOS, but this time we choose staging as Res Directory. This way Android Studio knows how to generate different ic_launcher and put them into staging.
The splash screen is called a [Launch Screen](http://Launch Screen) in iOS, and it is important.
A launch screen appears instantly when your app starts up. The launch screen is quickly replaced with the first screen of your app, giving the impression that your app is fast and responsive
In the old days, we needed to use static launch images with different sizes for each device and orientation.
For now the recommended way is to use Launch Screen storyboard . The iOS project from React Native comes with LaunchScreen.xib but xib is a thing of the past. Let’s delete it and create a file called Launch Screen.storyboard .
Right click on MyApp folder -> New and chose Launch Screen, add it to both targets as usually we show the same splash screen for both staging and production.
Open asset catalog, right click and select New Image Set . We can name it anything. This will be used in the Launch Screen.storyboard.
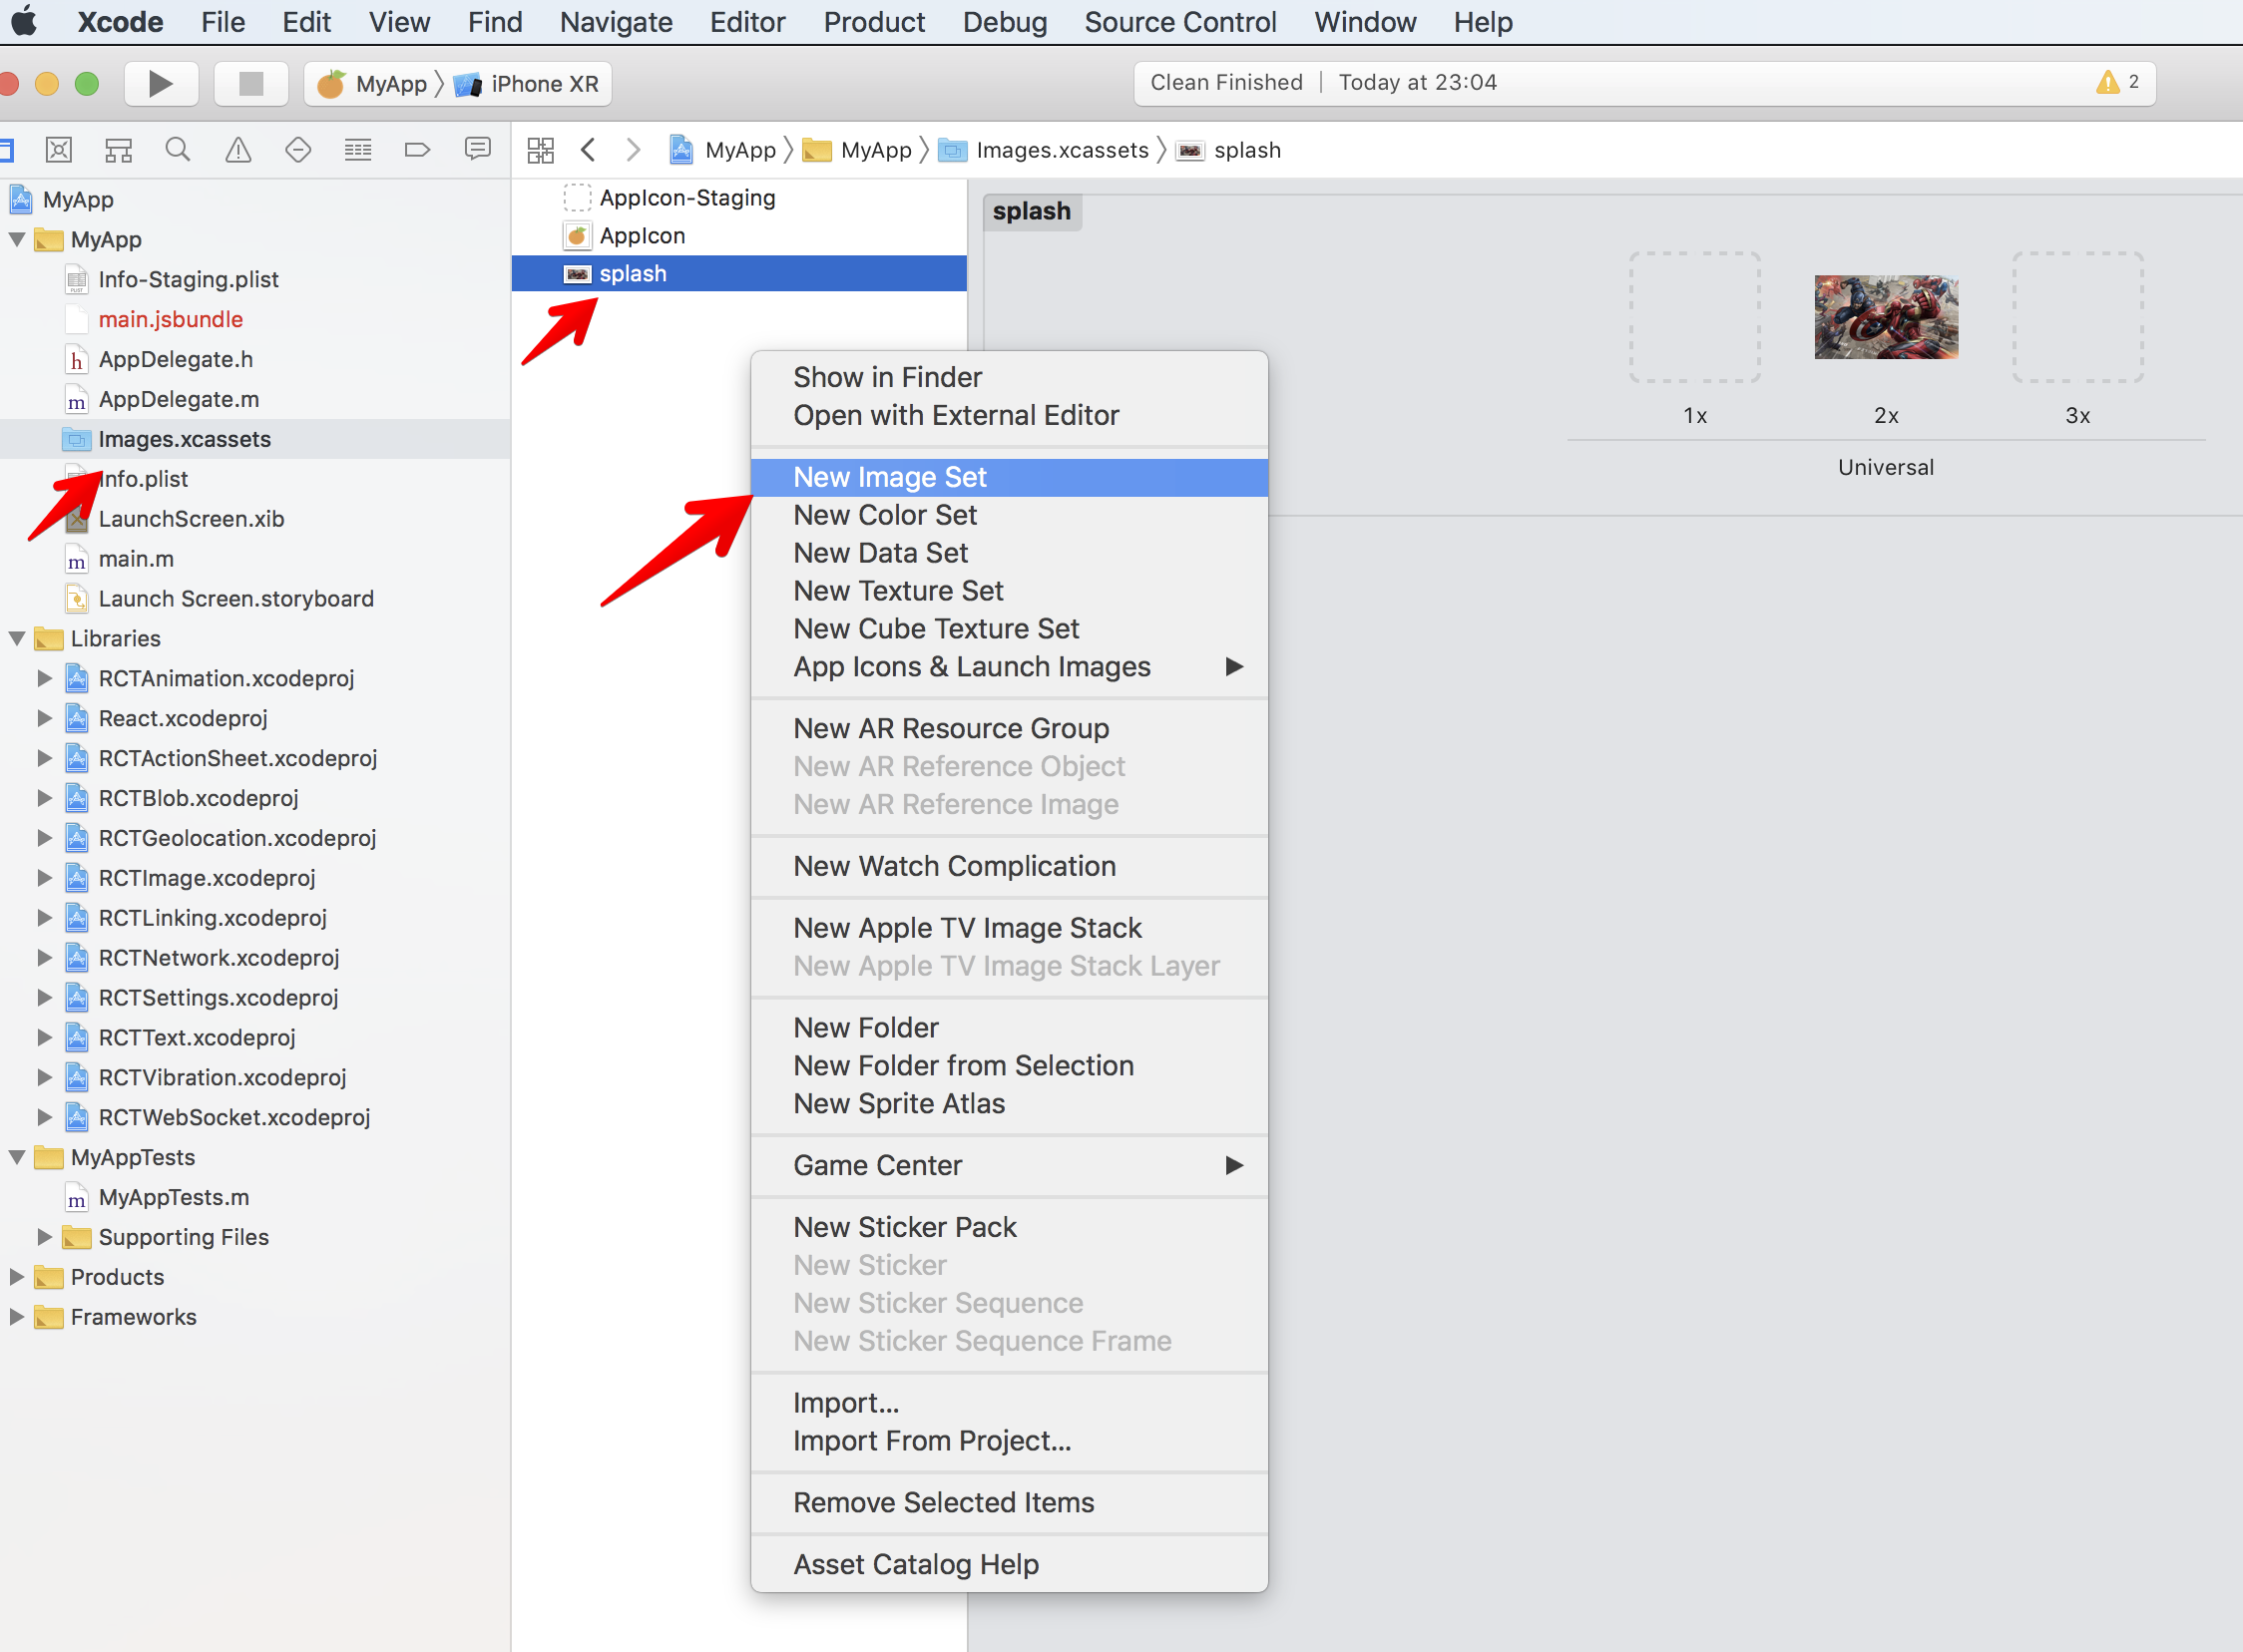
Open Launch Screen.storyboard and add an UIImageView . If you are using Xcode 10, click the Library button in the upper right corner and choose Show Objects Library.
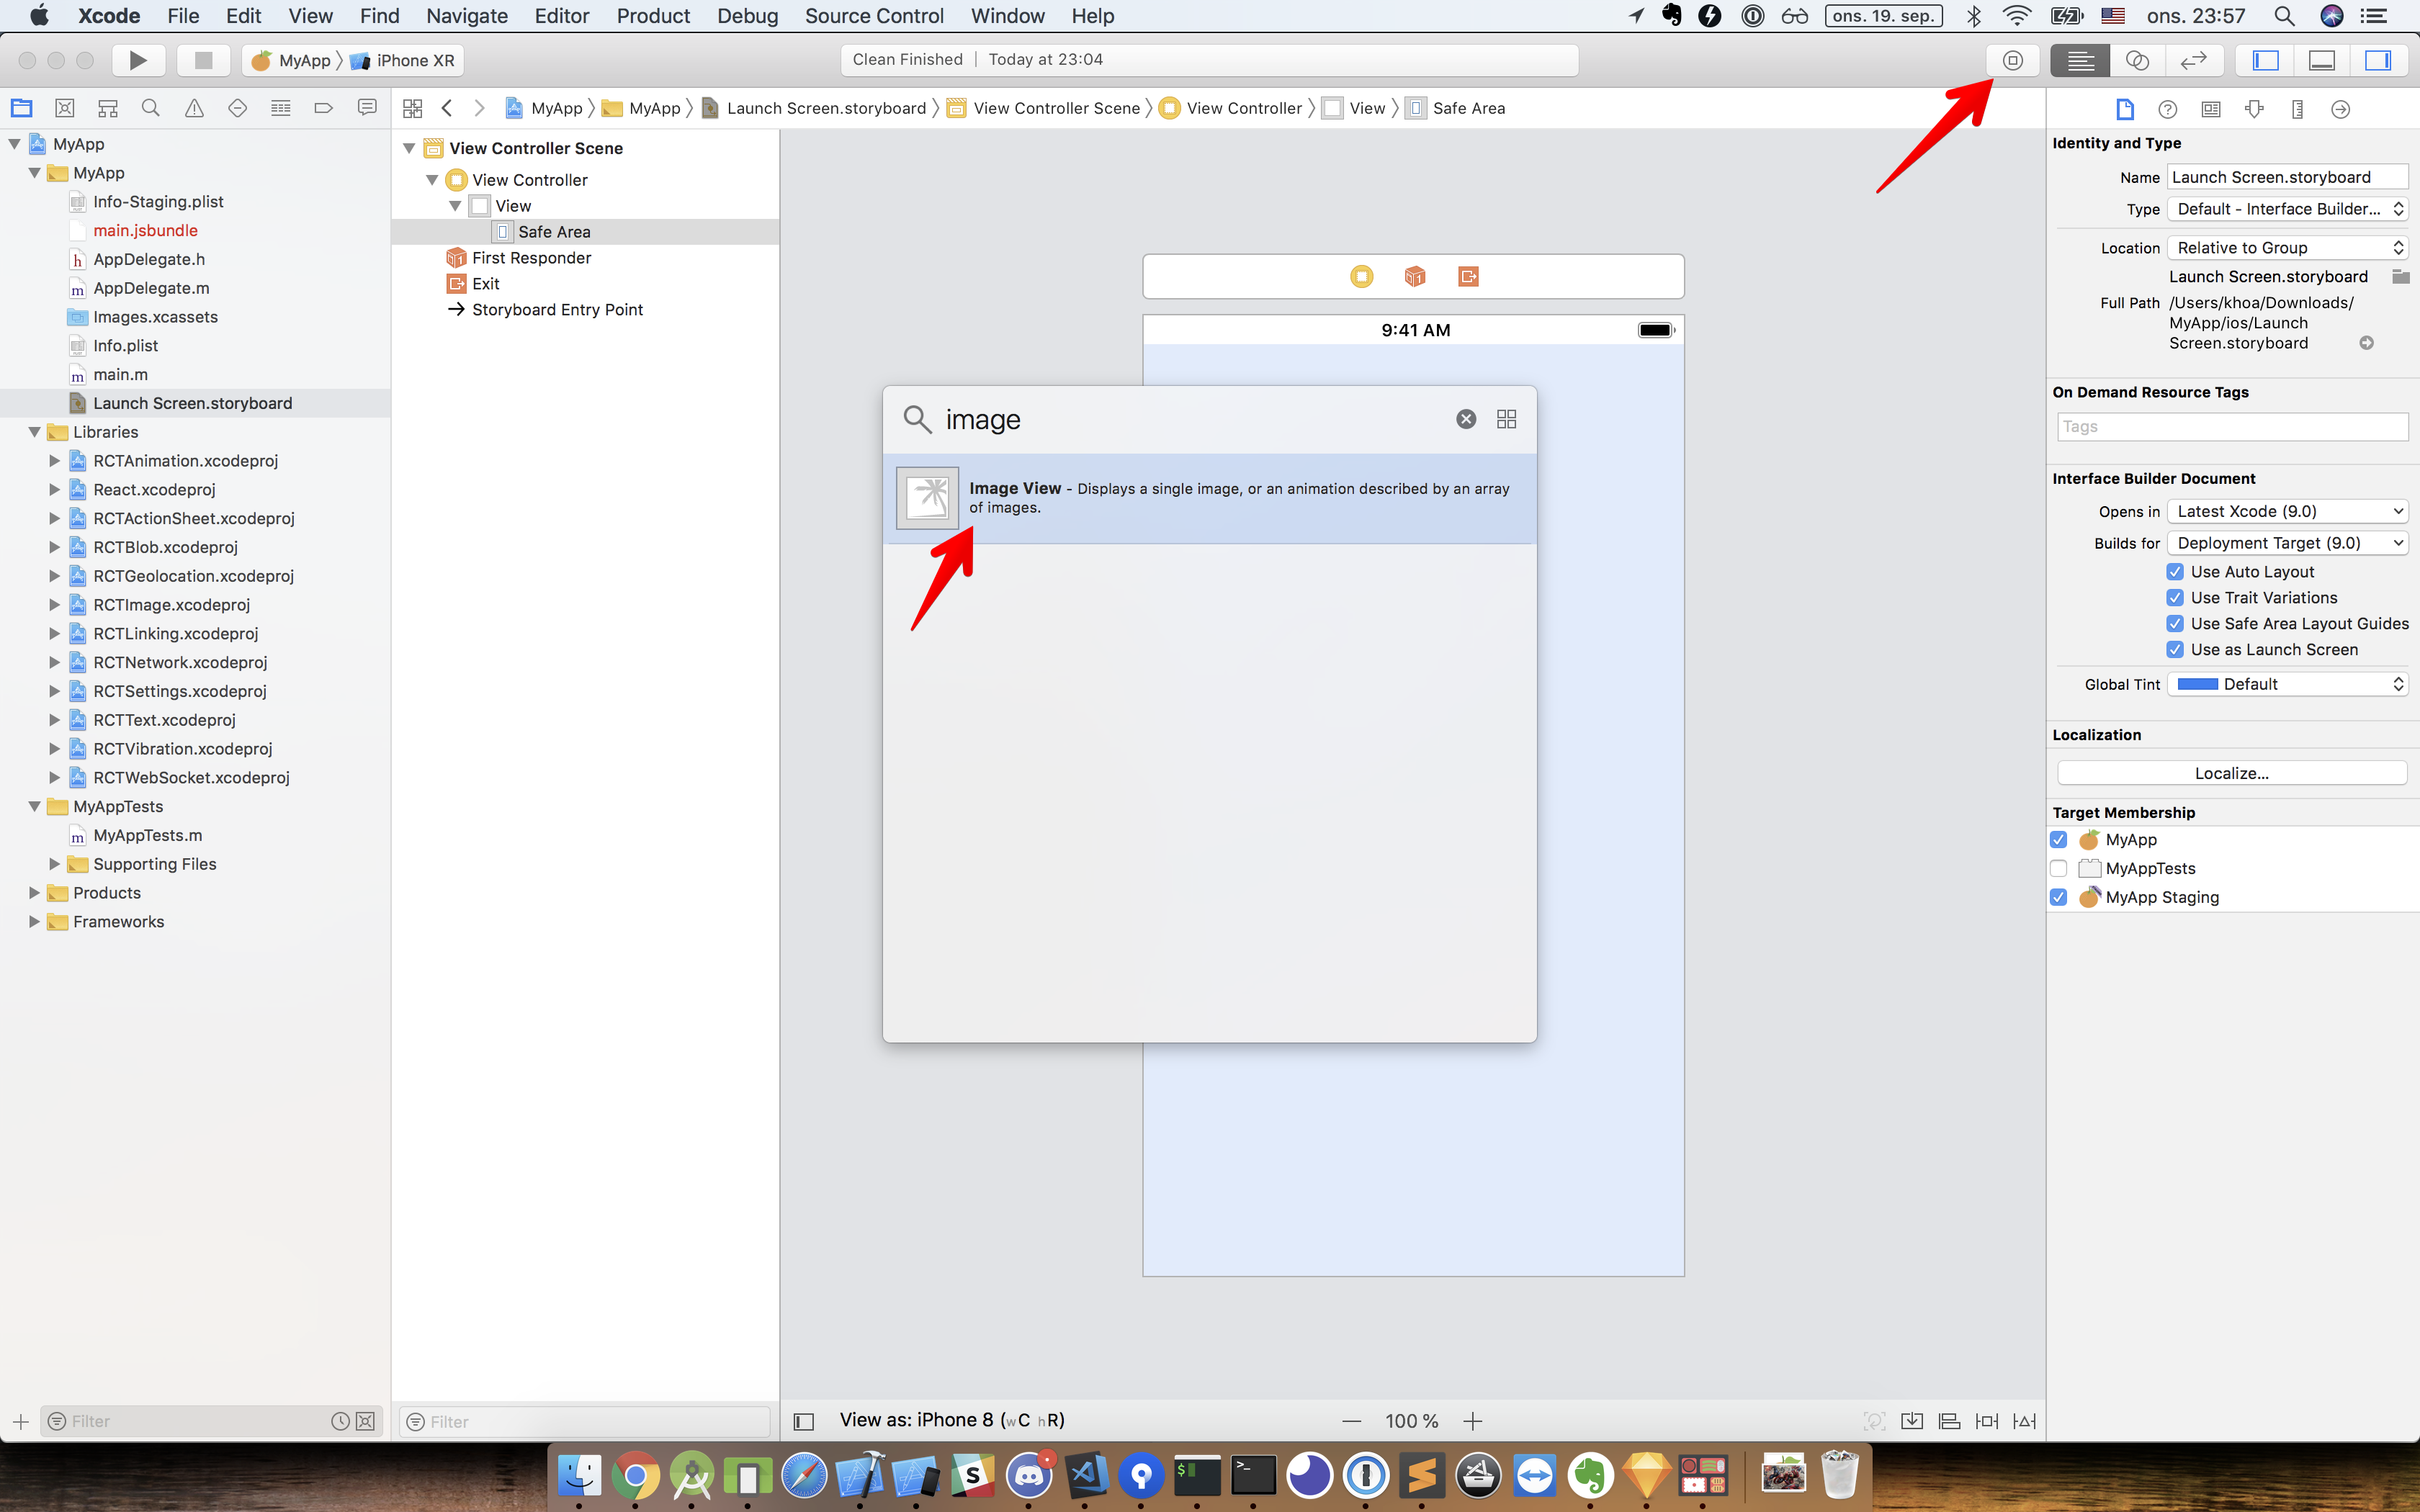
Set image for Image View, and make sure Content Mode is set to Aspect Filled, as this ensures that the image always covers the full screen (although it may be cropped). Then connect ImageView using constraints to the View, not the Safe Area. You do this by Control+drag from the Image View (splash) to the View.
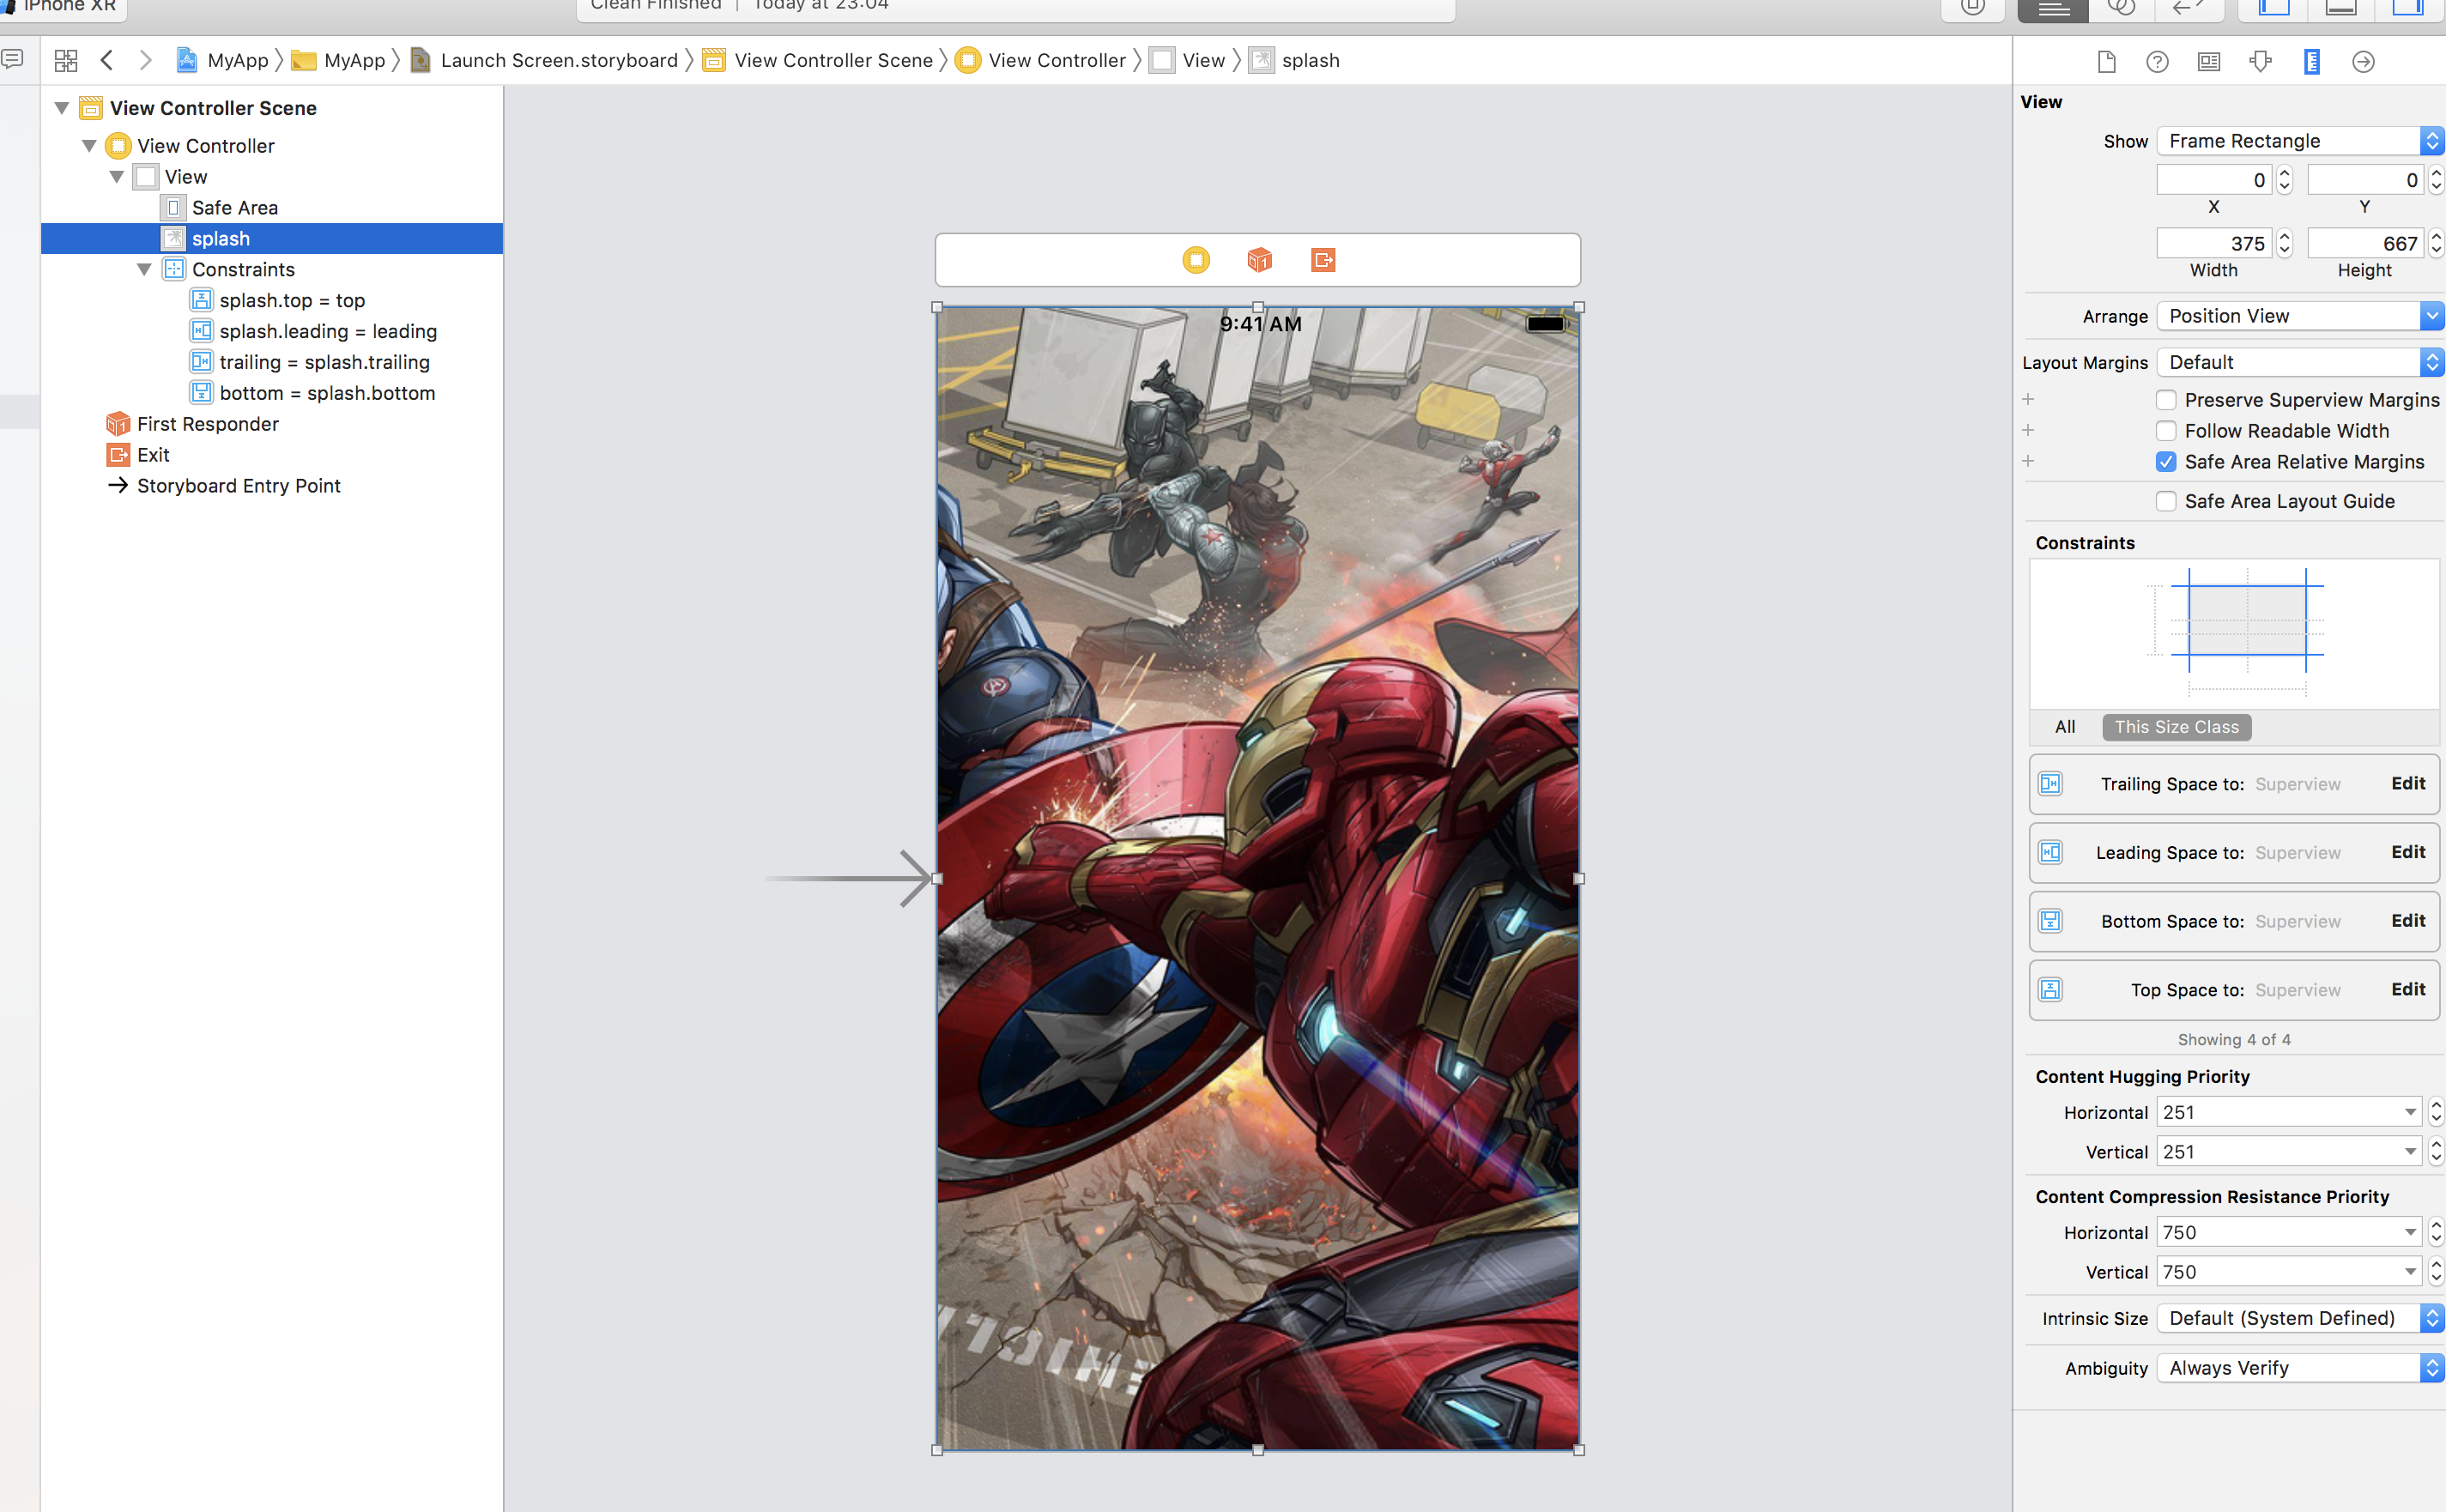
Click into each constraint and uncheck Relative to Margin. This makes our ImageView pin to the very edges of the view and with no margin at all.
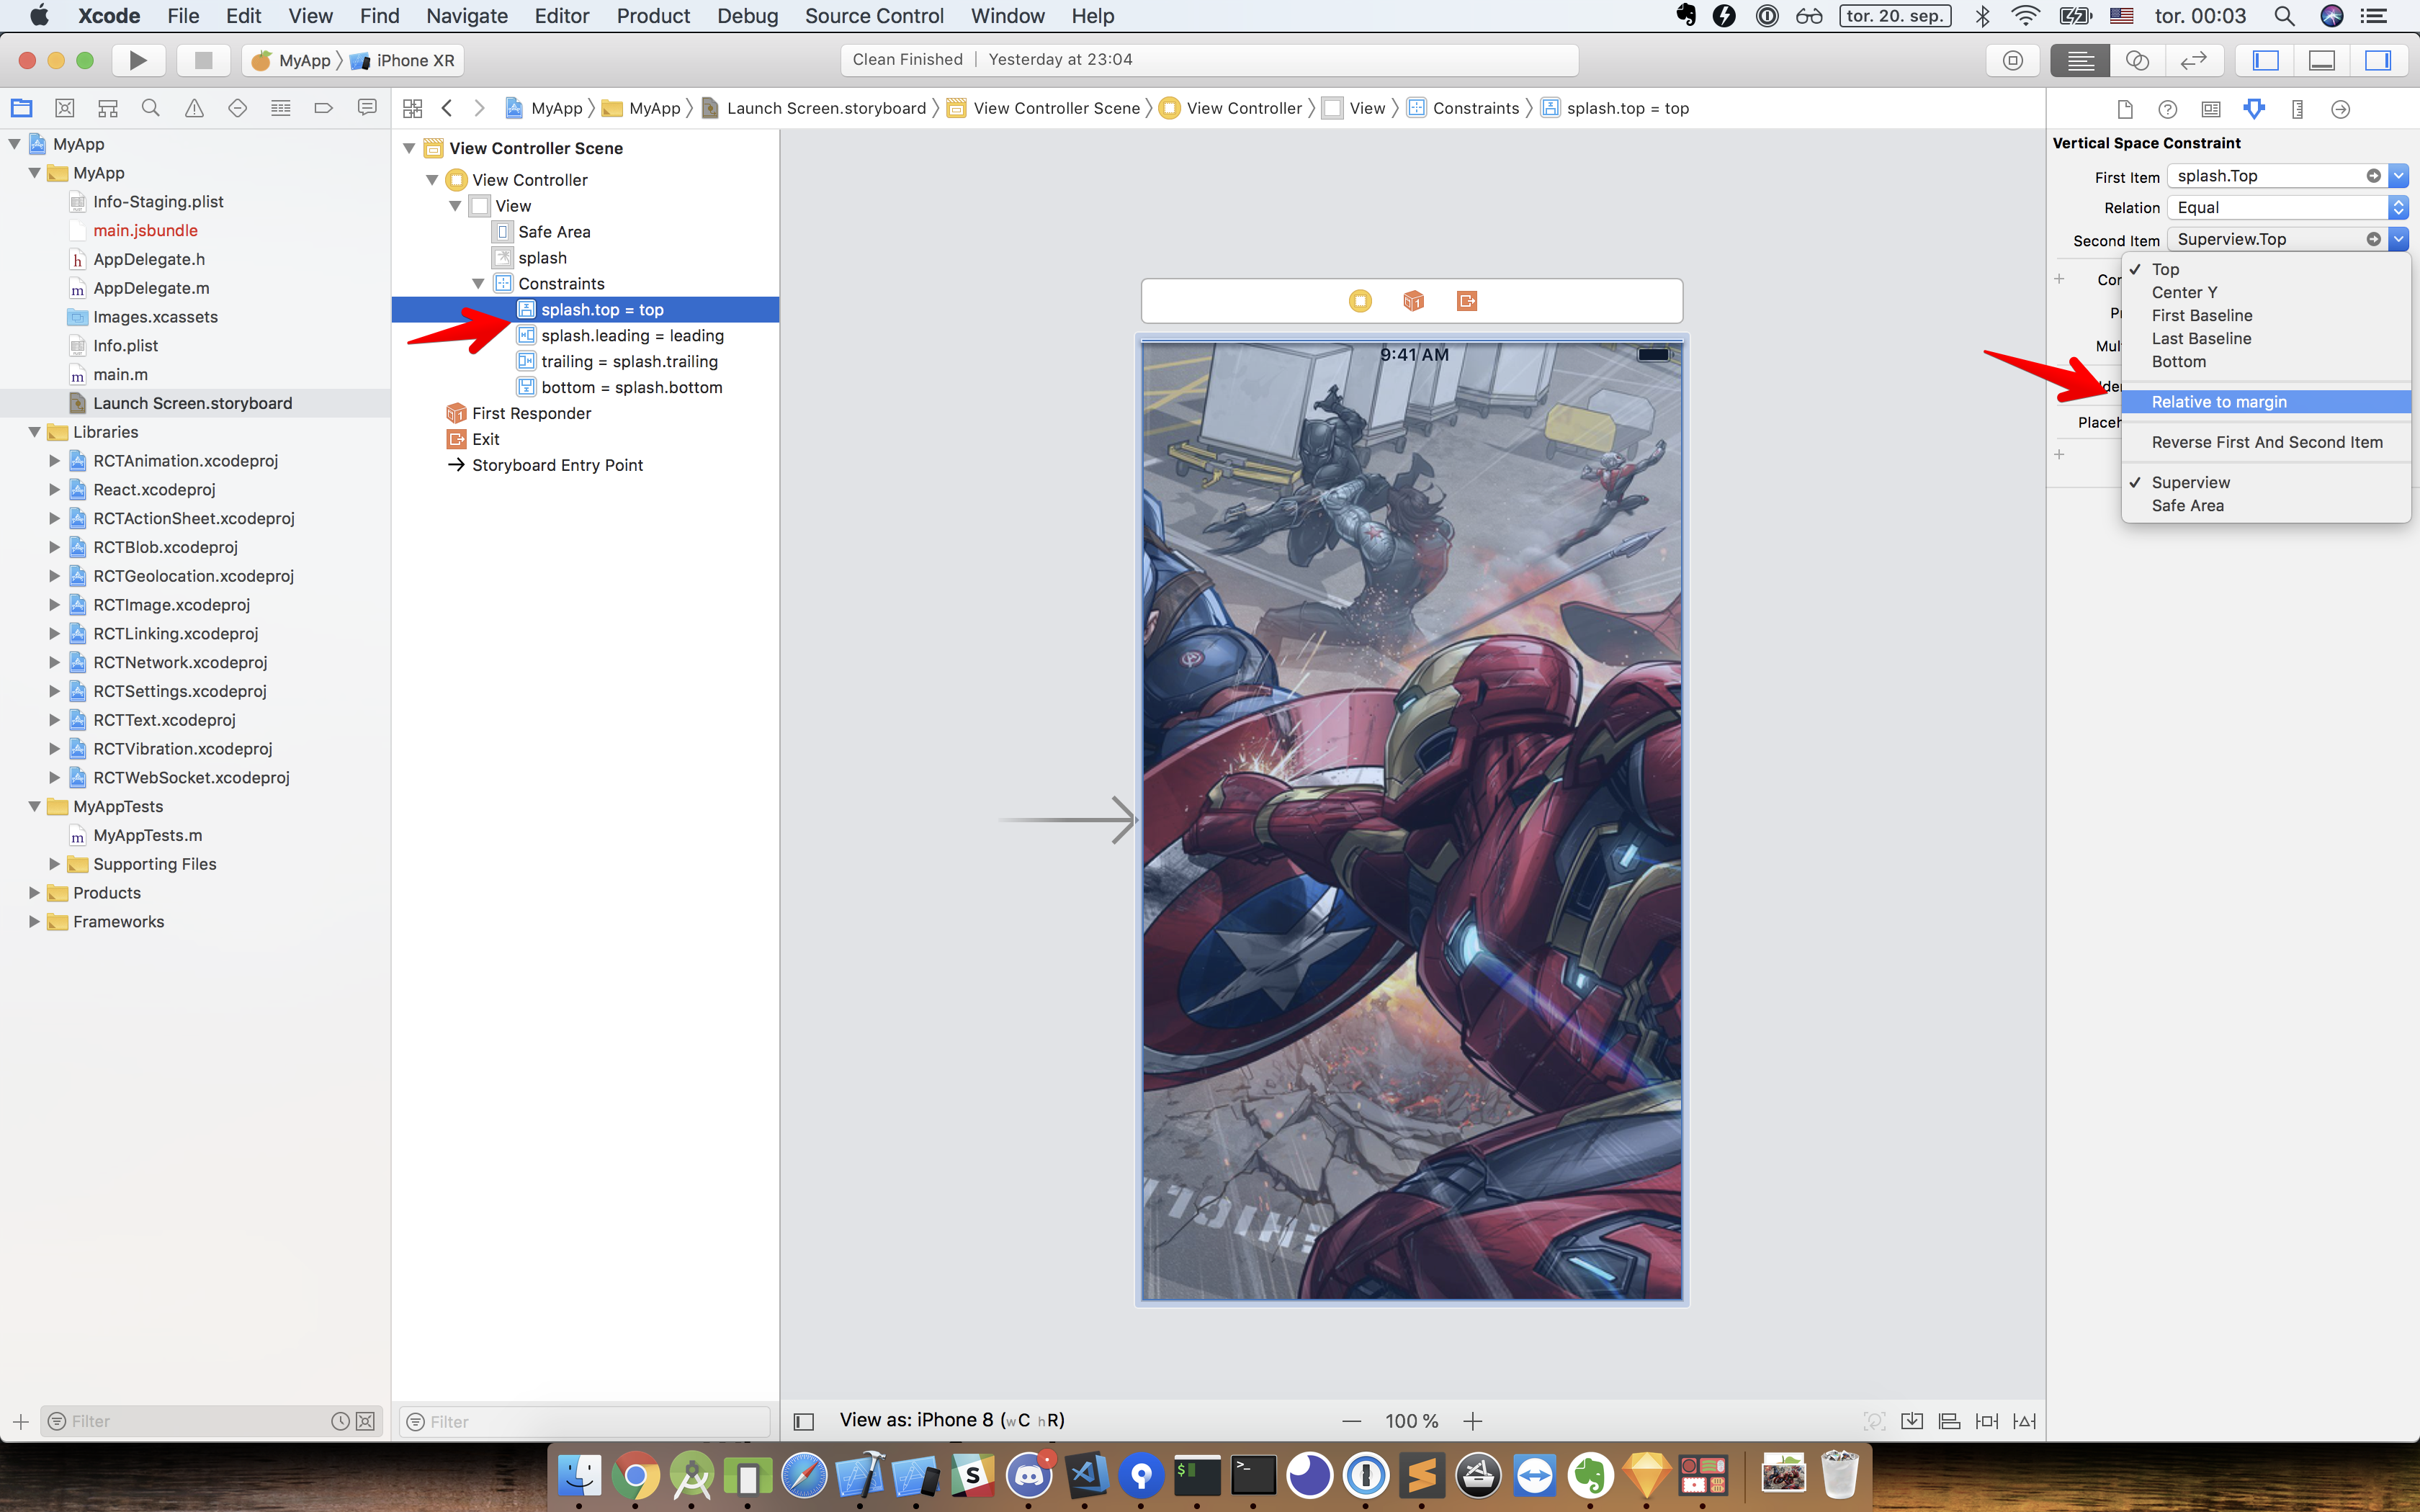
Now go to both targets and select Launch Screen.storyboard as Launch Screen File:
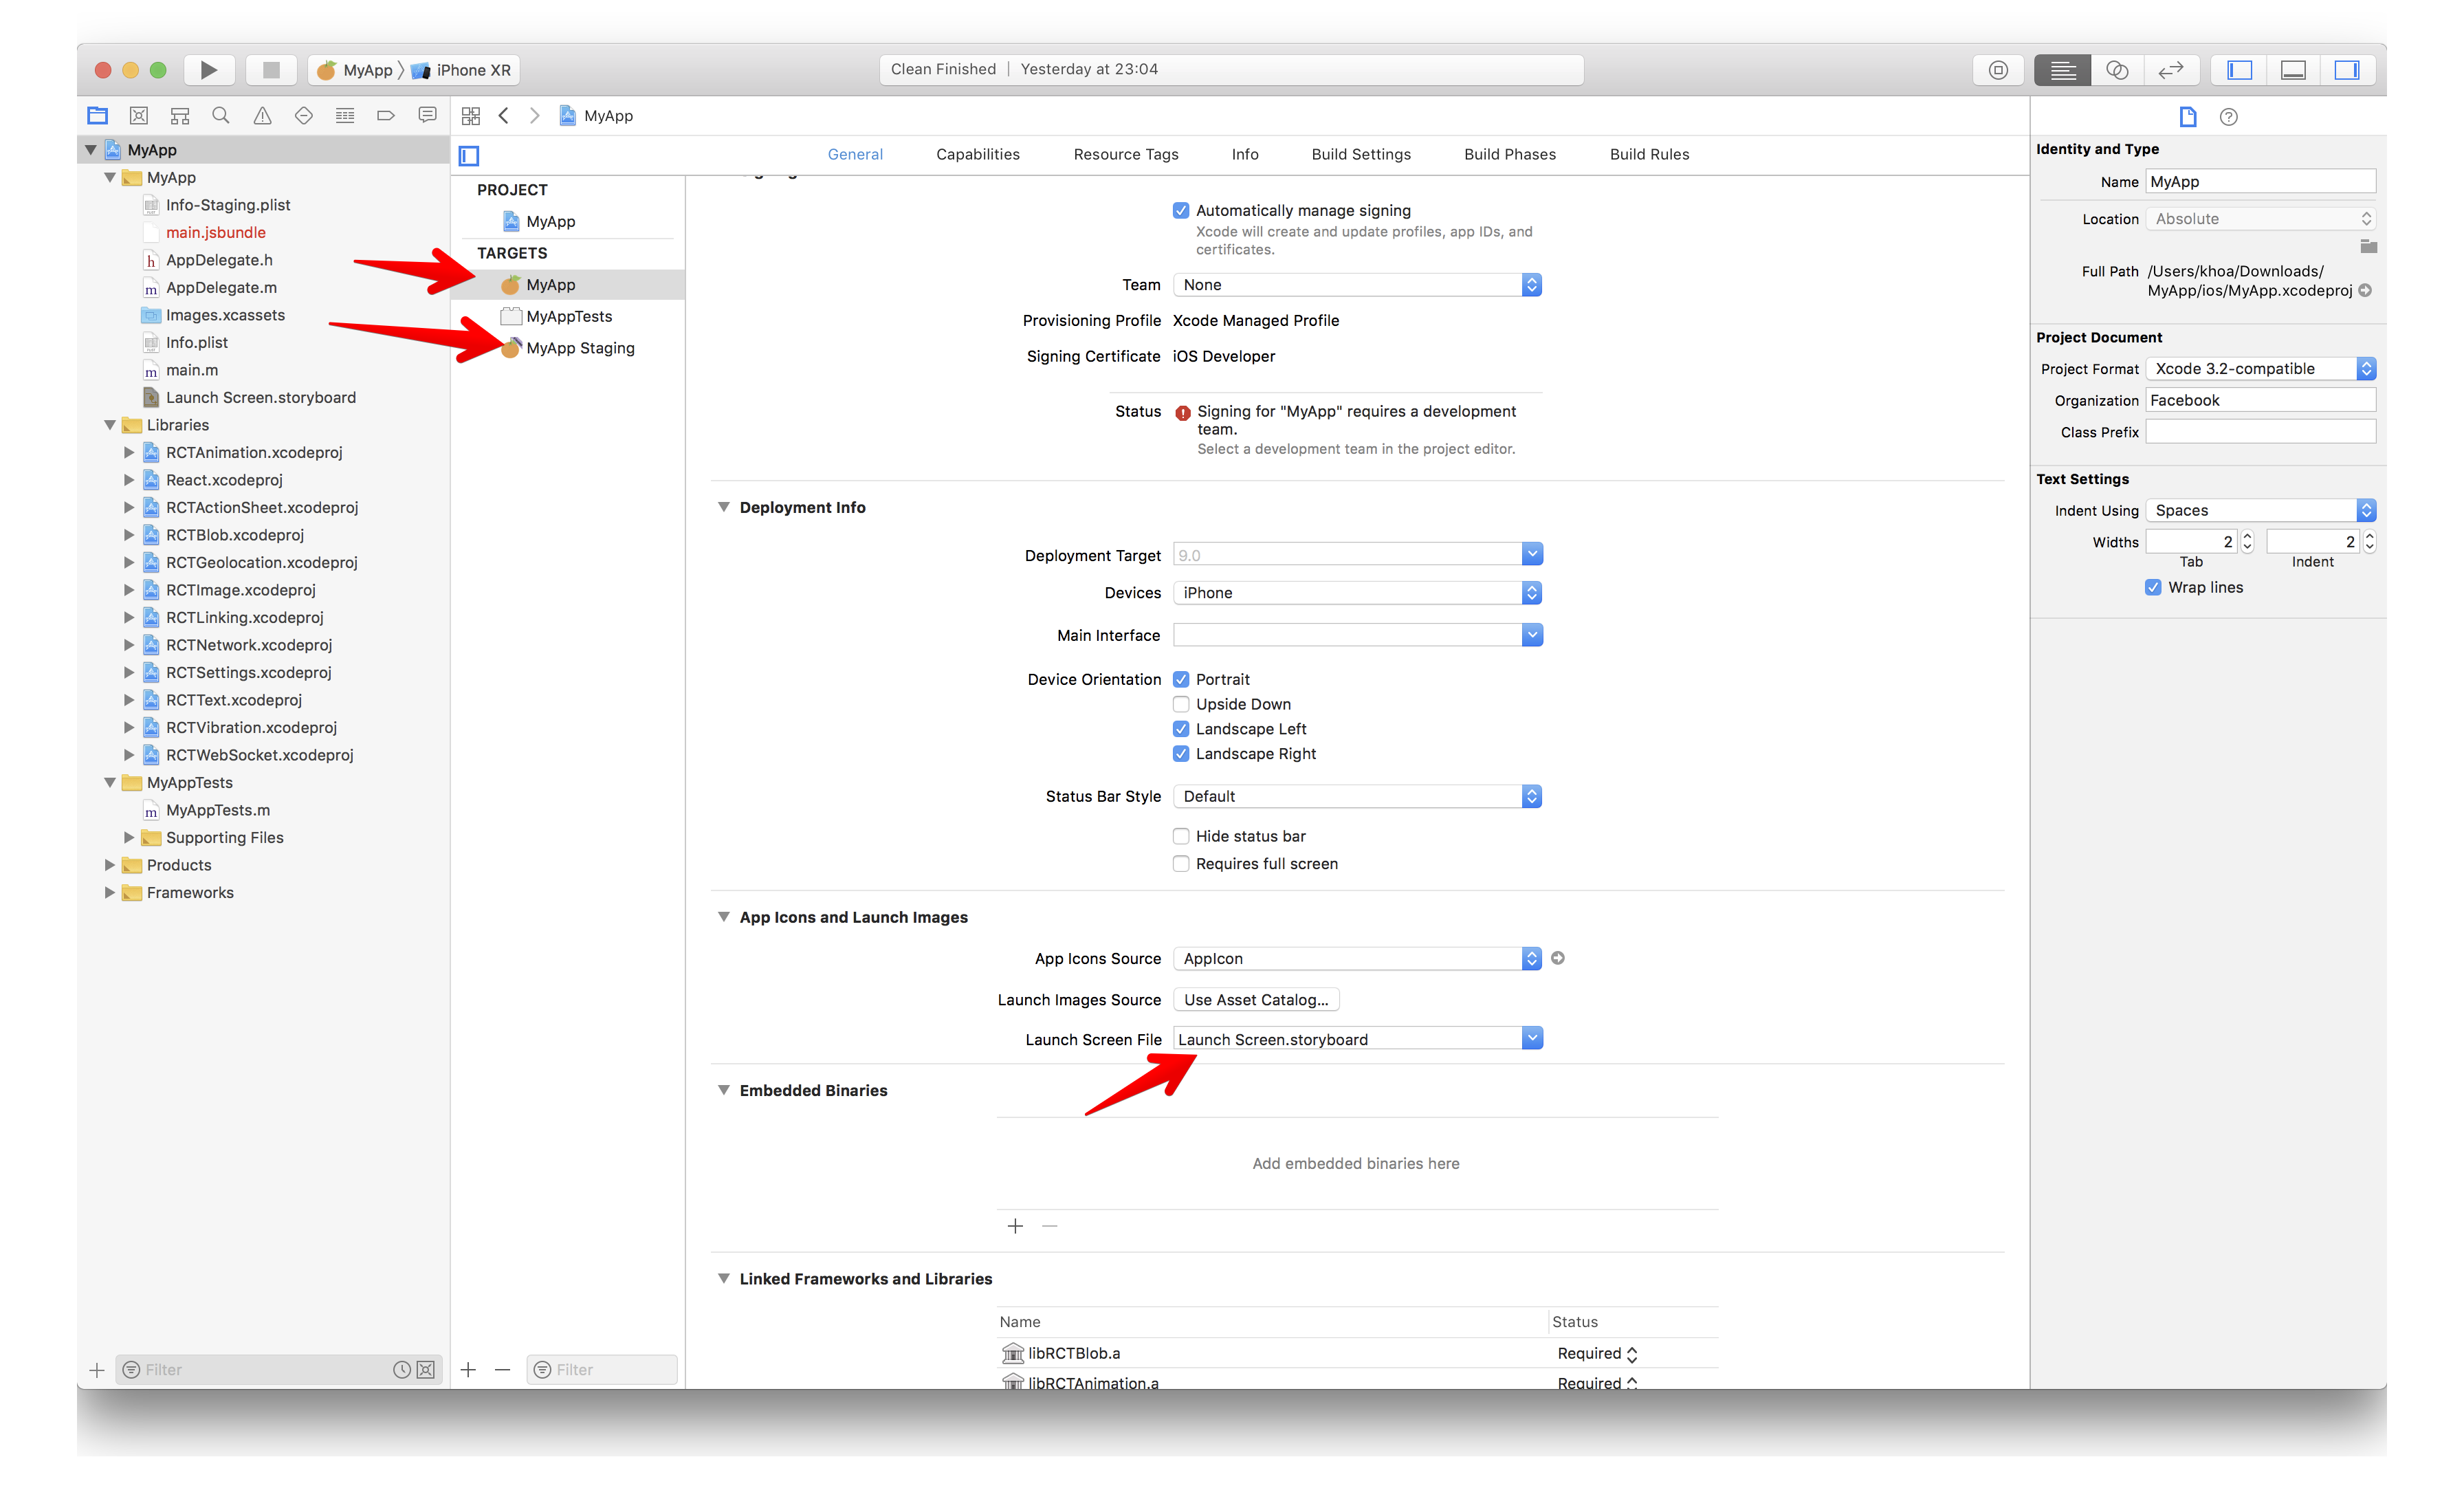
On iOS, the launch screen is often cached, so you probably won’t see the changes. One way to avoid that is to delete the app and run it again.
There are several ways to add splash screen for Android, from using launcher themes, Splash Activity, and a timer. For me, a reasonable splash screen for Android should be a very minimal image.
As there are many Android devices with different ratios and resolutions, if you want to show a full screen splash image, it will probably not scale correctly for each device. This is just about UX.
For the splash screen, let’s use the launcher theme with splash_background.xml .
There is no single splash image that suits all Android devices. A more logical approach is to create multiple splash images for all common resolutions in portrait and landscape. Or we can design a minimal splash image that works. You can find more info here: Device Metric.
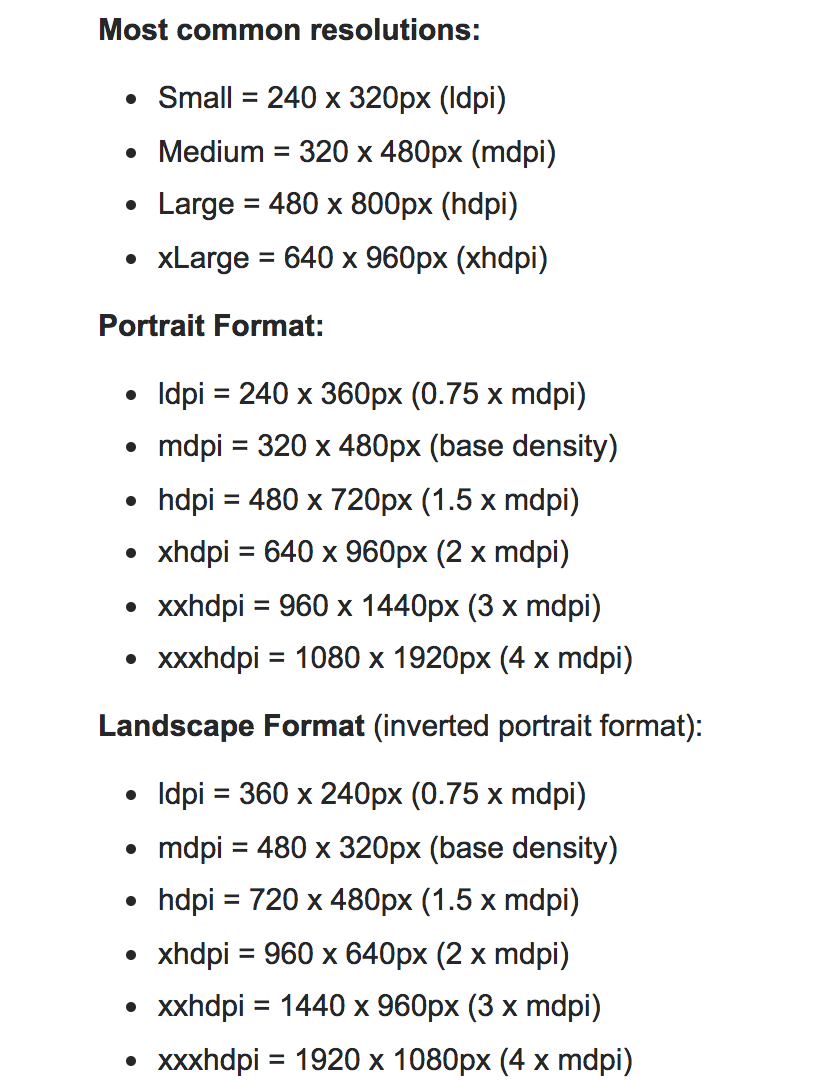
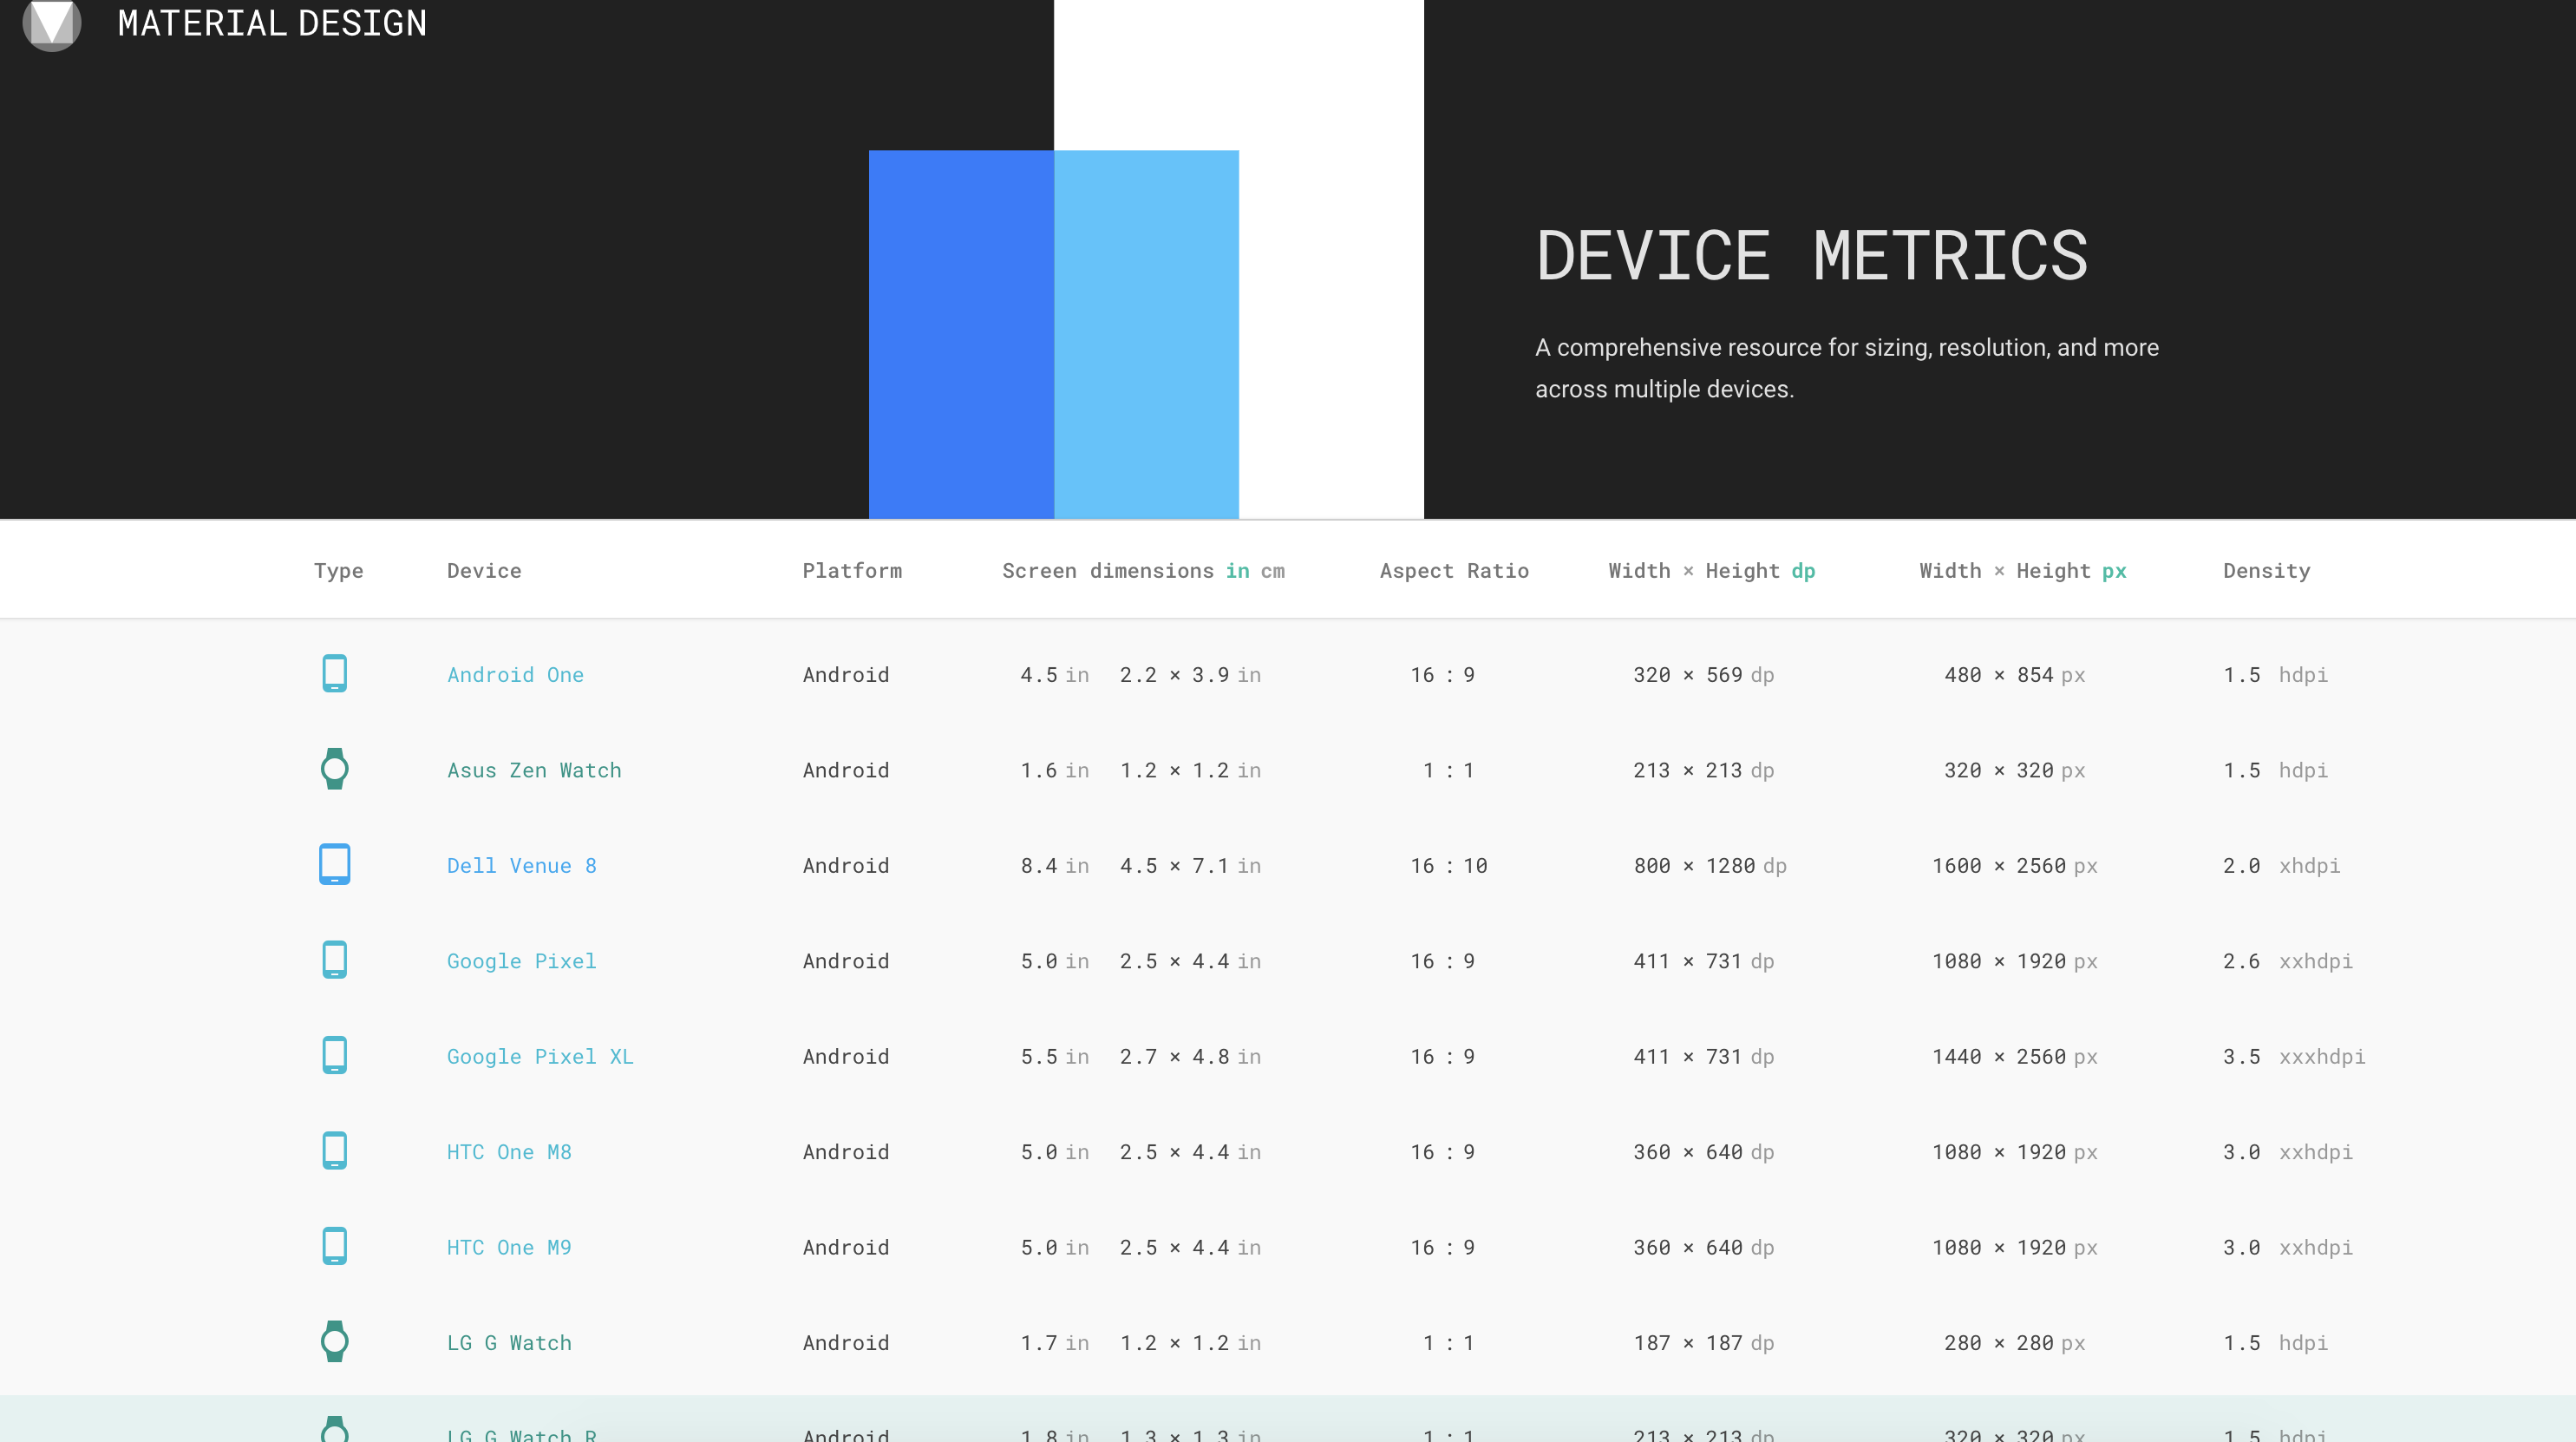
Here is how to add splash screen in 4 easy steps:
We usually need a common splash screen for both staging and production. Drag an image into main/res/drawble . Android Studio seems to have a problem with recognising some jpg images for the splash screen, so it’s best to choose png images.
Right click on drawable -> New -> Drawable resource file . Name it whatever you want — I choose splash_background.xml . Choose the root element as layer-list:
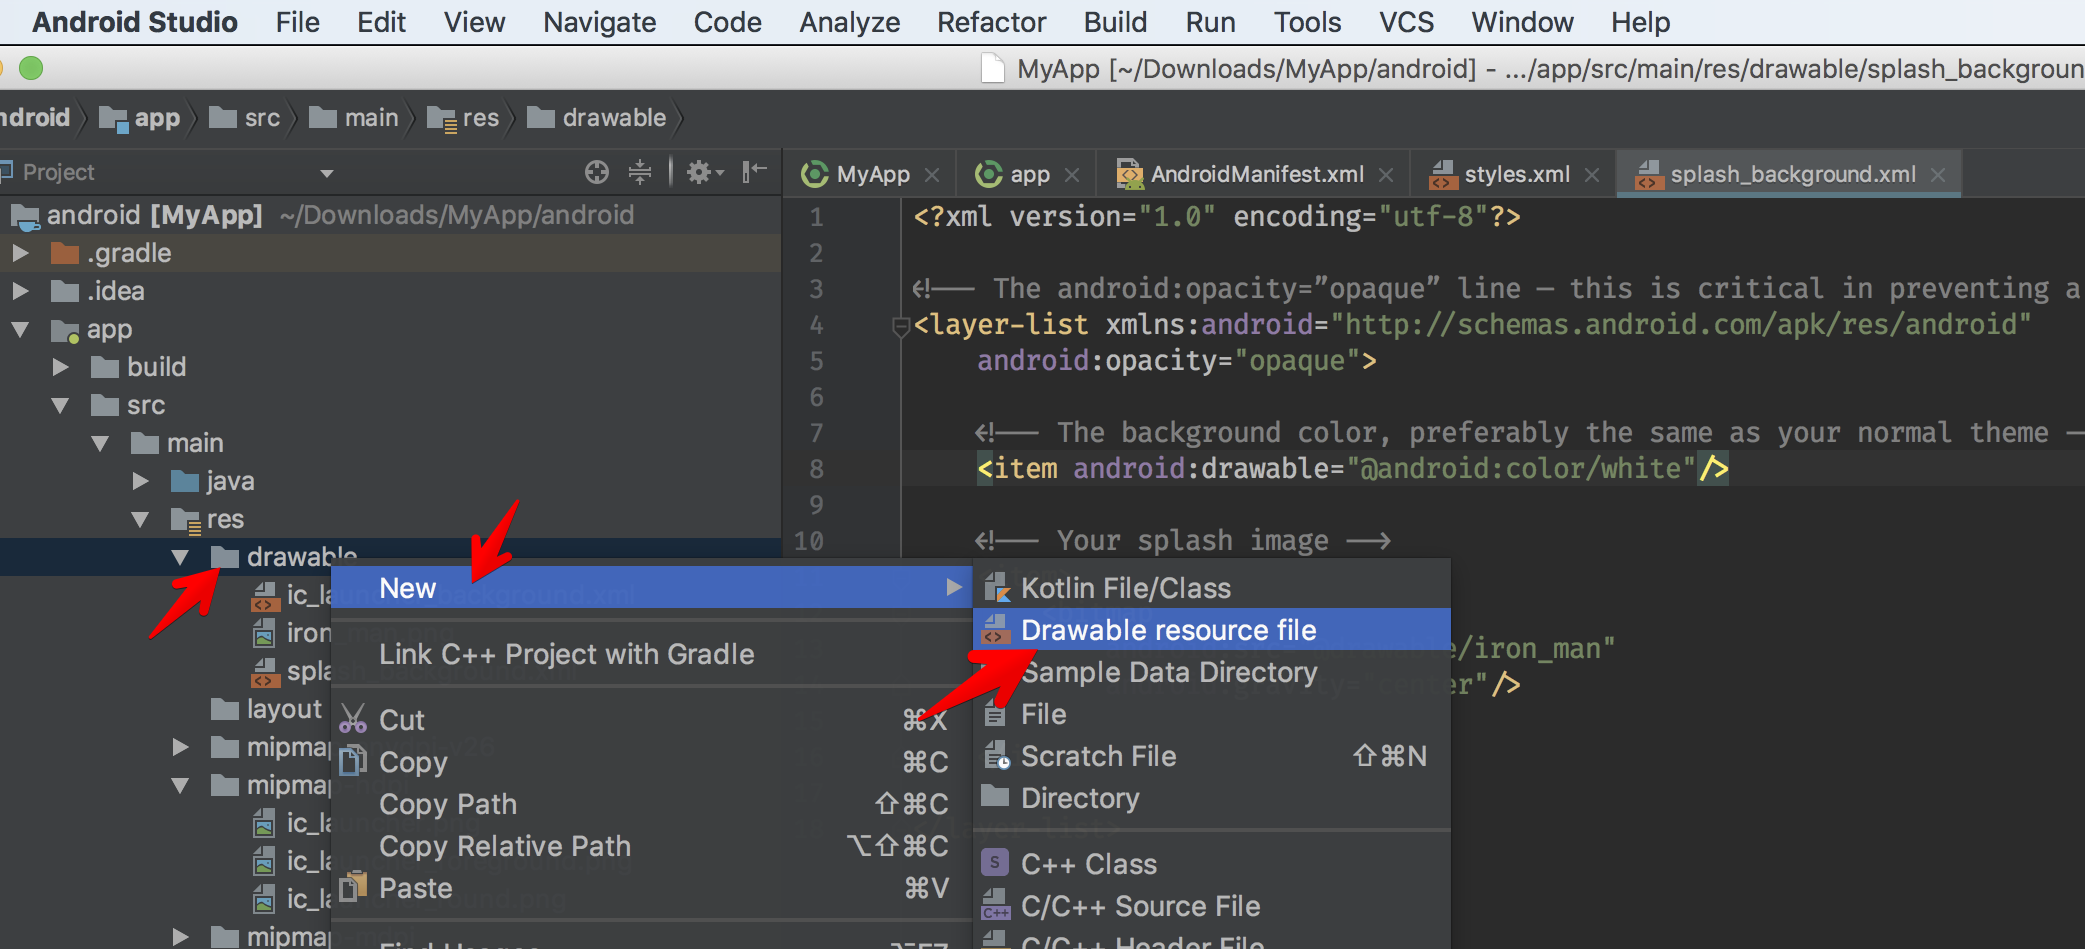
A [Layer List](http://Layer List) means “a Drawable that manages an array of other Drawables. These are drawn in array order, so the element with the largest index is drawn on top”. Here is how splash_background.xml looks like:
<?xml version="1.0" encoding="utf-8"?>

<!-- The android:opacity=”opaque” line — this is critical in preventing a flash of black as your theme transitions. -->
<layer-list xmlns:android="http://schemas.android.com/apk/res/android"
    android:opacity="opaque">

    <!-- The background color, preferably the same as your normal theme -->
    <item android:drawable="@android:color/white"/>

    <!-- Your splash image -->
    <item>
        <bitmap
            android:src="@drawable/iron_man"
            android:gravity="center"/>

    </item>

</layer-list>
Note that we point to our splash image we added earlier with android:src=”@drawable/iron_man”.
Open styles.xml and add SplashTheme:
<style name="SplashTheme" parent="Theme.AppCompat.NoActionBar">
    <item name="android:windowBackground">@drawable/splash_background</item>
</style>Go to Manifest.xml and change the theme of the the launcher activity, which has category android:name=”android.intent.category.LAUNCHER” . Change it to android:theme=”@style/SplashTheme” . For React Native, the launcher activity is usually MainActivity . Here is how Manifest.xml looks:
<manifest xmlns:android="http://schemas.android.com/apk/res/android"
    package="com.myapp">

    <uses-permission android:name="android.permission.INTERNET" />
    <uses-permission android:name="android.permission.SYSTEM_ALERT_WINDOW"/>

    <application
      android:name=".MainApplication"
      android:label="@string/app_name"
      android:icon="@mipmap/ic_launcher"
      android:allowBackup="false"
      android:theme="@style/AppTheme">
      <activity
        android:name=".MainActivity"
        android:label="@string/app_name"
        android:configChanges="keyboard|keyboardHidden|orientation|screenSize"
        android:theme="@style/SplashTheme"
        android:windowSoftInputMode="adjustResize">
        <intent-filter>
            <action android:name="android.intent.action.MAIN" />
            <category android:name="android.intent.category.LAUNCHER" />
        </intent-filter>
      </activity>
      <activity android:name="com.facebook.react.devsupport.DevSettingsActivity" />
    </application>

</manifest>
Run the app now and you should see the splash screen showing when the app starts.
The differences between staging and production are just about app names, application ids, and app icons. We probably use different API keys, and backend URL for staging and production.
Right now the most popular library to handle these scenarios is react-native-config, which is said to “bring some 12 factor love to your mobile apps”. It requires lots of steps to get started, and I hope there is a less verbose solution.
In this post, we touched Xcode and Android Studio more than Visual Studio Code, but this was inevitable. I hope this post was useful to you. Here are some more links to read more about this topic:
Updated at 2021-01-13 09:14:18
Issue #267
Original post https://medium.freecodecamp.org/how-to-convert-your-xcode-plugins-to-xcode-extensions-ac90f32ae0e3
Xcode is an indispensable IDE for iOS and macOS developers. From the early days, the ability to build and install custom plugins had given us a huge boost in productivity. It was not long before Apple introduced Xcode extension due to privacy concerns.
I have built a few Xcode plugins and extensions like XcodeWay, XcodeColorSense, XcodeColorSense2, and Xmas. It was a rewarding experience. I learned a lot, and the productivity I gained was considerable. In this post I walkthrough how I converted my Xcode plugins to extensions, and the experience I had in doing so.
I choose a lazy person to do a hard job. Because a lazy person will find an easy way to do it
I really like the above quote from Bill Gates. I try to avoid repetitive and boring tasks. Whenever I find myself doing the same tasks again, I write scripts and tools to automate that. Doing this takes some time, but I will be a bit lazier in the near future.
Besides the interest in building open source frameworks and tools, I like to extend the IDE I’m using — mostly Xcode.
I first started iOS development in 2014. I wanted a quick way to navigate to many places right from Xcode with the context of the current project. There are many times we want to:
open the current project folder in “Finder” to change some files
open Terminal to run some commands
open the current file in GitHub to quickly give the link to a workmate
or to open other folders like themes, plugins, code snippets, device logs.
Every little bit of time we save each day counts.
I thought it would be cool idea to write an Xcode plugin that we can do all above things right inside Xcode. Instead of waiting for other people to do it, I pulled up my sleeve and wrote my first Xcode plugin — XcodeWay— and shared it as open source.
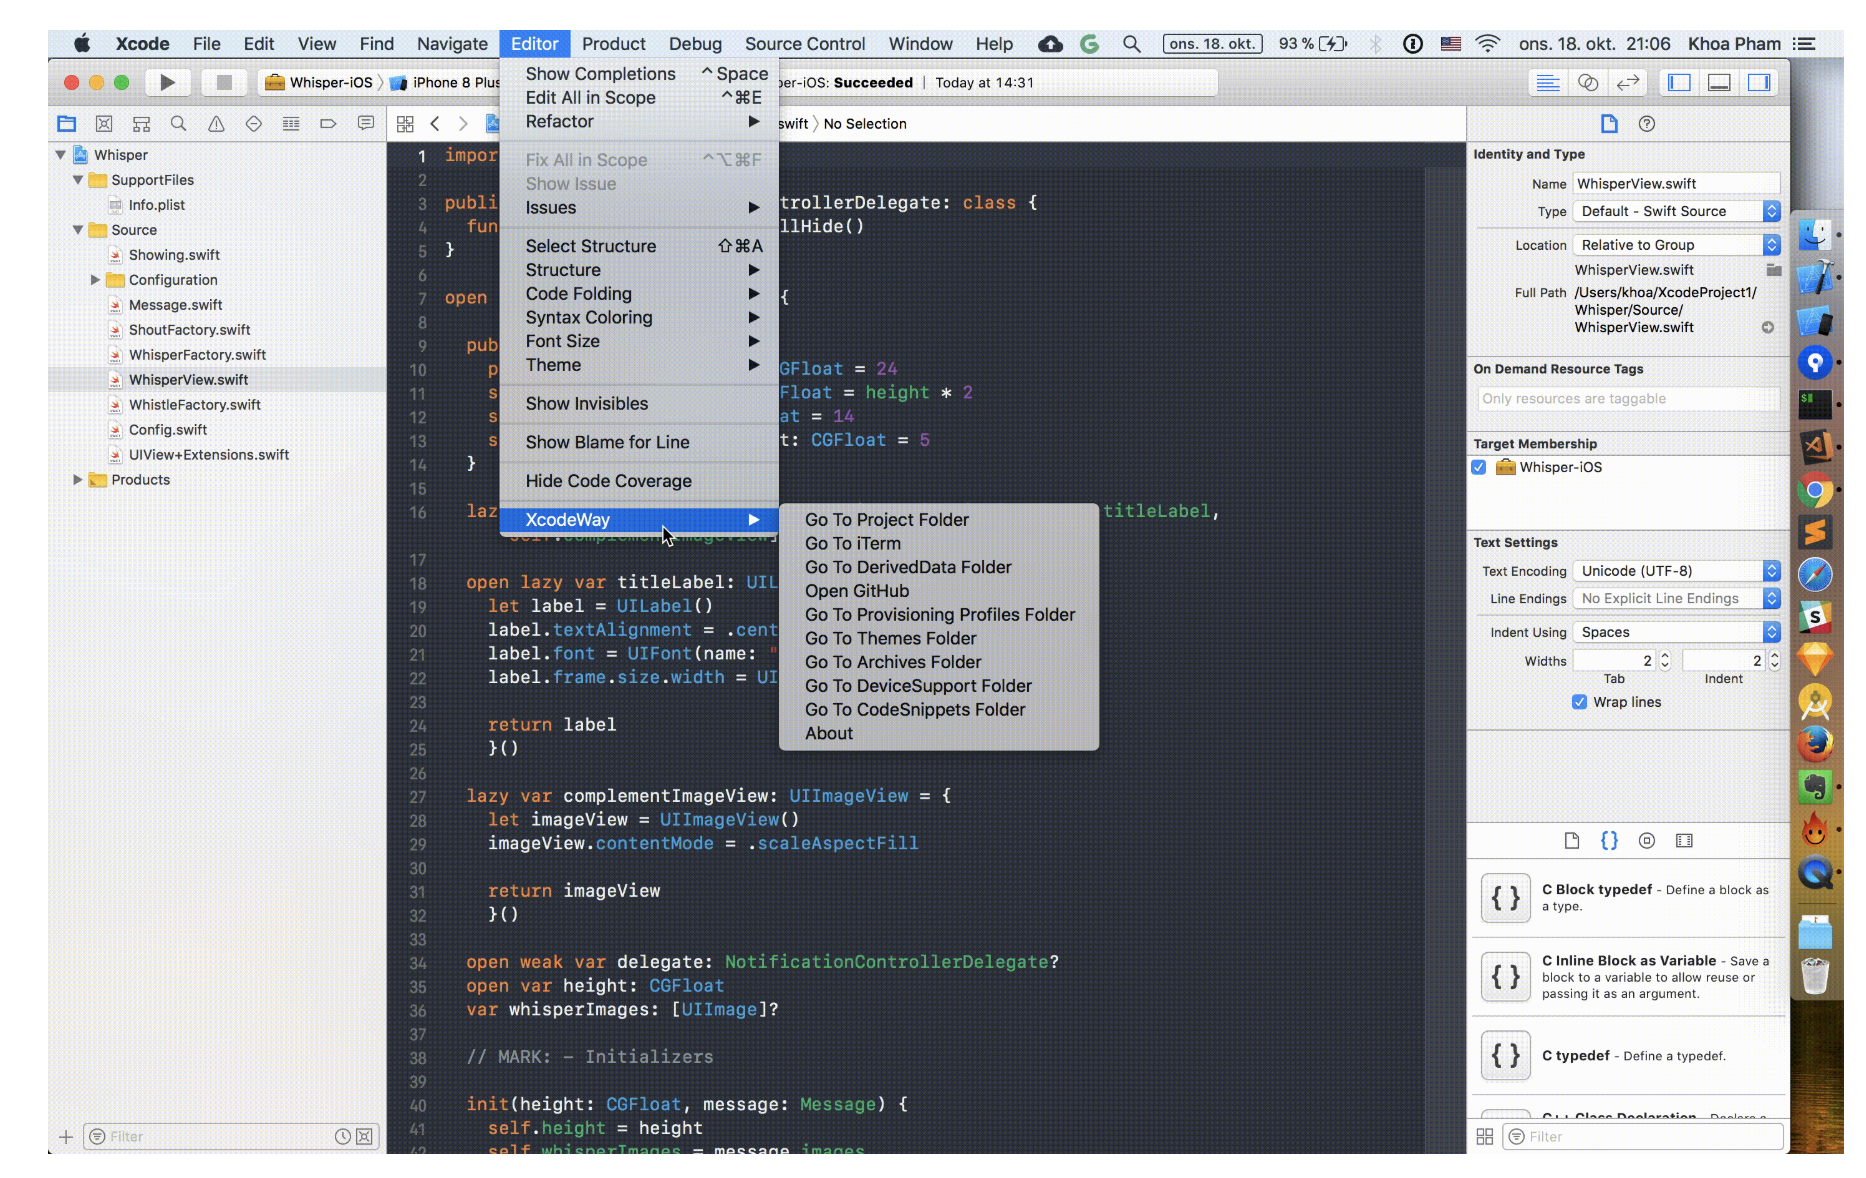 XcodeWay works by creating a menu under Editor with lots of options to navigate to other places right from Xcode. It looks simple but there was some hard work required.
Xcode plugins are not officially supported by Xcode or recommended by Apple. There are no documents about them. The best places we can learn about them are via existing plugins’ source code and a few tutorials.
An Xcode plugin is just a bundle of type xcplugin and is placed at ~/Library/Application Support/Developer/Shared/Xcode/Plug-ins . Xcode, when starting, will load any Xcode plugins present in this folder. Plugins are run in the same process as Xcode, so could do anything as Xcode. A bug in any plugin can cause Xcode to crash.
To make an Xcode plugin, create a macOS Bundle with one class that extends from NSObject , and have an initialiser that accepts NSBundle , for example in Xmas:
class Xmas: NSObject {

  var bundle: NSBundle

  init(bundle: NSBundle) {
    self.bundle = bundle
    super.init()
  }
}
Inside Info.plist, we need to:
declare this class as the main entry class for the plugin, and
that this bundle has no UI, because we create UI controls and add to the Xcode interface during runtime
Another problem with Xcode plugins is that we have to continuously update DVTPluginCompatibilityUUIDs . This changes every time a new version of Xcode comes out. Without updating, Xcode will refuse to load the plugin.
Many developers build Xcode plugins because they miss specific features found in other IDEs like Sublime Text, AppCode, or Atom.
Since Xcode plugins are loaded in the same process as Xcode, they can do everything that Xcode can. The only limit is our imagination. We can leverage Objective C Runtime to discover private frameworks and functions. Then LLDB and Symbolic breakpoint can be used further to inspect running code and alter their behaviors. We can also use swizzling to change implementation of any running code. Writing Xcode plugins is hard — lots of guessing, and sometimes a good knowledge of assembly is required.
In the golden age of plugins, there was a popular plugin manager, which itself was a plugin, called Alcatraz. It could install other plugins, which basically just downloads the xcplugin file and moves this to the Plug Ins folder.
To get a sense of what plugins can do, let’s take a look at some popular plugins.
First in the list is Xvim, which adds Vim keybindings right inside Xcode. It supports mostly all of the keybindings that we used to have in Terminal.
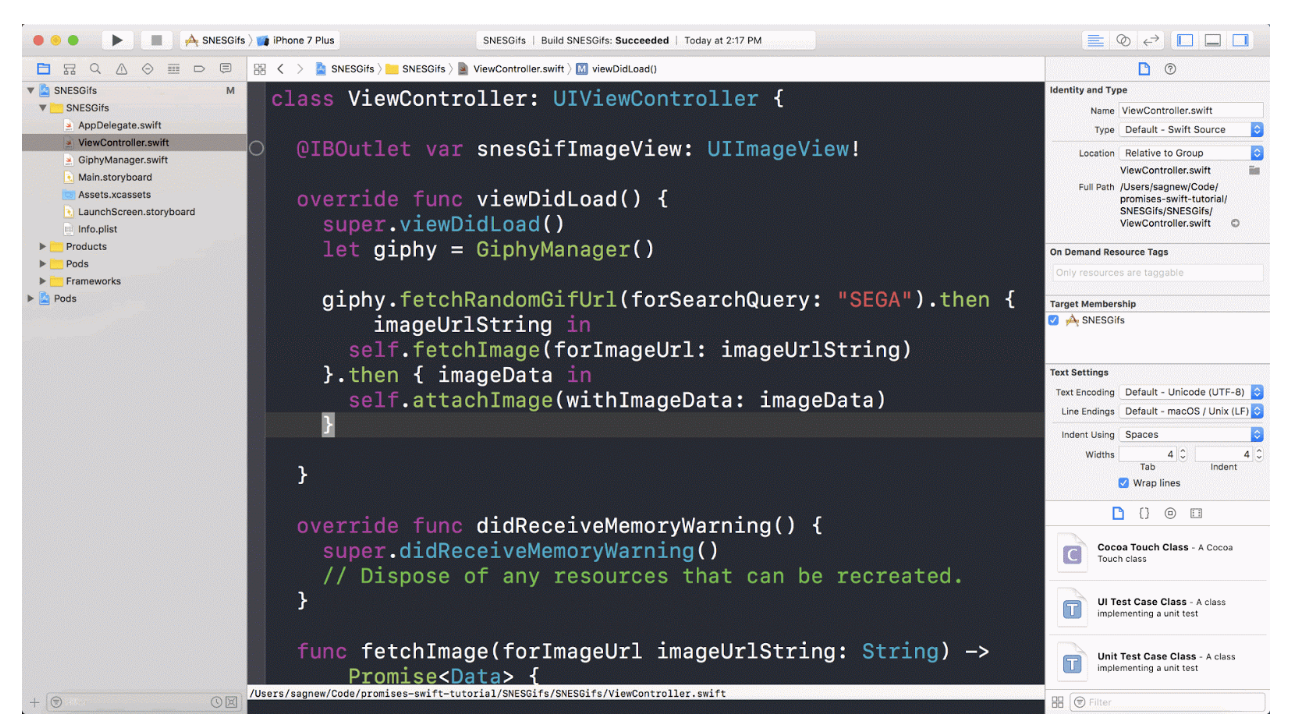
If you miss MiniMap mode in Sublime Text, you can use SCXcodeMiniMap to add a right map panel inside Xcode editor.
Before version 9, Xcode didn’t have proper auto completion — it was just based on prefix. That was where FuzzyAutocompletePlugin shone. It performs fuzzy auto completion based on the hidden IDEOpenQuicklyPattern feature in Xcode.
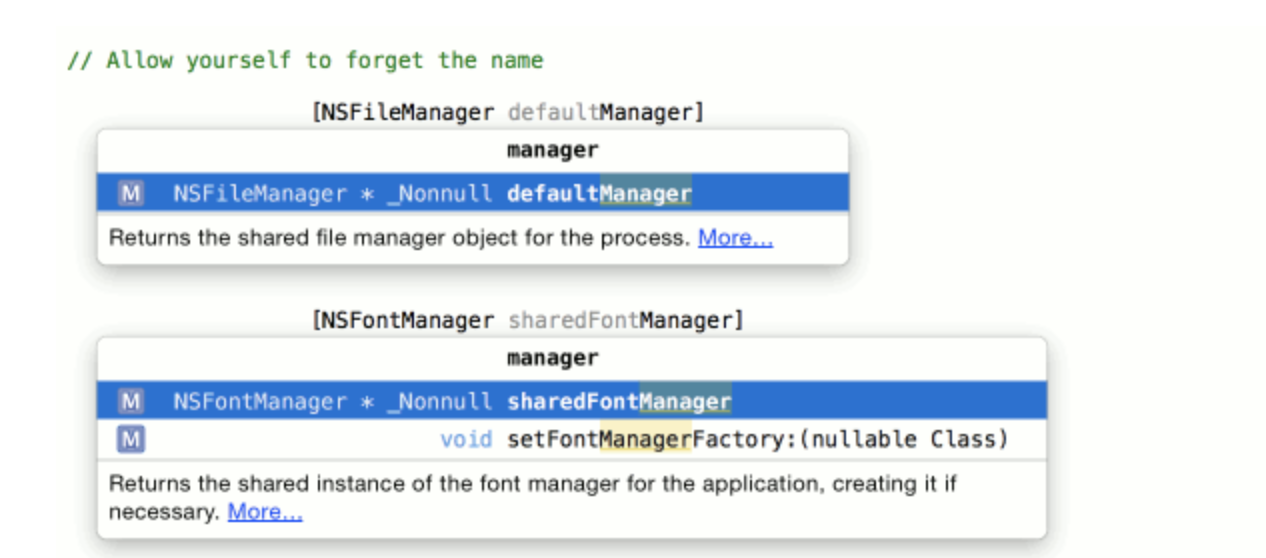
To display a bundle image inside UIImageView, we often use the imageNamed method. But remembering exactly the name of the image file is hard. KSImageNamed-Xcode is here to help. You will get a list of auto-suggested image names when you begin to type.
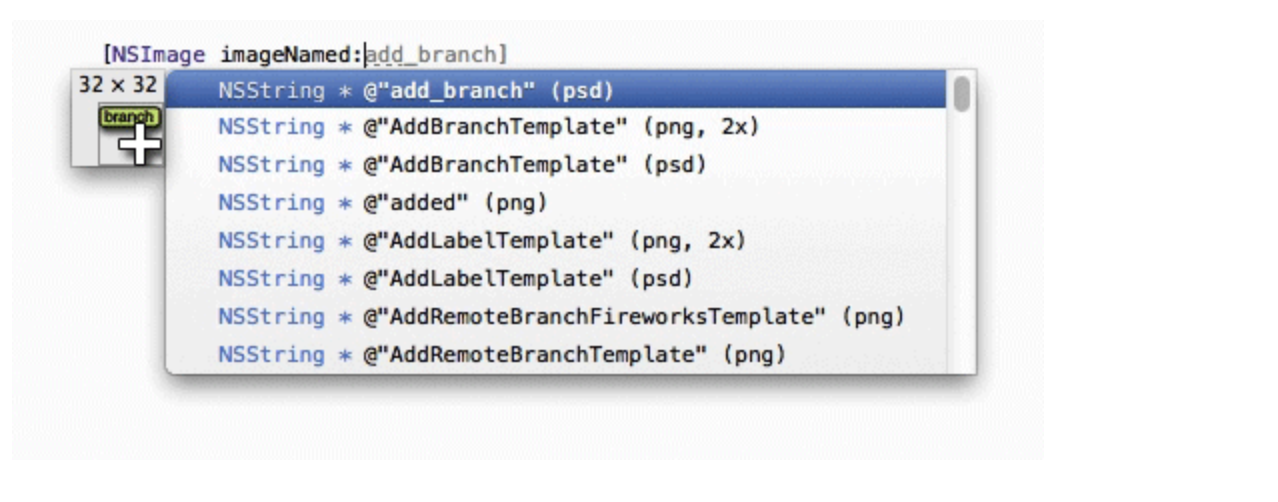
Another itch during development is to work with UIColor , which uses RGBA color space. We don’t get a visual indicator of the color that we specify, and manually performing checking can be time consuming. Luckily there is ColorSense-for-Xcode which shows the color being used and the color picker panel to easily select the right color.
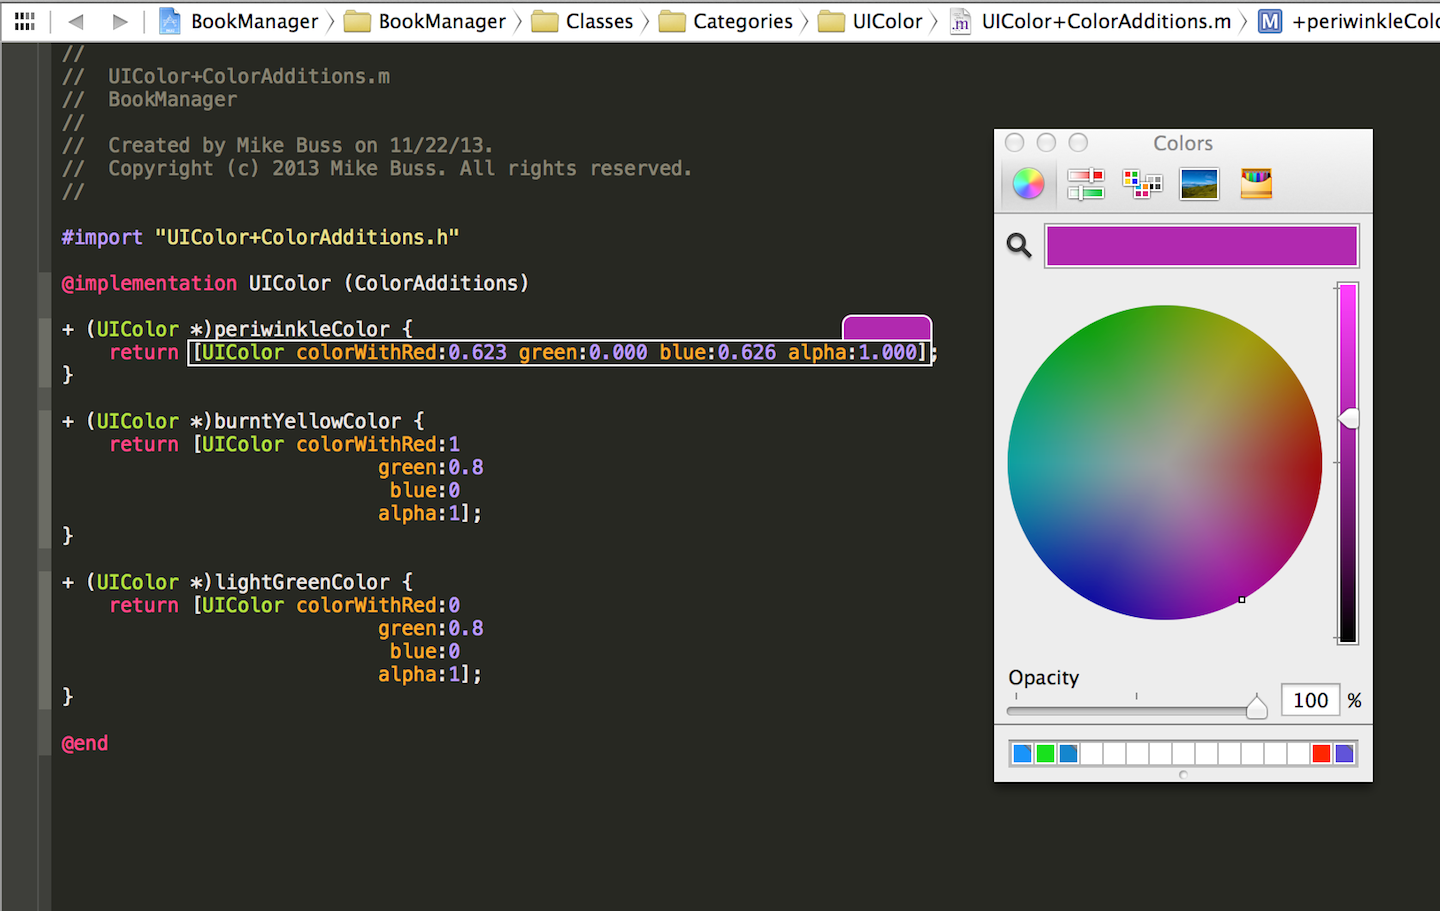
In AppCode, we can jump to a specific line in the file that is logged inside the console. If you miss this feature in Xcode, you can use LinkedConsole. This enables clickable links inside Xcode console so we can jump to that file instantly.
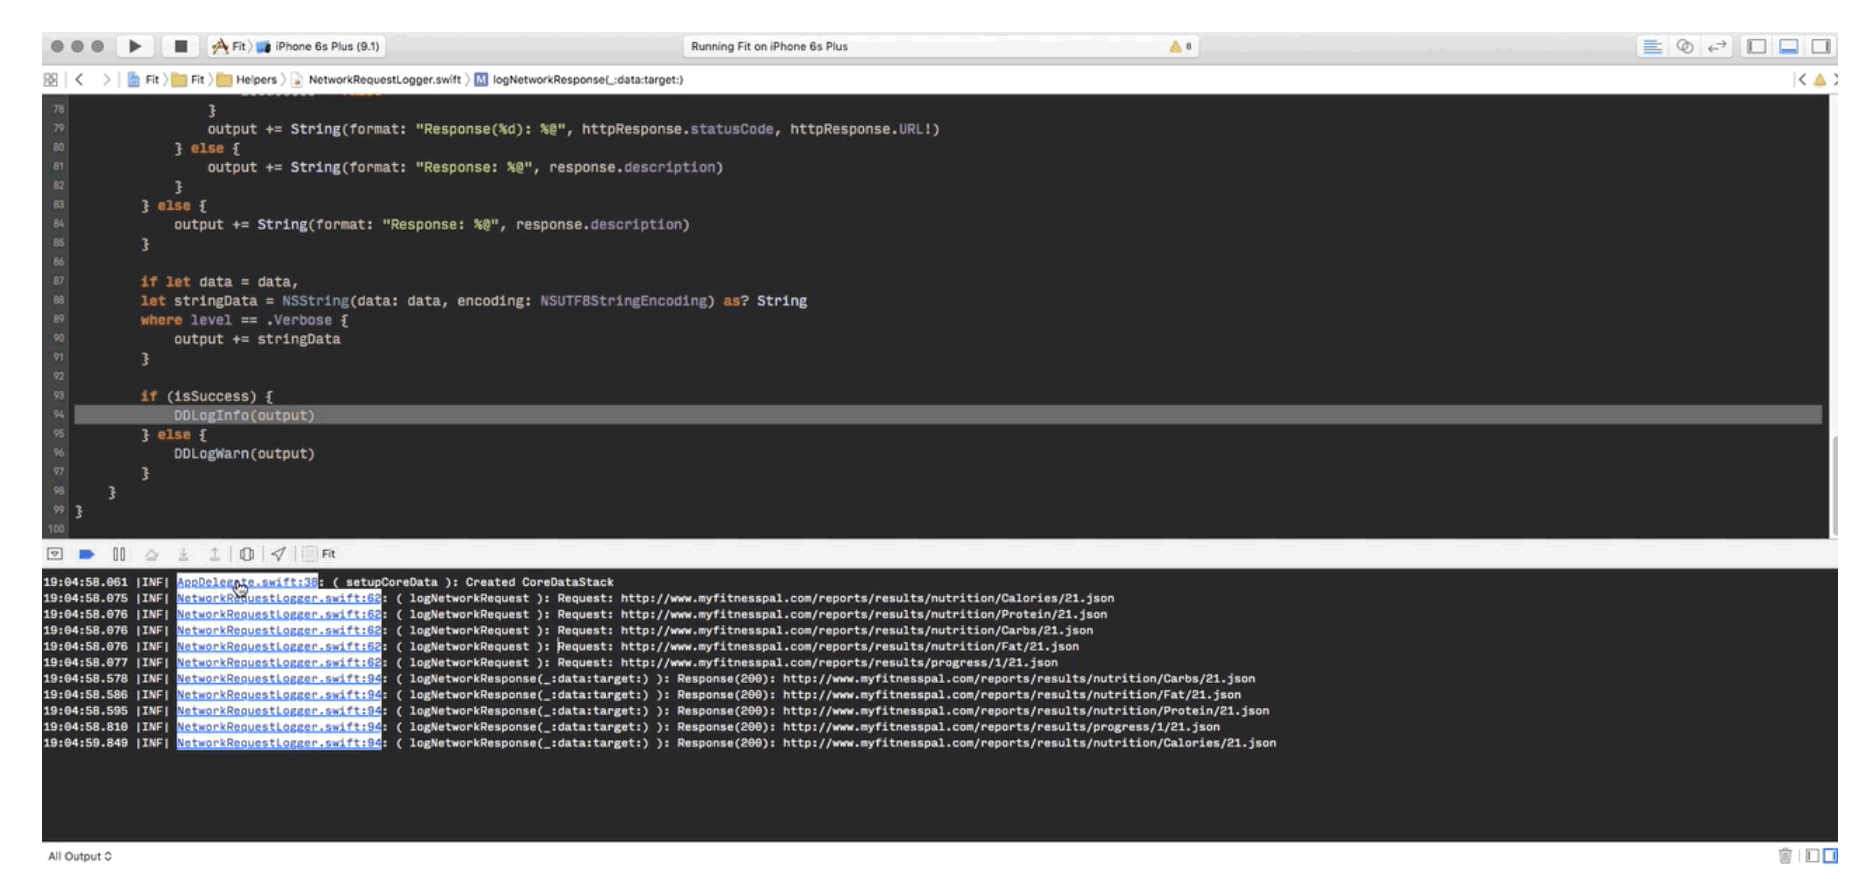
Making an Xcode plugin is not easy. Not only do we need to know macOS programming, but we also need to dive deep into Xcode view hierarchy. We need to explore private frameworks and APIs in order to inject the feature we want.
There are very few tutorials on how to make plugins but, luckily, most plugins are open source so we can understand how they work. Since I have made a few plugins, I can give some technical details about them.
Xcode plugins are done usually with two private frameworks: DVTKit and IDEKit . System frameworks are at /System/Library/PrivateFrameworks but the frameworks that Xcode uses exclusively are under /Applications/Xcode.app/Contents/ , there you can find Frameworks , OtherFrameworks and SharedFrameworks.
There is a tool class-dump that can generate headers from the Xcode app bundle. With the class names and methods, you can call NSClassFromString to get the class from the name.
Christmas has always given me a special feeling, so I decided to make Xmas, which shows a random Christmas picture instead of the default alert view. The class used to render that view is DVTBezelAlertPanel inside the DVTKit framework. My article on building that plugin is here.
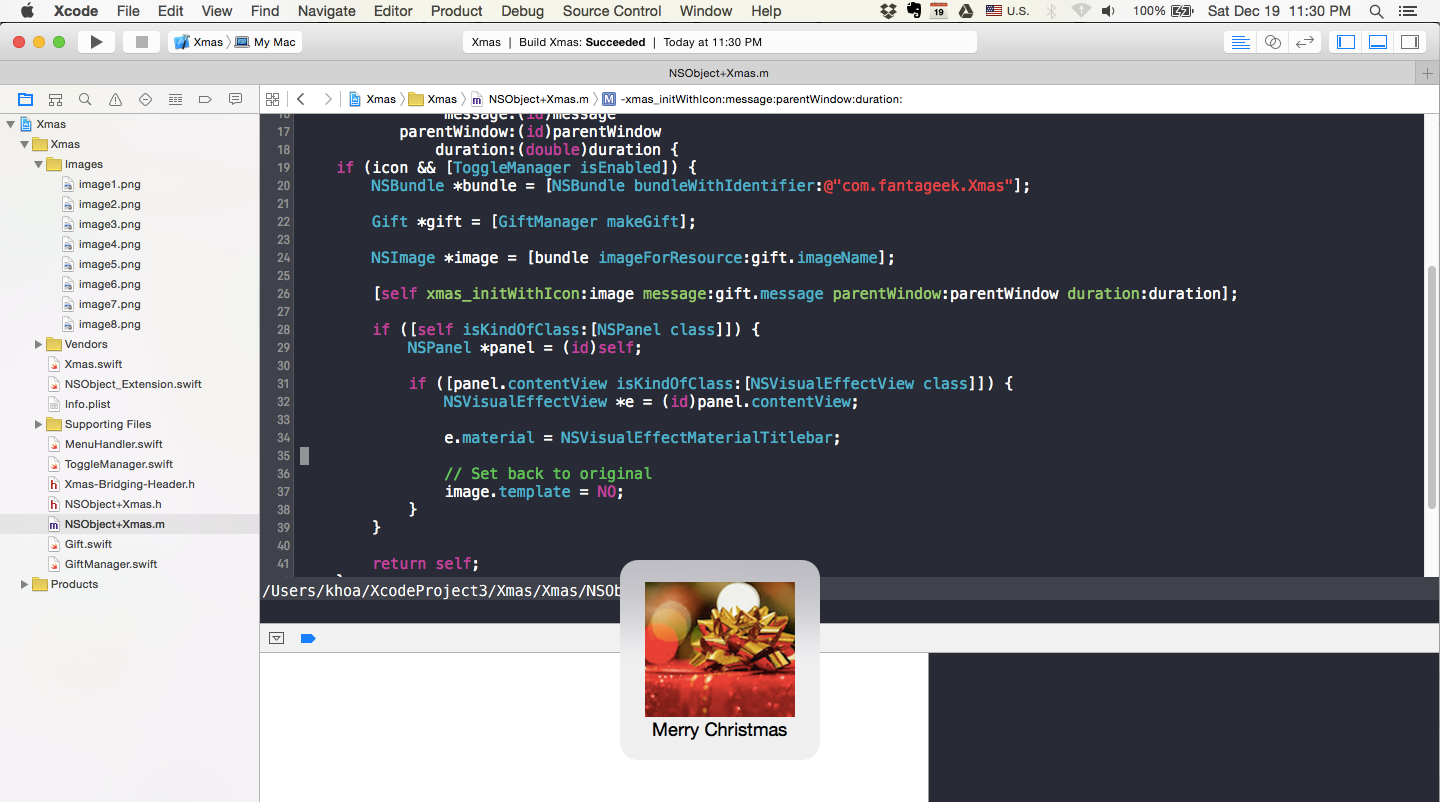
With Objective C Runtime, there is a technique called swizzling, which can change and switch implementation and method signature of any running classes and methods.
Here, in order to change the content of that alert view, we need to swap the initialiser initWithIcon:message:parentWindow:duration: with our own method. We do that early by listening to NSApplicationDidFinishLaunchingNotification which is notified when a macOS plugin, in this case Xcode, launches.
class func swizzleMethods() {
    guard let originalClass = NSClassFromString("DVTBezelAlertPanel") as? NSObject.Type else {
        return
    }

do {
        try originalClass.jr_swizzleMethod("initWithIcon:message:parentWindow:duration:",
            withMethod: "xmas_initWithIcon:message:parentWindow:duration:")
    }
    catch {
        Swift.print("Swizzling failed")
    }
}
I initially liked to do everything in Swift. But it’s tricky to use the swizzle init method in Swift, so the quickest way is to do that in Objective C. Then we simply traverse the view hierarchy to find the NSVisualEffectView inside NSPanel to update the image.
I work mostly with hex colors and I want a quick way to see the color. So I built XcodeColorSense — it supports hex color, RGBA, and named color.
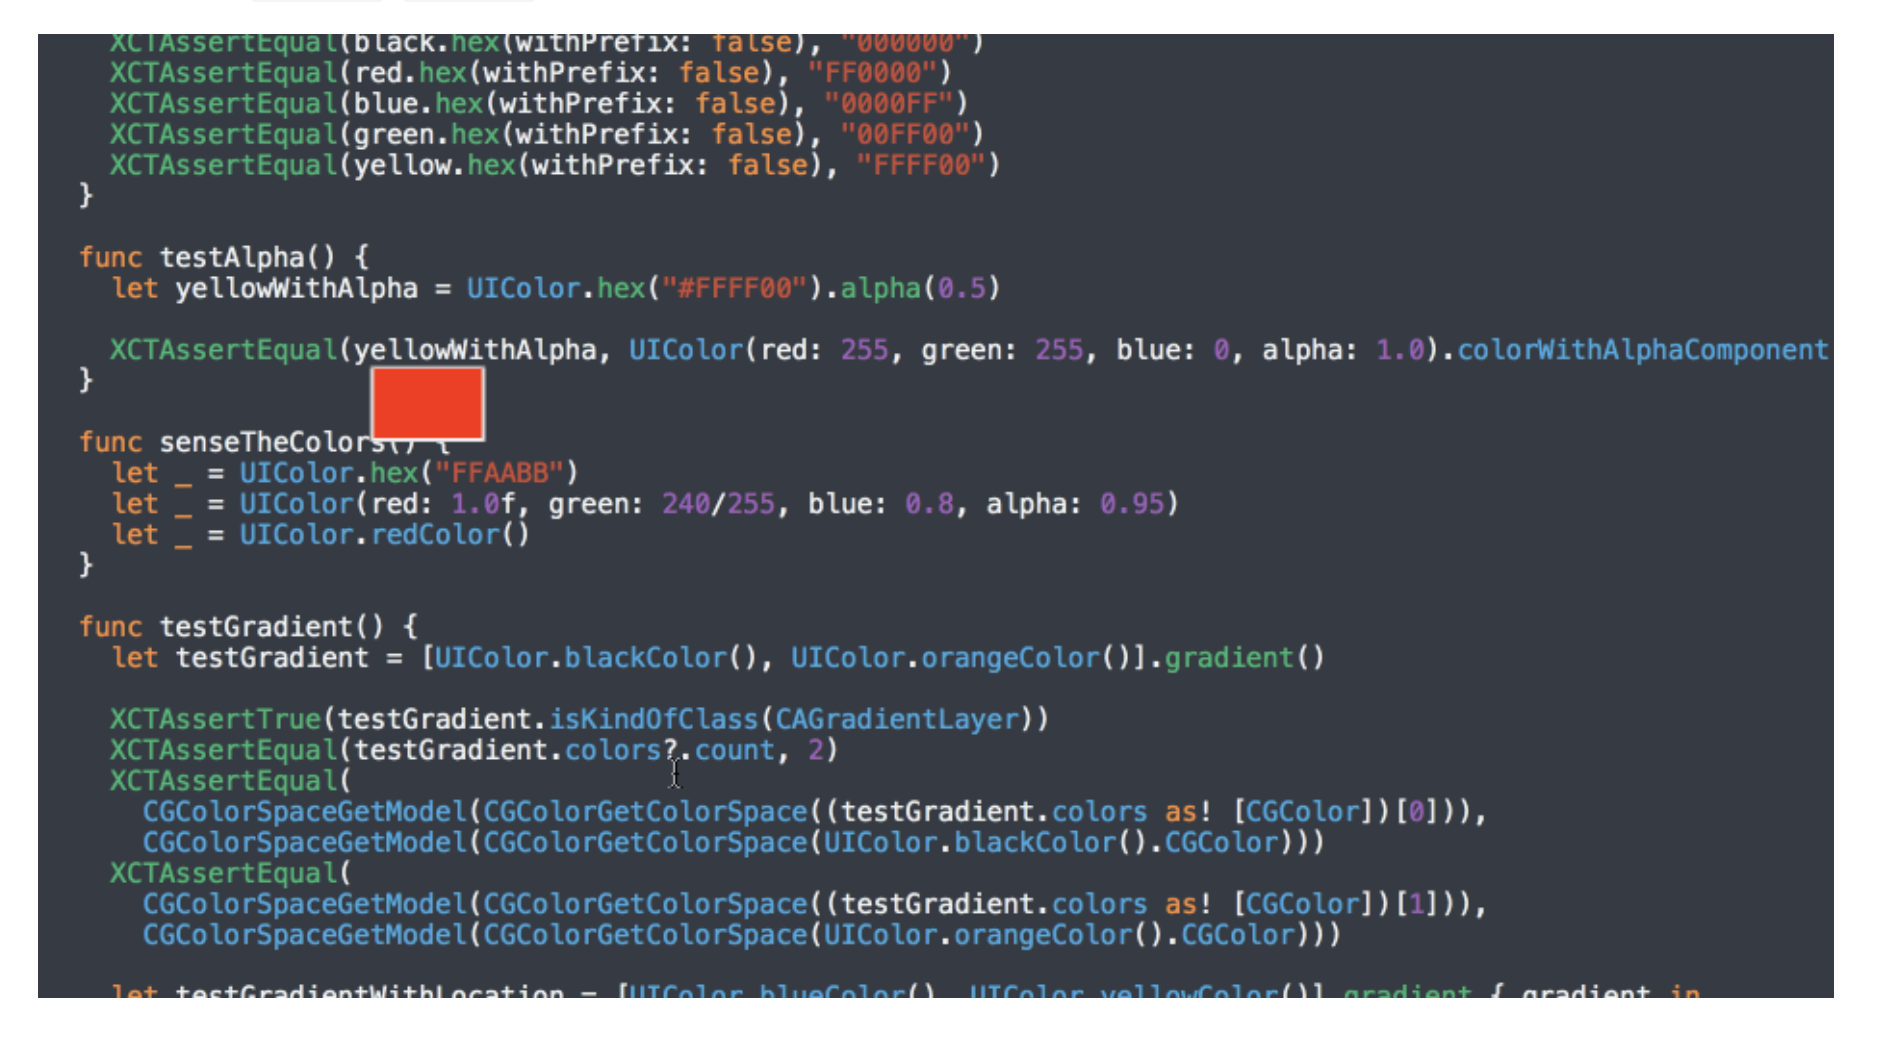
The idea is simple. Parse the string to see if the user is typing something related to UIColor, and show a small overlay view with that color as background. The text view that Xcode uses is of type DVTSourceTextView in DVTKit framework. We also need to listen to NSTextViewDidChangeSelectionNotification which is triggered whenever any NSTextView content is changed.
func listenNotification() {
  NSNotificationCenter.defaultCenter().addObserver(self, selector: #selector(handleSelectionChange(_:)), name: NSTextViewDidChangeSelectionNotification, object: nil)
}

func handleSelectionChange(note: NSNotification) {
  guard let DVTSourceTextView = NSClassFromString("DVTSourceTextView") as? NSObject.Type,
    object = note.object where object.isKindOfClass(DVTSourceTextView.self),
    let textView = object as? NSTextView
  else { return }

self.textView = textView
}
I had a Matcher architecture so we can detect different kinds of UIColor constructions — for example HexMatcher .
public struct HexMatcher: Matcher {

func check(line: String, selectedText: String) -> (color: NSColor, range: NSRange)? {
    let pattern1 = "\"#?[A-Fa-f0-9]{6}\""
    let pattern2 = "0x[A-Fa-f0-9]{6}"

let ranges = [pattern1, pattern2].flatMap {
      return Regex.check(line, pattern: $0)
    }

guard let range = ranges.first
      else { return nil }

let text = (line as NSString).substringWithRange(range).replace("0x", with: "").replace("\"", with: "")
    let color = NSColor.hex(text)

return (color: color, range: range)
  }
}
To render the overlay, we use NSColorWell which is good for showing a view with background. The position is determined by calling firstRectForCharacterRange and some point conversions with convertRectFromScreen and convertRect .
Finally, my beloved XcodeWay.
I found myself needing to go to different places from Xcode with the context of the current project. So I built XcodeWay as a plugin that adds lots of handy menu options under Window.
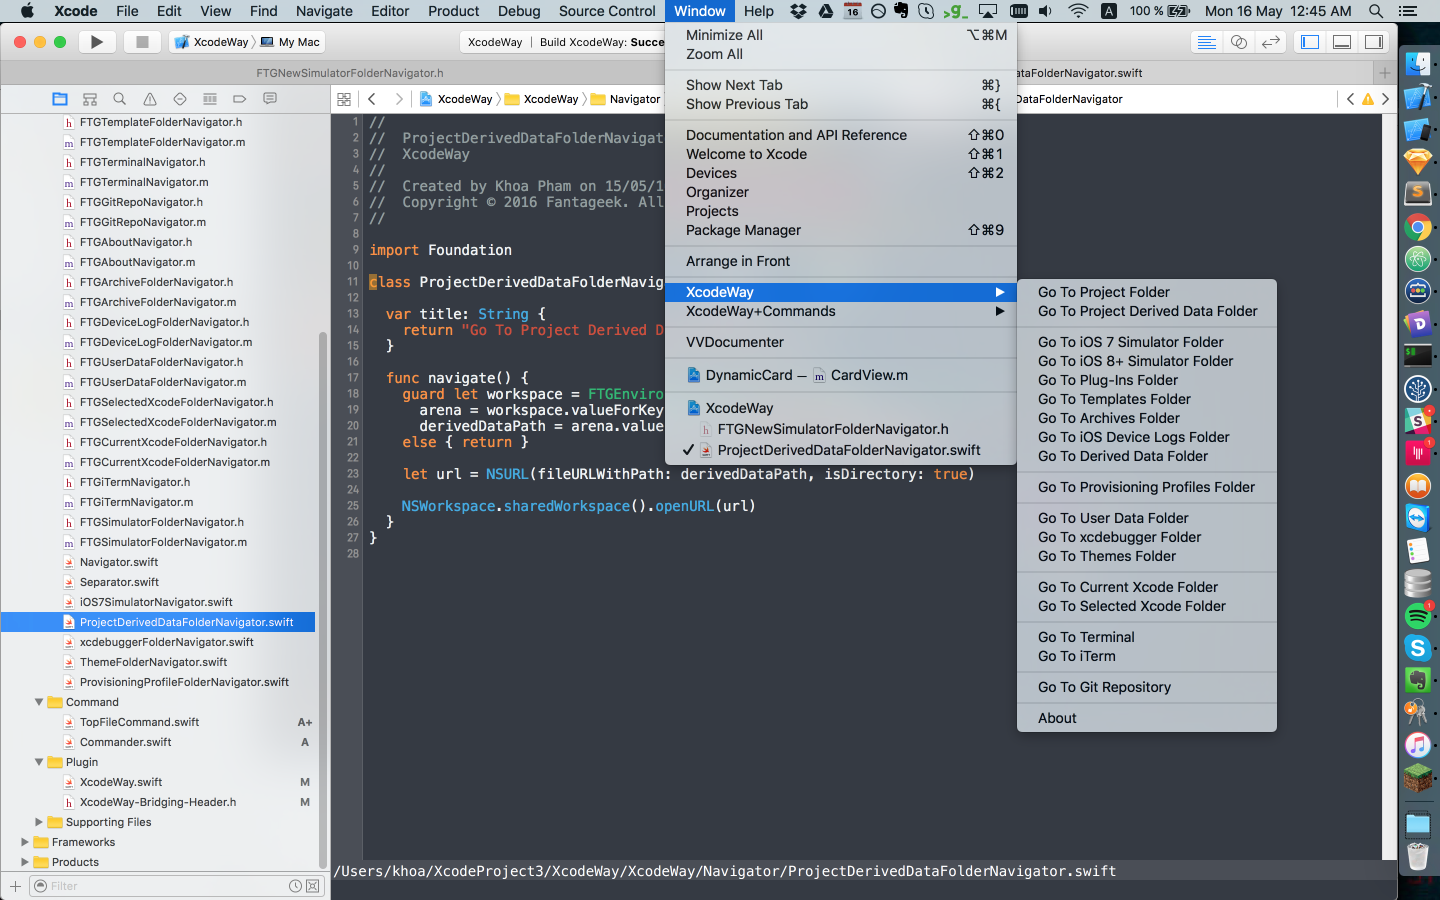
Since the plugin runs in the same Xcode process, it has access to the main menu NSApp.mainMenu?.itemWithTitle(“Window”) . There we can alter the menu. XcodeWay is designed to easily extend functionalities through its Navigator protocol.
[@objc](http://twitter.com/objc) protocol Navigator: NSObjectProtocol {
  func navigate()
  var title: String { get }
}
For folders with a static path like Provisioning Profile ~/Library/MobileDevice/Provisioning Profiles or User data Developer/Xcode/UserData , we can just construct the URL and call NSWorkspace.sharedWorkspace().openURL . For dynamic folders that vary depending on the current project, more work needs to be done.
How do we open the folder for the current project in Finder? The information for the current project path is kept inside IDEWorkspaceWindowController . This is a class that manages workspace windows in Xcode. Take a look at EnvironmentManager where we use objc_getClass to get the class definition from a string.
self.IDEWorkspaceWindowControllerClass = objc_getClass("IDEWorkspaceWindowController");

NSArray *workspaceWindowControllers = [self.IDEWorkspaceWindowControllerClass valueForKey:@"workspaceWindowControllers"];

id workSpace = nil;

for (id controller in workspaceWindowControllers) {
  if ([[controller valueForKey:@"window"] isEqual:[NSApp keyWindow]]) {
    workSpace = [controller valueForKey:@"_workspace"];
  }
}

NSString * path = [[workSpace valueForKey:@"representingFilePath"] valueForKey:@"_pathString"];
Finally, we can utilise valueForKey to get the value for any property that we think exists. This way not only do we get the project path, we also get the path to the opening file. So we can call activateFileViewerSelectingURLs on NSWorkspace to open Finder with that file selected. This is handy as users don’t need to look for that file in Finder.
Many times we want to execute some Terminal commands on the current project folder. To achieve that, we can use NSTask with launch pad /usr/bin/open and arguments [@”-a”, @”Terminal”, projectFolderPath] . iTerm, if configured probably, will open this in a new tab.
The documents for iOS 7 apps are placed in the fixed location iPhone Simulator inside Application Support. But, from iOS 8, every app has a unique UUID and their document folders are hard to predict.
~/Library/Developer/CoreSimulator/Devices/1A2FF360-B0A6-8127-95F3-68A6AB0BCC78/data/Container/Data/Application/We can build a map and perform tracking to find the generated ID for the current project, or to check the plist inside each folder to compare the bundle identifier.
The quick solution that I came up with was to search for the most recent updated folder. Every time we build the project, or make changes inside the app, their document folder is updated. That is where we can make use of NSFileModificationDate to find the folder for the current project.
There are many hacks when working with Xcode plugins, but the results are rewarding. Every few minutes we save each day end up saving a lot of time overall.
With great power comes great responsibility. The fact that plugins can do whatever they want rings an alert to security. In late 2015, there was a malware attack by distributing a modified version of Xcode, called XcodeGhost, which injects malicious code into any apps built with Xcode Ghost. The malware is believed to use the plugin mechanism among other things.
Like the iOS apps we download from the Appstore, macOS apps like Xcode are signed by Apple when we download them from the Mac Appstore or through official Apple download links.
Code signing your app assures users that it is from a known source and the app hasn’t been modified since it was last signed. Before your app can integrate app services, be installed on a device, or be submitted to the App Store, it must be signed with a certificate issued by Apple
To avoid potential malware like this, at WWDC 2016 Apple announced the Xcode Source Editor Extension as the only way to load third party extensions into Xcode. This means that, from Xcode 8, plugins can’t be loaded.
Extension is the recommended approach to safely add functionalities in restricted ways.
App extensions give users access to your app’s functionality and content throughout iOS and macOS. For example, your app can now appear as a widget on the Today screen, add new buttons in the Action sheet, offer photo filters within the Photos app, or display a new system-wide custom keyboard.
For now, the only extension to Xcode is Source Editor, which allows us to read and modify contents of a source file, as well as read and modify the current text selection within the editor.
Extension is a new target and runs in a different process than Xcode. This is good in that it can’t alter Xcode in any ways other than conforming to XCSourceEditorCommand to modify the current document content.
protocol XCSourceEditorCommand {

  func perform(with invocation: [XCSourceEditorCommandInvocation](https://developer.apple.com/documentation/xcodekit/xcsourceeditorcommandinvocation),
completionHandler: @escaping ([Error](https://developer.apple.com/documentation/swift/error)?) -> [Void](https://developer.apple.com/documentation/swift/void))
}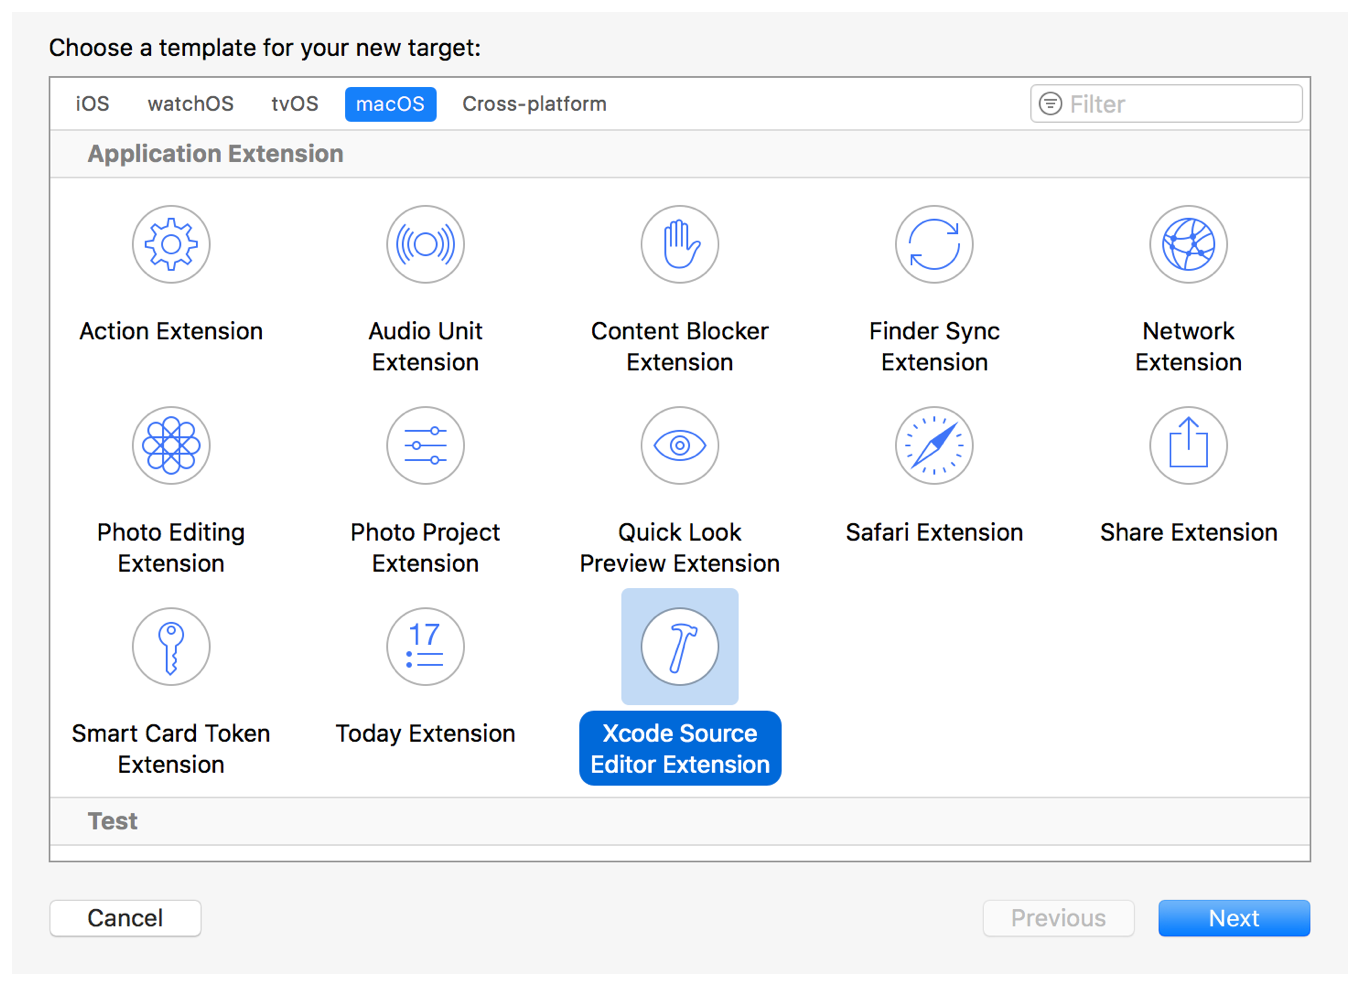
Xcode 8 has lots of improvements like the new code completion features, Swift image and color literals, and snippets. This led to the deprecation of many Xcode plugins. For some indispensable plugins like XVim, this is unbearable for some people. Some old plugin features can’t be achieved with the current Source Editor Extension system.
A workaround to bypass the restriction from Xcode 8 for plugins, is to replace the existing Xcode signature by a technique called resign. Resigning is very easy — we just need to create a self-signed certificate and call the codesign command. After this, Xcode should be able to load plugins.

codesign -f -s MySelfSignedCertificate /Applications/Xcode.appIt is, however, not possible to submit apps built with resigned Xcode as the signature does not match the official version of Xcode. One way is to use two Xcodes: one official for distribution and one resigned for development.
Xcode extension is the way to go, so I started moving my plugins to extension. For Xmas, since it modifies view hierarchy, it can’t become an extension.
For the color sense, I rewrote the extension from scratch, and called it XcodeColorSense2. This, of course, can’t show an overlay over the current editor view. So I chose to utilize the new Color literal found in Xcode 8+.

The color is shown in a small box. It may be hard to distinguish similar colors, so that’s why I also include the name. The code is simply about inspecting selections and parsing to find the color declaration.
func perform(with invocation: XCSourceEditorCommandInvocation, completionHandler: [@escaping](http://twitter.com/escaping) (Error?) -> Void ) -> Void {
    guard let selection = invocation.buffer.selections.firstObject as? XCSourceTextRange else {
      completionHandler(nil)
      return
    }

let lineNumber = selection.start.line

guard lineNumber < invocation.buffer.lines.count,
      let line = invocation.buffer.lines[lineNumber] as? String else {
      completionHandler(nil)
      return
    }

guard let hex = findHex(string: line) else {
      completionHandler(nil)
      return
    }

let newLine = process(line: line, hex: hex)

invocation.buffer.lines.replaceObject(at: lineNumber, with: newLine)

completionHandler(nil)
  }
}
Most of the functionality is embedded inside my framework Farge, but I can’t find a way to use the framework inside Xcode extension.
Since the extension feature is only accessible through the Editor menu, we can customise a key binding to invoke this menu item. For example I choose Cmd+Ctrl+S to show and hide color information.
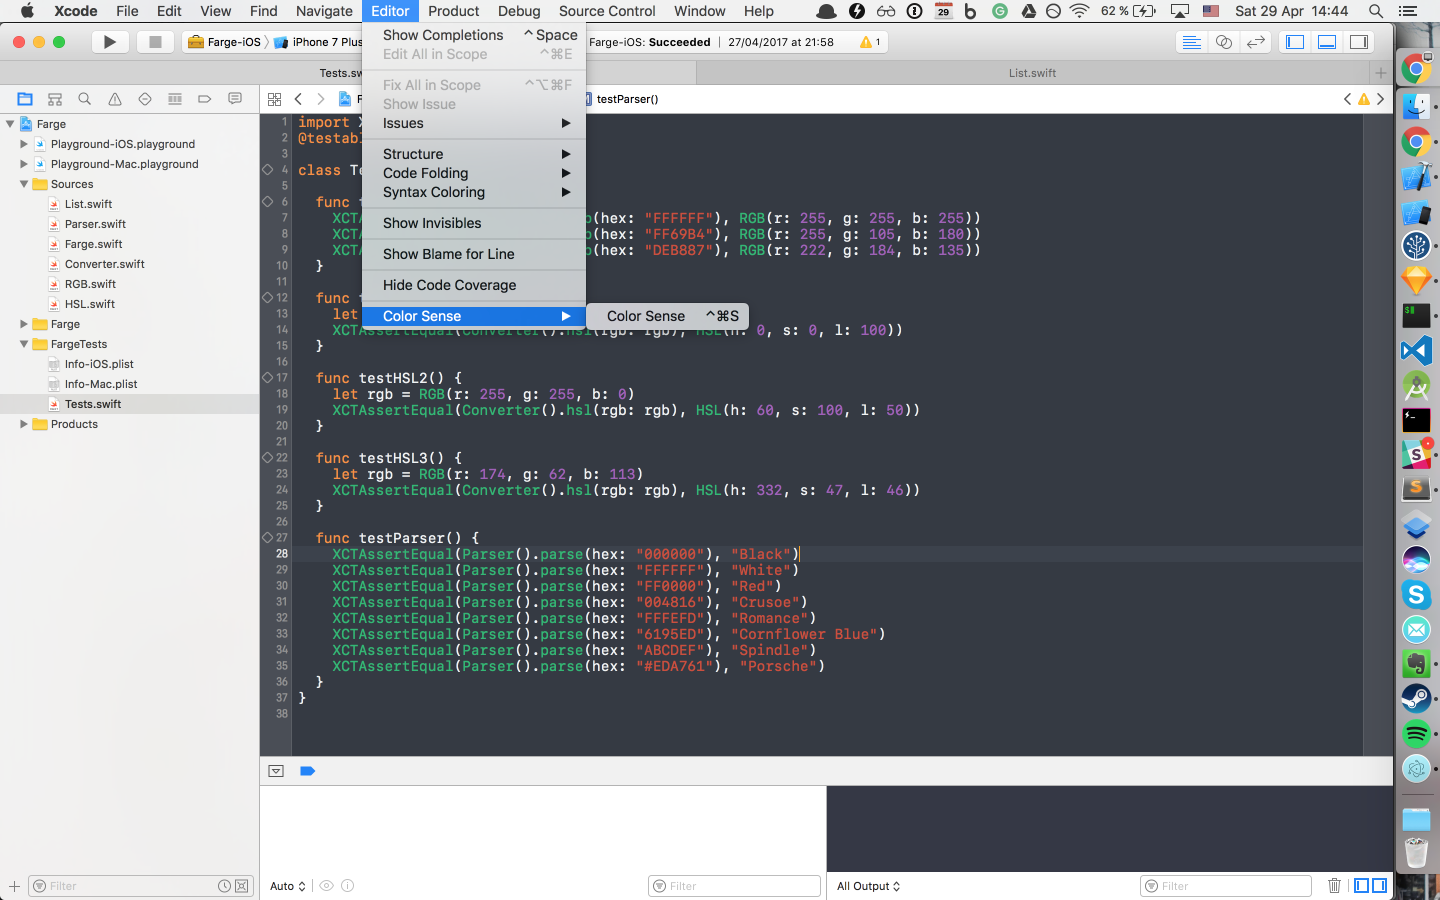
This is, of course, not intuitive compared to the original plugin, but it’s better than nothing.
Working and debugging extensions is straightforward. We can use Xcode to debug Xcode. The debugged version of Xcode has a gray icon.
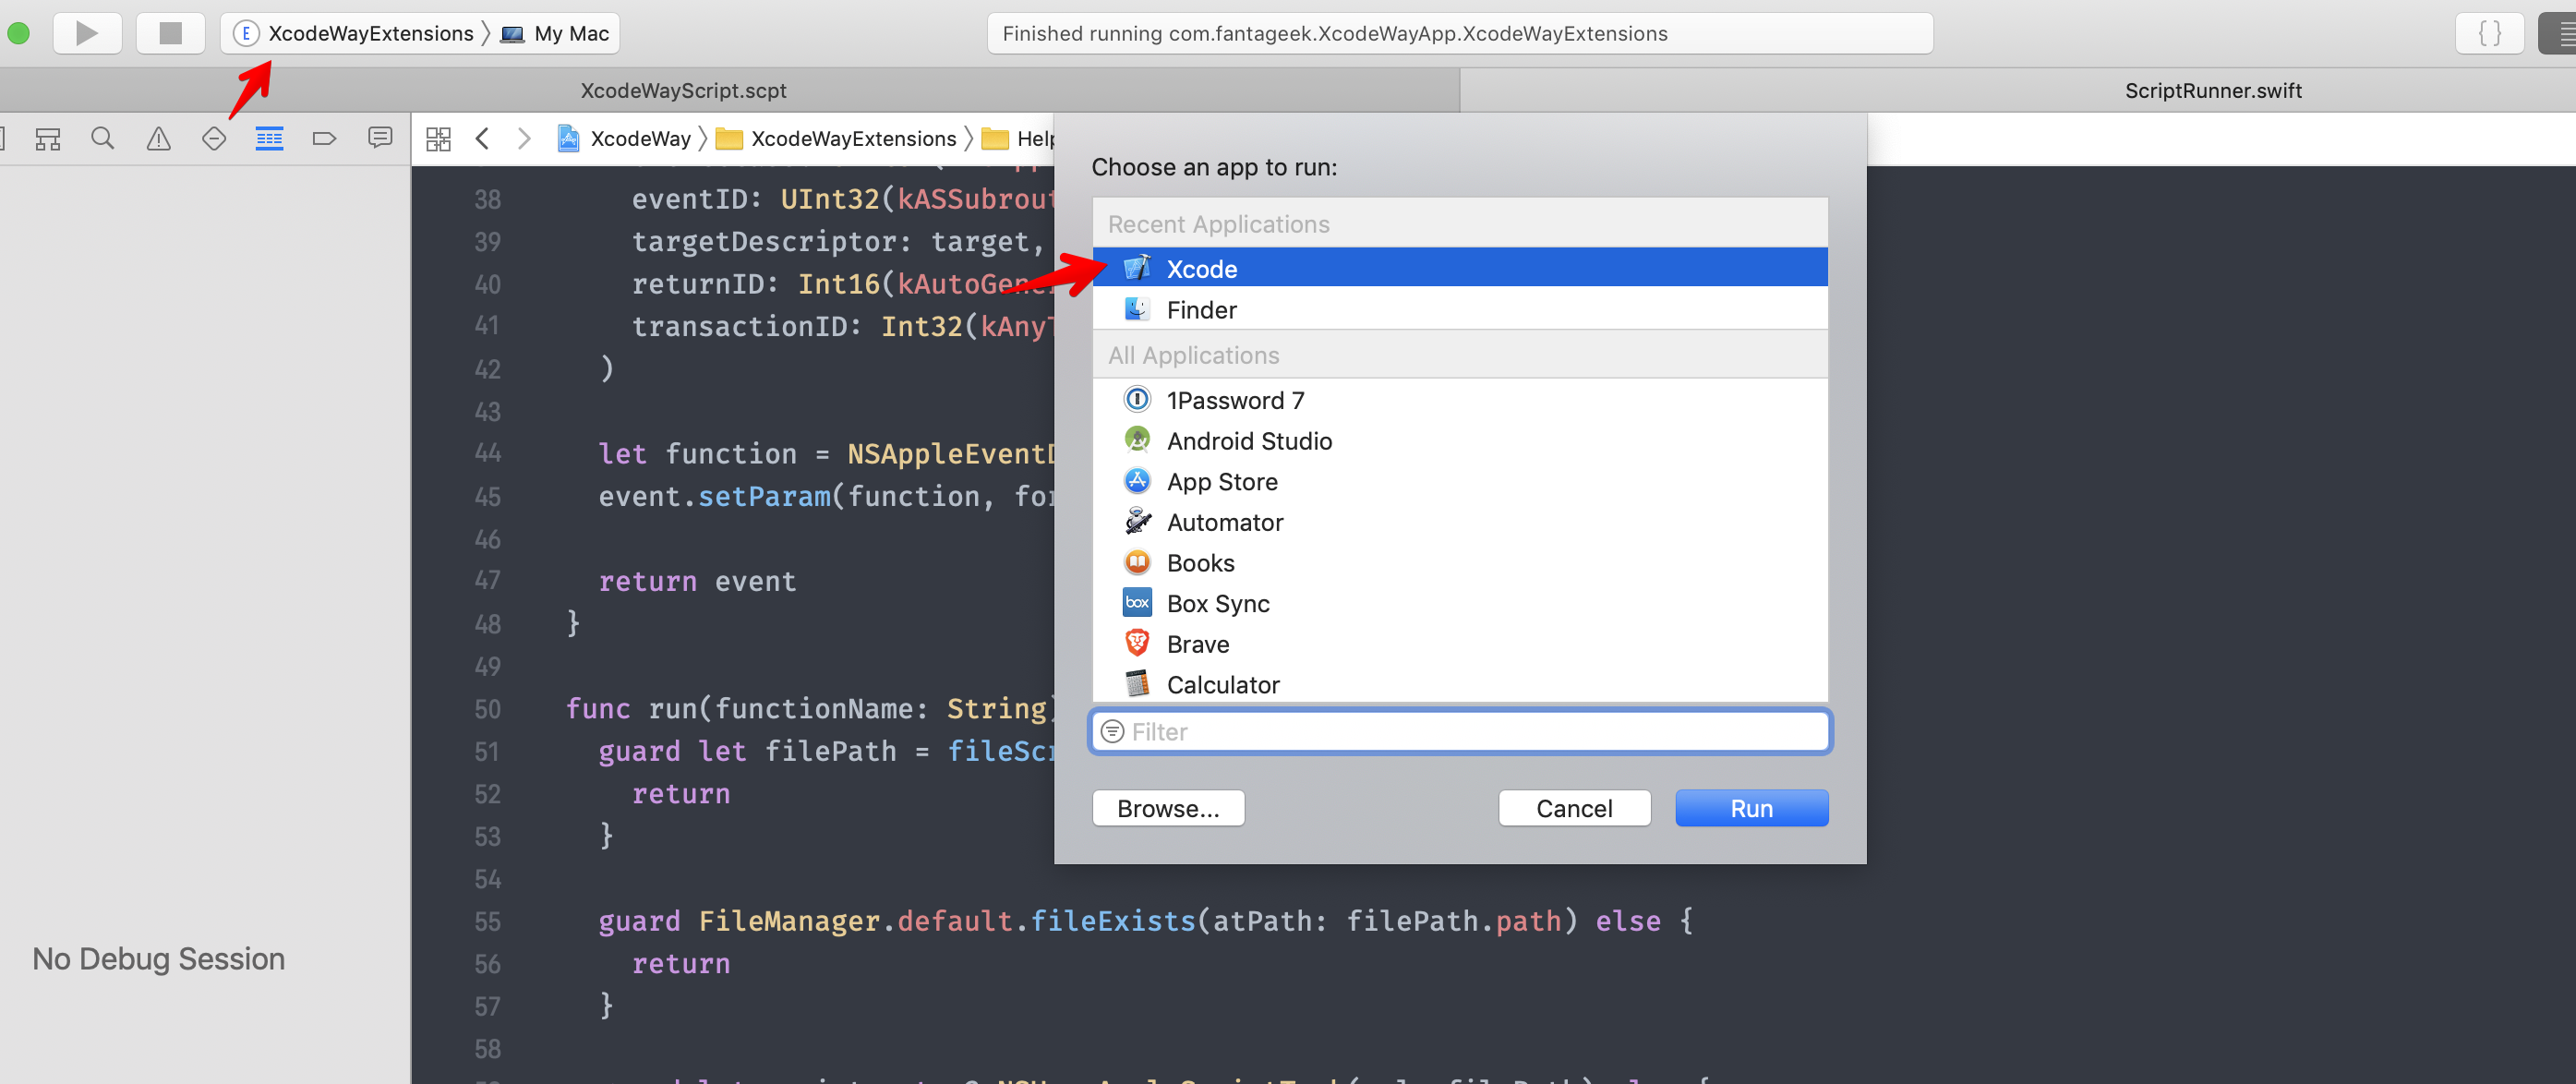
The extension must have an accompanying macOS app. This can be distributed to Mac Appstore or self-signed. I’ve written an article on how to do this.
All extensions for an app need to be explicitly enabled through “System Preferences”.

The Xcode extension only works with editor for now, so we must open a source file for the Editor menu to have effect.
In Xcode extensions, NSWorkspace, NSTask and private class construction don’t work anymore. Since I have used Finder Sync Extension in FinderGo, I thought I could try the same AppleScript scripting for Xcode extension.
AppleScript is a scripting language created by Apple. It allows users to directly control scriptable Macintosh applications, as well as parts of macOS itself. You can create scripts — sets of written instructions — to automate repetitive tasks, combine features from multiple scriptable applications, and create complex workflows.
To try AppleScript, you can use the app Script Editor built inside macOS to write prototype functions. Function declaration starts with on and ends with end . To avoid potential conflicts with system functions, I usually use my as a prefix. Here is how I rely on System Events to get the home directory.
User interface scripting terminology is found in the “Processes Suite” of the “System Events” scripting dictionary. This suite includes terminology for interacting with most types of user interface elements, including:
windows
buttons
checkboxes
menus
radio buttons
text fields.
In System Events, the process class represents a running app.
Many good citizen apps support AppleScript by exposing some of their functionalities, so these can be used by other apps. Here is how I get the current song from Spotify in Lyrics.
tell application "Spotify"
  set trackId to id of current track as string
  set trackName to name of current track as string
  set artworkUrl to artwork url of current track as string
  set artistName to artist of current track as string
  set albumName to album of current track as string
  return trackId & "---" & trackName & "---" & artworkUrl & "---" & artistName & "---" & albumName
end tell
To get all the possible commands of a certain app, we can open the dictionary in Script Editor. There we can learn about which functions and parameters are supported.
If you think Objective C is hard, AppleScript is much harder. The syntax is verbose and error-prone. For your reference, here is the whole script file that powers XcodeWay.
To open a certain folder, tell Finder using POSIX file. I refactor every functionality into function for better code reuse.
on myOpenFolder(myPath)
tell application "Finder"
activate
open myPath as POSIX file
end tell
end myOpenFolder
Then, to run AppleScript inside a macOS app or extension, we need to construct an AppleScript descriptor with the correct process serial number and event identifiers.
func eventDescriptior(functionName: String) -> NSAppleEventDescriptor {
  var psn = ProcessSerialNumber(highLongOfPSN: 0, lowLongOfPSN: UInt32(kCurrentProcess))
  let target = NSAppleEventDescriptor(
    descriptorType: typeProcessSerialNumber,
    bytes: &psn,
    length: MemoryLayout<ProcessSerialNumber>.size
  )

let event = NSAppleEventDescriptor(
    eventClass: UInt32(kASAppleScriptSuite),
    eventID: UInt32(kASSubroutineEvent),
    targetDescriptor: target,
    returnID: Int16(kAutoGenerateReturnID),
    transactionID: Int32(kAnyTransactionID)
  )

let function = NSAppleEventDescriptor(string: functionName)
  event.setParam(function, forKeyword: AEKeyword(keyASSubroutineName))

return event
}
Other tasks, like checking the current Git remote, are a bit trickier. Many times I want to share the link of the file I’m debugging to my remote teammate, so they know what file I’m referencing. This is doable by using shell script inside AppleScript .
on myGitHubURL()
set myPath to myProjectPath()
set myConsoleOutput to (do shell script "cd " & quoted form of myPath & "; git remote -v")
set myRemote to myGetRemote(myConsoleOutput)
set myUrl to (do shell script "cd " & quoted form of myPath & "; git config --get remote." & quoted form of myRemote & ".url")
set myUrlWithOutDotGit to myRemoveSubString(myUrl, ".git")
end myGitHubURL
We can use quoted and string concatenation to form strings. Luckily we can expose Foundation framework and certain classes. Here is how I expose NSString to take advantage of all existing functionalities. Writing string manipulation from scratch using plain AppleScript will take lots of time.
use scripting additions
use framework "Foundation"
property NSString : a reference to current application's NSString
With this we can build our other functions for string handling.
on myRemoveLastPath(myPath)
set myString to NSString's stringWithString:myPath
set removedLastPathString to myString's stringByDeletingLastPathComponent
removedLastPathString as text
end myRemoveLastPath
One cool feature that XcodeWay supports is the ability to go to the document directory for the current app in the simulator. This is handy when we need to inspect a document to check saved or cached data. The directory is dynamic so it’s hard to detect. We can, however, sort the directory for the most recently updated. Below is how we chain multiple shell scripts commands to find the folder.
on myOpenDocument()
set command1 to "cd ~/Library/Developer/CoreSimulator/Devices/;"
set command2 to "cd `ls -t | head -n 1`/data/Containers/Data/Application;"
set command3 to "cd `ls -t | head -n 1`/Documents;"
set command4 to "open ."
do shell script command1 & command2 & command3 & command4
end myOpenDocument
This feature helped me a lot when developing Gallery to check whether videos and downloaded images are saved in the correct place.
However, none of the scripts seem to work. Scripting has always been part of macOS since 1993. But, with the advent of the Mac Appstore and security concerns, AppleScript finally got restricted in mid 2012. That was when App Sandbox was enforced.
App Sandbox is an access control technology provided in macOS, enforced at the kernel level. It is designed to contain damage to the system and the user’s data if an app becomes compromised. Apps distributed through the Mac App Store must adopt App Sandbox.
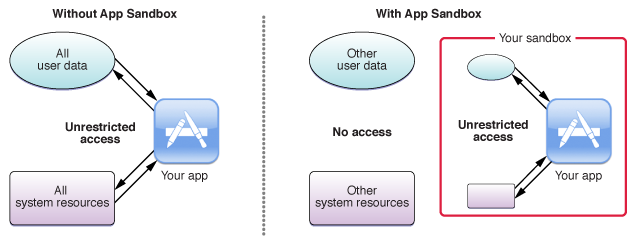
For an Xcode extension to be loaded by Xcode, it must also support App Sandbox.

At the beginning of App Sandbox enforcement, we could use App Sandbox Temporary Exception to temporarily grant our app access to Apple Script.
This is now not possible.
The only way for AppleScript to run is if it resides inside ~/Library/Application Scripts folder.
macOS apps or extensions can’t just install scripts into the Application Scripts by themselves. They need user consent.
One possible way to do that is to enable Read/Write and show a dialog using NSOpenPanel to ask user to select the folder to install our scripts.
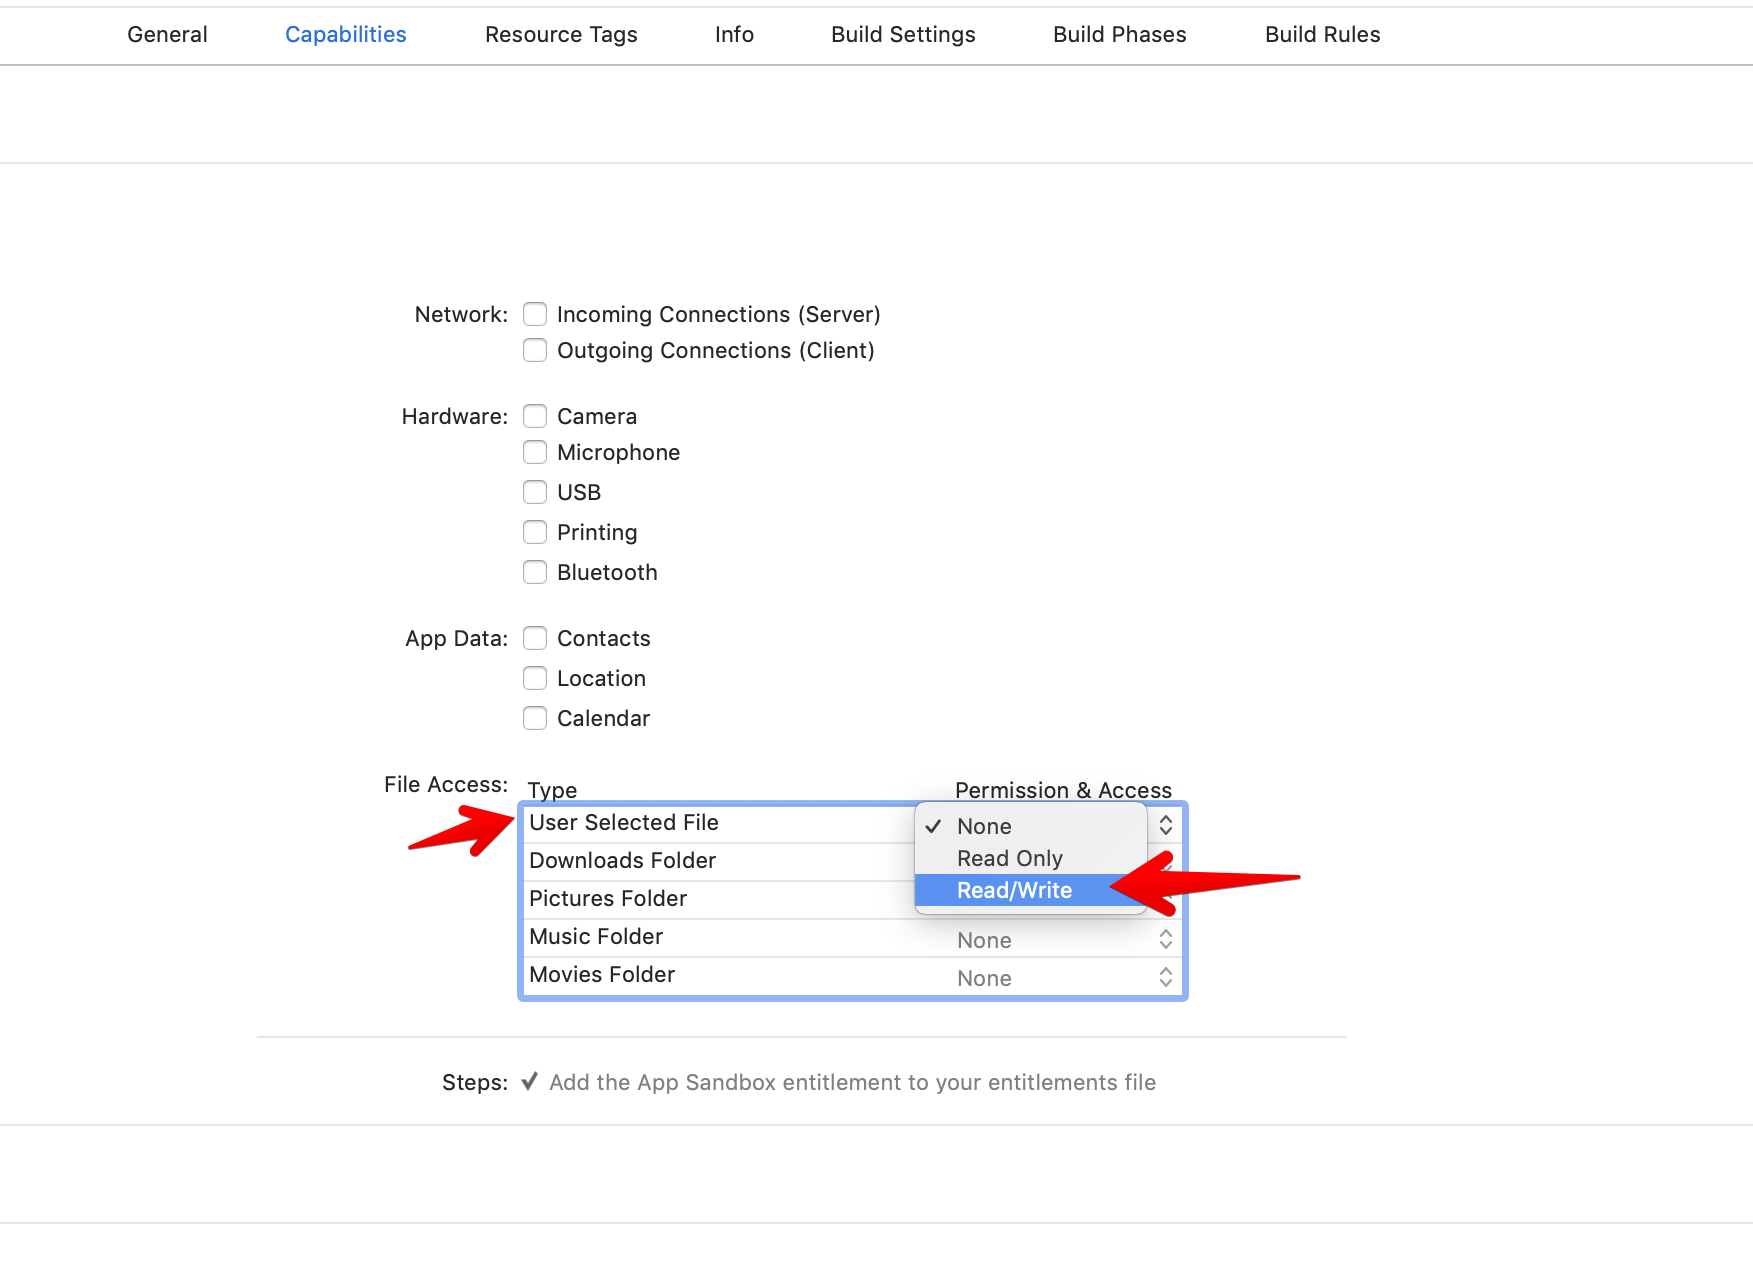
For XcodeWay, I choose to provide an install shell script so the user has a quick way to install scripts.
#!/bin/bash

set -euo pipefail

DOWNLOAD_URL=[https://raw.githubusercontent.com/onmyway133/XcodeWay/master/XcodeWayExtensions/Script/XcodeWayScript.scpt](https://raw.githubusercontent.com/onmyway133/XcodeWay/master/XcodeWayExtensions/Script/XcodeWayScript.scpt)
SCRIPT_DIR="${HOME}/Library/Application Scripts/com.fantageek.XcodeWayApp.XcodeWayExtensions"

mkdir -p "${SCRIPT_DIR}"
curl $DOWNLOAD_URL -o "${SCRIPT_DIR}/XcodeWayScript.scpt"
AppleScript is very powerful. All of this is made explicit so the user has complete control over which things can be done.
Like an extension, a script is done asynchronously in a different process using XPC for inter process communication. This enhances security as a script has no access to the address space to our app or extension.
This year, at WWDC 2018, Apple introduced macOS Mojave which focuses on lots of security enhancements. In the Your Apps and the Future of macOS Security we can learn more about new security requirement for macOS apps. One of them is the usage description for AppleEvents.
unable to load info.plist exceptions (egpu overrides)
We used to declare usage description for many permissions in iOS, like photo library, camera, and push notifications. Now we need to declare the usage description for AppleEvents.
](https://cdn-images-1.medium.com/max/2000/0*EQW2d3wyAnC1WSui.jpg) Source: https://www.felix-schwarz.org/blog/2018/08/new-apple-event-apis-in-macos-mojave
Source: https://www.felix-schwarz.org/blog/2018/08/new-apple-event-apis-in-macos-mojave
The first time our extension tries to execute some AppleScript commands, the above dialog is shown to ask for user consent. User can grant or deny permission, but for Xcode please say yes 🙏
The fix for us is to declare NSAppleEventsUsageDescription in our app target. We only need to declare in the app target, not in the extension target.
<key>NSAppleEventsUsageDescription</key>
<string>Use AppleScript to open folders</string>Huff huff, whew! Thanks for following such a long journey. Making frameworks and tools take lots of time, especially plugins and extensions — we have to continuously change to adapt them to new operating systems and security requirements. But it is a rewarding process, as we’ve learned more and have some tools to save our precious time.
For your reference, here are my extensions which are fully open source.
I hope you find something useful in the post. Here are some resources to help explore Xcode extensions further:
Issue #266
Original post https://medium.freecodecamp.org/get-to-know-different-javascript-environments-in-react-native-4951c15d61f5
React Native can be very easy to get started with, and then at some point problems occur and we need to dive deep into it.
The other day we had a strange bug that was only occurring in production build, and in iOS only. A long backtrace in the app revealed that it was due to Date constructor failure.
const date = new Date("2019-01-18 12:00:00")This returns the correct Date object in debug mode, but yields Invalid Date in release. What’s special about Date constructor? Here I’m using react native 0.57.5 and no Date libraries.
The best resource for learning Javascript is via Mozilla web docs, and entering Date:
Creates a JavaScript Date instance that represents a single moment in time. Date objects use a Unix Time Stamp, an integer value that is the number of milliseconds since 1 January 1970 UTC.
Pay attention to how Date can be constructed by dateString:
dateStringString value representing a date. The string should be in a format recognized by the Date.parse() method (IETF-compliant RFC 2822 timestamps and also a version of ISO8601).
So Date constructor uses static method Date.parse under the hood. This has very specific requirement about the format of date string that it supports
The standard string representation of a date time string is a simplification of the ISO 8601 calendar date extended format (see Date Time String Format section in the ECMAScript specification for more details). For example, “2011-10-10” (date-only form), “2011-10-10T14:48:00” (date-time form), or “2011-10-10T14:48:00.000+09:00” (date-time form with milliseconds and time zone) can be passed and will be parsed. When the time zone offset is absent, date-only forms are interpreted as a UTC time and date-time forms are interpreted as local time.
The ECMAScript specification states: If the String does not conform to the standard format the function may fall back to any implementation–specific heuristics or implementation–specific parsing algorithm. Unrecognizable strings or dates containing illegal element values in ISO formatted strings shall cause Date.parse() to return NaN.
The reason that we get Invalid Date in iOS must be because the code was run in two different JavaScript environments and they somehow have different implementation of the Date parsing function.
React Native guide has a dedicated section about JavaScript environments.
When using React Native, you’re going to be running your JavaScript code in two environments:
In most cases, React Native will use JavaScriptCore, the JavaScript engine that powers Safari. Note that on iOS, JavaScriptCore does not use JIT due to the absence of writable executable memory in iOS apps.
When using Chrome debugging, all JavaScript code runs within Chrome itself, communicating with native code via WebSockets. Chrome uses V8 as its JavaScript engine.
While both environments are very similar, you may end up hitting some inconsistencies. We’re likely going to experiment with other JavaScript engines in the future, so it’s best to avoid relying on specifics of any runtime.
React Native also uses Babel and some polyfills to have some nice syntax transformers, so some of the code that we write may not be necessarily supported natively by JavascriptCore.
Now it is clear that while we debug our app via Chrome debugger, it works because V8 engine handles that. Now try turning off Remote JS Debugging: we can see that the above Date constructor fails, which means it is using JavascriptCore.
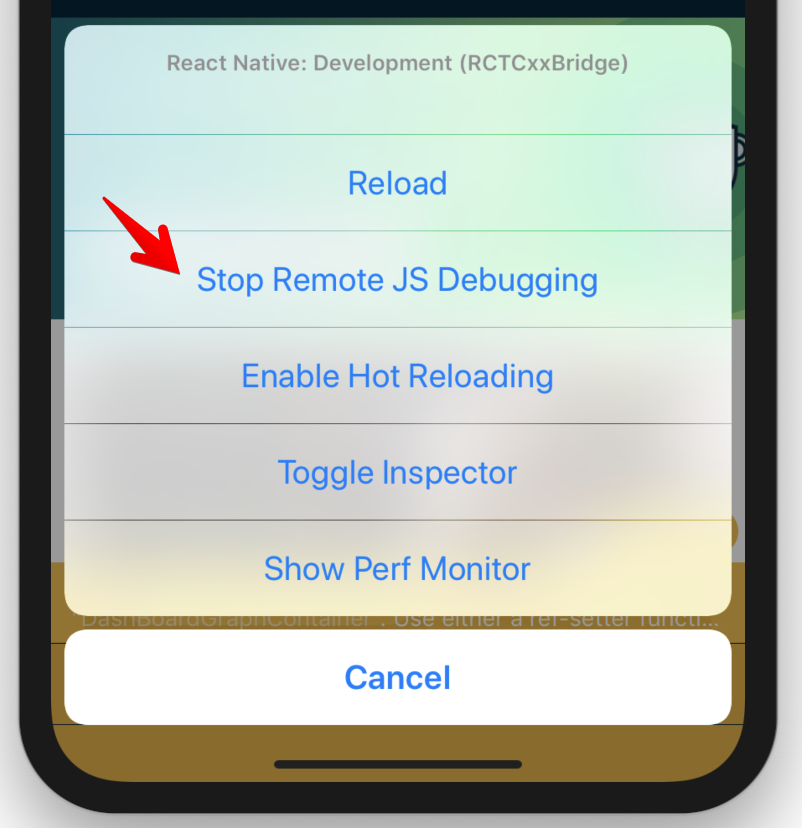
To confirm this issue, let’s run our app in Xcode and go to the Safari app on MacOS to enter Development menu. Select the active Simulator and choose JSContext on the current iOS app. Remember to turn off Remote JS Debugging so that the app uses JavascriptCore:
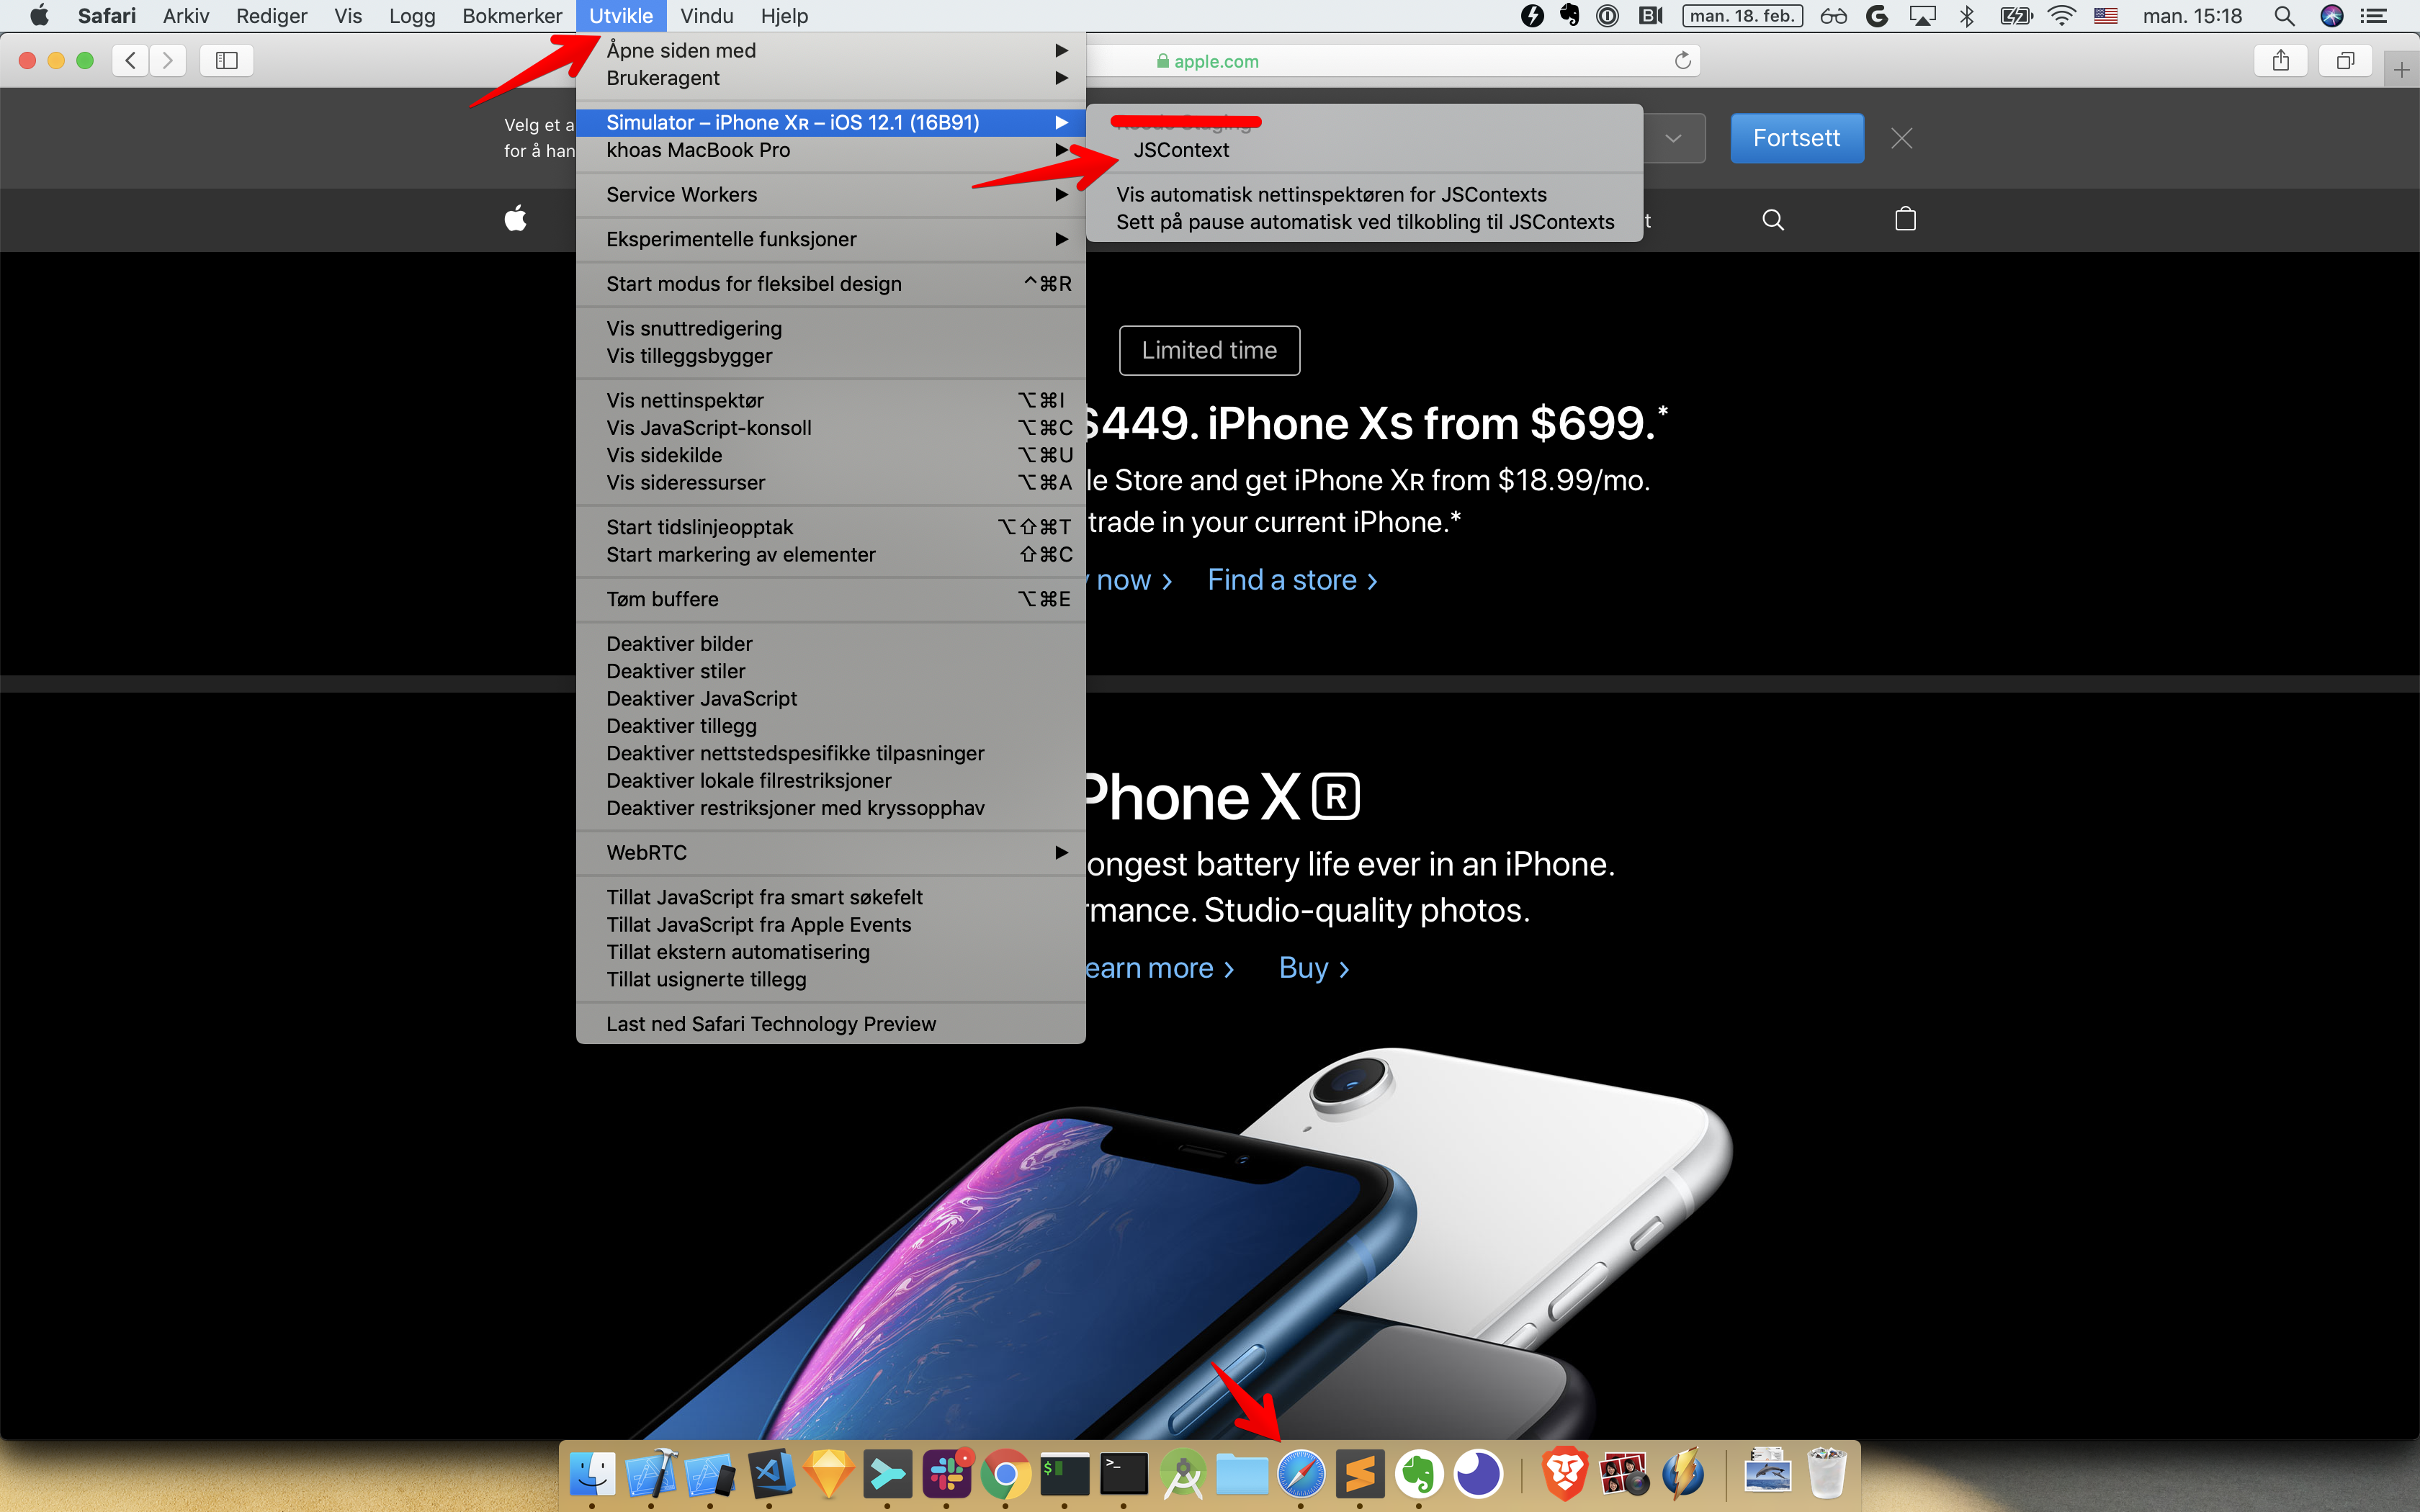
Now open the Console in Safari dev tools, and we should have access to JavascriptCore inside our app. Try running the above Date constructor to confirm that it fails:
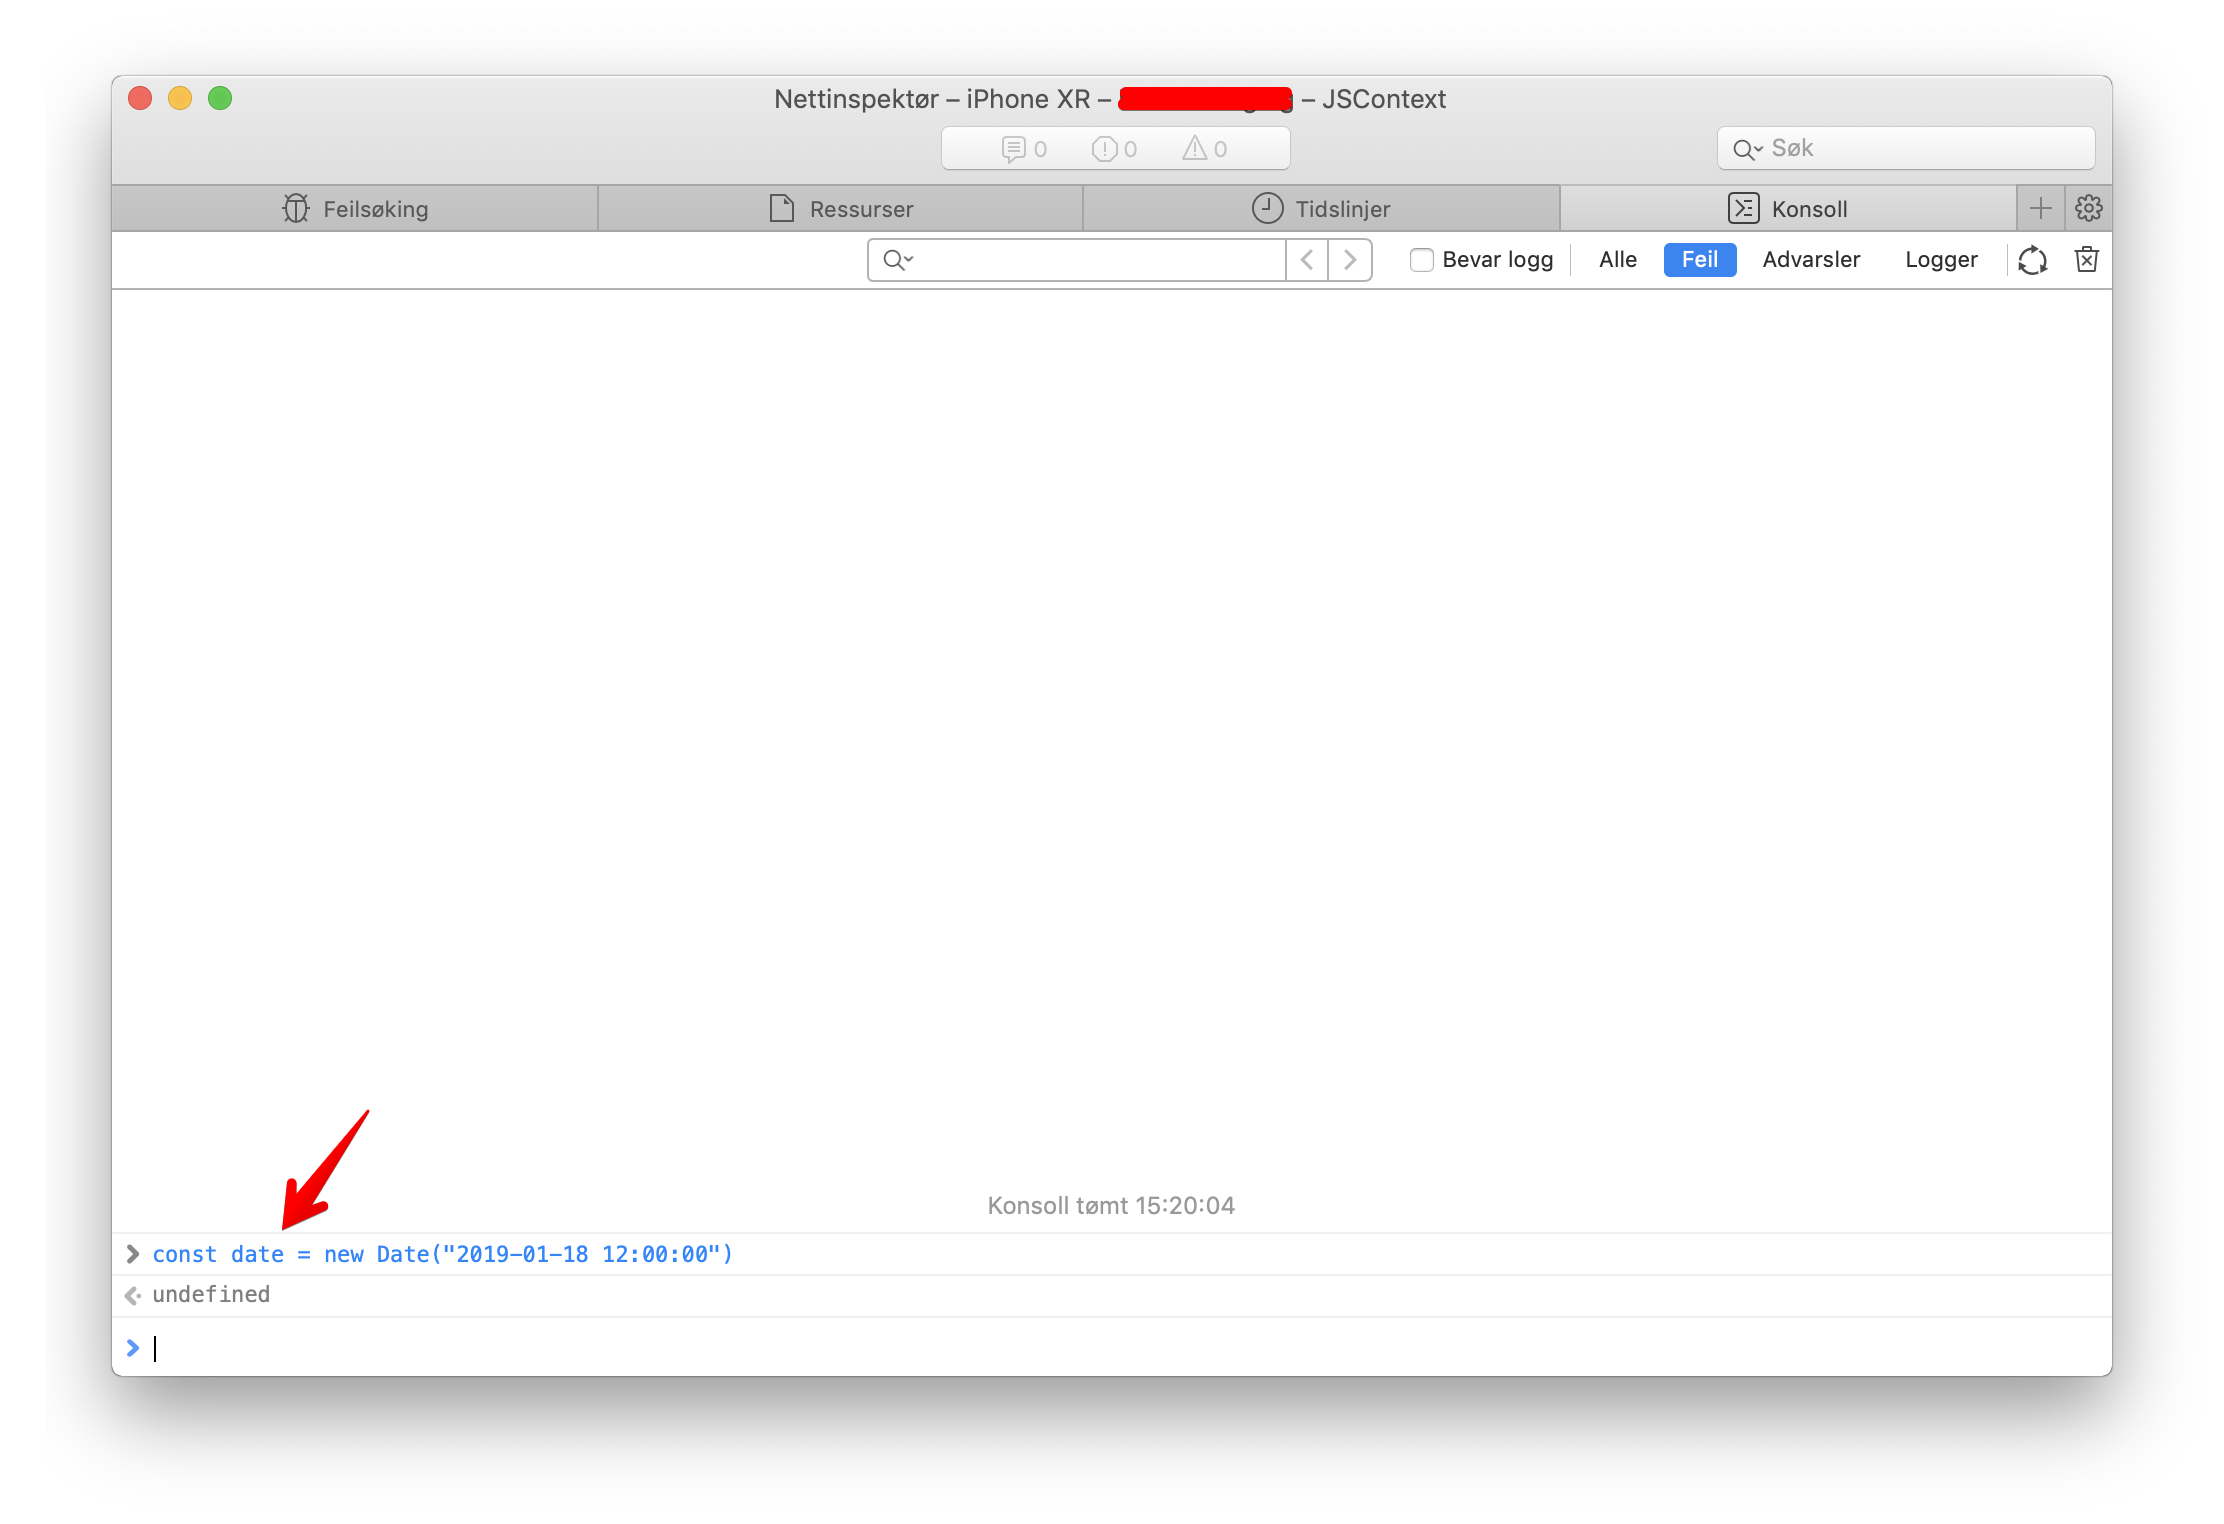
Since 2016, JavascriptCore supports most ES6 features:
As of r202125, JavaScriptCore supports all of the new features in the ECMAScript 6 (ES6) language specification
And it was fully confirmed a year later in JSC 💕 ES6
ES2015 (also known as ES6), the version of the JavaScript specification ratified in 2015, is a huge improvement to the language’s expressive power thanks to features like classes, for-of, destructuring, spread, tail calls, and much more
WebKit’s JavaScript implementation, called JSC (JavaScriptCore), implements all of ES6
For more details about JavaScript features supported by different JavaScript engines, visit this ECMAScript comparison table.
Now for the date string format, from Date.parse, let’s visit ECMAScript 2015 specification to see what it says about date string format:
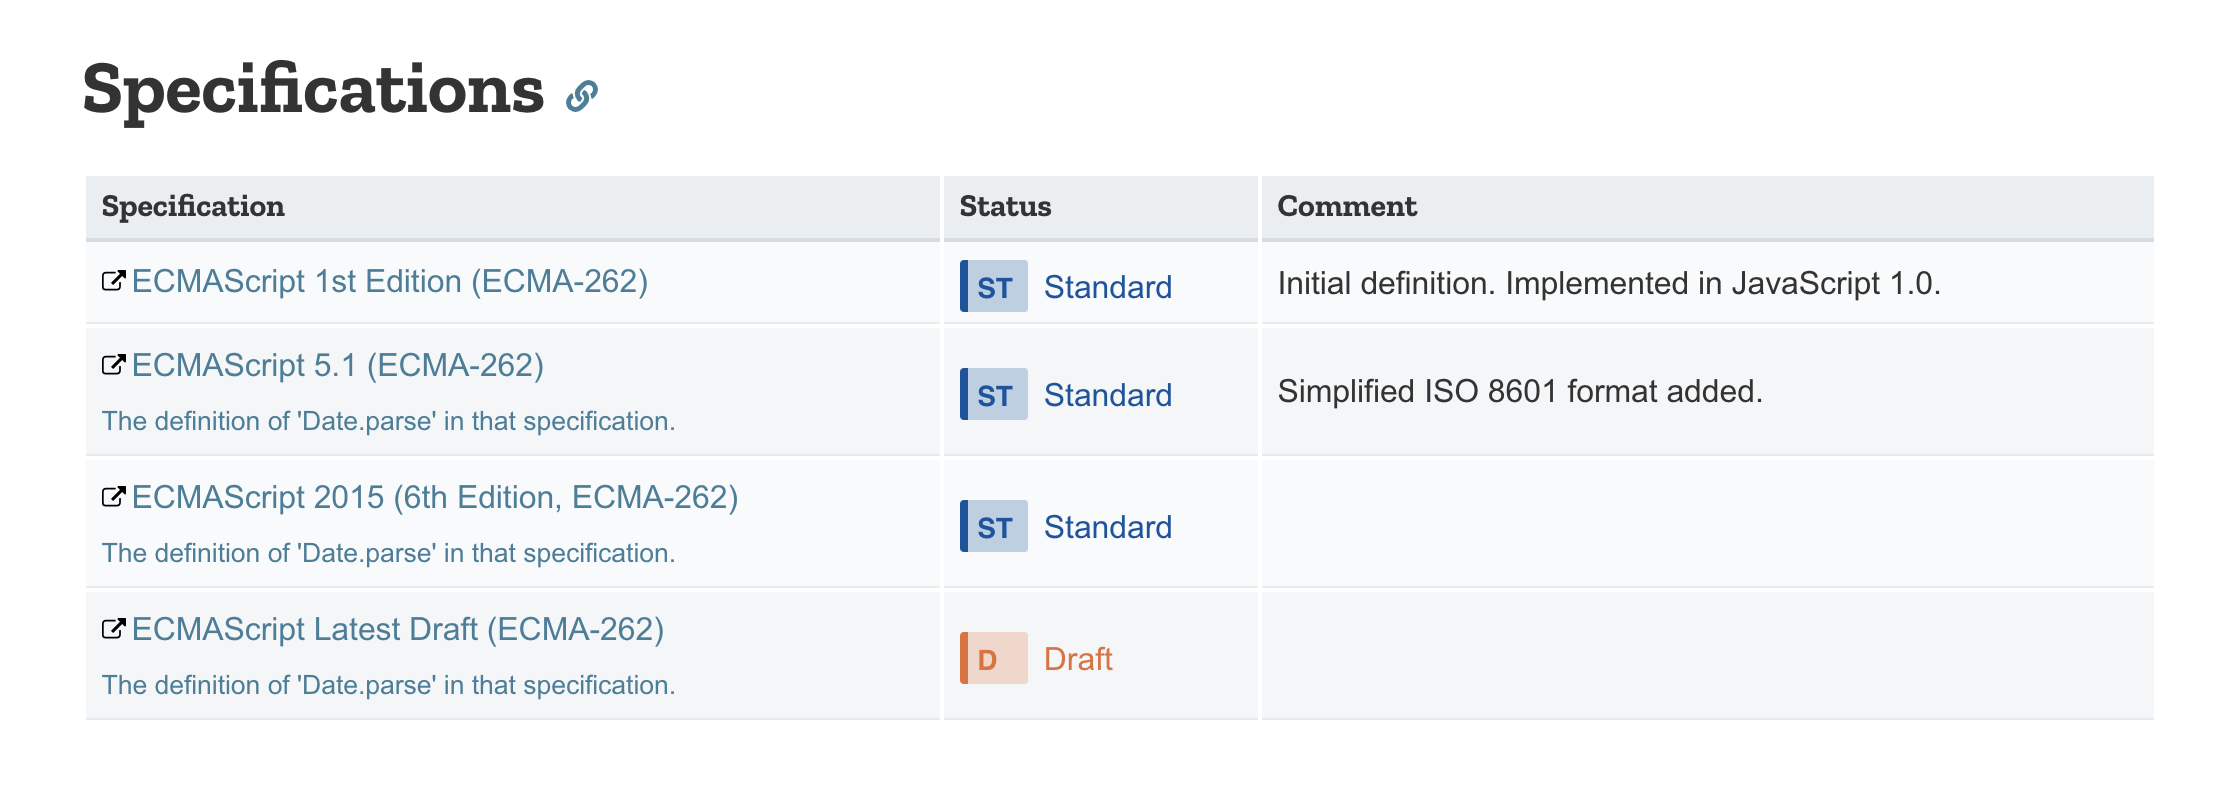
ECMAScript defines a string interchange format for date-times based upon a simplification of the ISO 8601 Extended Format. The format is as follows: YYYY-MM-DDTHH:mm:ss.sssZ
Where the fields are as follows:
“T” appears literally in the string, to indicate the beginning of the time element.
So JavascriptCore requires T specifier and V8 can work without it. The fix for now is to always include that T specifier. This way we always follow ECMAScript standards to make sure it works across different JavaScript environments.
const date = new Date("2019-01-18 12:00:00".replace(' ', 'T'))And now it returns correct Date object. There may be difference between JavascriptCore on iOS and macOS, and among different iOS versions. The lesson learned here is that we should always test our app thoroughly in production and on devices to make sure it works as expected.
Issue #264
Original post https://medium.com/react-native-training/react-native-bridging-how-to-make-linear-gradient-view-83c3805373b7
React Native lets us build mobile apps using only Javascript. It works by providing a common interface that talks to native iOS and Android components. There are enough essentials components to get started, but the cooler thing is that it is easy to build our own, hence we are not limited by React Native. In this post we will implement a linear gradient view, which is not supported by default in React Native, using native UI component, particularly CAGradientLayer in iOS and GradientDrawable in Android.
In Javascript there are hundreds of libraries for a single problem and you should check if you really need it or not. A search on Google for linear gradient shows a bunch of libraries, like react-native-linear-gradient. The less dependencies the better. Linear gradient is in fact very easy to build and we probably don’t need to add extra dependencies. Also integrating and following updates with 3rd libraries are painful, I would avoid that as much as possible.
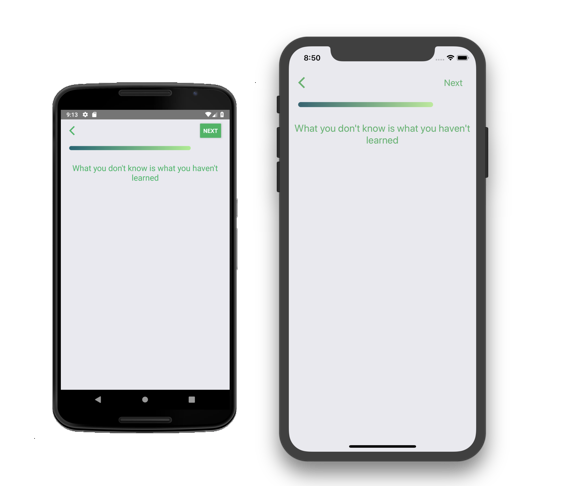
In React Native, there are native UI component and native module. React Native moves pretty fast so most of the articles will be outdated, it’s best to consult official documentation for the latest React Native version. This post will try to give you overview of the whole picture because for now the official guide seems not completed.
In simple explanation, native UI component is about making UIView in iOS or View in Android available as React.Component and used in render function in Javascript.
There are tons of native UI widgets out there ready to be used in the latest apps — some of them are part of the platform, others are available as third-party libraries, and still more might be in use in your very own portfolio. React Native has several of the most critical platform components already wrapped, like ScrollView and TextInput, but not all of them, and certainly not ones you might have written yourself for a previous app.
Native module is more general in that we make any native class available in Javascript.
Sometimes an app needs access to platform API, and React Native doesn’t have a corresponding module yet. Maybe you want to reuse some existing Objective-C, Swift or C++ code without having to reimplement it in JavaScript, or write some high performance, multi-threaded code such as for image processing, a database, or any number of advanced extensions.
To expose native UI views, we use the ViewManager as the bridge, it is RCTViewManager in iOS and SimpleViewManager in Android. Then inside this ViewManager we can just return our custom view. I see it’s good to use Objective C/Java for the ViewManager to match React Native classes, and the custom view we can use either Swift/Objective C in iOS and Kotlin/Java in Android.
I prefer to use Swift, but in this post to remove the overhead of introducing bridging header from Swift to Objective C, we use Objective C for simplicity. We also add the native source code directly into iOS and Android project, but in the future we can extract them easily to a React Native library.
For now let ‘s use the name RNGradientViewManager and RNGradientView to stay consistent between iOS and Android. The RN prefix is arbitrary, you can use any prefix you want, but here I use it to indicate that these classes are meant to be used in Javascript side in React Native.
Add these Objective-C classes to the projects, I usually place them inside NativeComponents folder
Native views are created and manipulated by subclasses of RCTViewManager. These subclasses are similar in function to view controllers, but are essentially singletons - only one instance of each is created by the bridge. They expose native views to the RCTUIManager, which delegates back to them to set and update the properties of the views as necessary. The RCTViewManagers are also typically the delegates for the views, sending events back to JavaScript via the bridge.
Create a RNGradientViewManager that inherits from RCTViewManager
RNGradientViewManager.h
#import <React/RCTViewManager.h>
@interface RNGradientViewManager : RCTViewManager
@end
RNGradientViewManager.m
#import "RNGradientViewManager.h"
#import "RNGradientView.h"

[@implementation](http://twitter.com/implementation) RNGradientViewManager

RCT_EXPORT_MODULE()

- (UIView *)view {
  return [[RNGradientView alloc] init];
}

RCT_EXPORT_VIEW_PROPERTY(progress, NSNumber);
RCT_EXPORT_VIEW_PROPERTY(cornerRadius, NSNumber);
RCT_EXPORT_VIEW_PROPERTY(fromColor, UIColor);
RCT_EXPORT_VIEW_PROPERTY(toColor, UIColor);

[@end](http://twitter.com/end)
In iOS we use macro RCT_EXPORT_MODULE() to automatically register the module with the bridge when it loads. The optional js_name argument will be used as the JS module name. If omitted, the JS module name will match the Objective-C class name.
#define RCT_EXPORT_MODULE(js_name)The ViewManager, not the View, is the facade to the Javascript side, so we expose properties using RCT_EXPORT_VIEW_PROPERTY . Note that we do that inside @implementation RNGradientViewManager
Here we specify the types as NSNumber and UIColor , and later in Javascript we can just pass number and color hex string, and React Native can do the conversions for us. In older versions of React Native, we need processColor in Javascript or RCTConvert color in iOS side, but we don’t need to perform manual conversion now.
In the Native UI component example for iOS, they use WKWebView but here we make a RNGradientView which subclasses from RCTView to take advantage of many features of React Native views, and to avoid some problems we can get if using a normal UIView
RNGradientView.h
#import <UIKit/UIKit.h>
#import <React/RCTView.h>

[@interface](http://twitter.com/interface) RNGradientView : RCTView

[@end](http://twitter.com/end)
RNGradientView.m
#import "RNGradientView.h"
#import <UIKit/UIKit.h>

[@interface](http://twitter.com/interface) RNGradientView()
[@property](http://twitter.com/property) CAGradientLayer *gradientLayer;

[@property](http://twitter.com/property) UIColor *_fromColor;
[@property](http://twitter.com/property) UIColor *_toColor;
[@property](http://twitter.com/property) NSNumber *_progress;
[@property](http://twitter.com/property) NSNumber *_cornerRadius;
[@end](http://twitter.com/end)

[@implementation](http://twitter.com/implementation) RNGradientView

// MARK: - Init

- (instancetype)initWithFrame:(CGRect)frame
{
  self = [super initWithFrame:frame];
  if (self) {
    self.gradientLayer = [self makeGradientLayer];
    [self.layer addSublayer:self.gradientLayer];

self._fromColor = [UIColor blackColor];
    self._toColor = [UIColor whiteColor];
    self._progress = [@0](http://twitter.com/0).5;

[self update];
  }
  return self;
}

// MARK: - Life cycle

- (void)layoutSubviews {
  [super layoutSubviews];

self.gradientLayer.frame = CGRectMake(
    0, 0,
    self.bounds.size.width*self._progress.floatValue,
    self.bounds.size.height
  );
}

// MARK: - Properties

- (void)setFromColor:(UIColor *)color {
  self._fromColor = color;
  [self update];
}

- (void)setToColor:(UIColor *)color {
  self._toColor = color;
  [self update];
}

- (void)setProgress:(NSNumber *)progress {
  self._progress = progress;
  [self update];
}

- (void)setCornerRadius:(NSNumber *)cornerRadius {
  self._cornerRadius = cornerRadius;
  [self update];
}

// MARK: - Helper

- (void)update {
  self.gradientLayer.colors = @[
    (id)self._fromColor.CGColor,
    (id)self._toColor.CGColor
  ];

self.gradientLayer.cornerRadius = self._cornerRadius.floatValue;

[self setNeedsLayout];
}

- (CAGradientLayer *)makeGradientLayer {
  CAGradientLayer *gradientLayer = [CAGradientLayer layer];

gradientLayer.masksToBounds = true;

gradientLayer.startPoint = CGPointMake(0.0, 0.5);
  gradientLayer.endPoint = CGPointMake(1.0, 0.5);
  gradientLayer.anchorPoint = CGPointZero;

return gradientLayer;
}

[@end](http://twitter.com/end)
We can implement anything we want in this native view, in this case we use CAGradientLayer to get nicely displayed linear gradient. Since RNGradientViewManager exposes some properties like progress, cornerRadius, fromColor, toColor we need to implement some setters as they will be called by React Native when we update values in Javascript side. In the setter we call setNeedsLayout to tell the view to invalidate the layout, hence layoutSubviews will be called again.
Open project in Visual Studio Code, add GradientView.js to src/nativeComponents . The folder name is arbitrary, but it’s good to stay organised.
import { requireNativeComponent } from 'react-native'

module.exports = requireNativeComponent('RNGradientView', null)
Here we use requireNativeComponent to load our RNGradientView . We only need this one Javascript file for interacting with both iOS and Android. You can name the module as RNGradientView but I think the practice in Javascript is that we don’t use prefix, so we name just GradientView .
const requireNativeComponent = (uiViewClassName: string): string =>
  createReactNativeComponentClass(uiViewClassName, () =>
    getNativeComponentAttributes(uiViewClassName),
  );

module.exports = requireNativeComponent;
Before I tried to use export default for the native component, but this way the view is not rendered at all, even if I wrap it inside React.Component . It seems we must use module.exports for the native component to be properly loaded.
Now using it is as easy as declare the GradientView with JSX syntax
import GradientView from 'nativeComponents/GradientView'

export default class Profile extends React.Component {
  render() {
    return (
      <SafeAreaView style={styles.container}>
        <GradientView
          style={styles.progress}
          fromColor={R.colors.progress.from}
          toColor={R.colors.progress.to}
          cornerRadius={5.0}
          progress={0.8} />
    )
  }
}Add these Java classes to the projects, I usually place them inside nativeComponents folder

Create a RNGradientManager that extends SimpleViewManager
RNGradientManager.java
package com.onmyway133.myApp.nativeComponents;

import android.support.annotation.Nullable;
import com.facebook.react.uimanager.SimpleViewManager;
import com.facebook.react.uimanager.ThemedReactContext;
import com.facebook.react.uimanager.annotations.ReactProp;

public class RNGradientViewManager extends SimpleViewManager<RNGradientView> {
    [@Override](http://twitter.com/Override)
    public String getName() {
        return "RNGradientView";
    }

[@Override](http://twitter.com/Override)
    protected RNGradientView createViewInstance(ThemedReactContext reactContext) {
        return new RNGradientView(reactContext);
    }

// Properties

[@ReactProp](http://twitter.com/ReactProp)(name = "progress")
    public void setProgress(RNGradientView view, [@Nullable](http://twitter.com/Nullable) float progress) {
        view.setProgress(progress);
    }

[@ReactProp](http://twitter.com/ReactProp)(name = "cornerRadius")
    public void setCornerRadius(RNGradientView view, [@Nullable](http://twitter.com/Nullable) float cornerRadius) {
        view.setCornerRadius(cornerRadius);
    }

[@ReactProp](http://twitter.com/ReactProp)(name = "fromColor", customType = "Color")
    public void setFromColor(RNGradientView view, [@Nullable](http://twitter.com/Nullable) int color) {
        view.setFromColor(color);
    }

[@ReactProp](http://twitter.com/ReactProp)(name = "toColor", customType = "Color")
    public void setToColor(RNGradientView view, [@Nullable](http://twitter.com/Nullable) int color) {
        view.setToColor(color);
    }
}
We usually use Color as android.graphics.Color , but for the GradientDrawable that we are going to use, it use color as ARGB integer. So it’s nifty that React Native deals with Color as int type. We also need to specify customType = “Color” as Color is something kinda custom.
This is where we implement our view, we can do that in Kotlin if we like.
RNGradientView.java
package com.onmyway133.myApp.nativeComponents;

import android.content.Context;
import android.graphics.drawable.GradientDrawable;
import android.graphics.drawable.ScaleDrawable;
import android.support.annotation.Nullable;
import android.util.AttributeSet;
import android.view.Gravity;
import android.view.View;

public class RNGradientView extends View {

    float progress;
    float cornerRadius;
    int fromColor;
    int toColor;

    public RNGradientView(Context context) {
        super(context);
    }

    public RNGradientView(Context context, @Nullable AttributeSet attrs) {
        super(context, attrs);
    }

    public RNGradientView(Context context, @Nullable AttributeSet attrs, int defStyleAttr) {
        super(context, attrs, defStyleAttr);
    }

    public RNGradientView(Context context, @Nullable AttributeSet attrs, int defStyleAttr, int defStyleRes) {
        super(context, attrs, defStyleAttr, defStyleRes);
    }

    // update

    void update() {
        GradientDrawable gradient = new GradientDrawable();
        gradient.setColors(new int[] {
            this.fromColor,
            this.toColor
        });
         gradient.setOrientation(GradientDrawable.Orientation.*LEFT_RIGHT*);
        gradient.setGradientType(GradientDrawable.*LINEAR_GRADIENT*);
        gradient.setShape(GradientDrawable.*RECTANGLE*);
        gradient.setCornerRadius(this.cornerRadius * 4);

        ScaleDrawable scale = new ScaleDrawable(gradient, Gravity.*LEFT*, 1, -1);
        scale.setLevel((int)(this.progress * 10000));

        this.setBackground(scale);
    }

    // Getter & setter

    public void setProgress(float progress) {
        this.progress = progress;
        this.update();
    }

    public void setCornerRadius(float cornerRadius) {
        this.cornerRadius = cornerRadius;
        this.update();
    }

    public void setFromColor(int fromColor) {
        this.fromColor = fromColor;
        this.update();
    }

    public void setToColor(int toColor) {
        this.toColor = toColor;
        this.update();
    }
}
Pay attention to the setColors as it use an array of int
Sets the colors used to draw the gradient.
Each color is specified as an ARGB integer and the array must contain at least 2 colors.
If we call setBackground with the GradientDrawable it will be stretched to fill the view. In our case we want to support progress which determines how long the gradient should show. To fix that we use ScaleDrawable which is a Drawable that changes the size of another Drawable based on its current level value.
The same value for cornerRadius works in iOS, but for Android we need to use higher values, that’s why the multiplication in gradient.setCornerRadius(this.cornerRadius * 4)
Another way to implement gradient is to use Shape Drawable with xml , it’s the equivalent of using xib in iOS. We can create something like gradient.xml and put that inside /res/drawable
<?xml version="1.0" encoding="utf-8"?>
<shape xmlns:android="[http://schemas.android.com/apk/res/android](http://schemas.android.com/apk/res/android)"
    android:shape="rectangle">
    <gradient
        android:startColor="#3B5998"
        android:endColor="#00000000"
        android:angle="45"/>
</shape>
For more information, you can read
Android Shape Drawables Tutorial
Have you ever wanted to reduce your Android application’s size or make it look more interesting? If yes, then you…android.jlelse.eu
We can also use the class directly ShapeDrawable in code
A Drawable object that draws primitive shapes. A ShapeDrawable takes a Shape object and manages its presence on the screen. If no Shape is given, then the ShapeDrawable will default to a RectShape.
This object can be defined in an XML file with theelement.
In iOS we use RCT_EXPORT_MODULE to register the component, but in Android, things are done explicitly using Package . A package can register both native module and native UI component. In this case we deal with just UI component, so let’s return RNGradientManager in createViewManagers
GradientManagerPackage.java
package com.onmyway133.myApp.nativeComponents;

import com.facebook.react.ReactPackage;
import com.facebook.react.bridge.NativeModule;
import com.facebook.react.bridge.ReactApplicationContext;
import com.facebook.react.uimanager.ViewManager;
import java.util.Arrays;
import java.util.Collections;
import java.util.List;

public class RNGradientViewPackage implements ReactPackage {
    [@Override](http://twitter.com/Override)
    public List<NativeModule> createNativeModules(ReactApplicationContext reactContext) {
        return Collections.emptyList();
    }

[@Override](http://twitter.com/Override)
    public List<ViewManager> createViewManagers(ReactApplicationContext reactContext) {
        return Arrays.<ViewManager>asList(
            new RNGradientViewManager()
        );
    }
}
Then head over to MainApplication.java to declare our package
[@Override](http://twitter.com/Override)
protected List<ReactPackage> getPackages() {
  return Arrays.<ReactPackage>asList(
      new MainReactPackage(),
      new RNGradientViewPackage()
  );
}
That’s it for Android. We already have the GradientView.js written earlier, when running the app in Android, it will look up and load our RNGradientView
Hope you learn something about native UI component. In the post we only touch the surfaces on what native UI component can do, which is just passing configurations from Javascript to native. There are a lot more to discover, like event handling, thread, styles, custom types, please consult the official documentation for correct guidance.
Issue #263
Original post https://medium.com/react-native-training/how-to-dismiss-keyboard-with-react-navigation-in-react-native-apps-4b987bbfdc48
Showing and dismiss keyboard seems like a trivial thing to do in mobile apps, but it can be tricky in automatically dismissing it when it comes together with react-navigation and modal presentation. At least that’s according to my initial assumption. This article aims to detail what I have learned about keyboard handling and how to avoid extra tap when dealing with TextInput There will also be lots of code spelunking, thanks to the all the libraries being open source. The version of React Native I’m using at the time of writing is 0.57.5
React Native comes with a bunch of basic components, one of them is the TextInput for inputting text into the app via a keyboard.
import React, { Component } from 'react';
import { AppRegistry, TextInput } from 'react-native';

export default class UselessTextInput extends Component {
  constructor(props) {
    super(props);
    this.state = { text: 'Useless Placeholder' };
  }

render() {
    return (
      <TextInput
        style={{height: 40, borderColor: 'gray', borderWidth: 1}}
        onChangeText={(text) => this.setState({text})}
        value={this.state.text}
      />
    );
  }
}
That’s it, whenever we click on the text input, keyboard appears allowing us to enter values. To dismiss the keyboard by pressing anywhere on the screen, the easy solution is to TouchableWithoutFeedback together with Keyboard . This is similar to having UITapGestureRecognizer in iOS UIView and calling view.endEditing
import { Keyboard } from 'react-native'

Keyboard.dismiss()Normally we should have some text inputs inside a scrolling component, in React Native that is mostly ScrollView to be able to handle long list of content and avoid keyboard. If TextInput is inside ScrollView then the way keyboard gets dismissed behaves a bit differently, and depends on keyboardShouldPersistTaps
Determines when the keyboard should stay visible after a tap.
‘never’ (the default), tapping outside of the focused text input when the keyboard is up dismisses the keyboard. When this happens, children won’t receive the tap.
‘always’, the keyboard will not dismiss automatically, and the scroll view will not catch taps, but children of the scroll view can catch taps.
‘handled’, the keyboard will not dismiss automatically when the tap was handled by a children, (or captured by an ancestor).
The never mode should be the desired behaviour in most cases, clicking anywhere outside the focused text input should dismiss the keyboard.
In my app, there are some text inputs and an action button. The scenario is that users enter some infos and then press that button to register data. With the never mode, we have to press button twice, one for dismissing the keyboard, and two for the onPress of the Button . So the solution is to use always mode. This way the Button always gets the press event first.
<ScrollView keyboardShouldPersistTaps='always' />The native RCTScrollView class that power react native ScrollView has code to handle dismiss mode
RCT_SET_AND_PRESERVE_OFFSET(setKeyboardDismissMode, keyboardDismissMode, UIScrollViewKeyboardDismissMode)The option that it chooses is UIScrollViewKeyboardDismissMode for keyboardDismissMode property
The manner in which the keyboard is dismissed when a drag begins in the scroll view.
As you can see, the possible modes are onDrag and interactive . And react native exposes customization point for this via keyboardShouldPersistTaps
case none The keyboard does not get dismissed with a drag.
case onDrag The keyboard is dismissed when a drag begins.
case interactive The keyboard follows the dragging touch offscreen, and can be pulled upward again to cancel the dismiss.
But that does not work when ScrollView is inside Modal . By Modal I meant the Modal component in React Native. The only library that I use is react-navigation , and it supports Opening a full-screen modal too, but they way we declare modal in react-navigation looks like stack and it is confusing, so I would rather not use it. I use Modal in react-native and that works pretty well.
So if we have TextInput inside ScrollView inside Modal then keyboardShouldPersistTaps does not work. Modal seems to be aware of parent ScrollView so we have to declare keyboardShouldPersistTaps=’always’ on every parent ScrollView . In React Native FlatList and SectionList uses ScrollView under the hood, so we need to be aware of all those ScrollView components.
Since my app relies heavily on react-navigation , it’s good to have a deep understanding about its components so we make sure where the problem lies. I’ve written a bit about react-navigation structure below.
Using react-navigation 3.0 in React Native apps
react-navigation is probably the only dependency I use in React Native apps. I’m happy with it so far, then version 3.0…codeburst.io
Like every traditional mobile apps, my app consists of many stack navigators inside tab navigator. In iOS that means many UINavigationViewController inside UITabbarController . In react-navigation I use createMaterialTopTabNavigator inside createBottomTabNavigator
import { createMaterialTopTabNavigator } from 'react-navigation'
import { createBottomTabNavigator, BottomTabBar } from 'react-navigation-tabs'
The screen I have keyboard issue is a Modal presented from the 2nd screen in one of the stack navigators, so let’s examine every possible ScrollView up the hierarchy. This process involves lots of code reading and this’s how I love open source.
First let’s start with createBottomTabNavigator which uses createTabNavigator together with its own TabNavigationView
class TabNavigationView extends React.PureComponent<Props, State>

export default createTabNavigator(TabNavigationView);
Tab navigator has tab bar view below ScreenContainer , which is used to contain view. ScreenContainer is from react-native-screens “This project aims to expose native navigation container components to React Native”. Below is how tab navigator works.
render() {
  const { navigation, renderScene, lazy } = this.props;
  const { routes } = navigation.state;
  const { loaded } = this.state
  return (
    <View style={styles.container}>
      <ScreenContainer style={styles.pages}>
        {routes.map((route, index) => {
          if (lazy && !loaded.includes(index)) {
            // Don't render a screen if we've never navigated to it
            return null;

          const isFocused = navigation.state.index === index
          return (
            <ResourceSavingScene
              key={route.key}
              style={StyleSheet.absoluteFill}
              isVisible={isFocused}
            >
              {renderScene({ route })}
            </ResourceSavingScene>
          );
        })}
      </ScreenContainer>
      {this._renderTabBar()}
    </View>
  );
}
Tab bar is rendered using BottomTabBar in _renderTabBar function. Looking at the code, the whole tab navigator has nothing to do with ScrollView .
So there is only createMaterialTopTabNavigator left on the suspecting list. I use it in the app with swipeEnabled: true . And by looking at the imports, top tab navigator has
import MaterialTopTabBar, { type TabBarOptions,} from '../views/MaterialTopTabBar';MaterialTopTabBar has import from react-native-tab-view
import { TabBar } from 'react-native-tab-view';which has ScrollView
<View style={styles.scroll}>
  <Animated.ScrollView
    horizontal
    keyboardShouldPersistTaps="handled"
The property keyboardShouldPersistTaps was initial set to always , then set back to handled to avoid the bug that we can’t press any button in tab bar while keyboard is open https://github.com/react-native-community/react-native-tab-view/issues/375
But this TabBar has nothing with our problem, because it’s just for containing tab bar buttons.
Taking another look at createMaterialTopTabNavigator we see more imports from react-native-tab-view
import { TabView, PagerPan } from 'react-native-tab-view';TabView has swipeEnabled passed in
return (
  <TabView
    {...rest}
    navigationState={navigation.state}
    animationEnabled={animationEnabled}
    swipeEnabled={swipeEnabled}
    onAnimationEnd={this._handleAnimationEnd}
    onIndexChange={this._handleIndexChange}
    onSwipeStart={this._handleSwipeStart}
    renderPager={renderPager}
    renderTabBar={this._renderTabBar}
    renderScene={
      /* $FlowFixMe */
      this._renderScene
    }
  />
);
and it renders PagerDefault, which in turn uses PagerScroll for iOS
import { Platform } from 'react-native';

let Pager;

switch (Platform.OS) {
  case 'android':
    Pager = require('./PagerAndroid').default;
    break;
  case 'ios':
    Pager = require('./PagerScroll').default;
    break;
  default:
    Pager = require('./PagerPan').default;
    break;
}

export default Pager;
So PagerScroll uses ScrollView to handle scrolling to match material style that user can scroll between pages, and it has keyboardShouldPersistTaps=”always” which should be correct.
return (
  <ScrollView
    horizontal
    pagingEnabled
    directionalLockEnabled
    keyboardDismissMode="on-drag"
    keyboardShouldPersistTaps="always"
So nothing looks suspicious in react-navigation , which urges me to look at code from my project.
Like I stated in the beginning of this article, the root problem is that we need to declare keyboardShouldPersistTaps for all parent ScrollView in the hierarchy. That means to look out for any FlatList, SectionList and ScrollView
Luckily, there is react-devtools that shows tree of all rendered components in react app, and that is also guided in Debugging section of react native.
You can use the standalone version of React Developer Tools to debug the React component hierarchy. To use it, install the react-devtools package globally:
npm install -g react-devtoolsSo after searching I found out that there is a SectionList up the hierarchy that should have keyboardShouldPersistTaps=’always’ while it didn’t.
Taking a thorough look at the code, I found out that the Modal is trigged from a SectionList item. We already know that triggering Modal in react native means that to embed that Modal inside the view hierarchy and control its visibility via a state. So in terms of view and component, that Modal is inside a SectionList . And for your interest, if you dive deep into react native code, SectionList in my case is just VirtualizedSectionList , which is VirtualizedList, which uses ScrollView
So after I declare keyboardShouldPersistTaps=’always’ in that SectionList , the problem is solved. User can now just enters some values in the text inputs, then press once on the submit button to submit data. The button now captures touch events first instead of scrollview.
The solution for this is fortunately simple as it involves fixing our code without having to alter react-navigation code. But it’s good to look at the library code to know what it does, and to trace where the problem originates. Thanks for following such long exploring and hope you learn something.
Issue #260
Original post https://medium.com/react-native-training/firebase-sdk-with-firestore-for-react-native-apps-in-2018-aa89a67d6934
At Firebase Dev Summit 2017, Google introduced Firestore as fully-managed NoSQL document database for mobile and web app development. Compared to Firebase Realtime Database, it has better querying and more structured data, together with ease manual fetching of data.
The new structure of collection and document is probably the eye catching, this makes data more intuitive to users and query a breeze.
](https://cdn-images-1.medium.com/max/2000/0*mEjeh2eMqIvQYNTa.png) From https://firebase.googleblog.com/2017/10/cloud-firestore-for-rtdb-developers.html
From https://firebase.googleblog.com/2017/10/cloud-firestore-for-rtdb-developers.html
In this post, I will show how to setup Firebase Cloud Firestore in React Native apps for both iOS and Android through, of course, some pain points. Then we create and fetch document in Firestore database.
My first option is to go with Firebase Javascript SDK, as it worked well for me with Firebase Realtime Database. My use case is to just fetch and update Firestore collections, I think it does not involve much of native features. Furthermore, when possible I try to avoid native code as much as possible when dealing with React Native.
So let’s try Get started with Cloud Firestore
npm install firebaseThe version I install is 5.4.0. Next, import firebase and note that we need to import firestore as well
const firebase = require("firebase");
// Required for side-effects
require("firebase/firestore");This issue made me bang against my desk for a while. As people have pointed out, it is because of document being accessed.
var BrowserPlatform = /** @class */ (function () {
    function BrowserPlatform() {
        this.emptyByteString = '';
        this.document = document; // delete this line
        this.window = window; // delete this line
        this.base64Available = typeof atob !== 'undefined';
    }
The firestore component in the current Firebase Javascript SDK does not fully support React Native, so we need to work around or use beta version with npm install firebase@next . In the mean time, let’s try React Native Firebase.
Reading over at Cloud Firestore Library and framework integrations, React Native Firebase is recommended. Although some features from the Firebase Web SDK will generally work with React Native, it is mainly built for the web and as such has a limited compatible feature set.
](https://cdn-images-1.medium.com/max/2000/1*rae3_7gLeEQvPRDNesXgrw.png) Source: https://rnfirebase.io/docs/v4.3.x/getting-started
Source: https://rnfirebase.io/docs/v4.3.x/getting-started
The below article and their starter app is the guiding star. The integration with native code in iOS and Android can be painful, but I React Native Firebase is very powerful as it has up-to-date wrappers around native Firebase SDK.
Let ‘s npm install react-native-firebase , the current version is 4.3.8 , and follow manual setup guide for existing project, this helps you learn more about the process and the bootstrap script.
First you need to Firebase console and add a project. A project allows many apps to stay, for example I have 4 apps (2 iOS, 2 Android) that have access to Firestore database.
Head over to Database in the left menu, we can see a quick look into Firestore and its collection/document structure
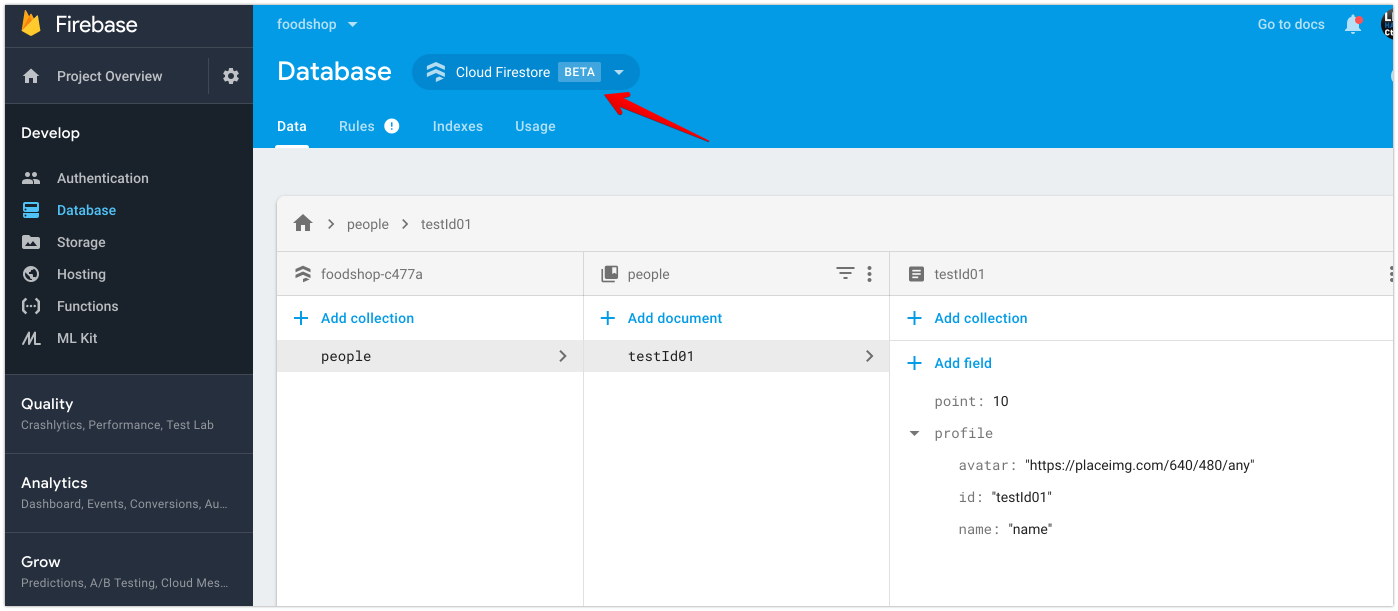
Follow iOS Installation Guide
Firstly, download GoogleService-Info.plist and place it in the correct folder, make sure it has been added to project via Xcode. Otherwise Firebase SDK causes app to crash right after start.
Then add #import <Firebase.h> to AppDelegate.m and [FIRApp configure]; to function didFinishLaunchingWithOptions . Next create Podfile with pod init inside ios folder. For Firestore, you need Firebase/Firestore to prevent the error below
You attempted to use a firebase module that’s not installed natively on your iOS project by calling firebase.firestore()
And you shouldn’t use use_frameworks! as it gives error ‘FirebaseCore/FIRAnalyticsConfiguration.h’ file not found
platform :ios, '9.0'

target 'FoodshopGuest' do
  pod 'Firebase/Core', '~> 5.3.0'
  pod 'Firebase/Firestore', '~> 5.3.0'
end
If you get framework not found FirebaseAnalytics , then make sure each target has $(inherited) at the top for Framework Search Paths
Then run react-native link react-native-firebase and you should be good for iOS.
Android is a bit less straightforward to setup than iOS. But it’s not impossible. Let’s follow Android Installation guide.
Firstly, place google-services.json in android/app/google-services.json . Let’s also use Gradle 4.4 and Google Play Services 15.0.1 . Change gradle/gradle-wrapper.properties to use
distributionUrl=https\://services.gradle.org/distributions/gradle-4.4-all.zipBelow is my project build.gradle with compileSdkVersion 27 and buildToolsVersion 27.0.3 . Make sure google() stays above jcenter()
// Top-level build file where you can add configuration options common to all sub-projects/modules.

buildscript {
    repositories {
        mavenLocal()
        google()
        jcenter()
        maven {
            url '[https://maven.google.com/'](https://maven.google.com/')
            name 'Google'
        }
    }
    dependencies {
        classpath 'com.android.tools.build:gradle:3.1.3'
        classpath 'com.google.gms:google-services:4.0.1'

// NOTE: Do not place your application dependencies here; they belong
        // in the individual module build.gradle files
    }
}

allprojects {
    repositories {
        mavenLocal()
        google()
        jcenter()
        maven {
            // All of React Native (JS, Obj-C sources, Android binaries) is installed from npm
            url "$rootDir/../node_modules/react-native/android"
        }
    }
}

ext {
    buildToolsVersion = "27.0.3"
    minSdkVersion = 16
    compileSdkVersion = 27
    targetSdkVersion = 26
    supportLibVersion = "26.1.0"
}
For my app module build.gradle , let’s have apply plugin: ‘com.google.gms.google-services’ at the very bottom of the file, this is important. In dependencies section, you must have com.google.firebase:firebase-firestore to include Firestore component.
dependencies {
    implementation project(':react-native-firebase')
    implementation fileTree(dir: "libs", include: ["*.jar"])
    implementation "com.android.support:appcompat-v7:${rootProject.ext.supportLibVersion}"

// Firebase dependencies
    implementation "com.google.android.gms:play-services-base:15.0.1"
    implementation "com.google.firebase:firebase-core:16.0.1"
    implementation "com.google.firebase:firebase-firestore:17.0.2"

}
Make sure there is no duplication of project(‘:react-native-firebase’) . And since we are using Gradle 4, let’s use implementation instead of compile
What’s the difference between implementation and compile in Gradle?
This site uses cookies to deliver our services and to show you relevant ads and job listings. By using our site, you…stackoverflow.com
Because of Firestore, let’s follow react-native-firebase-starter to fix heap problem
dexOptions {
    javaMaxHeapSize "4g"
}

multiDexEnabled true
If you get Native module RNFirebaseModule tried to override FNFirebaseModule
Native module RNFirebaseModule tried to override FNFirebaseModule for module name Firebase. If this was your intention, set `canOverrideExistingModule=true
Then make sure your MainApplication.java has no duplication for new RNFirebasePackage() . Here is my MainApplication.java , note that you need import io.invertase.firebase.firestore.RNFirebaseFirestorePackage; in order to use RNFirebaseFirestorePackage
package com.fantageek.foodshophost;

import android.app.Application;

import com.facebook.react.ReactApplication;
import io.invertase.firebase.RNFirebasePackage;
import io.invertase.firebase.firestore.RNFirebaseFirestorePackage;
import com.facebook.react.ReactNativeHost;
import com.facebook.react.ReactPackage;
import com.facebook.react.shell.MainReactPackage;
import com.facebook.soloader.SoLoader;

import java.util.Arrays;
import java.util.List;

public class MainApplication extends Application implements ReactApplication {

private final ReactNativeHost mReactNativeHost = new ReactNativeHost(this) {
    [@Override](http://twitter.com/Override)
    public boolean getUseDeveloperSupport() {
      return BuildConfig.DEBUG;
    }

[@Override](http://twitter.com/Override)
    protected List<ReactPackage> getPackages() {
      return Arrays.<ReactPackage>asList(
          new MainReactPackage(),
          new RNFirebasePackage(),
          new RNFirebaseFirestorePackage()
      );
    }

[@Override](http://twitter.com/Override)
    protected String getJSMainModuleName() {
      return "index";
    }
  };

[@Override](http://twitter.com/Override)
  public ReactNativeHost getReactNativeHost() {
    return mReactNativeHost;
  }

[@Override](http://twitter.com/Override)
  public void onCreate() {
    super.onCreate();
    SoLoader.init(this, /* native exopackage */ false);
  }
}
My rule of thumb is that you should always use Android Studio to perform Gradle sync or Build projectThere you should be able to see compile issues much easier. With all the steps above, compilation should succeed.
One problem with running React Native on Android, if after react-native run-android and Metro keeps showing Loading dependency graph, done , then you should start emulator via Android Studio -> AVD Manager or adb , the app should be already installed in the emulator, open the app and Metro will start loading again.
React Native Firebase should give you similar APIs to those in the web, so learn from Get data with Cloud Firestore for how to get or set documents.
I like to organise services in separate files, here is how to reference firestore and load document.
import firebase from 'react-native-firebase'

class FirebaseService {
  constructor() {
    this.ref = firebase.firestore().collection('people')
  }

async load(id) {
    const doc = await this.ref.doc(id).get()
    if (doc.exists) {
      return doc.data()
    } else {
      const defaultDoc = {
        name: "ABC",
        age: 2
      }

await this.ref.doc(id).set(defaultDoc)
      return doc
    }
  }
}

export const firebaseService = new FirebaseService()I hope this article helps in setting up Firebase SDK in React Native apps. Below are some resources that helps you explore further. The react-native-firebase-starter contains awesome reference code if you get into any troubles with react-native-firebase.
Getting started with Cloud Firestore on React Native
A week ago, Firebase announced Cloud Firestore, an awesome NoSQL document database that complements the existing…blog.invertase.io
invertase/react-native-firebase-starter
react-native-firebase-starter - 🎁 A bare-bones react native app with react-native-firebase pre-integrated so you can…github.com
Issue #259
React Native uses Yoga to achieve Flexbox style layout, which helps us set up layout in a declarative and easy way.
The Flexible Box Module, usually referred to as flexbox, was designed as a one-dimensional layout model, and as a method that could offer space distribution between items in an interface and powerful alignment capabilities
As someone who worked with Auto Layout in iOS and Constrain Layout in Android, I sometimes find it difficult to work with Flexbox in React Native. One of them is how to position certain element at the top or the bottom of the screen. This is the scenario when one element does not follow the rule i the container.
Consider this traditional welcome screen, where we have some texts and a login button.
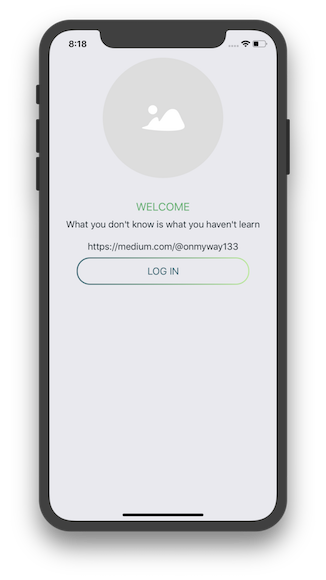
Which is easily achieved with
import React from 'react'
import { View, StyleSheet, Image, Text, Button } from 'react-native'
import strings from 'res/strings'
import palette from 'res/palette'
import images from 'res/images'
import ImageButton from 'library/components/ImageButton'

export default class Welcome extends React.Component {
  render() {
    return (
      <View style={styles.container}>
        <Image
          style={styles.image}
          source={images.placeholder} />
        <Text style={styles.heading}>{strings.onboarding.welcome.heading.toUpperCase()}</Text>
        <Text style={styles.text}>{strings.onboarding.welcome.text1}</Text>
        <Text style={styles.text}>{strings.onboarding.welcome.text2}</Text>
        <ImageButton
          style={styles.button}
          title={strings.onboarding.welcome.button} />
      </View>
    )
  }
}

const styles = StyleSheet.create({
  container: {
    flex: 1,
    alignItems: 'center'
  },
  image: {
    marginTop: 50
  },
  heading: {
    ...palette.heading, ...{
      marginTop: 40
    }
  },
  text: {
    ...palette.text, ...{
      marginHorizontal: 8,
      marginVertical: 10
    }
  }
})
Pay attention to styles . Unlike in web, Flexbox in React Native defaults main axis to be vertical, so elements are laid out from top to bottom. alignItems makes sure all elements are centered in the horizontal axis, which is the cross axis according to Flexbox terminology.
According to design, the button should be positioned at the bottom of the screen. A dark though might suggest us to use position: ‘absolute’ , something like
button: {
  position: 'absolute',
  bottom:0
}
It workaround could work, but it’s like opting out of Flexbox. We like Flexbox and we like to embrace it. The solution is to use add a container for the button, and use flex-end inside so that the button moves to the bottom.
Let’s add a container
<View style={styles.bottom}>
  <ImageButton
    style={styles.button}
    title={strings.onboarding.welcome.button} />
</View>
and styles
bottom: {
  flex: 1,
  justifyContent: 'flex-end',
  marginBottom: 36
}
The flex tells the bottom view to take the remaining space. And inside this space, the bottom is laid out from the bottom, that’s what the flex-end means.
Here is how the result looks like
And there is the full code
import React from 'react'
import { View, StyleSheet, Image, Text, Button } from 'react-native'
import strings from 'res/strings'
import palette from 'res/palette'
import images from 'res/images'
import ImageButton from 'library/components/ImageButton'

export default class Welcome extends React.Component {
  render() {
    return (
      <View style={styles.container}>
        <Image
          style={styles.image}
          source={images.placeholder} />
        <Text style={styles.heading}>{strings.onboarding.welcome.heading.toUpperCase()}</Text>
        <Text style={styles.text}>{strings.onboarding.welcome.text1}</Text>
        <Text style={styles.text}>{strings.onboarding.welcome.text2}</Text>
        <View style={styles.bottom}>
          <ImageButton
            style={styles.button}
            title={strings.onboarding.welcome.button} />
        </View>
      </View>
    )
  }
}

const styles = StyleSheet.create({
  container: {
    flex: 1,
    alignItems: 'center'
  },
  image: {
    marginTop: 50
  },
  heading: {
    ...palette.heading, ...{
      marginTop: 40
    }
  },
  text: {
    ...palette.text, ...{
      marginHorizontal: 8,
      marginVertical: 10
    }
  },
  bottom: {
    flex: 1,
    justifyContent: 'flex-end',
    marginBottom: 36
  }
})According to Basic concepts of flexbox
The flex CSS property specifies how a flex item will grow or shrink so as to fit the space available in its flex container. This is a shorthand property that sets flex-grow, flex-shrink, and flex-basis.
and w3
flex:
Equivalent to flex: 1 0 . Makes the flex item flexible and sets the flex basis to zero, resulting in an item that receives the specified proportion of the free space in the flex container. If all items in the flex container use this pattern, their sizes will be proportional to the specified flex factor.
In most browsers, flex: 1 equals 1 1 0 , which means flex-grow: 1, flex-shrink:1, flex-basis: 0 . The flex-grow and flex-shrink specifies how much the item will grow or shrink relative to the rest of the flexible items inside the same container. And the flex-basis specifies the initial length of a flexible item. In this case the bottom View will take up the remaining space. And in that space, we can have whatever flow we want. To move the button to the bottom, we use justifyContent to lay out items in the main axis, with flex-end , which aligns the flex items at the end of the container.
While this works, code can be duplicated quickly as we need to do this in a lot of screens. All we need is to wrap this ImageButton inside a container . Let’s encapsulate this with a a utility function. Add this utils/moveToBottom.js
import React from 'react'
import { View, StyleSheet } from 'react-native'

function moveToBottom(component) {
  return (
    <View style={styles.container}>
      {component}
    </View>
  )
}

const styles = StyleSheet.create({
  container: {
    flex: 1,
    justifyContent: 'flex-end',
    marginBottom: 36
  }
})

export default moveToBottom
Now in our screen, we just need to import
import moveToBottom from 'library/utils/moveToBottom'and wrap our button
{
  moveToBottom(
    <ImageButton
      style={styles.button}
      title={strings.onboarding.welcome.button}
      onPress={() => {
        this.props.navigation.navigate('Term')
      }} />
  )
}
This time, we have the same screen as before, but with more reusable code. Since the styles are inside our moveToBottom module, we don’t need to specify styles in our screen any more. Here is the full code
import React from 'react'
import { View, StyleSheet, Image, Text, Button } from 'react-native'
import strings from 'res/strings'
import palette from 'res/palette'
import images from 'res/images'
import ImageButton from 'library/components/ImageButton'
import moveToBottom from 'library/utils/moveToBottom'

export default class Welcome extends React.Component {
  render() {
    return (
      <View style={styles.container}>
        <Image
          style={styles.logo}
          source={images.logo} />
        <Image
          style={styles.image}
          source={images.placeholder} />
        <Text style={styles.heading}>{strings.onboarding.welcome.heading.toUpperCase()}</Text>
        <Text style={styles.text}>{strings.onboarding.welcome.text1}</Text>
        <Text style={styles.text}>{strings.onboarding.welcome.text2}</Text>
        {
          moveToBottom(
            <ImageButton
              style={styles.button}
              title={strings.onboarding.welcome.button}
              onPress={() => {
                this.props.navigation.navigate('Term')
              }} />
          )
        }
      </View>
    )
  }
}

const styles = StyleSheet.create({
  container: {
    flex: 1,
    alignItems: 'center'
  },
  logo: {
    marginTop: 70,
    marginBottom: 42,
  },
  image: {

},
  heading: {
    ...palette.heading, ...{
      marginTop: 40
    }
  },
  text: {
    ...palette.text, ...{
      marginHorizontal: 8,
      marginVertical: 10
    }
  }
})I have to admit that I initially implement moveToBottom using Component (we need uppercase since React has a convention of using initial uppercase for components) to embed the Component inside View
function moveToBottom(Component) {
  return (
    <View style={styles.container}>
      <Component />
    </View>
  )
}
But this results in bundling error
ExceptionsManager.js:84 Warning: React.createElement: type is invalid -- expected a string (for built-in components) or a class/function (for composite components) but got: <ImageButton />. Did you accidentally export a JSX literal instead of a component?and
ExceptionsManager.js:76 Invariant Violation: Invariant Violation: Invariant Violation: Element type is invalid: expected a string (for built-in components) or a class/function (for composite components) but got: object.As this moment I release that the thing I pass in is actually an object, not a class , so I treat it as an object and it works
function moveToBottom(component) {
  return (
    <View style={styles.container}>
      {component}
    </View>
  )
}In the above moveToBottom function, I use marginBottom to have some margin from the bottom. This works on iOS but somehow does not have any effect in Android, and I use react-native 0.57.0 at the moment. This inconsistence can happen often in React Native development. A quick workaround is to perform platform check, we can make it into a nifty function in src/library/utils/check
import { Platform } from 'react-native'

const check = {
  isAndroid: () => {
    return Platform.OS === 'android'
  }
}

export default check
Then in moveToBottom , let ‘s use paddingBottom in case of app running in Android
const styles = StyleSheet.create({
  container: {
    flex: 1,
    justifyContent: 'flex-end',
    paddingBottom: check.isAndroid ? 14 : 0
  }
})In this post, we go from absolute position to another container, get to know flex , how to add reusable function and how to correctly pass component as parameter. Hope you find it useful. You can also check out this post React Native Login Using the Facebook SDK where I shows more tips for React Native developments and recommended links to learn about Flexbox.
Issue #258
I started iOS development when iOS 7 had been announced. And I have learned a bit, through working, advice from colleagues and the iOS community.
In this article, I’d like to share a lot of good practices by taking the example of a simple recipes app. The source code is at GitHub Recipes.
The app is a traditional master detail application that showcases a list of recipes together with their detailed information.
There are thousands of ways to solve a problem, and the way a problem is tackled also depends on personal taste. Hopefully, throughout this article you’ll learn something useful — I did learn a lot when I did this project.
I’ve added links to some keywords where I felt further reading would be beneficial. So definitely check them out. Any feedback is welcome.
So let’s get started…
Here is a high level overview of what you’ll be building.
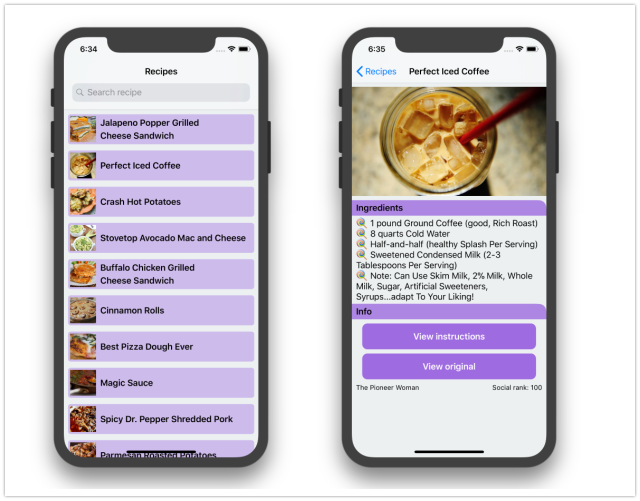
Let’s decide on the tool and project settings that we use.
At WWDC 2018, Apple introduced Xcode 10 with Swift 4.2. However, at the time of writing, Xcode 10 is still in beta 5. So let’s stick with the stable Xcode 9 and Swift 4.1. Xcode 4.2 has some cool features — you can play with it through this awesome Playground. It does not introduce huge changes from Swift 4.1, so we can easily update our app in the near future if required.
You should set the Swift version in the Project setting instead of the target settings. This means all targets in the project share the same Swift version (4.1).
As of summer 2018, iOS 12 is in public beta 5 and we can’t target iOS 12 without Xcode 10. In this post, we use Xcode 9 and the base SDK is iOS 11. Depending on the requirement and user bases, some apps need to support old iOS versions. Although iOS users tend to adopt new iOS versions faster than those who use Android, there are a some that stay with old versions. According to Apples advice, we need to support the two most recent versions, which are iOS 10 and iOS 11. As measured by the App Store on May 31, 2018, only 5% of users use iOS 9 and prior.
Targeting new iOS versions means we can take advantages of new SDKs, which Apple engineers improve every year. The Apple developer website has an improved change log view. Now it is easier to see what has been added or modified.

Ideally, to determine when to drop support for old iOS versions, we need analytics about how users use our app.
When we create the new project, select both “Include Unit Tests” and “Include UI Tests” as it a recommended practice to write tests early. Recent changes to the XCTest framework, especially in UI Tests, make testing a breeze and are pretty stable.
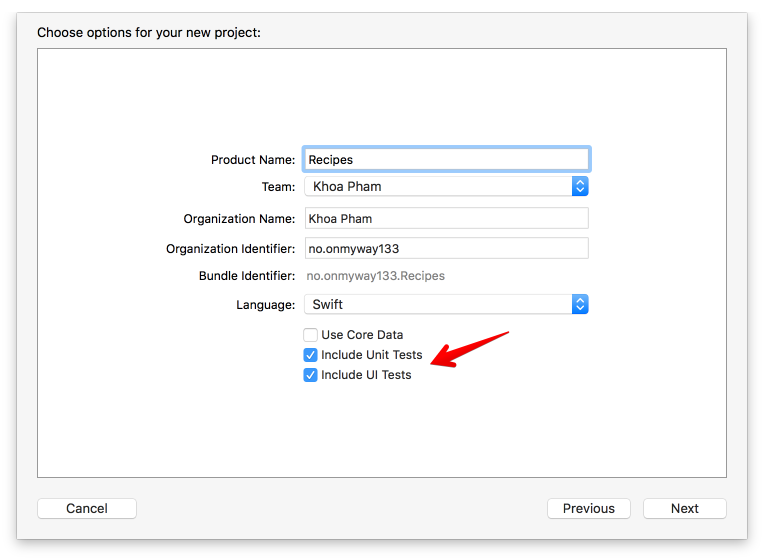
Before adding new files to the project, take a pause and think about the structure of your app. How do we want to organize the files? We have a few options. We can organize files by feature/module or role/types. Each has its pros and cons and I’ll discuss them below.
By role/type:
Pros: There is less thinking involved about where to put files. It’s also easier to apply scripts or filters.
Cons: It’s hard to correlate if we would want to find multiple files related to the same feature. It would also take time to reorganise files if we want to make them into reusable components in the future.
By feature/module
Pros: It makes everything modular and encourages composition.
Cons: It may get messy when many files of different types are bundled together.
Personally, I try to organize my code by features/components as much as possible. This makes it easier to identify related code to fix, and to add new features easier in the future. It answers the question “What does this app do?” instead of “What is this file?” Here is a good article regarding this.
A good rule of thumb is to stay consistent, no matter which structure you choose. 👍
The following is the app structure that our recipe app uses:
Contains source code files, split into components:
Features: the main features in the app
Home: the home screen, showing a list of recipes and an open search
List: shows a list of recipes, including reloading a recipe and showing an empty view when a recipe does not exist
Search: handle search and debouncing
Detail: shows detail information
Contains the core components of our application:
Flow: contains FlowController to manage flows
Adapter: generic data source for UICollectionView
Extension: convenient extensions for common operations
Model: The model in the app, parsed from JSON
Contains plist, resource, and Storyboard files.
I agree with most of the style guides in raywenderlich/swift-style-guide and github/swift-style-guide. These are straightforward and reasonable to use in a Swift project. Also, check out the official API Design Guidelines made by the Swift team at Apple on how to write better Swift code.
Whichever style guide you choose to follow, code clarity must be your most important goal.
Indentation and the tab-space war is a sensitive topic, but again, it depends on taste. I use four spaces indentation in Android projects, and two spaces in iOS and React. In this Recipes app, I follow consistent and easy-to-reason indentation, which I have written about here and here.
Good code should explain itself clearly so you don’t need to write comments. If a chunk of code is hard to understand, it’s good to take a pause and refactor it to some methods with descriptive names so it’s the chunk of code is more clear to understand. However, I find documenting classes and methods are also good for your coworkers and future self. According to the Swift API design guidelines,
Write a documentation comment for every declaration. Insights gained by writing documentation can have a profound impact on your design, so don’t put it off.
It’s very easy to generate comment template /// in Xcode with Cmd+Alt+/ . If you plan to refactor your code to a framework to share with others in the future, tools like jazzy can generate documentation so other people can follow along.
The use of MARK can be helpful to separate sections of code. It also groups functions nicely in the Navigation Bar. You can also use extension groups, related properties and methods.

For a simple UIViewController we can possible define the following MARKs:
// MARK: - Init
// MARK: - View life cycle
// MARK: - Setup
// MARK: - Action
// MARK: - DataGit is a popular source control system right now. We can use the template .gitignore file from gitignore.io/api/swift. There are both pros and cons in checking in dependencies files (CocoaPods and Carthage). It depends on your project, but I tend to not commit dependencies (node_modules, Carthage, Pods) in source control to not clutter the code base. It also makes reviewing Pull requests easier.
Whether or not you check in the Pods directory, the Podfile and Podfile.lock should always be kept under version control.
I use both iTerm2 to execute commands and Source Tree to view branches and staging.
I have used third party frameworks, and also made and contributed to open source a lot. Using a framework gives you a boost at the start, but it can also limit you a lot in the future. There may be some trivial changes that are very hard to work around. The same thing happens when using SDKs. My preference is to pick active open source frameworks. Read the source code and check frameworks carefully, and consult with your team if you plan to use them. A bit of extra caution does no harm.
In this app, I try to use as few dependencies as possible. Just enough to demonstrate how to manage dependencies. Some experienced developers may prefer Carthage, a dependency manager as it gives you complete control. Here I choose CocoaPods because its easy to use, and it has worked great so far.
There’s a file called .swift-version of value 4.1 in the root of the project to tell CocoaPods that this project uses Swift 4.1. This looks simple but took me quite some time to figure out. ☹️
Let’s craft some launch images and icons to give the project a nice look.
The easy way to learn iOS networking is through public free API services. Here I use food2fork. You can register for an account at http://food2fork.com/about/api. There are many other awesome APIs in this public-api repository.
It’s good to keep your credentials in a safe place. I use 1Password to generate and store my passwords.
Before we start coding, let’s play with the APIs to see which kinds of requests they require and responses they return. I use the Insomnia tool to test and analyze API responses. It’s open source, free, and works great. 👍
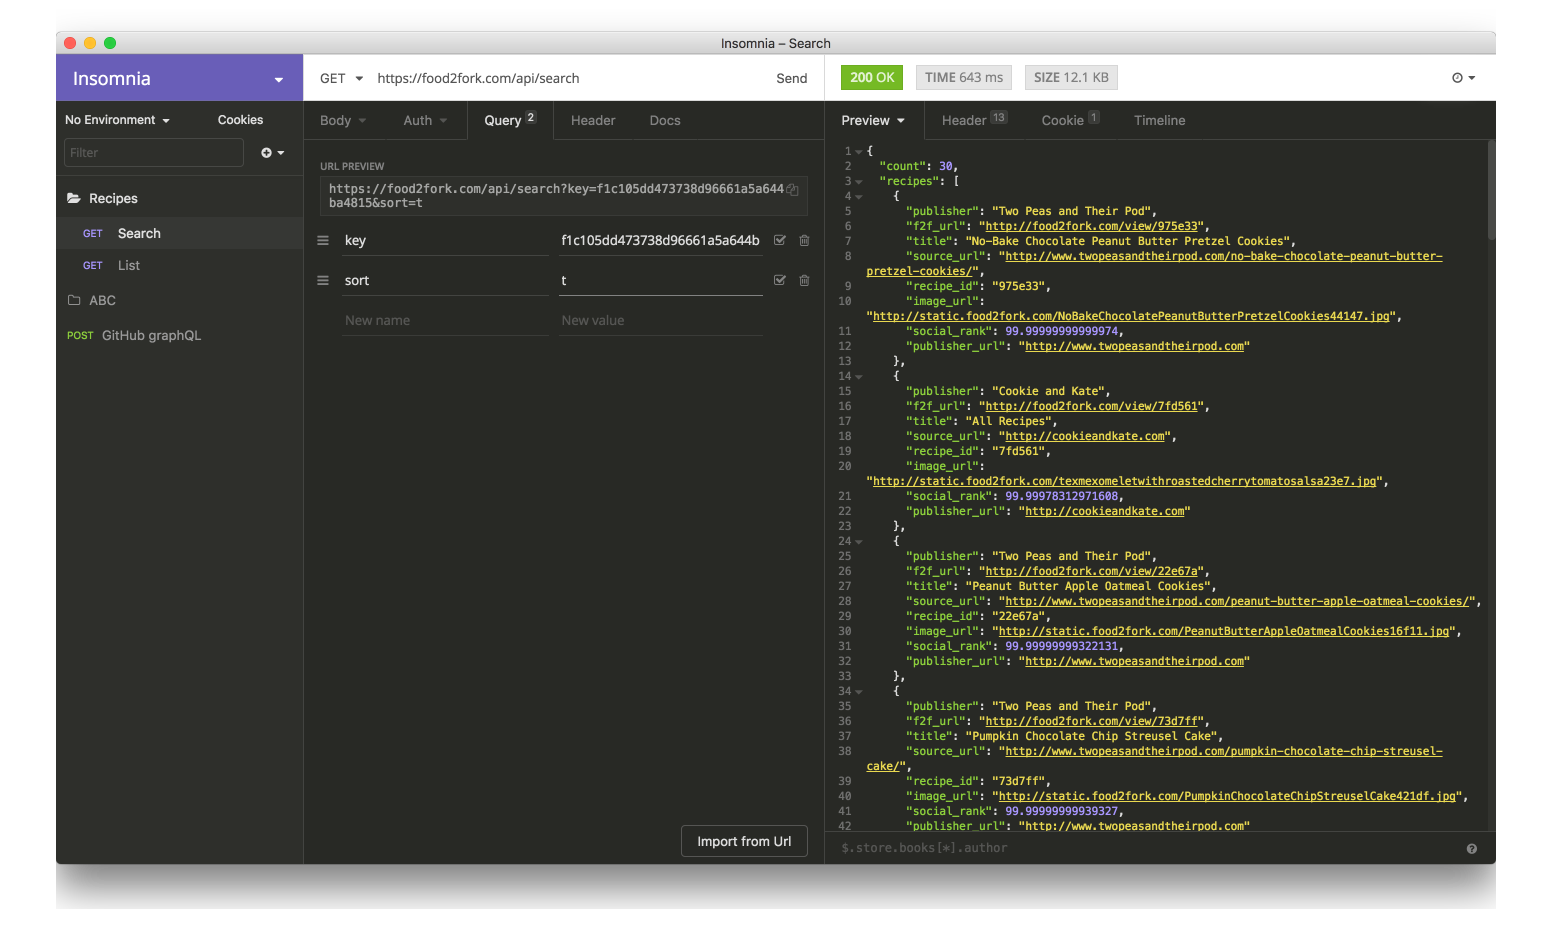
The first impression is important, so is the Launch Screen. The preferred way is using LaunchScreen.storyboard instead of a static Launch image.
To add a launch image to Asset Catalog, open LaunchScreen.storyboard, add UIImageView , and pin it to the edges of UIView. We should not pin the image to the Safe Area as we want the image to be full screen. Also, unselect any margins in the Auto Layout constraints. Set the contentMode of the UIImageView as Aspect Fill so it stretches with the correct aspect ratio.
 Configure layout in LaunchScreen.
A good practice is to provide all the necessary app icons for each device that you support, and also for places like Notification, Settings, and Springboard. Make sure each image has no transparent pixels, otherwise it results in a black background. This tip is from Human Interface Guidelines - App Icon.
Keep the background simple and avoid transparency. Make sure your icon is opaque, and don’t clutter the background. Give it a simple background so it doesn’t overpower other app icons nearby. You don’t need to fill the entire icon with content.
We need to design square images with a size greater than 1024 x 1024 so each is able to downscale to smaller images. You can do this by hand, script, or use this small IconGenerator app that I made.
The IconGenerator app can generate icons for iOS in iPhone, iPad, macOS and watchOS apps. The result is the AppIcon.appiconset that we can drag right into the Asset Catalog. Asset Catalog is the way to go for modern Xcode projects.
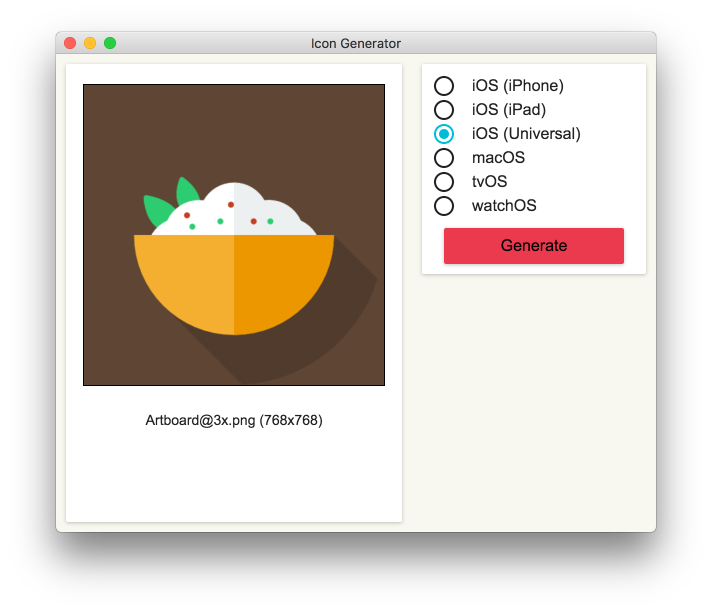
Regardless of what platform we develop on, it’s good to have a linter to enforce consistent conventions. The most popular tool for Swift projects is SwiftLint, made by the awesome people at Realm.
To install it, add pod ‘SwiftLint’, ‘~> 0.25’ to the Podfile. It’s also a good practice to specify the version of the dependencies so pod install won’t accidentally update to a major version that could break your app. Then add a .swiftlint.yml with your preferred configuration. A sample configuration can be found here.
Finally, add a new Run Script Phrase to execute swiftlint after compiling.
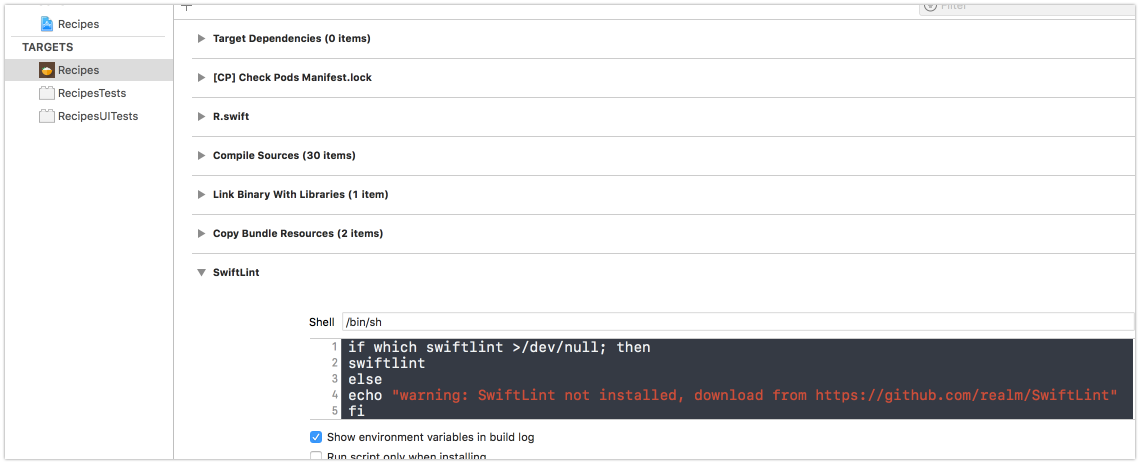
I use R.swift to safely manage resources. It can generate type-safe classes to access font, localisable strings, and colors. Whenever we change resource file names, we get compile errors instead of a implicit crash. This prevents us inferring with resources that are actively in use.
imageView.image = R.image.notFound()Let’s dive into the code, starting with the model, flow controllers and service classes.
It may sound boring but clients are just a prettier way to represent the API response. The model is perhaps the most basic thing and we use it a lot in the app. It plays such an important role but there can be some obvious bugs related to malformed models and assumptions about how a model should be parsed that need to be considered.
We should test for every model of the app. Ideally, we need automated testing of models from API responses in case the model has changed from the backend.
Starting from Swift 4.0, we can conform our model to Codable to easily serialise to and from JSON. Our Model should be immutable:
struct Recipe: Codable {
  let publisher: String
  let url: URL
  let sourceUrl: String
  let id: String
  let title: String
  let imageUrl: String
  let socialRank: Double
  let publisherUrl: URL

enum CodingKeys: String, CodingKey {
    case publisher
    case url = "f2f_url"
    case sourceUrl = "source_url"
    case id = "recipe_id"
    case title
    case imageUrl = "image_url"
    case socialRank = "social_rank"
    case publisherUrl = "publisher_url"
  }
}
We can use some test frameworks if you like fancy syntax or an RSpec style. Some third party test frameworks may have issues. I find XCTest good enough.
import XCTest
@testable import Recipes

class RecipesTests: XCTestCase {
  func testParsing() throws {
    let json: [String: Any] = [
      "publisher": "Two Peas and Their Pod",
      "f2f_url": "http://food2fork.com/view/975e33",
      "title": "No-Bake Chocolate Peanut Butter Pretzel Cookies",
      "source_url": "http://www.twopeasandtheirpod.com/no-bake-chocolate-peanut-butter-pretzel-cookies/",
      "recipe_id": "975e33",
      "image_url": "http://static.food2fork.com/NoBakeChocolatePeanutButterPretzelCookies44147.jpg",
      "social_rank": 99.99999999999974,
      "publisher_url": "http://www.twopeasandtheirpod.com"
    ]

let data = try JSONSerialization.data(withJSONObject: json, options: [])
    let decoder = JSONDecoder()
    let recipe = try decoder.decode(Recipe.self, from: data)

XCTAssertEqual(recipe.title, "No-Bake Chocolate Peanut Butter Pretzel Cookies")
    XCTAssertEqual(recipe.id, "975e33")
    XCTAssertEqual(recipe.url, URL(string: "http://food2fork.com/view/975e33")!)
  }
}Before, I used Compass as a routing engine in my projects, but over time I’ve found that writing simple Routing code works too.
The FlowController is used to manage many UIViewController related components to a common feature. You may want to read FlowController and Coordinator for other use cases and to get a better understanding.
There is the AppFlowController that manages changing rootViewController. For now it starts the RecipeFlowController.
window = UIWindow(frame: UIScreen.main.bounds)
window?.rootViewController = appFlowController
window?.makeKeyAndVisible()
appFlowController.start()
RecipeFlowController manages (in fact it is) the UINavigationController, that handles pushing HomeViewController, RecipesDetailViewController, SafariViewController.
final class RecipeFlowController: UINavigationController {
  /// Start the flow
  func start() {
    let service = RecipesService(networking: NetworkService())
    let controller = HomeViewController(recipesService: service)
    viewControllers = [controller]
    controller.select = { [weak self] recipe in
      self?.startDetail(recipe: recipe)
    }
  }

private func startDetail(recipe: Recipe) {}
  private func startWeb(url: URL) {}
}
The UIViewController can use delegate or closure to notify FlowController about changes or next screens in the flow. For delegate there may be a need to check when there are two instances of the same class. Here we use closurefor simplicity.
Auto Layout has been around since iOS 5, it gets better each year. Although some people still have a problem with it, mostly because of confusing breaking constraints and performance, but personally, I find Auto Layout to be good enough.
I try to use Auto Layout as much as possible to make an adaptive UI. We can use libraries like Anchors to do declarative and fast Auto Layout. However in this app, we’ll just use the NSLayoutAnchor since it is from iOS 9. The code below is inspired by Constraint. Remember that Auto Layout in its simplest form involves toggling translatesAutoresizingMaskIntoConstraints and activating isActive constraints.
extension NSLayoutConstraint {
  static func activate(_ constraints: [NSLayoutConstraint]) {
    constraints.forEach {
      ($0.firstItem as? UIView)?.translatesAutoresizingMaskIntoConstraints = false
      $0.isActive = true
    }
  }
}
There are actually many other layout engines available on GitHub. To get a sense over which one would be suitable to use, check out the LayoutFrameworkBenchmark.
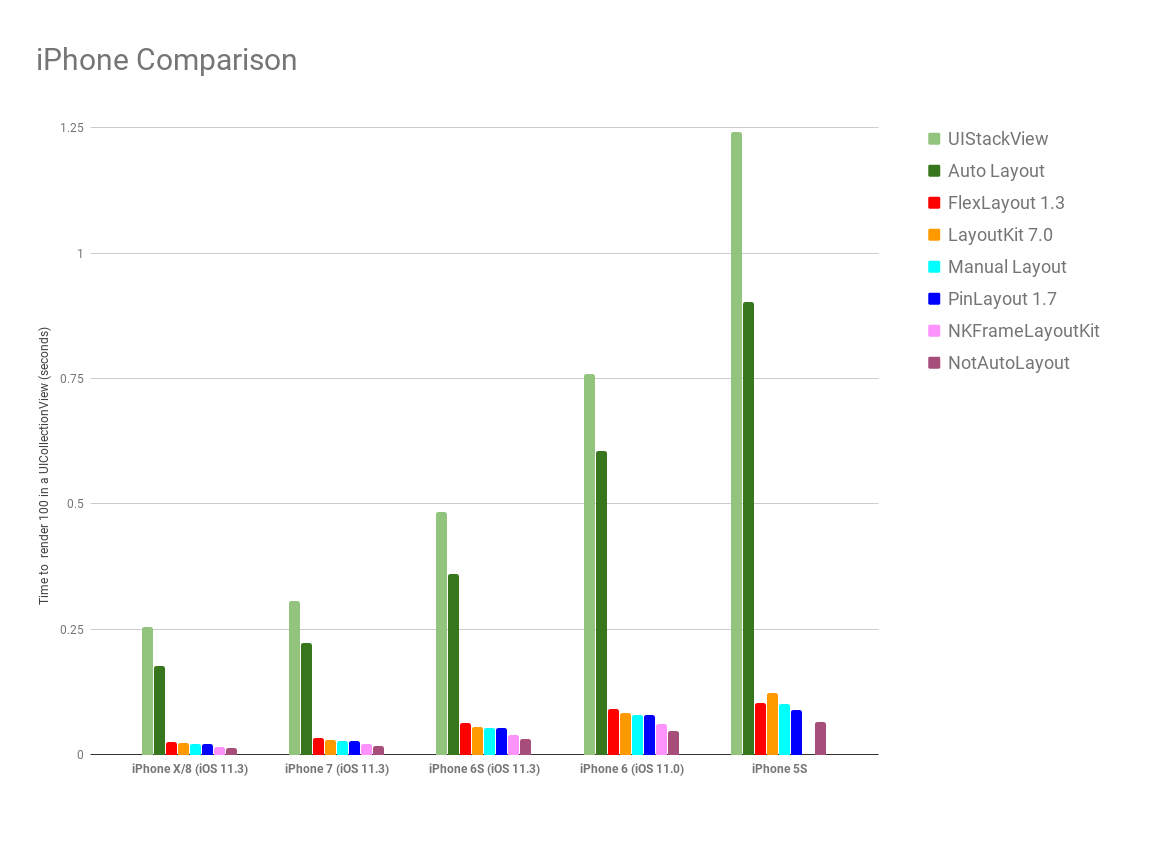
Architecture is probably the most hyped and discussed topic. I’m a fan of exploring architectures, you can view more posts and frameworks about different architectures here.
To me, all architectures and patterns define roles for each object and how to connect them. Remember these guiding principles for your choice of architecture:
encapsuate what varies
favor composition over inheritance
program to interface, not to implementation
After playing around with many different architectures, with and without Rx, I found out that simple MVC is good enough. In this simple project, there is just UIViewController with logic encapsulated in helper Service classes,
You may have heard people joking about how massive UIViewController is, but in reality, there is no massive view controller. It’s just us writing bad code. However there are ways to slim it down.
In the recipes app I use,
Service to inject into the view controller to perform a single task
Generic View to move view and controls declaration to the View layer
Child view controller to compose child view controllers to build more features
Here is a very good article with 8 tips to slim down big controllers.
The SWIFT documentation mentions that “access control restricts access to parts of your code from code in other source files and modules. This feature enables you to hide the implementation details of your code, and to specify a preferred interface through which that code can be accessed and used.”
Everything should be private and final by default. This also helps the compiler. When seeing a public property, we need to search for it across the project before doing anything further with it. If the property is used only within a class, making it private means we don’t need to care if it breaks elsewhere.
Declare properties as final where possible.
final class HomeViewController: UIViewController {}Declare properties as private or at least private(set).
final class RecipeDetailView: UIView {
  private let scrollableView = ScrollableView()
  private(set) lazy var imageView: UIImageView = self.makeImageView()
}For properties that can be accessed at a later time, we can declare them as lazyand can use closure for fast construction.
final class RecipeCell: UICollectionViewCell {
  private(set) lazy var containerView: UIView = {
    let view = UIView()
    view.clipsToBounds = true
    view.layer.cornerRadius = 5
    view.backgroundColor = Color.main.withAlphaComponent(0.4)

return view
  }()
}
We can also use make functions if we plan to reuse the same function for multiple properties.
final class RecipeDetailView: UIView {
  private(set) lazy var imageView: UIImageView = self.makeImageView()

private func makeImageView() -> UIImageView {
    let imageView = UIImageView()
    imageView.contentMode = .scaleAspectFill
    imageView.clipsToBounds = true
    return imageView
  }
}
This also matches advice from Strive for Fluent Usage.
Begin names of factory methods with “make”, For example, x.makeIterator().
Some code syntax is hard to remember. Consider using code snippets to auto generate code. This is supported by Xcode and is the preferred way by Apple engineers when they demo.
if #available(iOS 11, *) {
  viewController.navigationItem.searchController = searchController
  viewController.navigationItem.hidesSearchBarWhenScrolling = false
} else {
  viewController.navigationItem.titleView = searchController.searchBar
}
I made a repo with some useful Swift snippets that many enjoy using.
Networking in Swift is kind of a solved problem. There are tedious and error-prone tasks like parsing HTTP responses, handling request queues, handling parameter queries. I’ve seen bugs about PATCH requests, lowercased HTTP methods, … We can just use Alamofire. There’s no need to waste time here.
For this app, since it’s simple and to avoid unnecessary dependencies. We can just use URLSession directly. A resource usually contains URL, path, parameters and the HTTP method.
struct Resource {
  let url: URL
  let path: String?
  let httpMethod: String
  let parameters: [String: String]
}
A simple network service can just parse Resource to URLRequest and tells URLSession to execute
final class NetworkService: Networking {
  @discardableResult func fetch(resource: Resource, completion: @escaping (Data?) -> Void) -> URLSessionTask? {
    guard let request = makeRequest(resource: resource) else {
      completion(nil)
      return nil
    }

let task = session.dataTask(with: request, completionHandler: { data, _, error in
      guard let data = data, error == nil else {
        completion(nil)
        return
      }

completion(data)
    })

task.resume()
    return task
  }
}
Use dependency injection. Allow caller to specify URLSessionConfiguration. Here we make use of Swift default parameter to provide the most common option.
init(configuration: URLSessionConfiguration = URLSessionConfiguration.default) {
  self.session = URLSession(configuration: configuration)
}
I also use URLQueryItem which was from iOS 8. It makes parsing parameters to query items nice and less tedious.
We can use URLProtocol and URLCache to add a stub for network responses or we can use frameworks like Mockingjay which swizzles URLSessionConfiguration.
I myself prefer using the protocol to test. By using the protocol, the test can create a mock request to provide a stub response.
protocol Networking {
  @discardableResult func fetch(resource: Resource, completion: @escaping (Data?) -> Void) -> URLSessionTask?
}

final class MockNetworkService: Networking {
  let data: Data
  init(fileName: String) {
    let bundle = Bundle(for: MockNetworkService.self)
    let url = bundle.url(forResource: fileName, withExtension: "json")!
    self.data = try! Data(contentsOf: url)
  }

func fetch(resource: Resource, completion: @escaping (Data?) -> Void) -> URLSessionTask? {
    completion(data)
    return nil
  }
}I used to contribute and use a library called Cache a lot. What we need from a good cache library is memory and disk cache, memory for fast access, disk for persistency. When we save, we save to both memory and disk. When we load, if memory cache fails, we load from disk, then update memory again. There are many advanced topics about cache like purging, expiry, access frequency. Have a read about them here.
In this simple app, a homegrown cache service class is enough and a good way to learn how caching works. Everything in Swift can be converted to Data, so we can just save Data to cache. Swift 4 Codable can serialize object to Data.
The code below shows us how to use FileManager for disk cache.
/// Save and load data to memory and disk cache
final class CacheService {

/// For get or load data in memory
  private let memory = NSCache<NSString, NSData>()

/// The path url that contain cached files (mp3 files and image files)
  private let diskPath: URL

/// For checking file or directory exists in a specified path
  private let fileManager: FileManager

/// Make sure all operation are executed serially
  private let serialQueue = DispatchQueue(label: "Recipes")

init(fileManager: FileManager = FileManager.default) {
    self.fileManager = fileManager
    do {
      let documentDirectory = try fileManager.url(
        for: .documentDirectory,
        in: .userDomainMask,
        appropriateFor: nil,
        create: true
      )
      diskPath = documentDirectory.appendingPathComponent("Recipes")
      try createDirectoryIfNeeded()
    } catch {
      fatalError()
    }
  }

func save(data: Data, key: String, completion: (() -> Void)? = nil) {
    let key = MD5(key)

serialQueue.async {
      self.memory.setObject(data as NSData, forKey: key as NSString)
      do {
        try data.write(to: self.filePath(key: key))
        completion?()
      } catch {
        print(error)
      }
    }
  }
}
To avoid malformed and very long file names, we can hash them. I use MD5 from SwiftHash, which gives dead simple usage let key = MD5(key).
Since I design Cache operations to be asynchronous, we need to use test expectation. Remember to reset the state before each test so the previous test state does not interfere with the current test. The expectation in XCTestCase makes testing asynchronous code easier than ever. 👍
class CacheServiceTests: XCTestCase {
  let service = CacheService()

override func setUp() {
    super.setUp()

try? service.clear()
  }

func testClear() {
    let expectation = self.expectation(description: #function)
    let string = "Hello world"
    let data = string.data(using: .utf8)!

service.save(data: data, key: "key", completion: {
      try? self.service.clear()
      self.service.load(key: "key", completion: {
        XCTAssertNil($0)
        expectation.fulfill()
      })
    })

wait(for: [expectation], timeout: 1)
  }
}I also contribute to Imaginary so I know a bit about how it works. For remote images, we need to download and cache it, and the cache key is usually the URL of the remote image.
In our recipese app, let’s build a simple ImageService based on our NetworkService and CacheService. Basically an image is just a network resource that we download and cache. We prefer composition so we’ll include NetworkService and CacheService into ImageService.
/// Check local cache and fetch remote image
final class ImageService {

private let networkService: Networking
  private let cacheService: CacheService
  private var task: URLSessionTask?

init(networkService: Networking, cacheService: CacheService) {
    self.networkService = networkService
    self.cacheService = cacheService
  }
}
We usually have UICollectionViewand UITableView cells with UIImageView. And since cells are reused, we need to cancel any existing request task before making a new request.
func fetch(url: URL, completion: @escaping (UIImage?) -> Void) {
  // Cancel existing task if any
  task?.cancel()

// Try load from cache
  cacheService.load(key: url.absoluteString, completion: { [weak self] cachedData in
    if let data = cachedData, let image = UIImage(data: data) {
      DispatchQueue.main.async {
        completion(image)
      }
    } else {
      // Try to request from network
      let resource = Resource(url: url)
      self?.task = self?.networkService.fetch(resource: resource, completion: { networkData in
        if let data = networkData, let image = UIImage(data: data) {
          // Save to cache
          self?.cacheService.save(data: data, key: url.absoluteString)
          DispatchQueue.main.async {
            completion(image)
          }
        } else {
          print("Error loading image at \(url)")
        }
      })

self?.task?.resume()
    }
  })
}Let’s add an extension to UIImageView to set the remote image from the URL. I use associated object to keep this ImageService and to cancel old requests. We make good use of associated object to attach ImageService to UIImageView. The point is to cancel the current request when the request is triggered again. This is handy when the image views are rendered in a scrolling list.
extension UIImageView {
  func setImage(url: URL, placeholder: UIImage? = nil) {
    if imageService == nil {
      imageService = ImageService(networkService: NetworkService(), cacheService: CacheService())
    }

self.image = placeholder
    self.imageService?.fetch(url: url, completion: { [weak self] image in
      self?.image = image
    })
  }

private var imageService: ImageService? {
    get {
      return objc_getAssociatedObject(self, &AssociateKey.imageService) as? ImageService
    }
    set {
      objc_setAssociatedObject(
        self,
        &AssociateKey.imageService,
        newValue,
        objc_AssociationPolicy.OBJC_ASSOCIATION_RETAIN_NONATOMIC
      )
    }
  }
}We use UITableView and UICollectionView in almost in every app and almost perform the same thing repeatedly.
show refresh control while loading
reload list in case of data
show error in case of failure.
There are many wrappers around UITableView and UICollection. Each adds another layer of abstraction, which gives us more power but applies restrictions at the same time.
In this app, I use Adapter to get a generic data source, to make a type safe collection. Because, in the end, all we need is to map from the model to the cells.
I also utilize Upstream based on this idea. It’s hard to wrap around UITableView and UICollectionView, as many times, it is app specific, so a thin wrapper like Adapter is enough.
final class Adapter<T, Cell: UICollectionViewCell>: NSObject,
UICollectionViewDataSource, UICollectionViewDelegateFlowLayout {
  var items: [T] = []
  var configure: ((T, Cell) -> Void)?
  var select: ((T) -> Void)?
  var cellHeight: CGFloat = 60
}I ditched Storyboard because of many limitations and many issues. Instead, I use code to make views and define constraints. It is not that hard to follow. Most of the boilerplate code in UIViewController is for creating views and configuring the layout. Let’s move those to the view. You can read more about that here.
/// Used to separate between controller and view
class BaseController<T: UIView>: UIViewController {
  let root = T()

override func loadView() {
    view = root
  }
}

final class RecipeDetailViewController: BaseController<RecipeDetailView> {}The View controller container is a powerful concept. Each view controller has a separation of concern and can be composed together to create advanced features. I have used RecipeListViewController to manage the UICollectionView and show a list of recipes.
final class RecipeListViewController: UIViewController {
  private(set) var collectionView: UICollectionView!
  let adapter = Adapter<Recipe, RecipeCell>()
  private let emptyView = EmptyView(text: "No recipes found!")
}
There is the HomeViewController which embeds this RecipeListViewController
/// Show a list of recipes
final class HomeViewController: UIViewController {

/// When a recipe get select
  var select: ((Recipe) -> Void)?

private var refreshControl = UIRefreshControl()
  private let recipesService: RecipesService
  private let searchComponent: SearchComponent
  private let recipeListViewController = RecipeListViewController()
}I try to build components and compose code whenever I can . We see that ImageService makes use of the NetworkService and CacheService, and RecipeDetailViewController makes use of Recipe and RecipesService
Ideally objects should not create dependencies by themselves. The dependencies should be created outside and passed down from root. In our app the root is AppDelegate and AppFlowController so dependencies should start from here.

Since iOS 9, all apps should adopt App Transport Security
App Transport Security (ATS) enforces best practices in the secure connections between an app and its back end. ATS prevents accidental disclosure, provides secure default behavior, and is easy to adopt; it is also on by default in iOS 9 and OS X v10.11. You should adopt ATS as soon as possible, regardless of whether you’re creating a new app or updating an existing one.
In our app, some images are obtained over an HTTP connection. We need to exclude it from the security rule, but only for that domain only.
<key>NSAppTransportSecurity</key>
<dict>
  <key>NSExceptionDomains</key>
  <dict>
    <key>food2fork.com</key>
    <dict>
      <key>NSIncludesSubdomains</key>
      <true/>
      <key>NSExceptionAllowsInsecureHTTPLoads</key>
      <true/>
    </dict>
  </dict>
</dict>For the detail screen, we can use UITableView and UICollectionView with different cell types. Here, the views should be static. We can stack using UIStackView. For more flexibility, we can just use UIScrollView.
/// Vertically layout view using Auto Layout in UIScrollView
final class ScrollableView: UIView {
  private let scrollView = UIScrollView()
  private let contentView = UIView()

override init(frame: CGRect) {
    super.init(frame: frame)

scrollView.showsHorizontalScrollIndicator = false
    scrollView.alwaysBounceHorizontal = false
    addSubview(scrollView)

scrollView.addSubview(contentView)

NSLayoutConstraint.activate([
      scrollView.topAnchor.constraint(equalTo: topAnchor),
      scrollView.bottomAnchor.constraint(equalTo: bottomAnchor),
      scrollView.leftAnchor.constraint(equalTo: leftAnchor),
      scrollView.rightAnchor.constraint(equalTo: rightAnchor),

contentView.topAnchor.constraint(equalTo: scrollView.topAnchor),
      contentView.bottomAnchor.constraint(equalTo: scrollView.bottomAnchor),
      contentView.leftAnchor.constraint(equalTo: leftAnchor),
      contentView.rightAnchor.constraint(equalTo: rightAnchor)
    ])
  }
}
We pin the UIScrollView to the edges. We pin the contentView left and right anchor to self, while pinning the contentView top and bottom anchor to UIScrollView.
The views inside contentView have top and bottom constraints, so when they expand, they expand contentView as well. UIScrollView uses Auto Layout info from this contentView to determine its contentSize. Here is how ScrollableView is used in RecipeDetailView.
scrollableView.setup(pairs: [
  ScrollableView.Pair(view: imageView, inset: UIEdgeInsets(top: 8, left: 0, bottom: 0, right: 0)),
  ScrollableView.Pair(view: ingredientHeaderView, inset: UIEdgeInsets(top: 8, left: 0, bottom: 0, right: 0)),
  ScrollableView.Pair(view: ingredientLabel, inset: UIEdgeInsets(top: 4, left: 8, bottom: 0, right: 0)),
  ScrollableView.Pair(view: infoHeaderView, inset: UIEdgeInsets(top: 4, left: 0, bottom: 0, right: 0)),
  ScrollableView.Pair(view: instructionButton, inset: UIEdgeInsets(top: 8, left: 20, bottom: 0, right: 20)),
  ScrollableView.Pair(view: originalButton, inset: UIEdgeInsets(top: 8, left: 20, bottom: 0, right: 20)),
  ScrollableView.Pair(view: infoView, inset: UIEdgeInsets(top: 16, left: 0, bottom: 20, right: 0))
])From iOS 8 onwards, we can use the UISearchController to get a default search experience with the search bar and results controller. We’ll encapsuate search functionality into SearchComponent so that it can be pluggable.
final class SearchComponent: NSObject, UISearchResultsUpdating, UISearchBarDelegate {
  let recipesService: RecipesService
  let searchController: UISearchController
  let recipeListViewController = RecipeListViewController()
}
Starting from iOS 11, there ‘s a property called searchController on the UINavigationItem which makes it easy to show the search bar on the navigation bar.
func add(to viewController: UIViewController) {
  if #available(iOS 11, *) {
    viewController.navigationItem.searchController = searchController
    viewController.navigationItem.hidesSearchBarWhenScrolling = false
  } else {
    viewController.navigationItem.titleView = searchController.searchBar
  }

viewController.definesPresentationContext = true
}
In this app, we need to disable hidesNavigationBarDuringPresentation for now, as it is quite buggy. Hopefully it gets resolved in future iOS updates.
Understanding presentation context is crucial for view controller presentation. In search, we use the searchResultsController.
self.searchController = UISearchController(searchResultsController: recipeListViewController)We need to use definesPresentationContext on the source view controller (the view controller where we add the search bar into). Without this we get the searchResultsController to be presented over full screen !!!
When using the currentContext or overCurrentContext style to present a view controller, this property controls which existing view controller in your view controller hierarchy is actually covered by the new content. When a context-based presentation occurs, UIKit starts at the presenting view controller and walks up the view controller hierarchy. If it finds a view controller whose value for this property is true, it asks that view controller to present the new view controller. If no view controller defines the presentation context, UIKit asks the window’s root view controller to handle the presentation.
The default value for this property is false. Some system-provided view controllers, such as UINavigationController, change the default value to true.
We should not execute search requests for every key stroke the user types in the search bar. Therefore some kind of throttling is needed. We can use DispatchWorkItem to encapsulate the action and send it to the queue. Later we can cancel it.
final class Debouncer {
  private let delay: TimeInterval
  private var workItem: DispatchWorkItem?

init(delay: TimeInterval) {
    self.delay = delay
  }

/// Trigger the action after some delay
  func schedule(action: @escaping () -> Void) {
    workItem?.cancel()
    workItem = DispatchWorkItem(block: action)
    DispatchQueue.main.asyncAfter(deadline: .now() + delay, execute: workItem!)
  }
}To test Debouncer we can use XCTest expectation in inverted mode. Read more about it in Unit testing asynchronous Swift code.
To check that a situation does not occur during testing, create an expectation that is fulfilled when the unexpected situation occurs, and set its isInverted property to true. Your test will fail immediately if the inverted expectation is fulfilled.
class DebouncerTests: XCTestCase {
  func testDebouncing() {
    let cancelExpectation = self.expectation(description: "cancel")
    cancelExpectation.isInverted = true

let completeExpectation = self.expectation(description: "complete")
    let debouncer = Debouncer(delay: 0.3)

debouncer.schedule {
      cancelExpectation.fulfill()
    }

debouncer.schedule {
      completeExpectation.fulfill()
    }

wait(for: [cancelExpectation, completeExpectation], timeout: 1)
  }
}Sometimes small refactoring can have a large effect. A disabled button can lead to unusable screens afterward. UITest helps ensuring integrity and functional aspects of the app. Test should be declarative. We can use the Robot pattern.
class RecipesUITests: XCTestCase {
  var app: XCUIApplication!

  override func setUp() {
    super.setUp()
    continueAfterFailure = false

    app = XCUIApplication()
  }

  func testScrolling() {
    app.launch()

    let collectionView = app.collectionViews.element(boundBy: 0)
    collectionView.swipeUp()
    collectionView.swipeUp()
  }

  func testGoToDetail() {
    app.launch()

    let collectionView = app.collectionViews.element(boundBy: 0)
    let firstCell = collectionView.cells.element(boundBy: 0)
    firstCell.tap()
  }
}
Here are some of my articles regarding testing.
Accessing the UI from the background queue can lead to potential problems. Earlier, I needed to use MainThreadGuard, now that Xcode 9 has Main Thread Checker, I just enabled that in Xcode.
The Main Thread Checker is a standalone tool for Swift and C languages that detects invalid usage of AppKit, UIKit, and other APIs on a background thread. Updating UI on a thread other than the main thread is a common mistake that can result in missed UI updates, visual defects, data corruptions, and crashes.
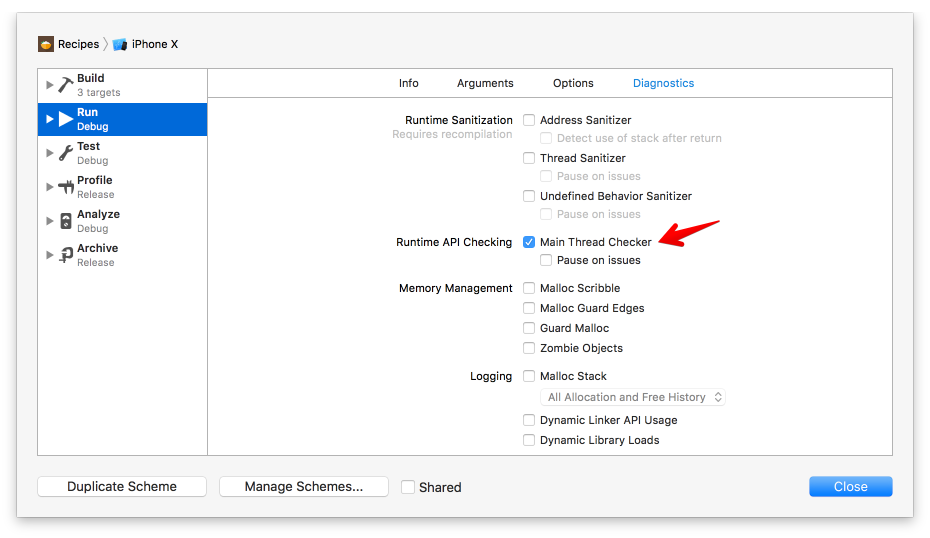
We can use Instruments to thoroughly profile the app. For quick measurement, we can head over to the Debug Navigator tab and see CPU, Memory and Network usage. Check out this cool article to learn more about instruments.
Playground is the recommended way to prototype and build apps. At WWDC 2018, Apple introduced Create ML which supports Playground to train model. Check out this cool article to learn more about playground driven development in Swift.
Thanks for making it this far. I hope you’ve learnt something useful. The best way to learn something is to just do it. If you happen to write the same code again and again, make it as a component. If a problem gives you a hard time, write about it. Share your experience with the world, you will learn a lot.
Updated at 2021-01-01 23:26:13